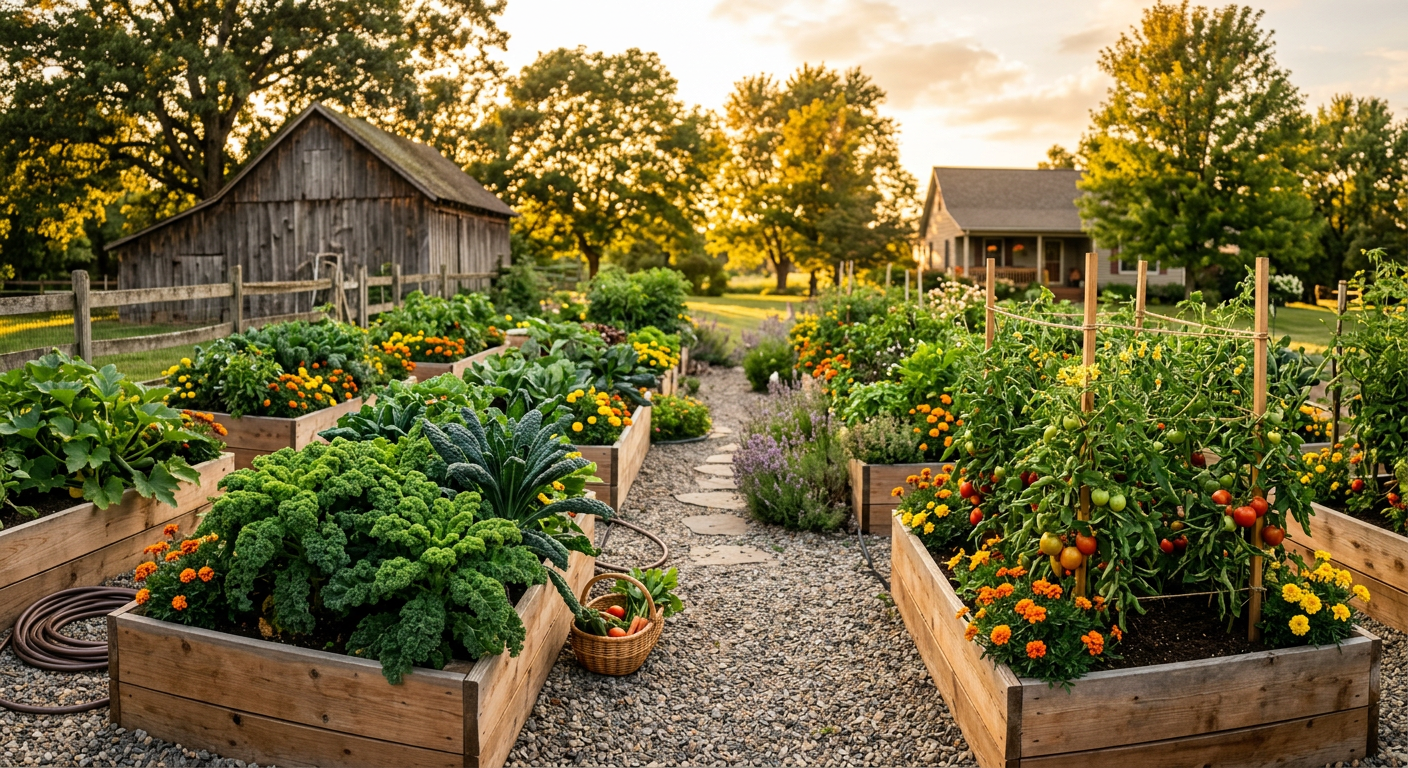
I’ll never forget the first raised bed we built. I was so proud, standing there with splinters in my hands and sweat dripping down my back. Then, a few weeks later, I realized my mistake: I’d made it five feet wide. Every time I had to weed the middle, I practically had to army-crawl over the zucchini, cursing myself. That single, frustrating experience taught me more about building a raised garden bed for vegetables than any book ever could.
🎯 Quick Answer: Building a raised garden bed is the best way to control your soil, reduce weeding, and get better harvests. Choose a rot-resistant wood like cedar, keep the width to 4 feet or less for easy access, and fill it with layers of organic matter (like Hugelkultur) for incredible long-term fertility.
🔑 Key Takeaways
* Control is Everything: Raised beds let you bypass poor native soil (like our heavy clay) and create the perfect growing medium from scratch.
* Ergonomics Matter: Building a bed that’s 18-24 inches tall and no more than 4 feet wide saves your back and makes harvesting a joy, not a chore.
* Material Choice is Crucial: Untreated cedar is the gold standard for longevity and safety, but other options like galvanized steel or even salvaged materials can work if you know the risks.
* Fill it Smart, Not Hard: The Hugelkultur method (layering wood, leaves, and compost) creates a fertile, water-retentive bed that saves a fortune on purchased soil.
* Location, Location, Location: Place your bed where it gets at least 6-8 hours of direct sunlight. We learned this the hard way with a sad, shaded patch of tomatoes our first year.
* Pest Defense Starts at the Bottom: Lining the bottom of your bed with hardware cloth is a non-negotiable step if you have gophers or voles.
—
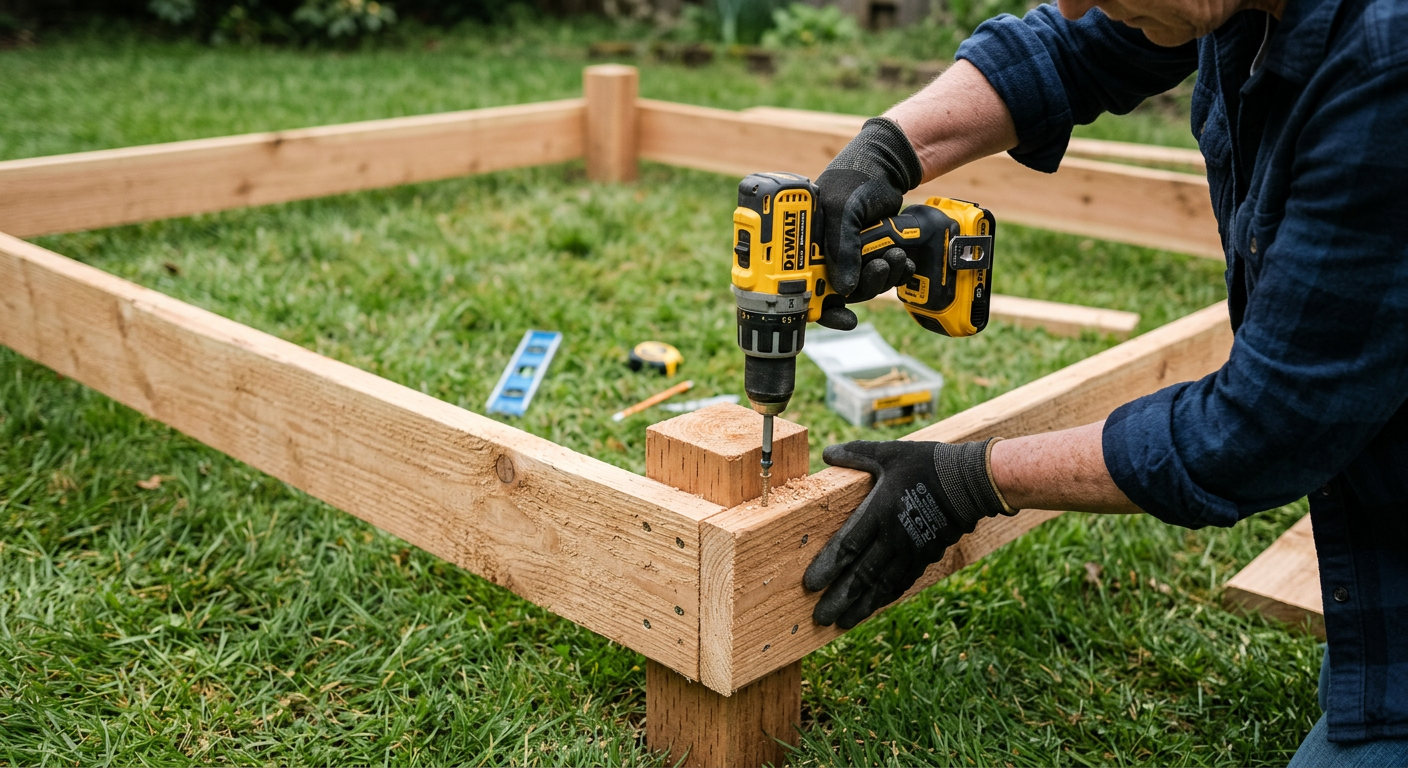
!A DIY enthusiast building a raised garden bed for vegetables using cedar wood and a power drill.
Why We Switched to Raised Beds (and Never Looked Back)
When we first moved out to our property, I had romantic visions of a massive, tilled-in-the-ground garden. The reality? Heavy, red clay that turned to concrete in the summer and a soupy mess in the spring. Our first-year carrots were stubby little nubs that refused to penetrate the soil. It was a disaster.
Building a raised garden bed for vegetables was our solution. It’s not about being fancy; it’s about being practical. It’s about solving a problem.
Benefit 1: Perfect Soil from Day One
You get to be the architect of your soil. Instead of spending years amending clay or sand, you can create the ideal loamy, nutrient-rich mix instantly. This means healthier plants, fewer diseases, and bigger harvests. You control the pH, the drainage, and the fertility. For us, this was the single biggest game-changer.
Benefit 2: Less Weeding, Less Aching
Because the beds are filled with clean soil and compost, the weed pressure is dramatically lower. And the weeds that do pop up are easy to pull from the loose soil. Bending over a 2-foot-tall bed is a whole lot easier on the back than kneeling in the mud. I can now weed our six main beds in the time it used to take me to do one row in the old ground-level garden.
Benefit 3: Better Drainage & Warmer Soil
Raised beds drain much faster than our clay soil ever could, preventing root rot during our wet springs. They also warm up faster, which means we can plant our cool-weather crops a good two weeks earlier than our neighbors. That’s a huge advantage in our Zone 5 climate. Making a solid plan for your garden layout and other projects is critical for success. We found that using a dedicated system like the one we use on Homestead OS keeps all our plans and records in one place.
Choosing your materials is the first big decision you’ll make.
—
Choosing Materials: Wood, Metal, or Stone?
This is where you balance budget, longevity, and aesthetics. We’ve used a few different things over the years, but we have our favorites.
Our Top Pick: Cedar Wood
Cedar is naturally rot-resistant thanks to its oils. It’s beautiful, easy to work with, and completely food-safe. It’s more expensive upfront, but it lasts. Our first two 4’x8’x18″ cedar beds, built 7 years ago, are still rock solid.
* Cost: We spent about $220 per bed on cedar planks back then. Prices have gone up, so expect to pay closer to $300-$350 now.
* Lifespan: 10-15 years, easily.
* Pro-Tip: Use stainless steel or coated deck screws. Regular screws will rust out long before the cedar rots.
Budget Option: Untreated Pine/Fir
If cedar isn’t in the budget, standard untreated framing lumber (like pine or fir) is your next best bet. It’s cheap and available everywhere. The downside? It will only last 3-5 years before it starts to break down. We used pine for a temporary herb bed, and it was mush by year four. This is a great starting point, especially if you’re homesteading on a budget.
Other Options: Metal & Stone
* Galvanized Steel: These have become very popular. They are durable, long-lasting, and heat up quickly. Just be aware that the soil on the edges can get hot in southern climates.
* Cinder Blocks/Stone: Extremely durable and can often be sourced for free. The main drawback is that lime can leach from concrete blocks, raising the soil pH over time. You’ll need to monitor and amend your soil accordingly.
Now, let’s grab some tools and actually build this thing.
Keep reading — this is where we get our hands dirty.
—
The Build: A Step-by-Step Guide to Building a Raised Garden Bed for Vegetables
We’re going to build a standard 4’x8’ bed that’s about 22 inches tall. This requires three tiers of 2×8 boards (which are actually 1.5″ x 7.25″).
Step 1: Gather Your Materials & Tools
Materials:
* (6) 8-foot 2×8 untreated cedar or fir boards
* (3) 8-foot 4×4 untreated cedar or fir posts
* (1) box of 3-inch exterior-grade coated or stainless steel screws
* (Optional) Roll of 1/2 inch hardware cloth for gopher/vole protection
Tools:
* Circular saw or miter saw
* Drill/driver with bits
* Tape measure & pencil
* Speed square
* Level
* Shovel & rake
* Check out our list of essential homesteading tools if you’re just starting your collection.
Step 2: Make Your Cuts
Step 3: Assemble the Frame
This is easiest with a helper, but I’ve done it solo.
Step 4: Prepare the Site & Place the Bed
Filling your bed correctly is just as important as building it well.
—
Filling Your Bed: The Lasagna (Hugelkultur) Method
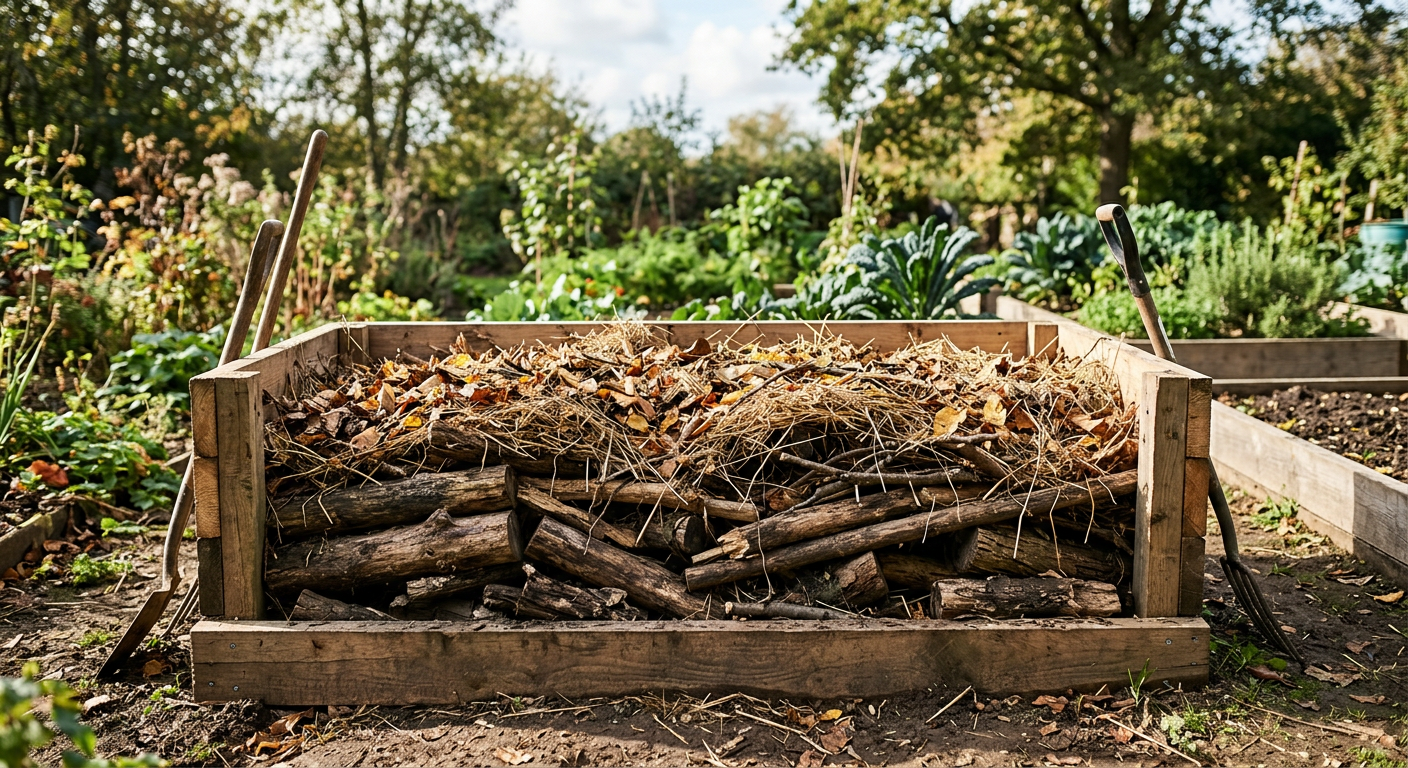
Do NOT just go buy 2 cubic yards of expensive bagged garden soil. You’ll spend a fortune ($300+) and the soil is often lifeless. We use a layering method called Hugelkultur that builds incredible soil for a fraction of the cost.
Here’s how we fill our 4x8x22″ beds:
This method, managing all the different layers and inputs, might seem complex. That’s why keeping good records is vital. We track what goes into each bed in our homestead management system, so we know what works best for future builds.
Once filled, water it all down thoroughly. The level will sink over time, and you can just top it off with more compost each spring. Now you’re ready to plant! Some of our favorite first-year plants in new beds are zucchini, tomatoes, and easy perennial herbs.
—
💡 Pro Tips
* Don’t Go Wider Than 4 Feet. I learned this the hard way. You must be able to reach the middle of the bed from either side without stepping in it. 3 feet is even more comfortable.
* Level the Ground First. I know I said it before, but it’s the most skipped step. A bed on unlevel ground will rack, warp, and fall apart. Use a long level and a shovel. It’s 30 minutes of work that saves you years of frustration.
* Install Drip Irrigation. Before you even plant, lay down soaker hoses or drip lines. It’s a pain to retrofit later. This saves water, time, and keeps moisture off the plant leaves, reducing fungal diseases.
* Add a Center Brace. For any bed 8 feet or longer, screw a 2×4 brace across the middle (from one long side to the other). This absolutely prevents the sides from bowing out from the immense pressure of wet soil.
—
⚠️ Beginner Mistakes to Avoid
* Using Pressure-Treated Wood: Please, don’t do this for a vegetable garden. The chemicals used to treat the wood (historically arsenic, now copper-based compounds) can leach into your soil and be taken up by your food. It’s not worth the risk.
* Not Filling it Deep Enough: The soil level will sink by 25-50% in the first year as the organic matter decomposes. Mound the soil high when you first fill it, a good 4-6 inches above the frame. It will settle to the perfect level.
* Forgetting Pest Barriers: We built two beautiful beds, filled them, and planted them… only to have gophers pull every single seedling down from below. We had to dig everything out and install hardware cloth. Do it from the start.
* Skimping on Screws: Use more screws than you think you need. We put two screws at the end of every single board, connecting it to the 4×4 post. This creates a super rigid frame that won’t pull apart.
—
Frequently Asked Questions
H3: How deep should a raised garden bed be for vegetables?
A good minimum depth is 12 inches. This gives most plant roots enough room. However, we prefer 18-24 inches. This extra depth allows for a larger Hugelkultur base, better drainage, and means you barely have to bend over to tend the garden. Root vegetables like carrots and parsnips will especially thank you for the extra depth.
H3: What is the cheapest way to fill a raised garden bed?
The cheapest way is the Hugelkultur/lasagna method described above. Source your materials for free! Use fallen logs from your property or ask tree-trimming services for wood chips. Collect leaves from your neighborhood in the fall. Make your own compost. The only thing you may need to purchase is the final topsoil/compost layer.
H3: What should I put on the bottom of a raised garden bed?
Start with a layer of plain brown cardboard (remove all tape and labels). This will smother the grass and weeds underneath and will decompose over time. If you have burrowing pests like gophers, voles, or moles, you MUST put a layer of 1/2-inch hardware cloth (metal mesh) down on top of the cardboard before filling.
H3: Can I build a raised garden bed on concrete?
Yes, you can. Just make sure it’s at least 12-18 inches deep to provide enough soil volume for the roots. Also, ensure there are some drainage gaps at the bottom, or drill holes along the bottom edge of the frame to let excess water escape, as it won’t be able to drain into the ground.
—
That First Perfect Tomato
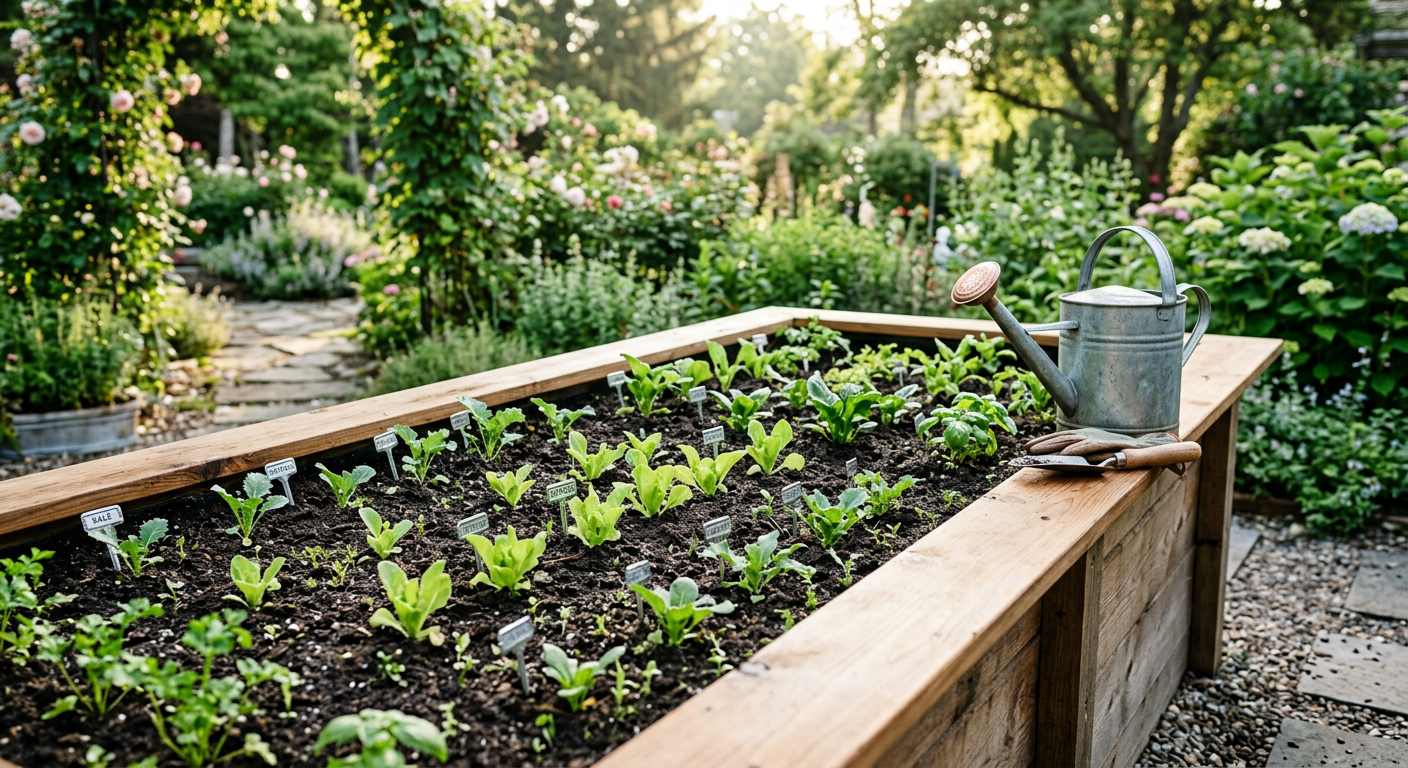
Building that first raised bed is a true homesteading milestone. It’s hard work, yes. You’ll be sore. But the moment you pull a perfectly straight carrot from that deep, dark soil you created, or eat a sun-warmed tomato grown in a bed you built with your own hands… it’s a feeling of satisfaction that’s hard to beat. You’re not just growing food; you’re building a more resilient, productive life, one board at a time.
We share more of our day-to-day building projects and garden progress over on our Facebook page – we’d love to see you there!
What’s the first thing you would plant in your new raised garden bed? Let me know in the comments below!
📚 More From Our Homestead
- Apartment Vertical Gardens: Our Tiny Balcony Wins
- Selling Garden Produce at a Farmers Market (Our First Year)
- Homestead Water Independence Planning: Our Guide
- Housing for Meat Rabbits: Don’t Make Our Mistakes
- Homesteading for Beginners on One Acre: The Ultimate Guide
Ready to Start Your Homestead Journey?
Free guides, checklists, and tools to help you build your dream homestead.
Leave a Reply