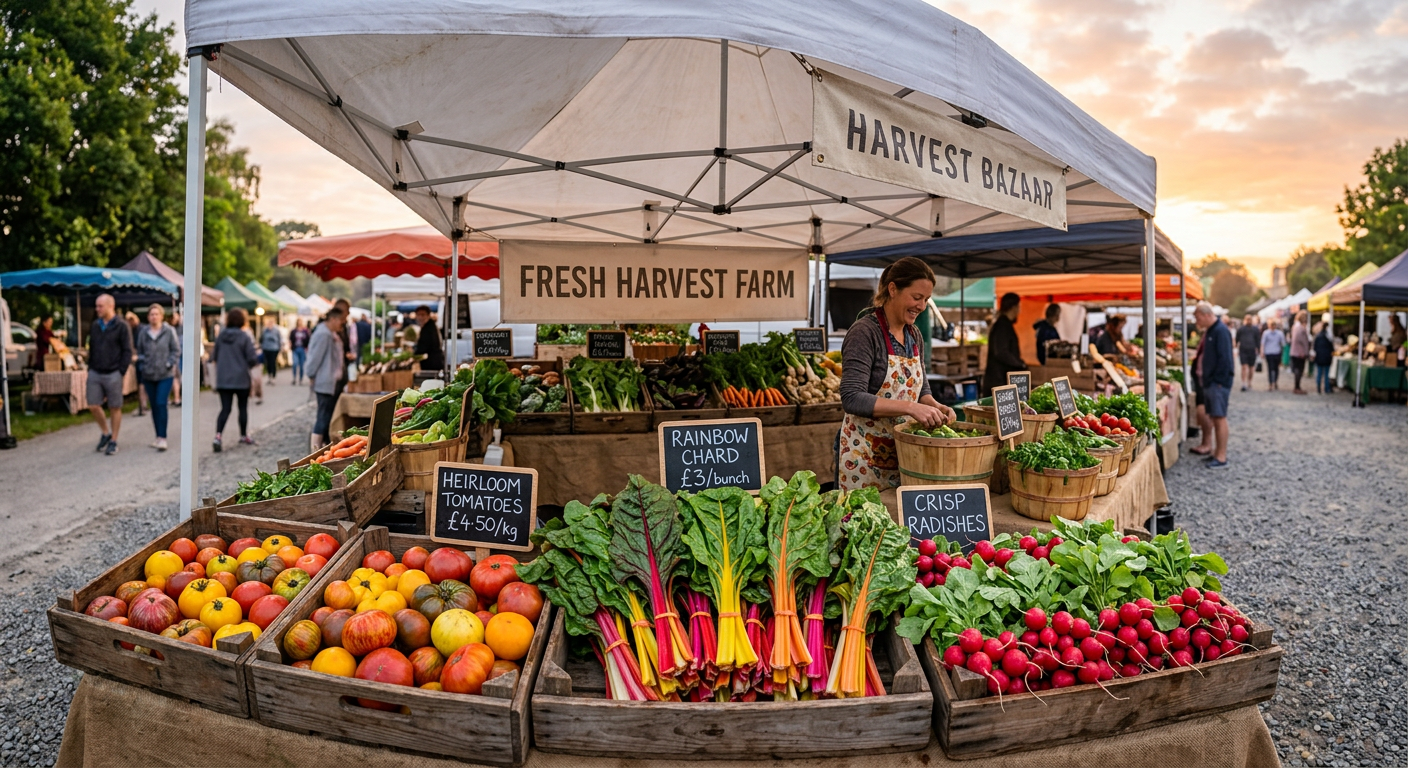
!A vibrant stall for selling excess garden produce at a farmers market during a sunny morning.
I’ll never forget the feeling of that first crumpled five-dollar bill being pressed into my hand. It was 7:30 AM, the sun was just starting to warm the pavement, and a kind woman had just bought a bunch of our rainbow chard. That $5 felt more valuable than any paycheck I’d ever received because we grew it from a tiny seed with our own hands. My boots were still caked in mud from the pre-dawn harvest, but in that moment, our homestead felt like a real business.
🎯 Quick Answer: Successfully selling excess garden produce at a farmers market involves understanding local regulations, choosing high-demand crops, pricing competitively, and creating an attractive display. Start small, focus on quality, and be prepared for long days that are incredibly rewarding.
🔑 Key Takeaways
* Do Your Homework First: Before you harvest a single carrot, contact your local market manager and health department. Rules vary wildly by county and state.
* Grow for Profit, Not Just Passion: Focus on high-value, fast-growing crops. Think salad greens, cherry tomatoes, and herbs, not just massive zucchini.
* Presentation Sells: A beautiful stall with clean produce, clear pricing, and a friendly face will outsell a messy table every time. People buy with their eyes first.
* Price It Right: Don’t undervalue your hard work. Scope out other vendors, but factor in your time, seed costs, and amendments. Your homegrown quality is worth a premium.
* Be Prepared for the Grind: A market day is a 12+ hour affair, from harvesting and packing to selling and cleaning up. It’s physically demanding work.
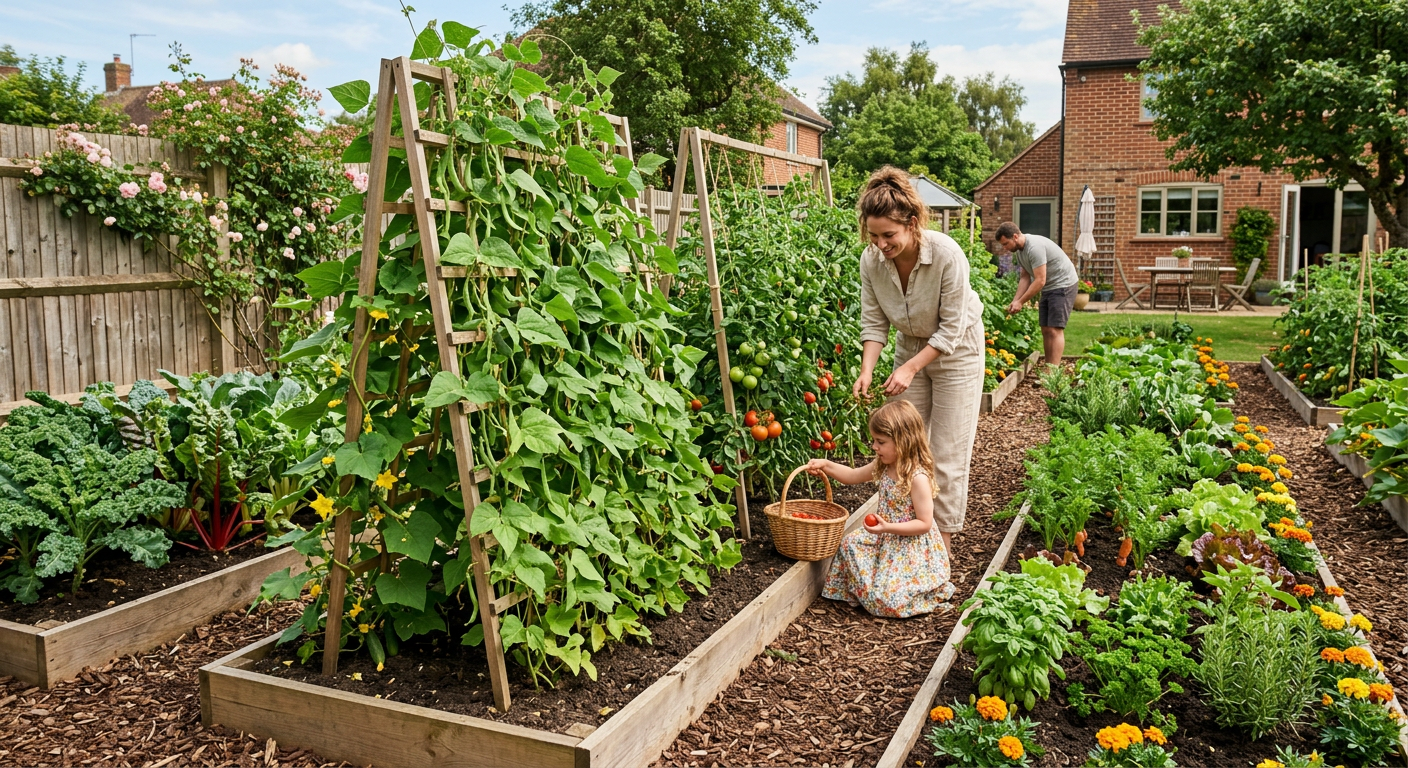
* Start Small and Scale: You don’t need a huge commercial plot. Our first year, we made over $1,200 just from two 30-foot raised beds.
—
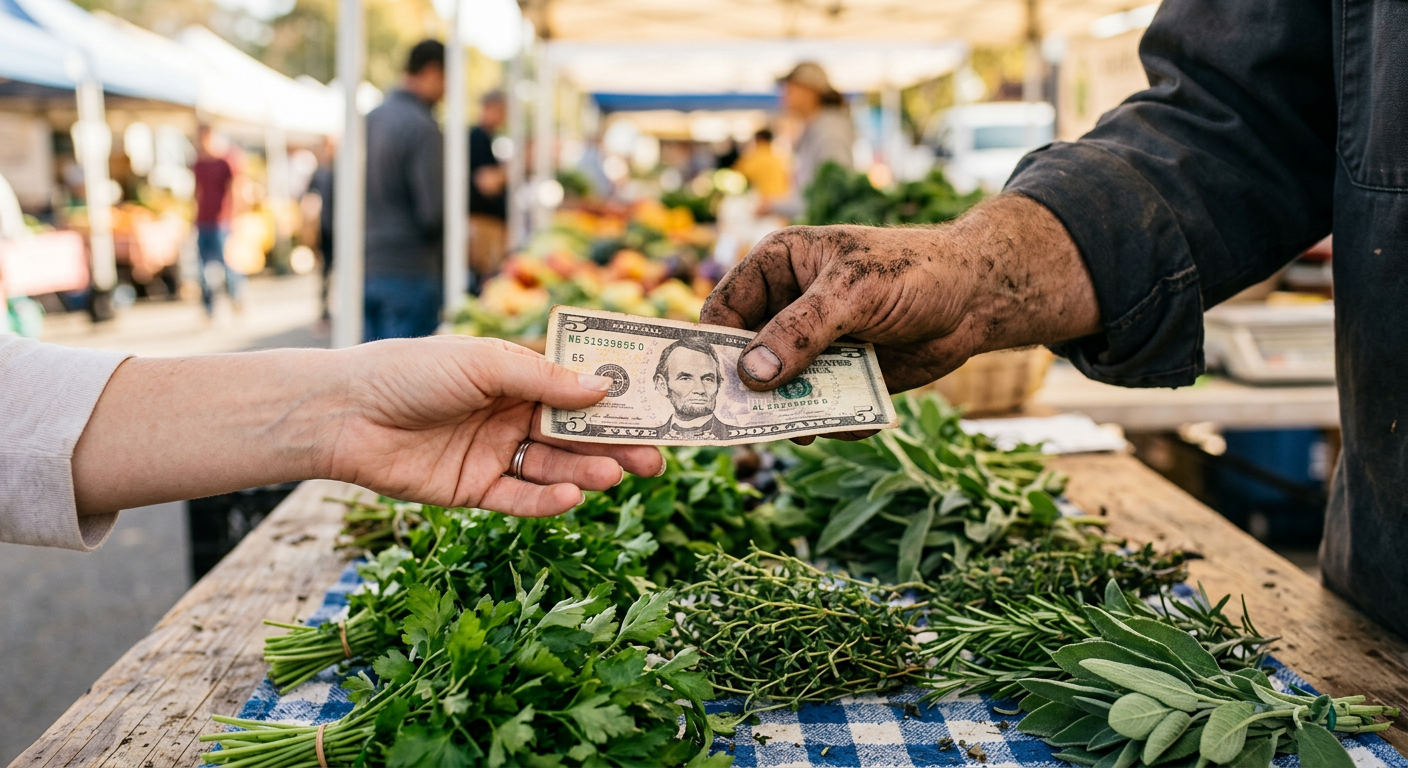
!Close-up of a transaction while selling excess garden produce farmers market stalls.
Getting Your Ducks in a Row: Permits and Markets
Before we ever thought about selling excess garden produce at a farmers market, we thought it was as simple as throwing vegetables on a table. Wrong. So, so wrong. The first thing I did was call our county extension office. They were a goldmine of information and pointed me toward the market manager for the town-square market we were eyeing.
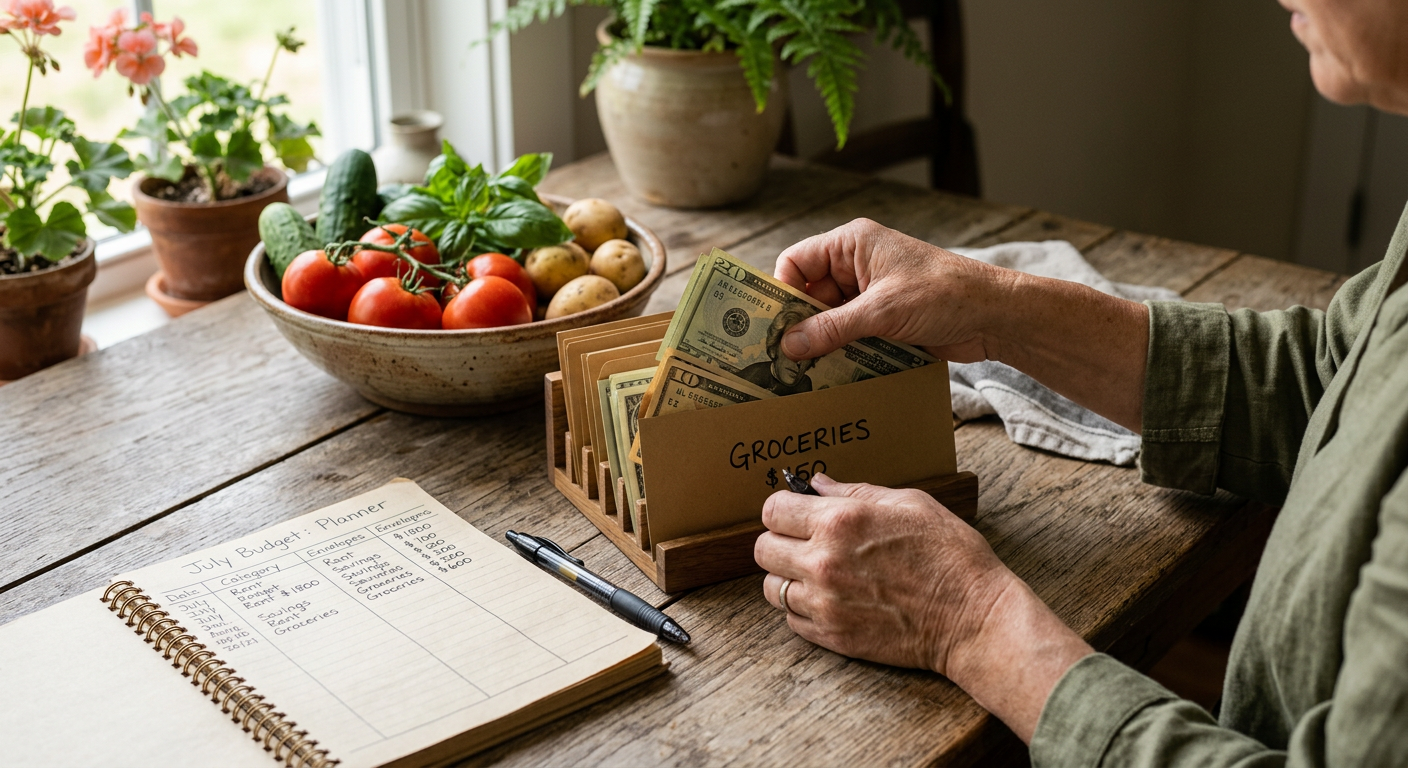
I learned we needed a temporary food establishment permit, which cost us $75 for the season. We also had to pay the market fee, which was $25 per weekend. So, before we sold a single tomato, we were out $100. That lit a fire under us to take it seriously. I highly recommend keeping meticulous records from day one; it’s a habit that pays off. We found a ton of helpful templates for this on a great homesteading resource site that really helped us think like a business right from the start. Trust me, it made everything easier down the road.
Finding the Right Market
Not all markets are created equal. We visited three different ones as customers before we committed.
Don’t be afraid to talk to the market manager and other vendors. Ask them about foot traffic, average sales, and what customers are looking for. They are your best source of intel.
The process took about three weeks from my first call to getting our official approval. Plan ahead!
Keep reading — this is where we discuss the most profitable crops to grow.
—
What Sells? Choosing Profitable Produce
In our garden, we grow what we love to eat. But for the market, you have to grow what other people love to buy. Our first market day was a brutal lesson in this. We brought beautiful, but odd-looking, heirloom ‘Dragon Tongue’ beans. People were curious, but nobody bought them. Meanwhile, the simple basil bunches and pints of Sungold cherry tomatoes sold out in 90 minutes.
That first season, we made a chart. We tracked what sold, how fast, and for how much. The winners were clear:
* Salad Mix: We sold 1/2 lb bags for $5. It’s quick to grow and you can get multiple harvests.
* Cherry Tomatoes: Pints for $4. Everyone loves them.
* Garlic: We sold braids of 5 heads for $10. Cures well, stores forever, and has a high perceived value.
* Herbs: Small bunches of perennial herbs like thyme, oregano, and mint for $3 each. They take up almost no space to grow and are pure profit.
Focus on things with a quick turnover and a high value per square foot. One bed of salad greens can make you more money over a season than a dozen sprawling pumpkin plants.
Think Beyond Just Veggies
If your local laws allow (check your state’s Cottage Food Laws), you can add value-added products. A neighbor at our market sells beautiful bouquets of zinnias and cosmos for $15 each from a tiny 10×10 foot plot. Another sells small jars of herb-infused salts. My friend, Sarah, even started managing her farm tasks more effectively using the guides over at `https://xlvvlujsctgiorcwbtkv.supabase.co/functions/v1/social-redirect?p=homesteados&loc=blog_inline_early`. It helped her find time to make jams, which now outsell her fresh produce!
Next, let’s talk money—how to price your goods without feeling guilty or getting ripped off.
—
Pricing, Presentation, and People Skills
This was the hardest part for me. I felt weird asking neighbors for money for something I grew. But my husband, John, put it bluntly: “This isn’t a hobby today. This is a business. Your time is worth something.” He was right.
How We Set Our Prices
Our first-day total: $187. After the $25 fee, it was $162 for about 5 hours of selling… and 6 hours of prep and harvesting. It’s not get-rich-quick, but it was real money that paid for all our homesteading supplies that year.
Your Stall is Your Storefront
Our first setup was embarrassing. A wobbly card table with a stained sheet and vegetables in old plastic bowls. People walked right by. The next week, we invested $50. We bought a new, clean tablecloth, some woven baskets from a craft store ($4 each), and made a simple hand-painted wooden sign. Sales literally doubled.
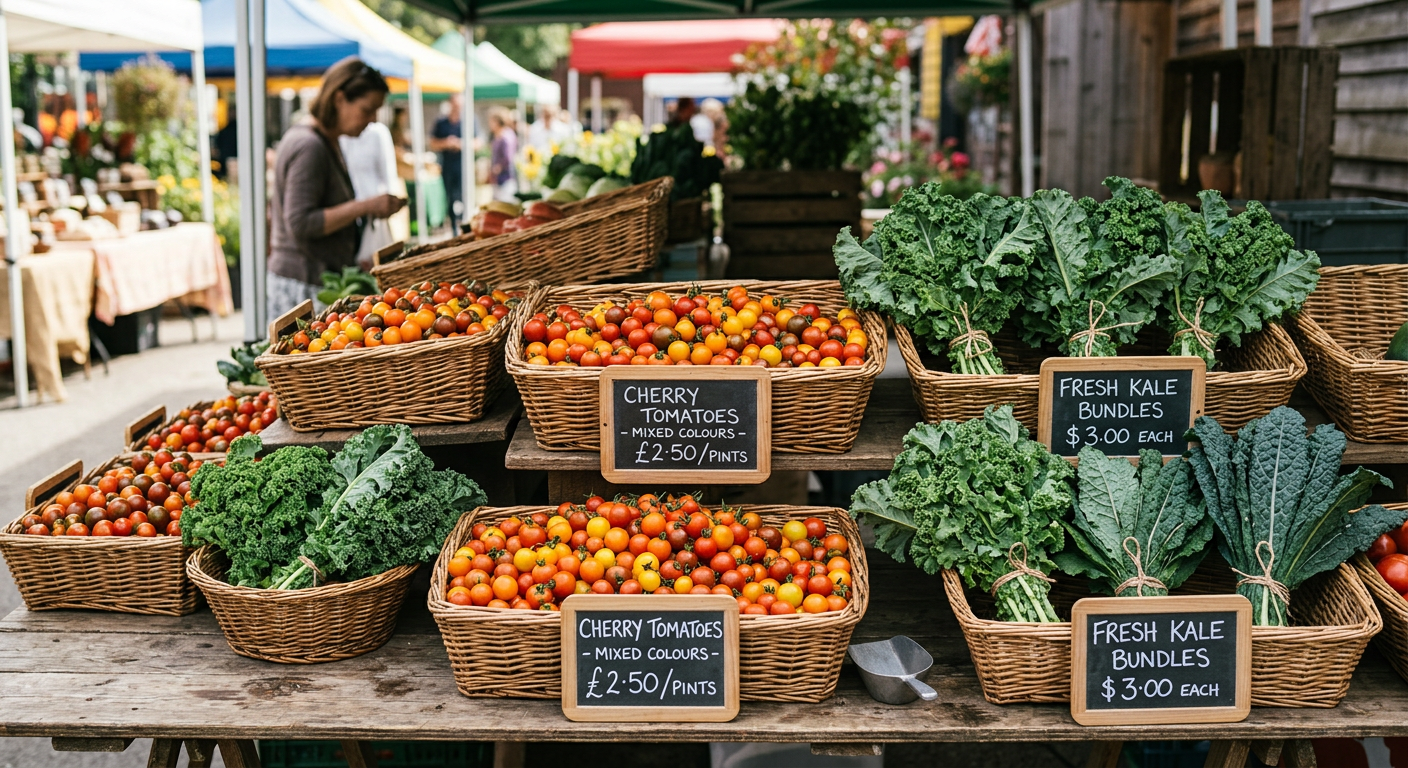
Your display should be abundant, clean, and easy to understand. Use small crates or baskets to create different heights. It makes your table look full and draws the eye. Clean your vegetables! A little dirt says ‘fresh,’ but caked-on mud is just messy.
Now you know what to sell and how to price it. But how do you survive the actual market day?
—
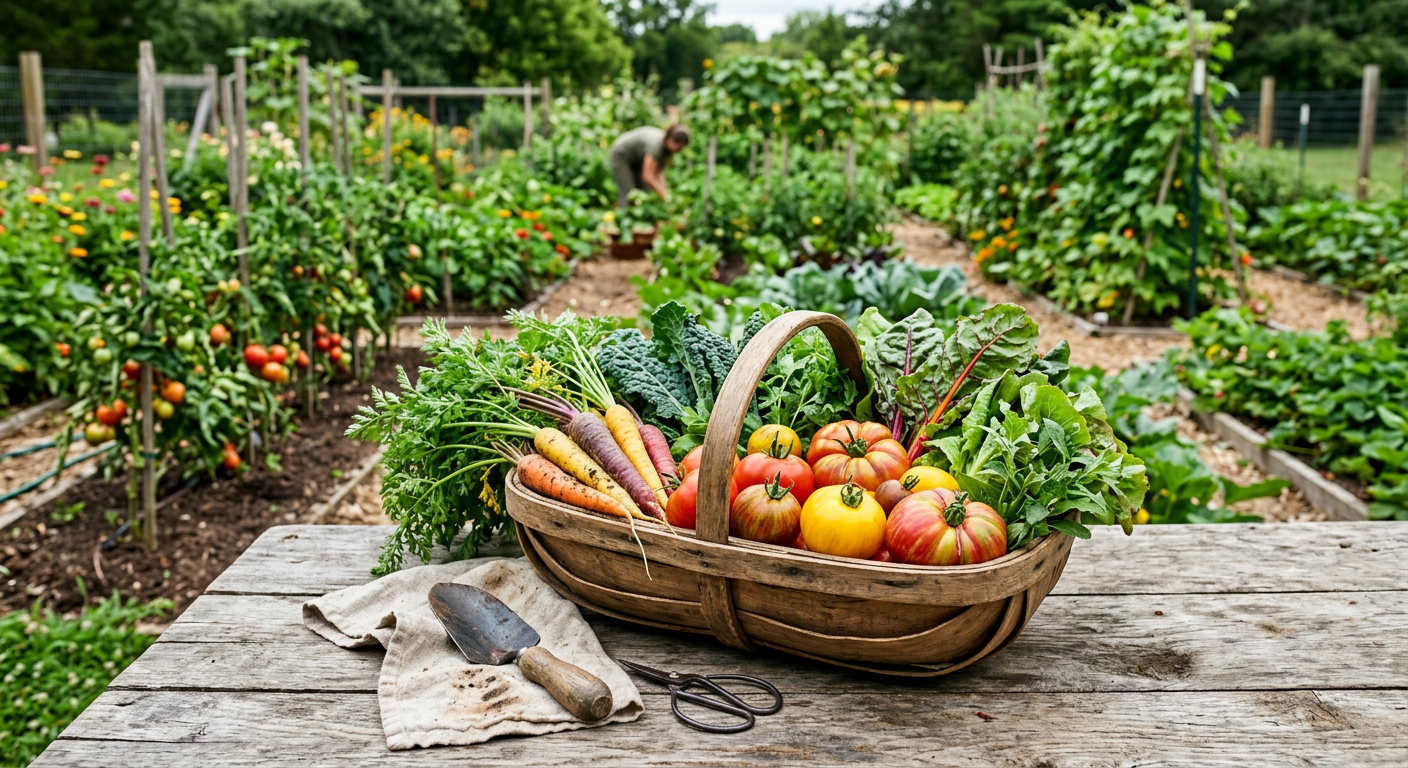
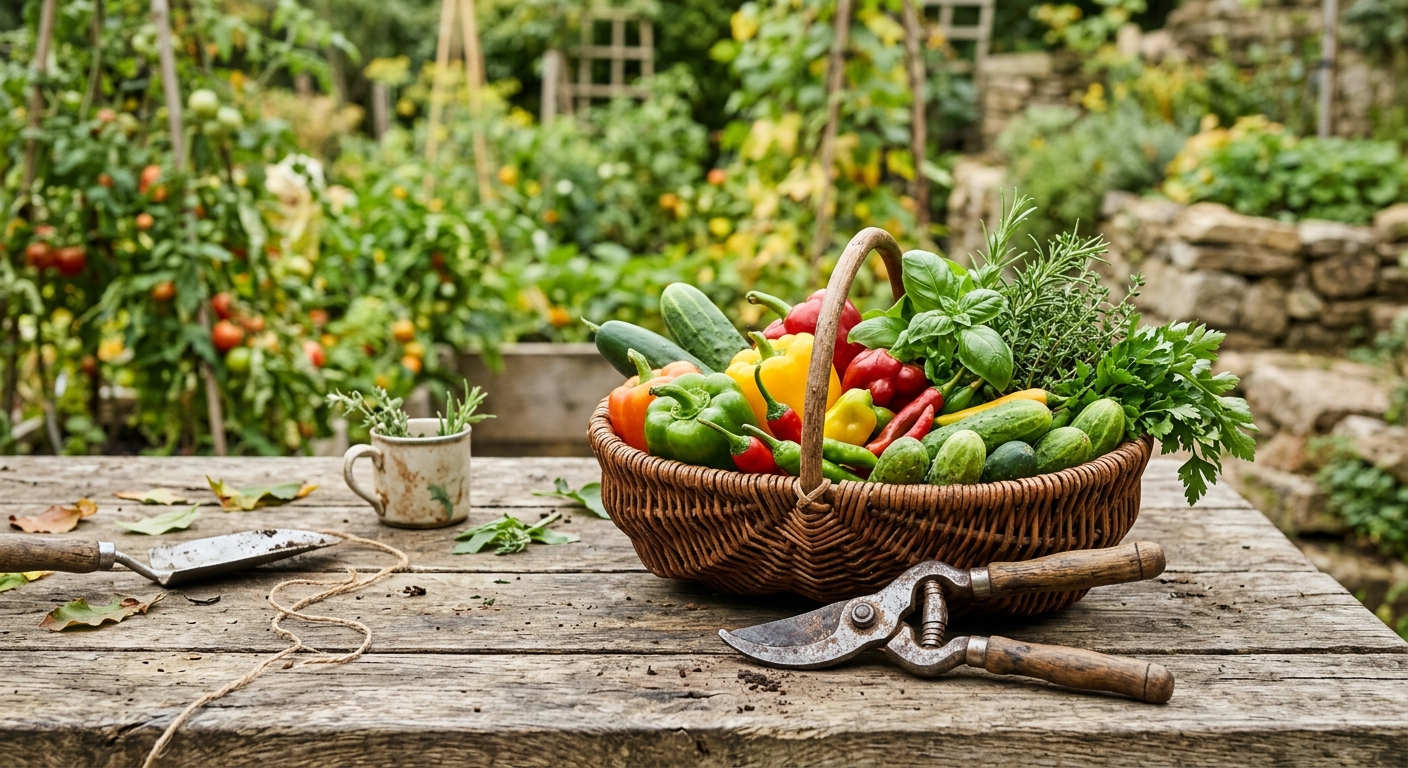
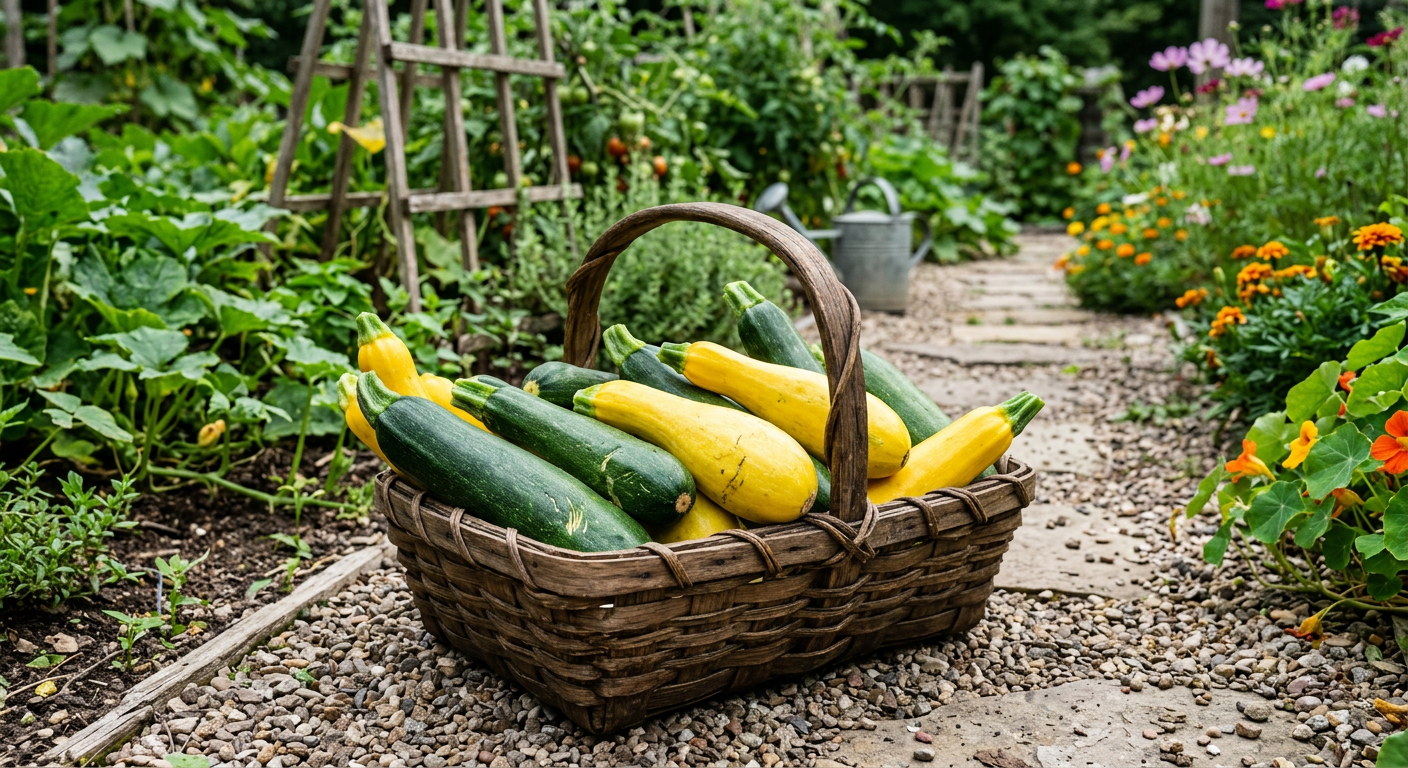
!Organized crates of vegetables for selling excess garden produce farmers market customers love.
The Market Day Grind: From Dawn to Dusk
Let me be real: selling excess garden produce at a farmers market is exhausting. Our market day starts at 4:30 AM.
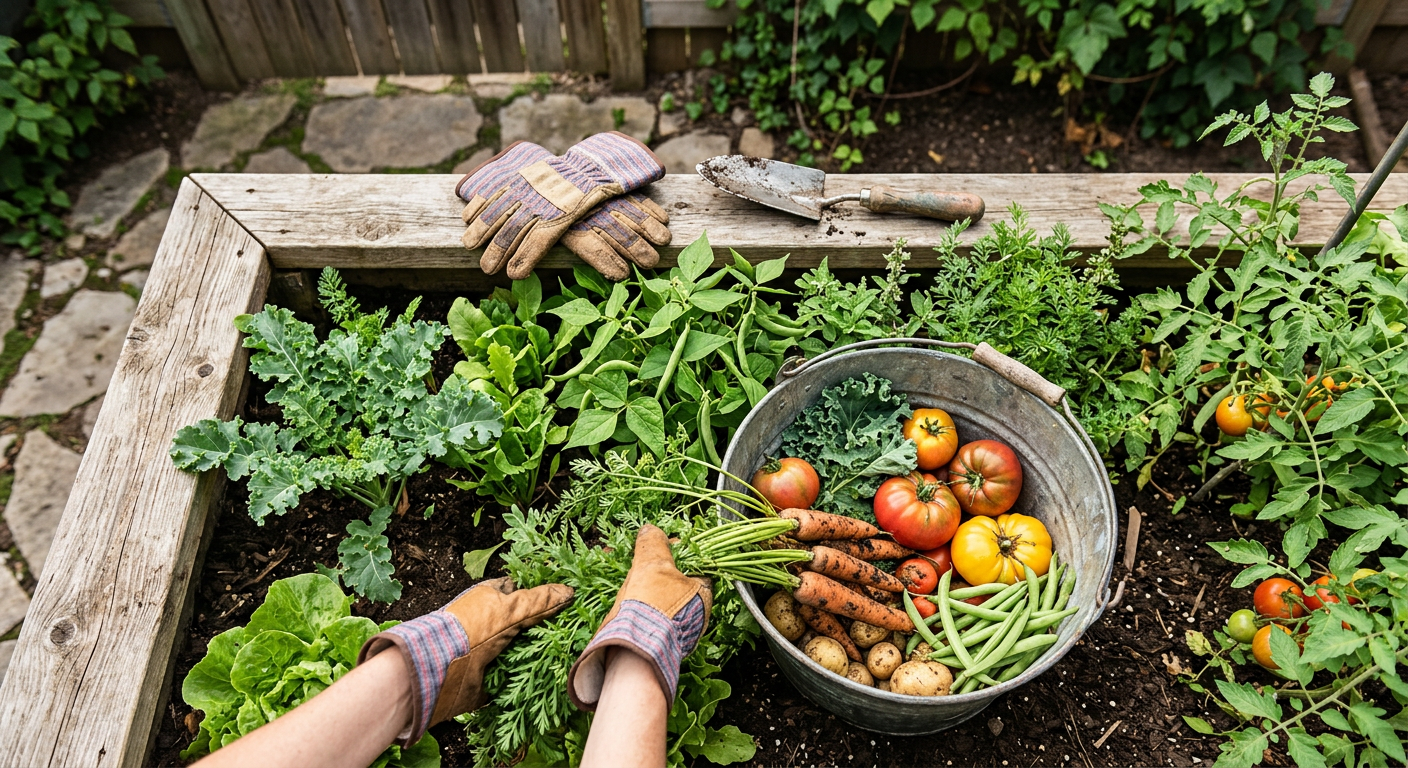
* 4:30 AM: Alarm goes off. Coffee. Head out to the garden with headlamps. This is when we harvest delicate greens, lettuces, and herbs, before the sun can wilt them.
* 5:30 AM: Washing and packing. Everything gets a dunk in cold water, checked for bugs, and carefully packed into coolers. Using the right harvest knives and bins from our list of essential homesteading tools makes this part so much faster.
* 6:45 AM: Load the car. It’s a game of Tetris. Coolers, table, tent, sign, cash box, baskets.
* 7:15 AM: Arrive at the market. Set up as quickly as possible. Make it look pretty.
* 8:00 AM – 1:00 PM: Showtime. Smiling, talking to customers, making change, restocking from the coolers. It’s constant motion.
* 1:00 PM: Teardown. Pack up what’s left. Clean our space.
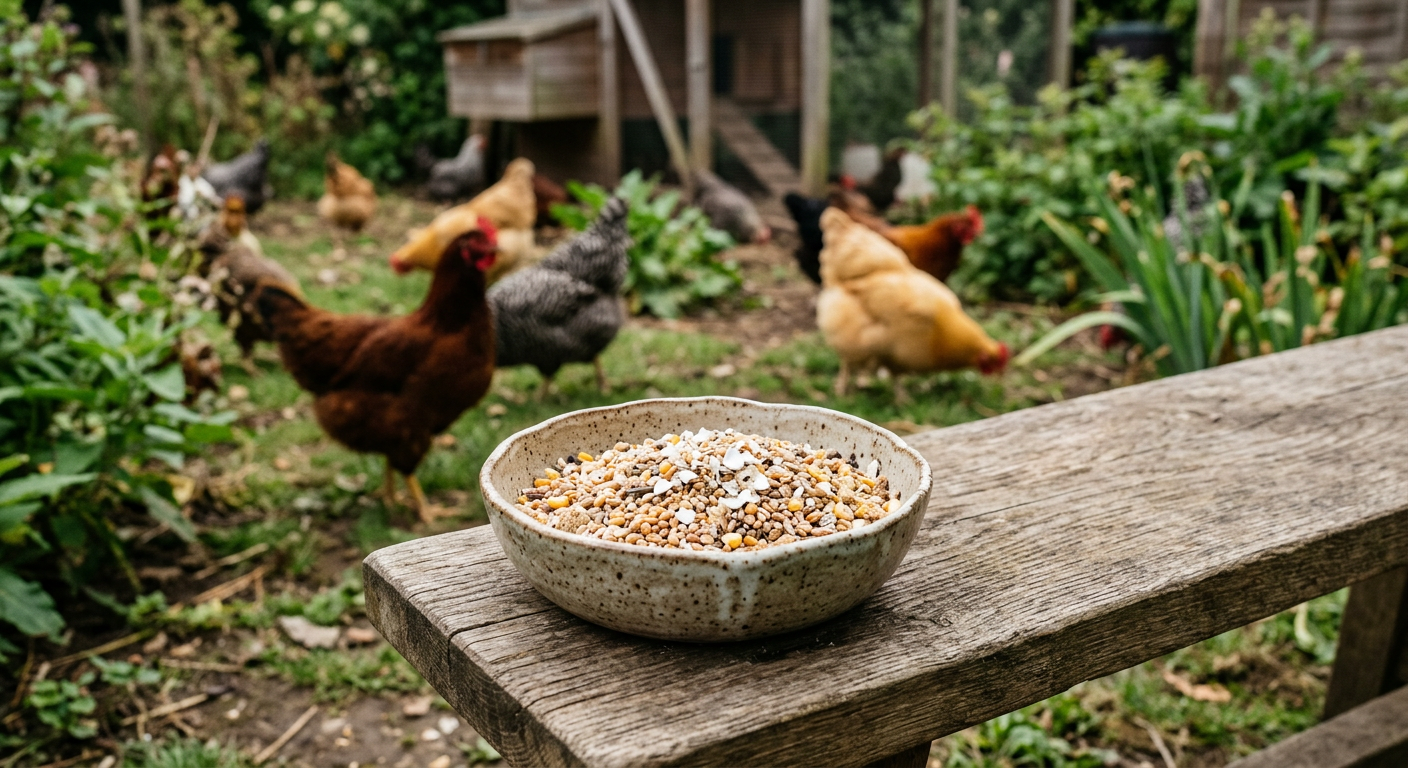
* 2:00 PM: Home. Unpack. Put away supplies. Deal with leftover produce (often becomes chicken treats or gets canned).
* 3:00 PM: Collapse on the couch.
It’s a long, hard day, but the feeling of driving home with an empty cooler and a full cash box is unbeatable.
—
💡 Pro Tips
* Bring a Float. Go to the bank the day before and get $100 in small bills. At least two rolls of quarters, lots of $1s, and some $5s. Nothing is worse than losing a sale because you can’t make change for a $20.
* Bundle and Bunch. Don’t sell single carrots or loose herbs. Bunch them with a rubber band or twist-tie. Offer deals like “3 bunches of herbs for $8.” It increases your average sale value.
* Start an Email List. Get a clipboard and a pen. Offer a weekly email with what you’ll be bringing to the market. This builds a loyal customer base who will seek you out.
* Have a “Freebie” for Kids. We always had a little basket of ‘ugly’ cherry tomatoes or mini cucumbers. Letting a kid pick one for free makes the parents happy, and they almost always buy something.
* Use Technology. We started taking credit cards using a simple Square reader on our phone in our second year. Our sales went up 30%. The small fee is absolutely worth it.
⚠️ Beginner Mistakes to Avoid
* Forgetting the Essentials: One sweltering day in July, we forgot to pack water. By 11 AM, we were dehydrated and miserable. Now we have a dedicated “Market Box” with water, snacks, sunscreen, a hat, and a first-aid kit.
* Pricing Out of Fear: In the beginning, I priced our beautiful kale at $1 a bunch because I was scared no one would buy it. It sold out instantly. I was basically giving it away. Don’t undervalue your labor.
* Not Bringing Bags: We ran out of bags by 10 AM on our busiest day. I watched at least three people walk away because they couldn’t carry what they wanted. Now we buy recycled paper bags in bulk. It was a painful lesson that we improved on by using some of the planning resources available from `https://xlvvlujsctgiorcwbtkv.supabase.co/functions/v1/social-redirect?p=homesteados&loc=blog_inline_late`.
* Hiding Behind the Table: In the beginning, I would sit in a chair and read a book, waiting for people to come to me. It doesn’t work. Stand up. Say hello. Offer a sample. Engage with people. Your personality is part of your brand.
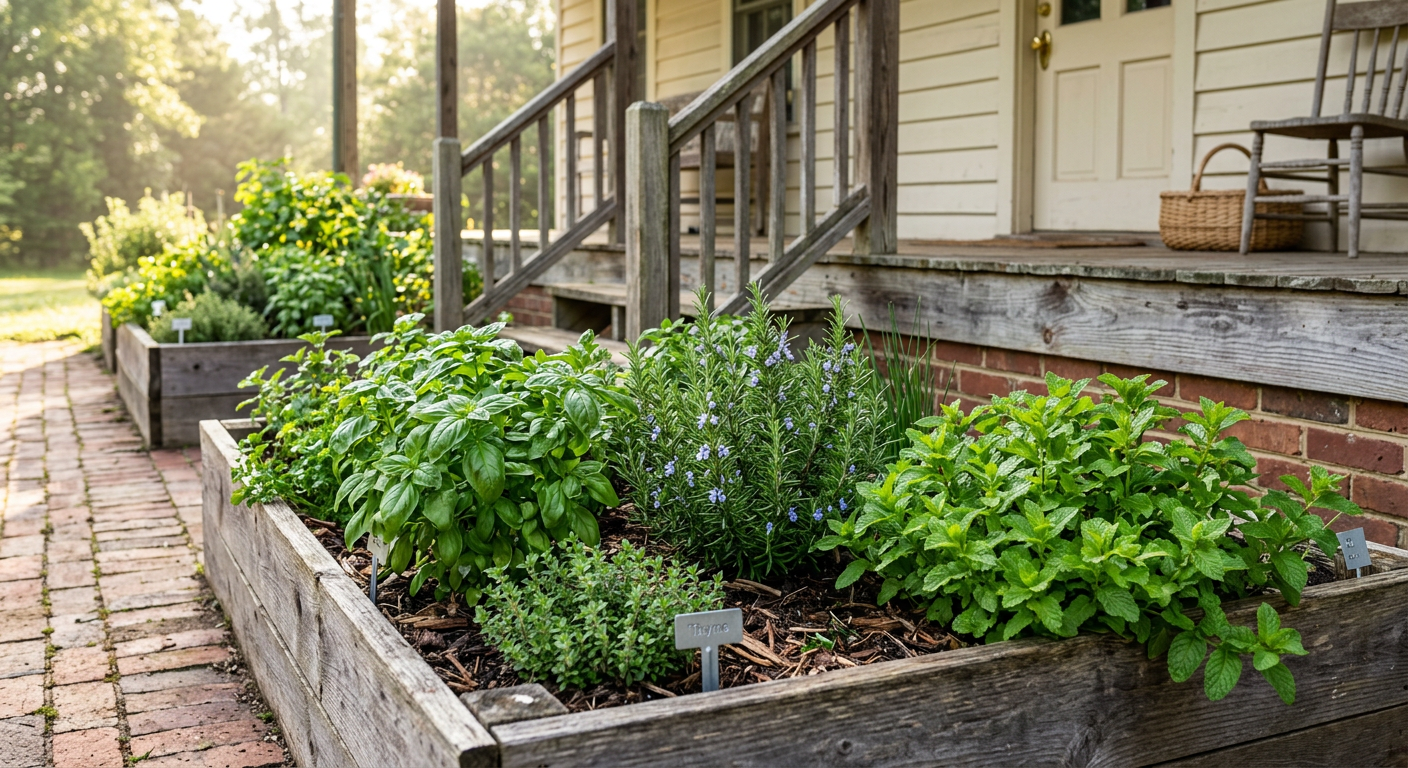
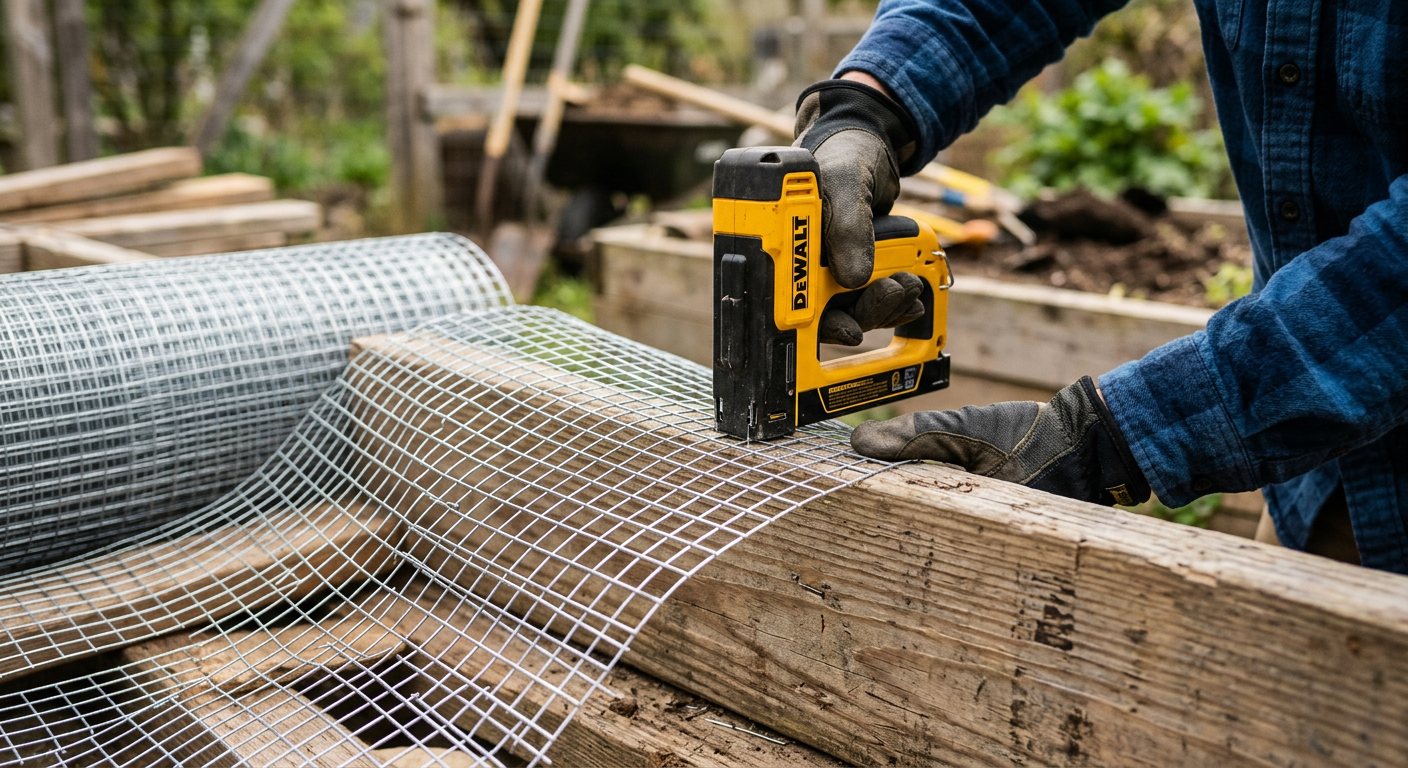
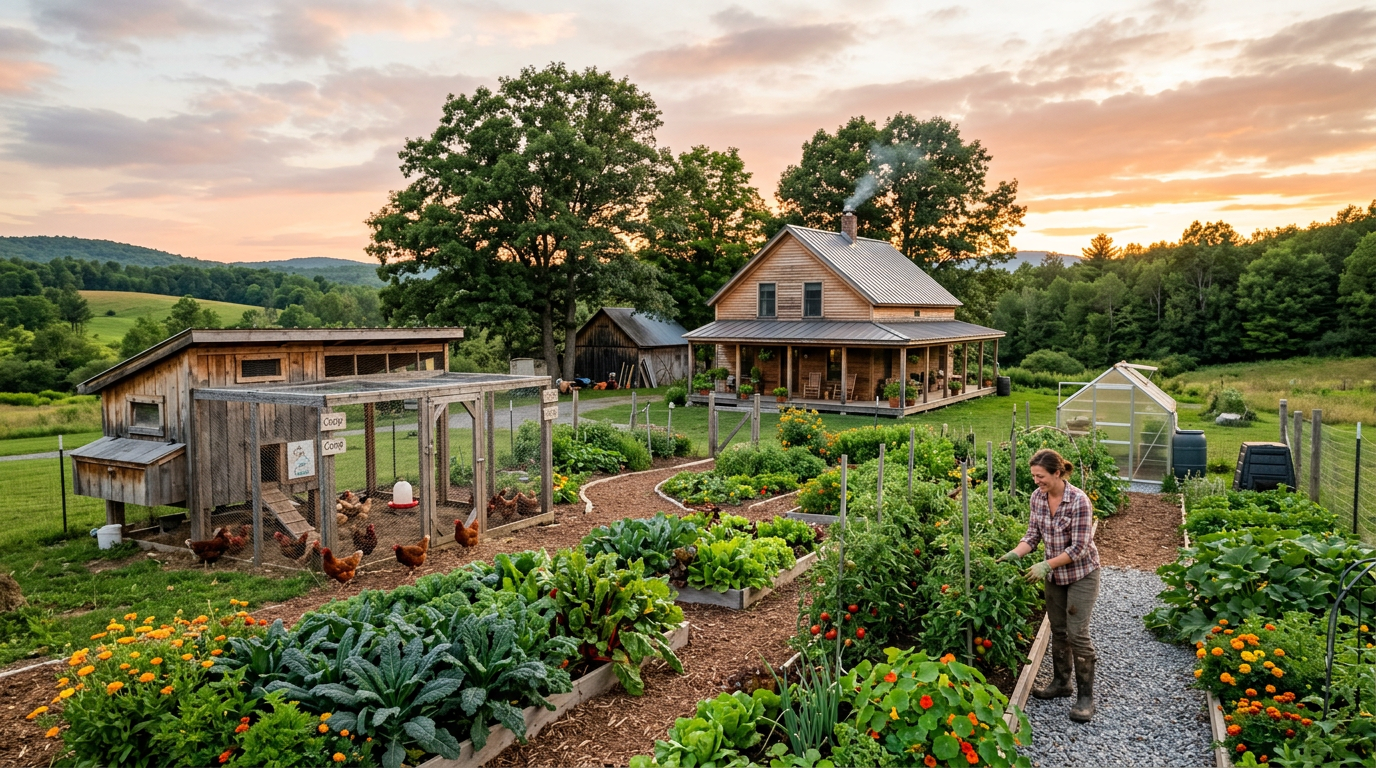
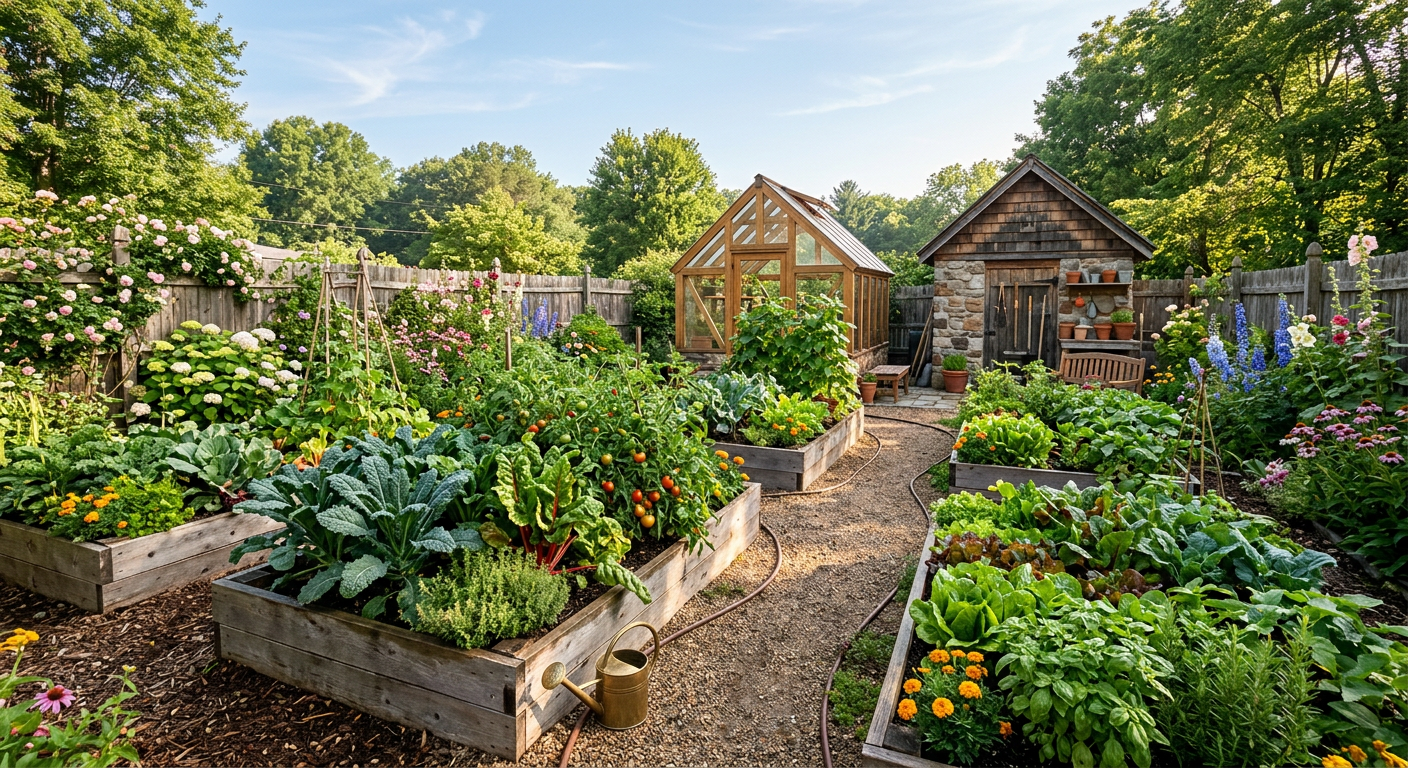
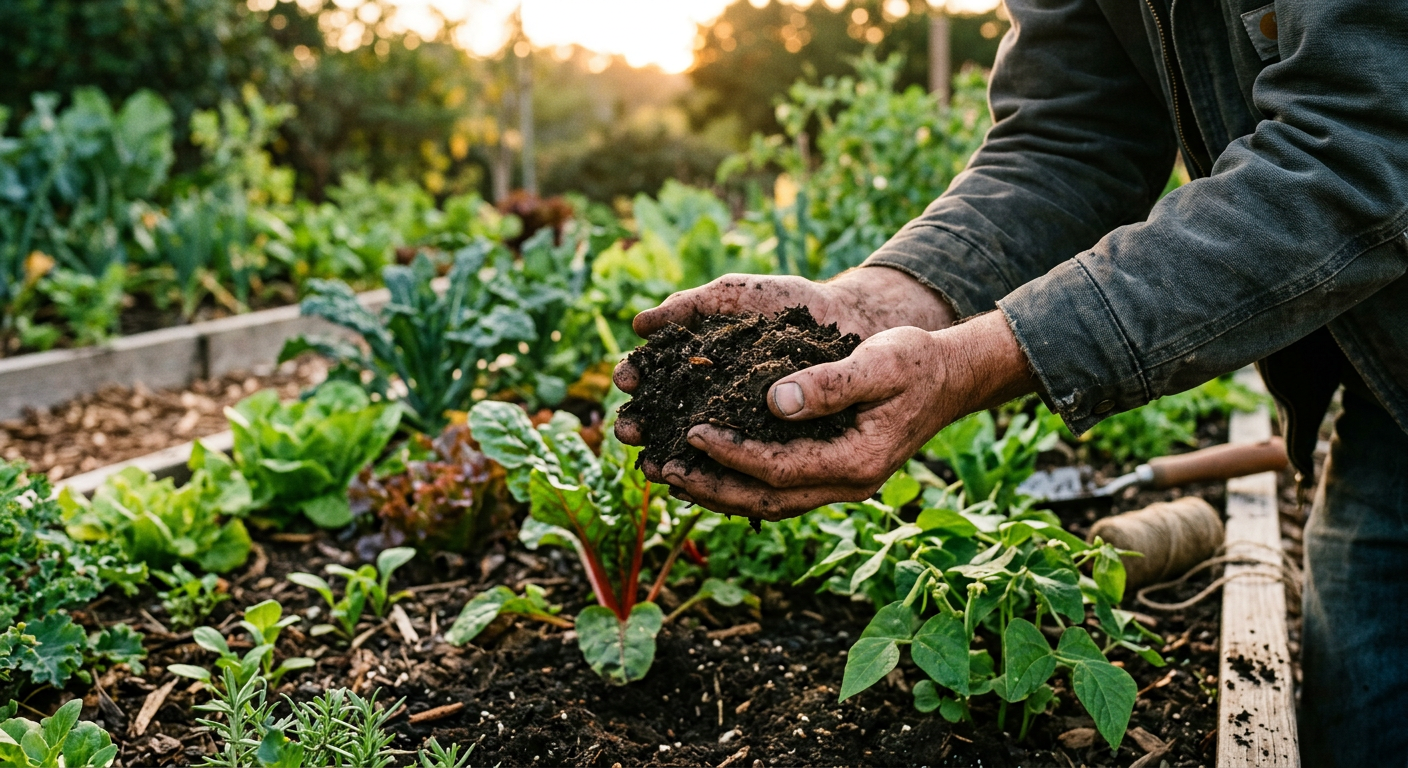
!Harvesting from raised beds for selling excess garden produce farmers market style.
Frequently Asked Questions
H3: How much money can you realistically make selling produce at a farmers market?
It varies wildly. Our first year, we averaged about $150 per market, going twice a month for four months, so roughly $1,200 for the season. We know other small-scale growers who clear $500+ on a good weekend. It depends on your products, pricing, and the market’s foot traffic. A solid start can be as simple as following a guide for homesteading on a budget.
H3: Do I need a special license for selling excess garden produce at a farmers market?
Almost certainly, yes. At a minimum, you’ll likely need approval from the market manager. Most require a business registration with your state and/or a permit from the local health department. It’s your responsibility to find out. Start by calling your local farmers market or your county extension office.
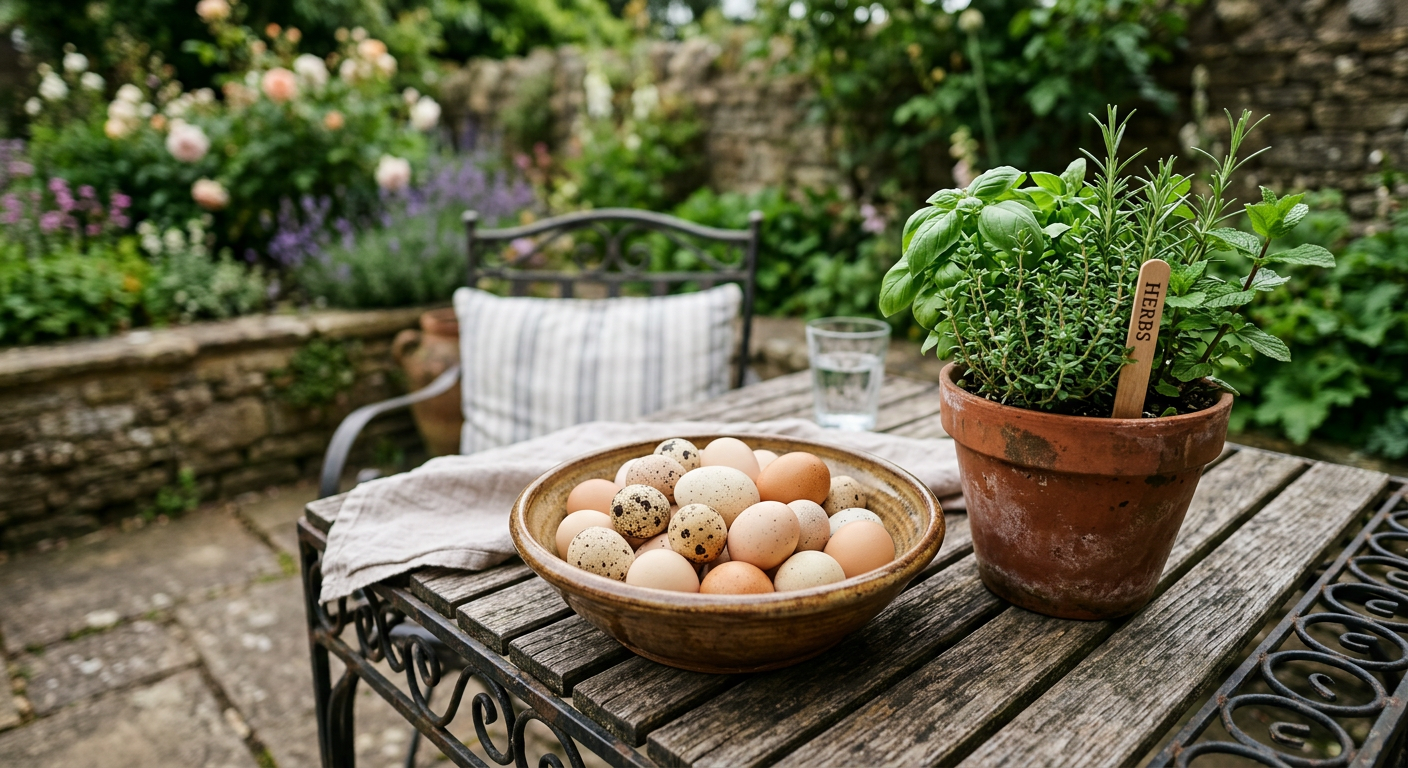
H3: Can I sell baked goods, jams, or eggs?
This falls under “value-added products” and is regulated differently from fresh produce. Most states have “Cottage Food Laws” that specify what you can and can’t sell from a home kitchen. Eggs are another category, often requiring candling licenses or specific labeling. Check with your state’s Department of Agriculture.
H3: What do I do with leftovers?
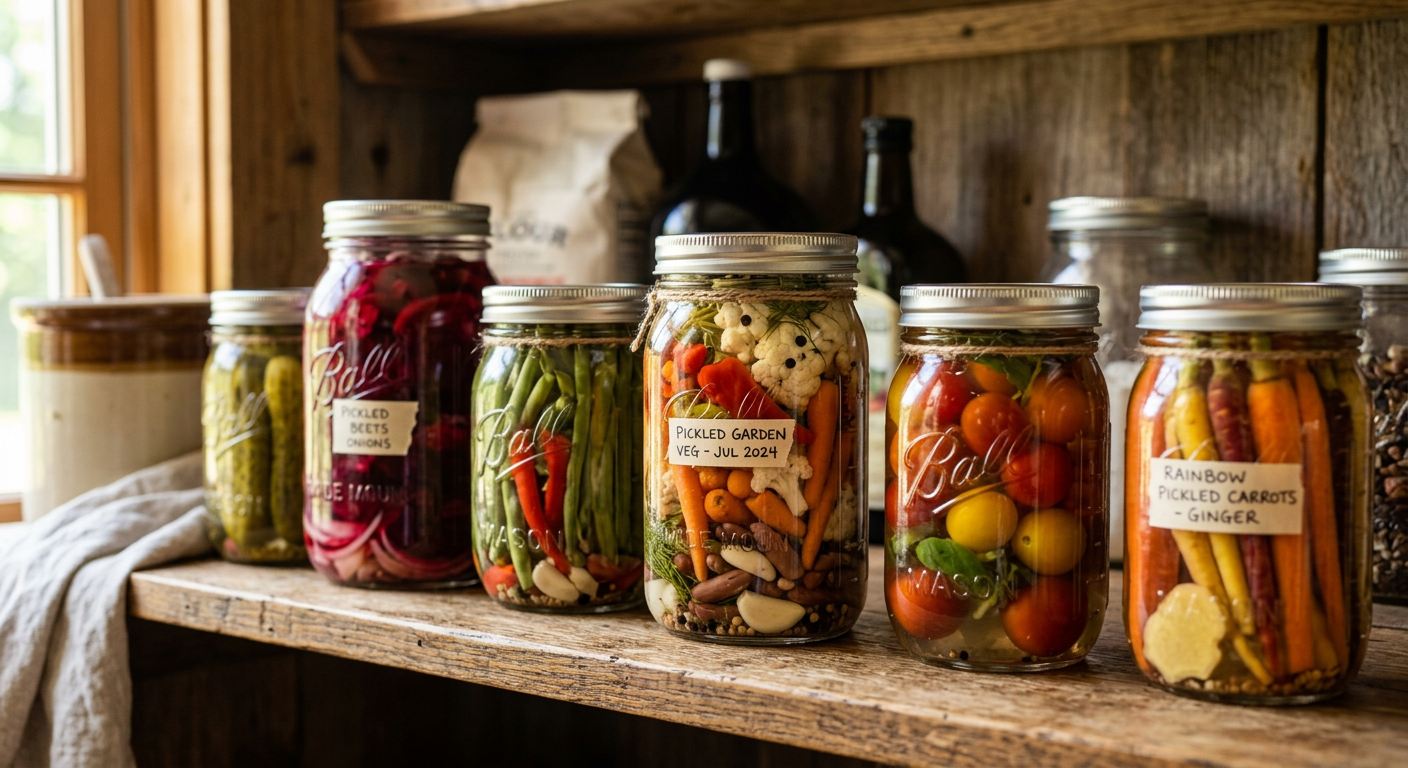
Plan for them! We have a hierarchy: 1) What can we eat this week? 2) What can be preserved (canned, frozen, dehydrated)? 3) What can be fed to the chickens? 4) What goes to the compost pile? Some markets also have relationships with local food banks for donations.
H3: How do you accept credit cards at a farmers market?
It’s easy! Services like Square or PayPal offer small card readers that plug into your smartphone. They take a small percentage of the sale (usually around 2.5-3%), but we found we more than made up for it with increased sales from people who weren’t carrying cash.
—
That first summer of selling at the market changed everything for us. It wasn’t just about the money; it was about connecting with our community, sharing the food we were proud of, and proving to ourselves that this homesteading dream could help support itself. It’s hard work, you’ll be tired, and you’ll make mistakes. But it’s absolutely worth it.
We share a lot more of our day-to-day successes and failures over on our Facebook page, come say hi!
What’s the one crop you’re most excited to sell, or what’s your biggest fear about starting? Let me know in the comments below!
📚 More From Our Homestead
- Homestead Water Independence Planning: Our Guide
- Housing for Meat Rabbits: Don’t Make Our Mistakes
- Homesteading for Beginners on One Acre: The Ultimate Guide
- Build a Cheap Chicken Coop: My $87 Plan That Works
- Companion Planting Guide That Doubled Our Yields
Ready to Start Your Homestead Journey?
Free guides, checklists, and tools to help you build your dream homestead.