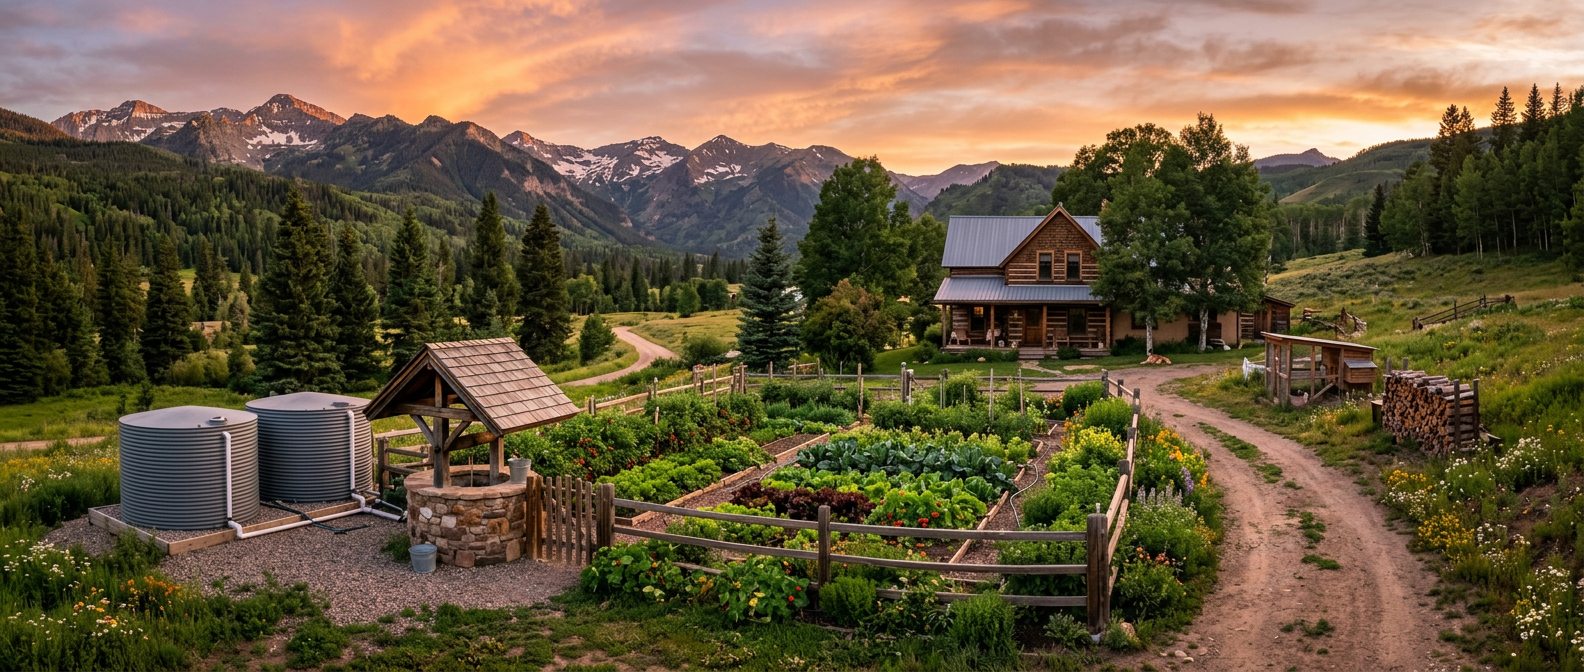
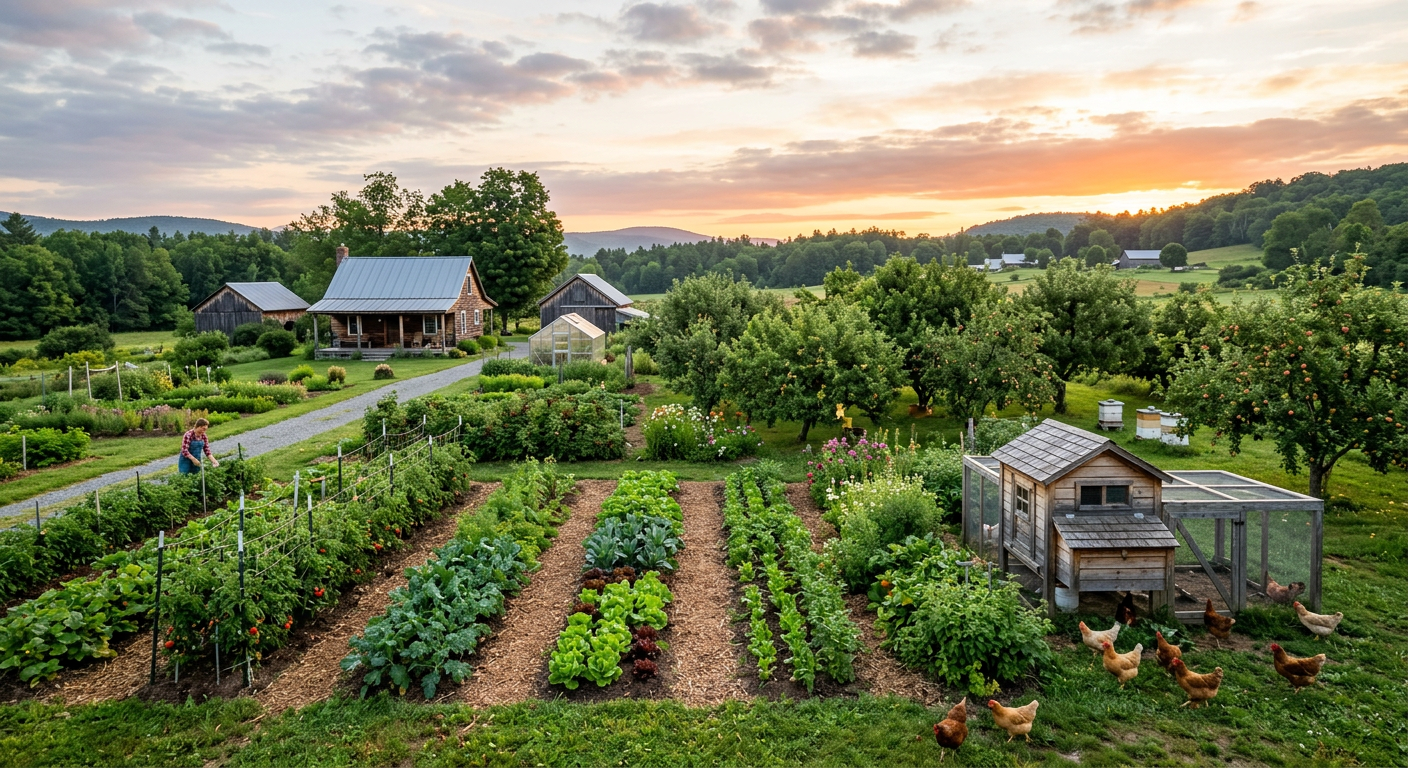
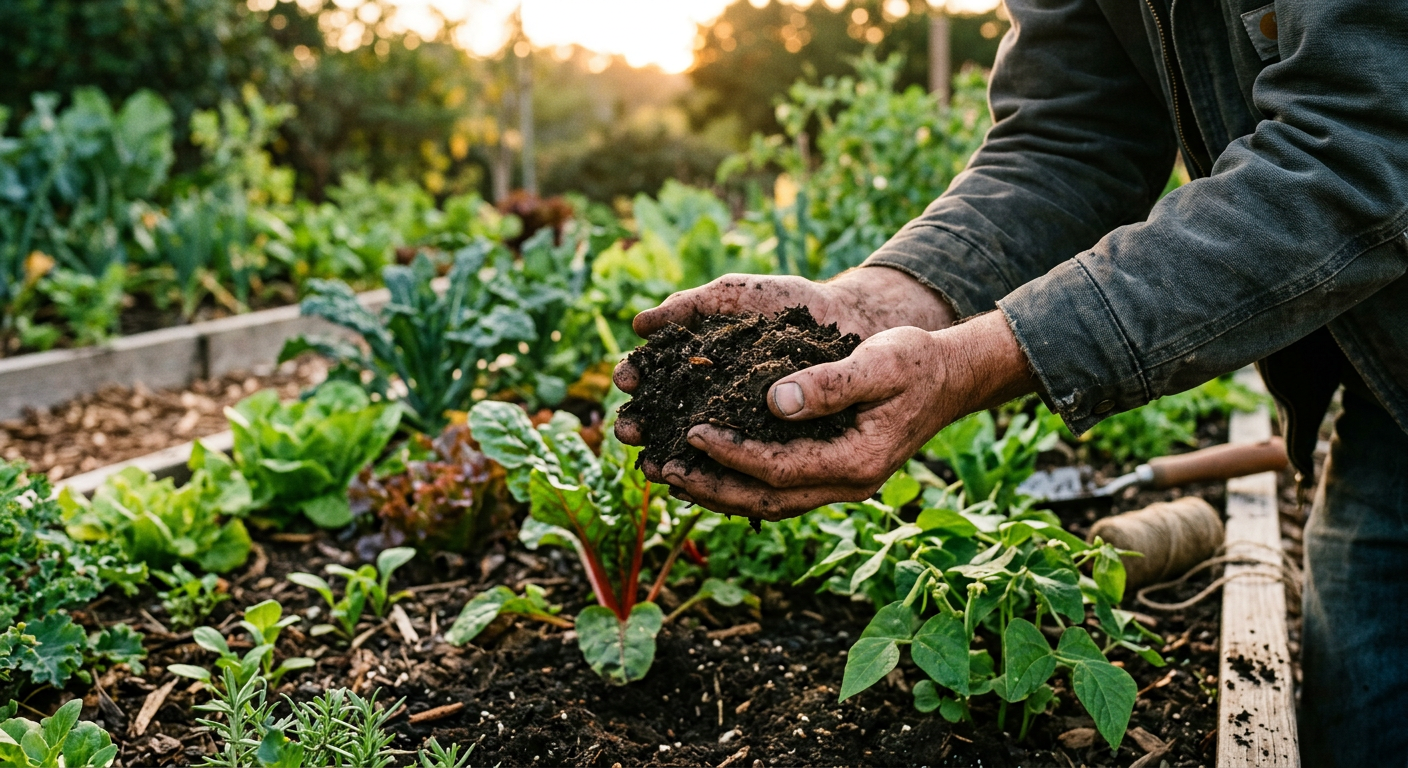
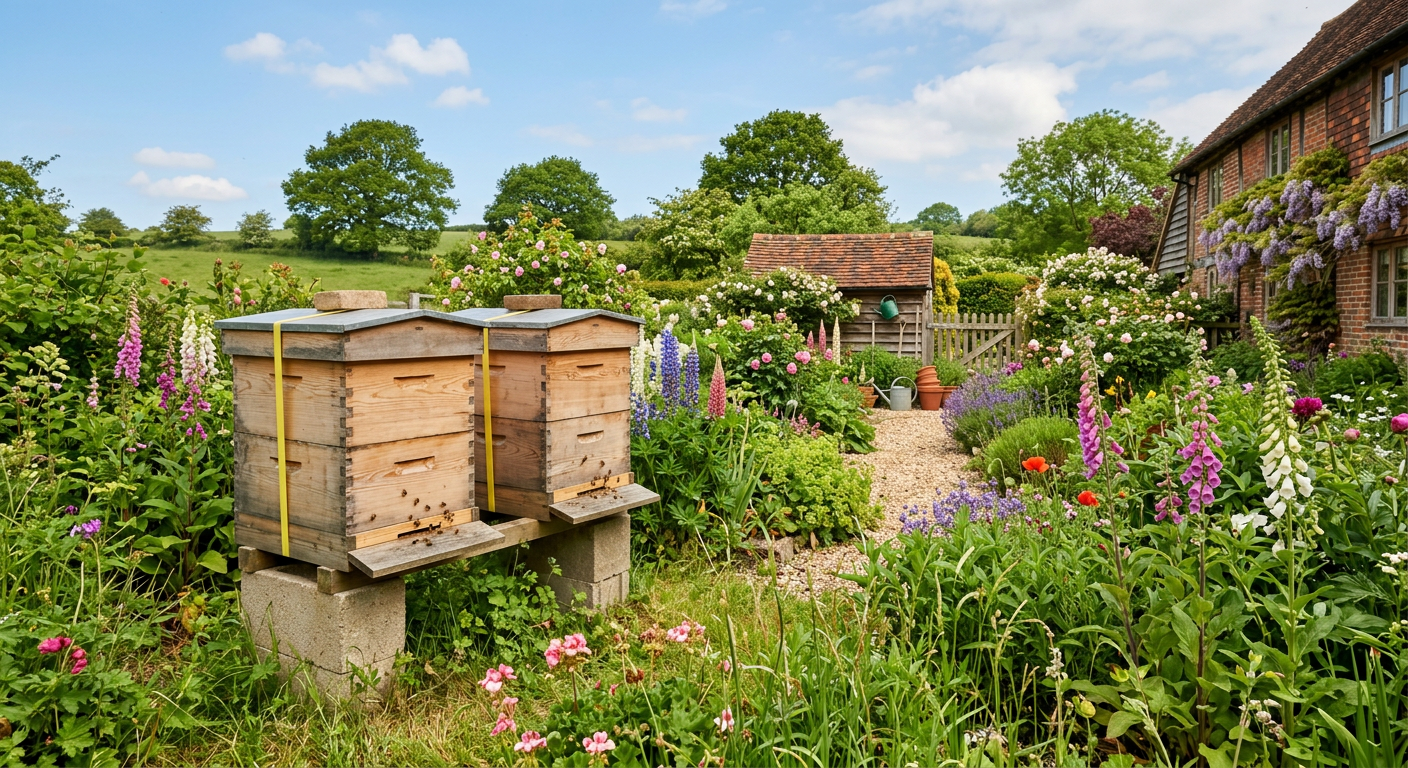
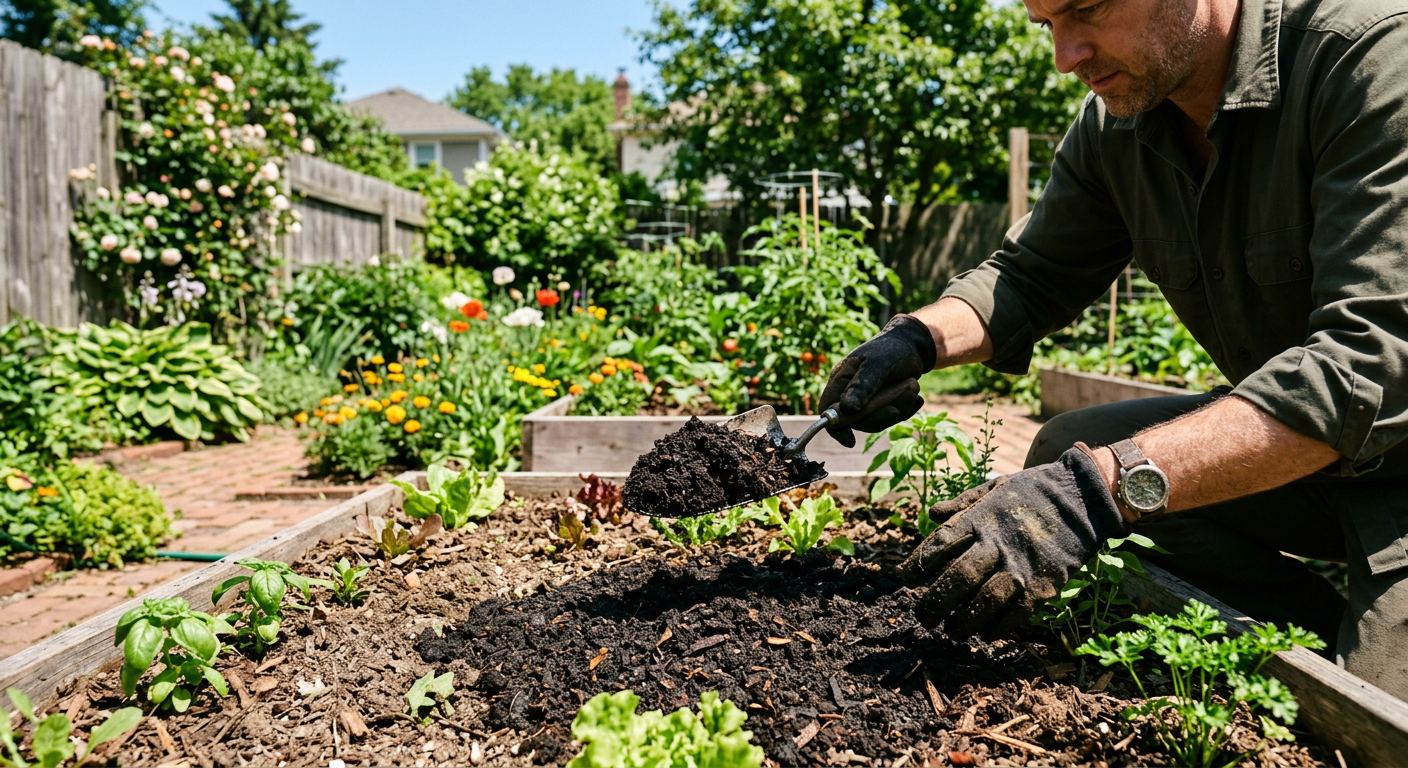
!A sustainable farm layout focused on developing water independence homestead planning during sunset.
I’ll never forget the sound. A low, groaning hum from the well house, followed by absolute, deafening silence. It was mid-August, our second year on the homestead, and the well pump had just died, leaving us with a hundred thirsty chickens, a half-watered garden, and two very panicked people.
🎯 Quick Answer: Developing water independence on your homestead means creating redundant, reliable water systems before you desperately need them. This involves assessing your property’s resources (groundwater, rainfall), choosing primary and backup systems like a well and rainwater harvesting, and implementing proper storage and filtration. It’s the absolute bedrock of self-sufficiency.
🔑 Key Takeaways
* Water is Foundation: Before you buy a single chicken or seed, your water plan must be solid. Everything else depends on it.
* Assess, Don’t Guess: Understand your average rainfall, local water table depth, and property’s water flow. This knowledge is gold.
* Redundancy is Security: Never rely on a single water source. A well can fail, a creek can dry up. Have a Plan B, and even a Plan C.
* Storage is King: Your ability to weather a drought or a pump failure is directly tied to how many gallons you can store.
* Test and Filter: Raw water is rarely drinkable water. Regular testing and a multi-stage filtration system are non-negotiable for your family’s health.
* Budget Realistically: Drilling a well or installing a large cistern is a major expense. Don’t let it be a surprise.
—
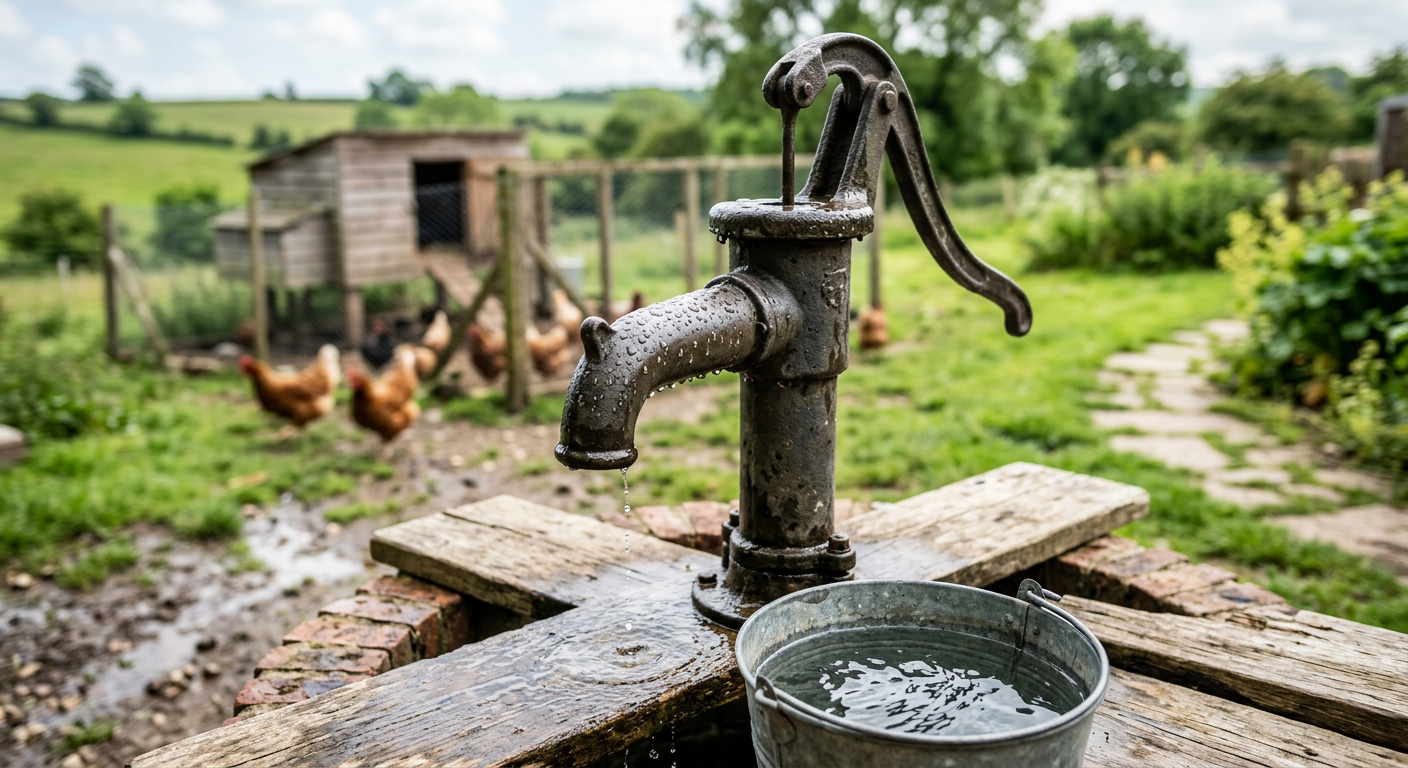
!Manual hand pump for developing water independence homestead planning and backup water systems.
Why Water Is More Than Just a Utility
When we first moved out here, we had county water. It was easy. Too easy. We felt like homesteaders, but we were still tethered to the grid in the most fundamental way. The first time the water main broke a mile down the road and we were dry for 36 hours, it was a cold, hard wake-up call. We couldn’t water the animals, wash dishes, or even flush the toilet. That’s not independence; that’s just living in the country with a longer driveway.
That one incident kicked off our entire journey into developing water independence homestead planning. It became an obsession. We realized that true self-reliance doesn’t come from a big garden; it comes from controlling the resources that make the garden possible.
It’s about security. It’s knowing that if the power goes out, or the county has another issue, your family, your animals, and your food supply are all safe. It’s the difference between thriving and just surviving.
Now, let’s get into how we actually did it.
—
Keep reading — this is where the real work begins.
Step 1: Auditing Your Homestead’s Water Potential
Before you can capture water, you have to know where it is. We spent a full month just observing our land. We walked it after heavy rains to see where water pooled and flowed. We used a simple online calculator to figure out that our 1,500-square-foot roof could theoretically harvest over 30,000 gallons of water a year with our region’s rainfall.
Calculating Your Needs
First, do the math. How much water do you actually use? Track it for a week. A common estimate is 75-100 gallons per person, per day for household use. But on a homestead, that number explodes.
* Livestock: A milk cow can drink 30 gallons a day. A flock of 20 chickens needs about 2 gallons. Don’t guess! The University of Georgia Extension has great tables for livestock water needs.
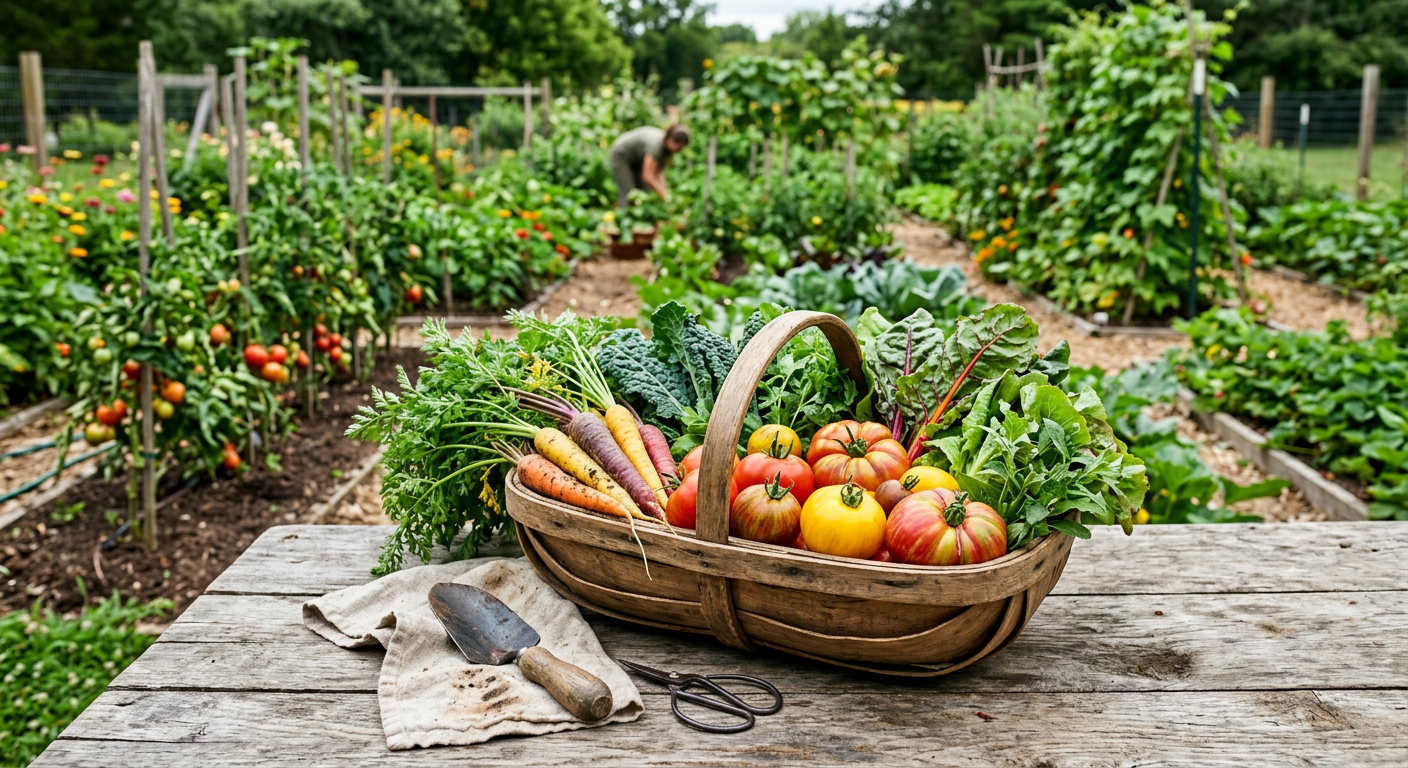
* Garden: In the heat of summer, our half-acre garden can easily soak up 500 gallons a day.
Our family of four, plus our animals and garden, needs about 700 gallons on a hot summer day. That number was terrifying, but it was real. It’s the number our systems had to be built to handle.
Mapping Your Sources
Your property has three potential water sources:
Understanding these sources is the first step in any serious developing water independence homestead planning process. Don’t skip it.
Step 2: Designing Your Water Systems
This is where you start spending money. Our approach was a one-two punch: a drilled well for our primary household and animal needs, and a large-scale rainwater harvesting system for the garden and as a whole-homestead backup.
The Well: Your Bedrock
Drilling our well was the single most expensive project on our homestead. The total bill came to $9,450 in 2019. The driller charged by the foot, and we had to go down 280 feet to hit a good vein. Then came the cost of the pump, pressure tank, and trenching the line to the house.
I’ll never forget the relief of seeing that gush of clear, cold water for the first time. We installed a high-quality Grundfos submersible pump after our first cheap hardware store model failed within a year. Don’t cheap out on the pump; it’s the heart of your entire system. If you’re planning this out, the tools and infrastructure are just as important as the water itself, something we cover in our guide to essential homesteading tools.
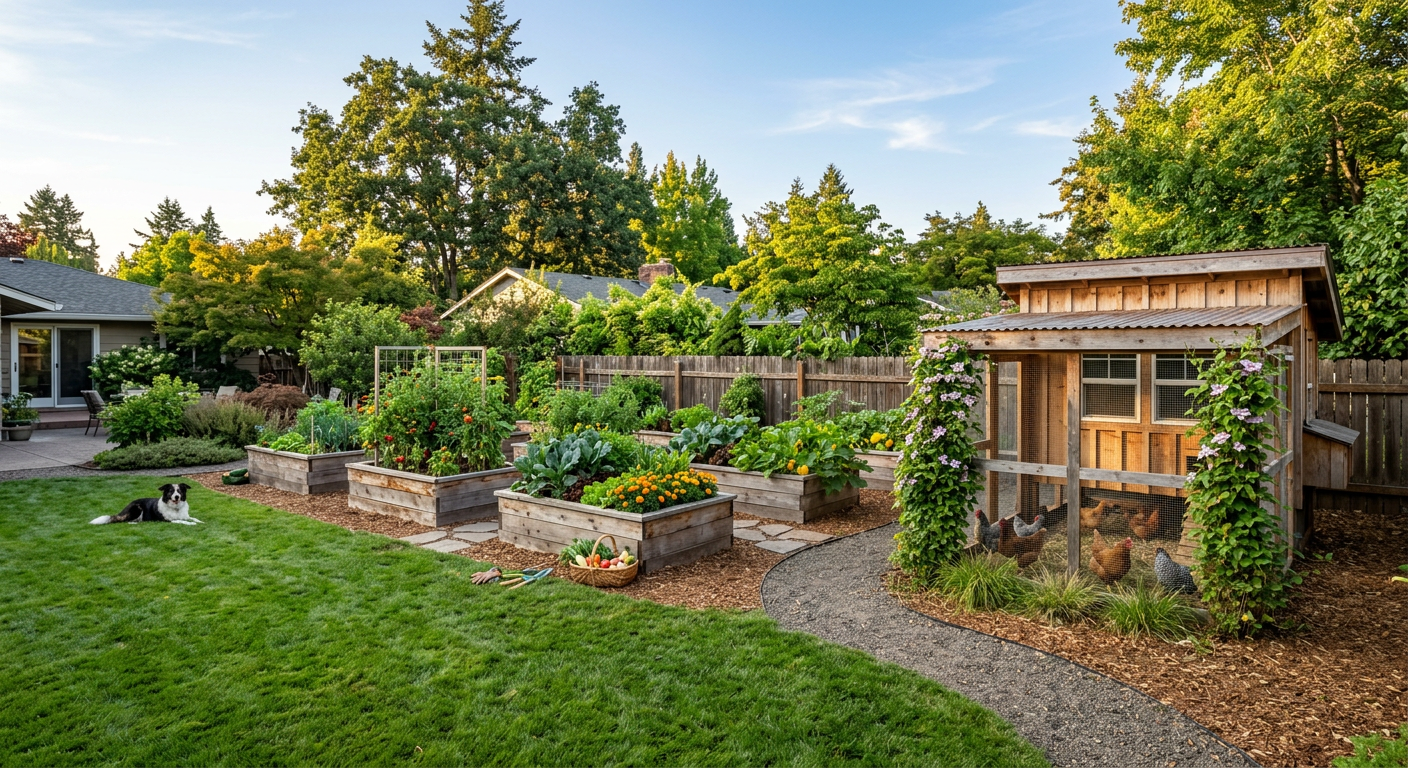
Rainwater Harvesting: The Ultimate Backup
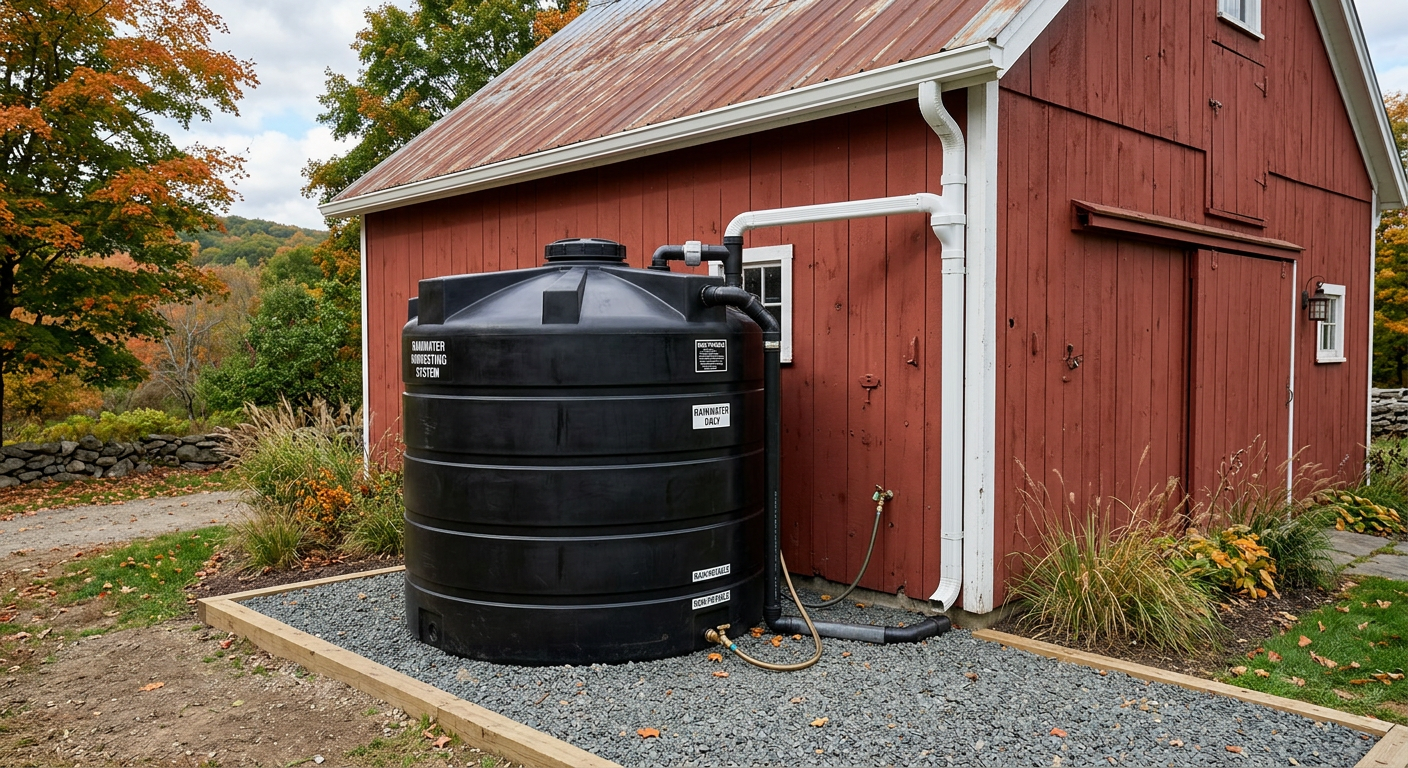
Our rainwater system is my pride and joy. We started small, with a few 55-gallon barrels. It was a joke. They’d fill in 10 minutes and be empty after one good garden watering.
We got serious and invested in a 2,500-gallon polyethylene cistern (a ‘bushman’ tank). We spent about $1,800 on the tank and another $500 on plumbing, first-flush diverters, and leaf guards. It’s hooked up to our barn roof, and one good spring storm can fill it completely. This water is primarily for the garden, but it’s also plumbed with a secondary pump to be switched over to the house in an emergency. It’s a key part of how we ensure self-sufficiency, a major theme in our 10 beginner homesteading tips. The detailed planning for this is a big component of the resources we offer at Homestead OS, which helps you organize these big projects.
Creating these systems feels like a huge undertaking, but making your water safe is just as vital.
—
Don’t stop now — making water drinkable is the most important part.
!Large rainwater storage tank as part of developing water independence homestead planning.
Step 3: Storage, Filtration, and Safety
Having thousands of gallons of water is useless if it’s not where you need it or if it makes you sick. This part of developing water independence homestead planning is all about logistics and health.
Your Filtration Train
Never assume any raw water source is safe to drink without filtration. Not even a deep well. We use a multi-stage approach:
Annual Water Testing
This is non-negotiable. Every spring, we send a sample of our well water to a state-certified lab. It costs about $120. They test for coliform bacteria, nitrates, pH, and heavy metals. It’s the only way to know for sure that your water is safe. One year, our test came back positive for coliform bacteria. It was terrifying. We tracked the source to a faulty well cap seal, shocked the well with chlorine, fixed the seal, and re-tested. Without that annual test, we would have been drinking contaminated water for months.
Smart management of your systems, including regular maintenance and testing, is a core homesteading skill. Having a solid framework for tracking these tasks is invaluable. We built Homestead OS to manage exactly these kinds of repeating, critical homestead chores.
—
💡 Pro Tips
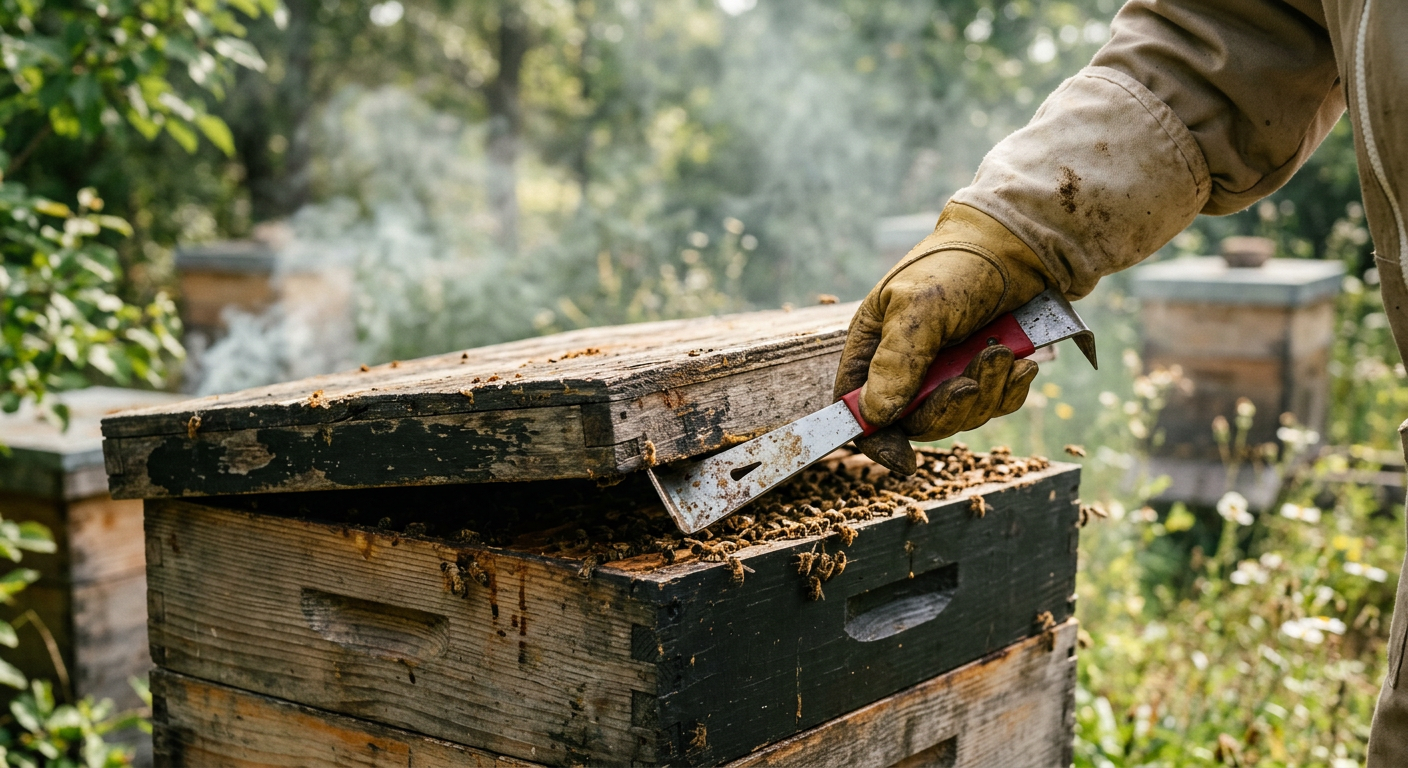
* Invest in a Manual Pump: We have a Simple Pump hand pump installed alongside our electric submersible in the well. If the grid goes down for an extended period, we can still hand-pump 5 gallons a minute. It was an extra $1,600, and worth every single penny for the peace of mind.
* Gravity is Your Friend: Design your systems to use gravity whenever possible. Our main cistern is on a gravel pad on a slight incline above the garden. This allows us to water with decent pressure without even turning on a pump.
* Oversize Your Storage: Whatever you think you need for water storage, double it. Seriously. That 2,500-gallon tank felt huge until we had three dry weeks in a row. Our next tank will be 5,000 gallons.
* Know Your Frost Line: When trenching water lines, make sure they are buried below your local frost line. Our line is 48 inches deep. A frozen, burst pipe in January is a catastrophe you don’t want to experience.
⚠️ Beginner Mistakes to Avoid
* Underestimating Your Needs: Using city-dweller math for your water needs will leave you high and dry. Factor in every animal and every square foot of garden space.
* Buying Cheap Pumps: A homestead is no place for cheap equipment, especially a water pump. A failed pump is not an inconvenience; it’s an emergency. Buy the best you can afford. Our first $300 pump lasted 11 months. Our current $1,200 Grundfos has been running for 5 years without a hiccup.
* Ignoring a Backup Plan: Relying solely on your well is a rookie mistake. A single point of failure. A rainwater system, access to a creek, or even just having 200 gallons in stored food-grade barrels in the barn is better than nothing.
* Forgetting About Pressure: Getting water out of the ground is only half the battle. You need a properly sized pressure tank to provide consistent pressure to your house and prevent your pump from cycling on and off constantly, which will burn it out.
—
Frequently Asked Questions
How much does it cost to drill a well?
Drilling costs vary wildly by region and depth. Expect to pay $25-$65 per foot. A complete system (drilling, casing, pump, pressure tank, wiring) can run anywhere from $5,000 to over $15,000. Our total cost in rural Appalachia was just under $10,000.
Is rainwater safe to drink?
It can be, but only with proper filtration. Rainwater is naturally soft and pure, but it picks up contamination from your roof (bird droppings, dust, roofing materials). A first-flush diverter and a multi-stage filtration system including a UV sterilizer are essential to make it potable.
How much water storage do I need for a homestead?
Calculate your daily use in the driest, hottest month of the year, and multiply that by the number of days you want to be secure. We aim for a minimum of 14 days of storage. For our 700-gallon-a-day summer usage, that means we need at least 9,800 gallons of stored water to feel truly secure.
Can I have a well if I’m still on the grid?
Absolutely! Many homesteaders drill a well for irrigation and livestock long before they’re ready to disconnect their house from municipal water. It’s a great way to transition and build resilience while saving money on your water bill.
—
!Multi-stage filtration system used when developing water independence homestead planning.
Your Foundation for Everything
Look, developing water independence isn’t the most glamorous part of homesteading. It’s not as fun as collecting your first egg or harvesting a basket of ripe tomatoes. But it’s the most important. It’s the silent, steady heartbeat of your entire operation.
That day our pump died was a moment of pure panic, but it taught us the most valuable lesson: you don’t mess with water. You plan for it, you respect it, and you build resilient systems to manage it. Now, the silence from the well house is a comforting one, and the sound of rain on the barn roof sounds like money in the bank.
We share a lot more of these hard-won lessons in our Facebook community—we’d love to have you join us and share your own stories.
What’s your biggest fear when it comes to water on your homestead? Let me know in the comments below!
📚 More From Our Homestead
- Housing for Meat Rabbits: Don’t Make Our Mistakes
- Homesteading for Beginners on One Acre: The Ultimate Guide
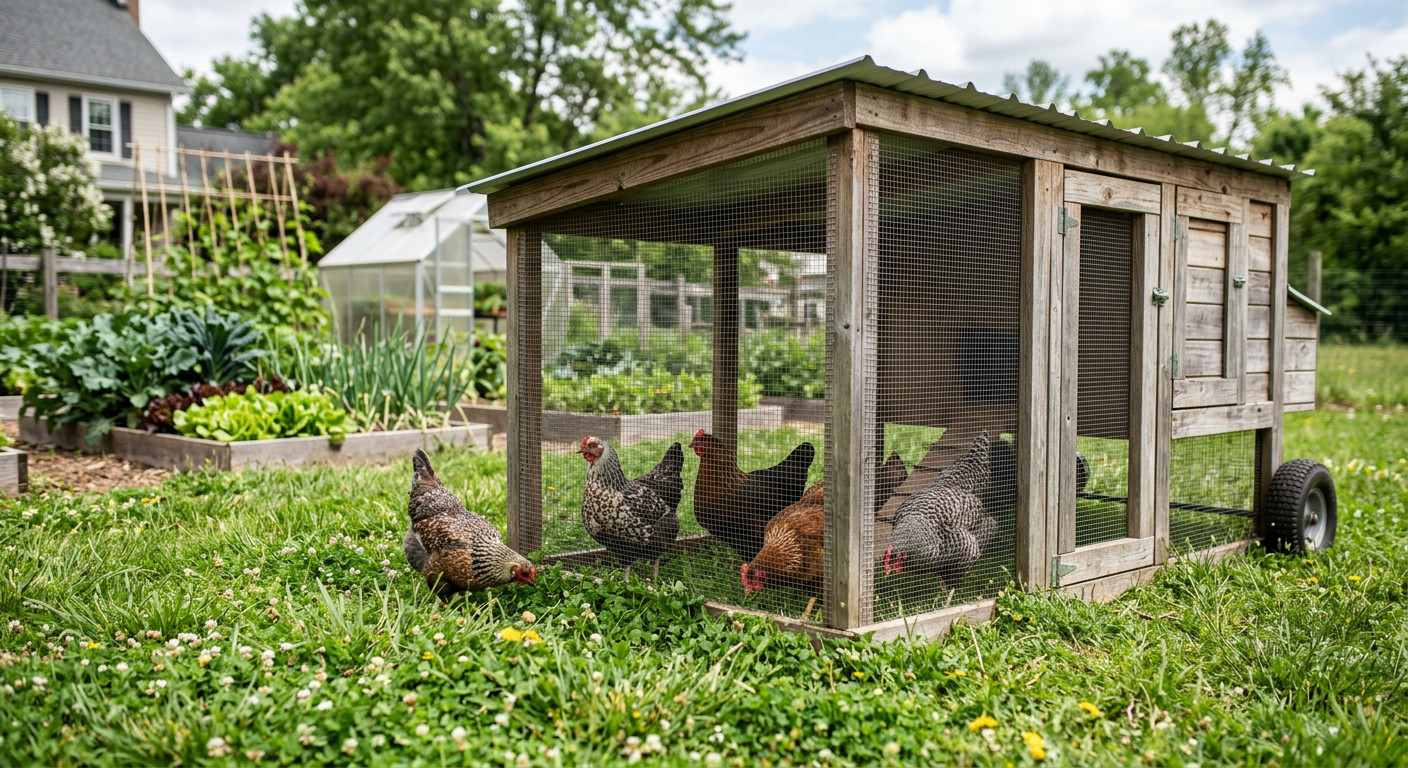
- Build a Cheap Chicken Coop: My $87 Plan That Works
- Companion Planting Guide That Doubled Our Yields
- Apartment Friendly Urban Chicken Breeds (Our Top Picks)
Ready to Start Your Homestead Journey?
Free guides, checklists, and tools to help you build your dream homestead.