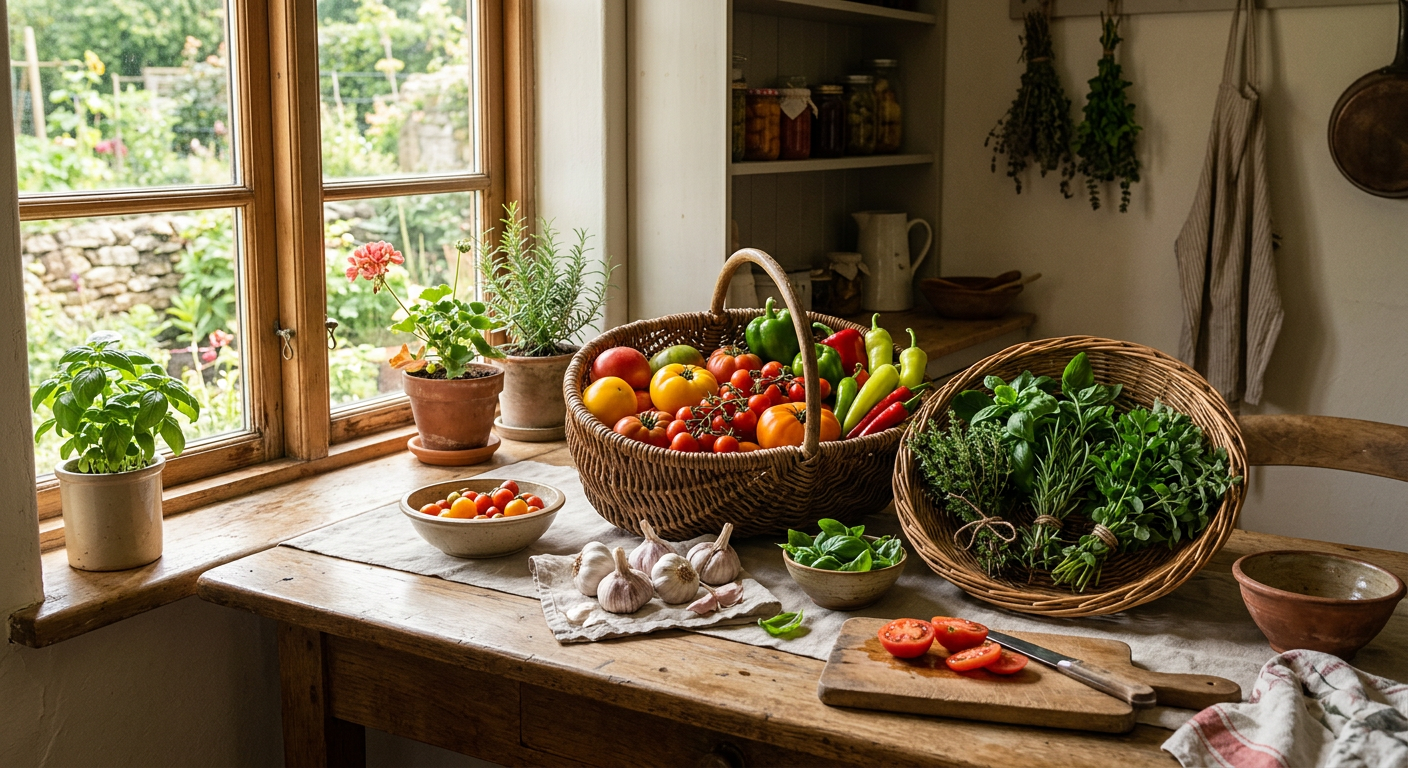
When we first started homesteading, the idea of preserving our own food felt like climbing Mount Everest! We’d look at our overflowing garden, or the great sales at the local farm stand, and just sigh, knowing so much good food would go to waste. But over the years, we’ve learned that you don’t need fancy equipment or a culinary degree to keep your harvest pantry-ready.
🎯 Quick Answer: Basic food preservation methods for beginners include freezing, dehydrating, and water bath canning for high-acid foods. These techniques are relatively inexpensive, require minimal specialized equipment, and are fantastic ways to start building your long-term food storage without feeling overwhelmed.
—
🔑 Key Takeaways
* Start Small: Pick just one method to master before trying others.
* Know Your Equipment: Most methods need specific tools, but many are affordable.
* Safety First: Always follow tested recipes, especially for canning.
* Cost-Effective: Preserving food saves money on groceries in the long run.
* Reduce Waste: Keeps your garden bounty from spoiling.
* Year-Round Enjoyment: Enjoy seasonal foods even in the off-season.
—
Our Top 3 Basic Food Preservation Methods for Beginners
When people ask us, “what are basic food preservation methods for beginners?”, we always point them to these three. They’re what we started with, and they’re still staples in our homestead kitchen today.
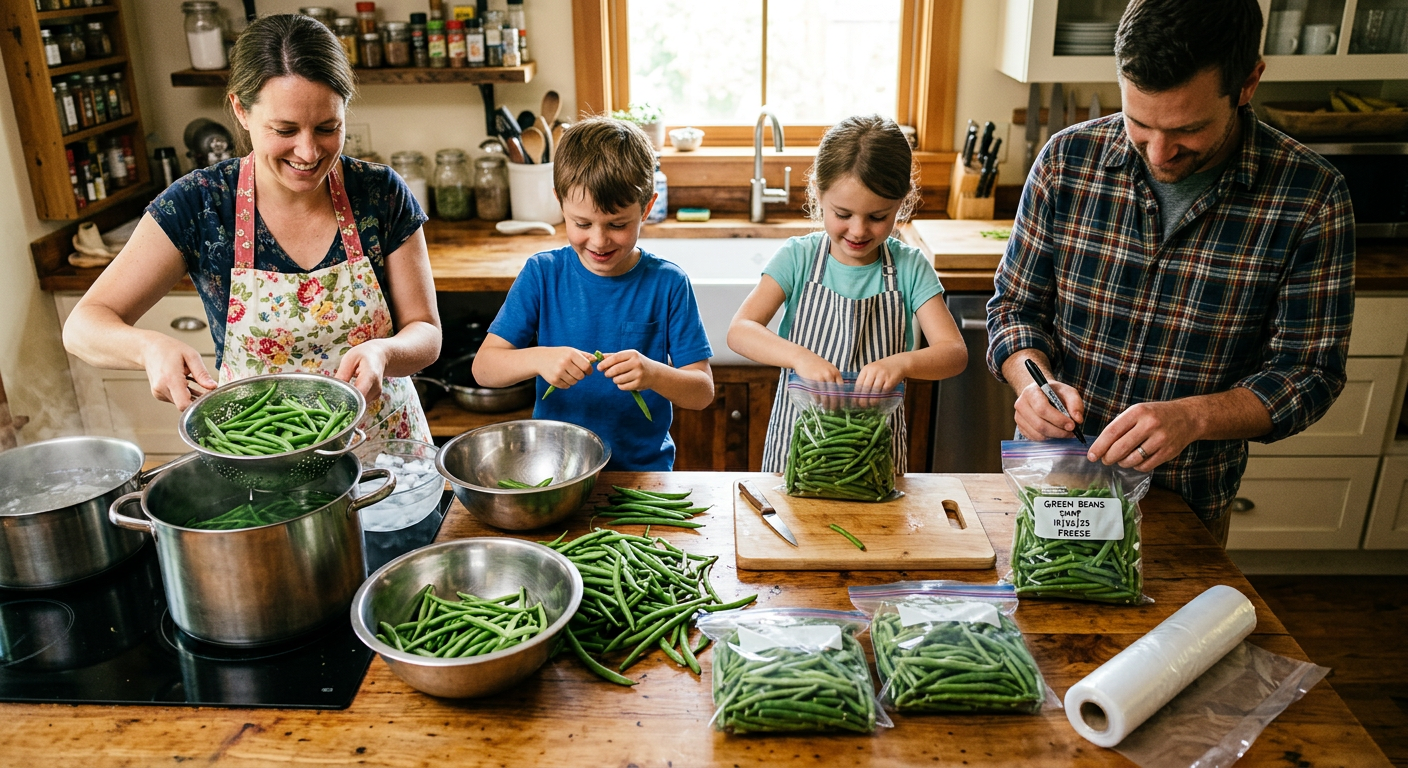
1. Freezing: The Easiest Entry Point
Freezing is, hands down, the simplest way to get started. If you have a freezer, you’re already halfway there! We love it for fruits, vegetables, and even cooked meals. It maintains most of the food’s nutritional value and flavor, and there’s no special skill involved.
#### Cost and Time Commitment
* Cost: Minimal. You’ll need freezer bags or containers. A gallon-sized freezer bag might cost $0.20-$0.50. A vacuum sealer (optional, but great for quality) can run $50-$150. We got our basic vacuum sealer for about $70 on sale years ago, and it’s paid for itself many times over.
* Time: Very low. For most veggies, it’s a quick blanch (a minute or two in boiling water), an ice bath, drain, and bag. For fruit, often just wash, chop, and freeze. We can process a bushel of green beans in under an hour.
#### Our Family’s Favorite Freezing Tips:
* Flash Freezing: For berries or chopped veggies, spread them in a single layer on a baking sheet to freeze solid first. Then transfer to bags. This prevents clumping.
* Blanching: Don’t skip blanching for most vegetables! It stops enzyme action that causes spoilage and loss of color/flavor. The National Center for Home Food Preservation has great guidelines.
* Label Everything: Seriously, you’ll think you remember what it is, but a year from now, that mystery bag of green stuff isn’t so appealing. Date and contents!
This method is super forgiving, and you’ll be amazed at how much you can squirrel away! But what about when freezer space is tight? We’ll get to that next.
Keep reading — this is where most people mess up.
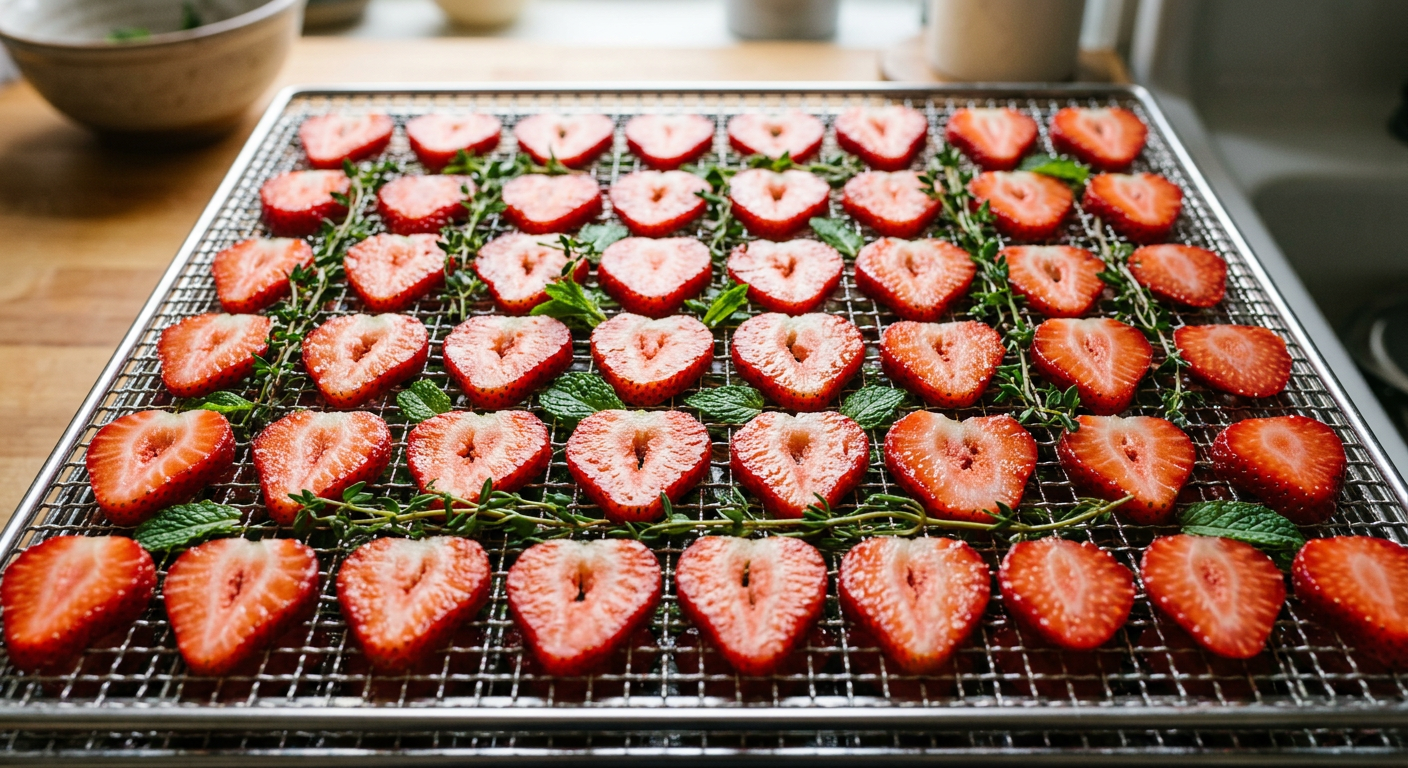
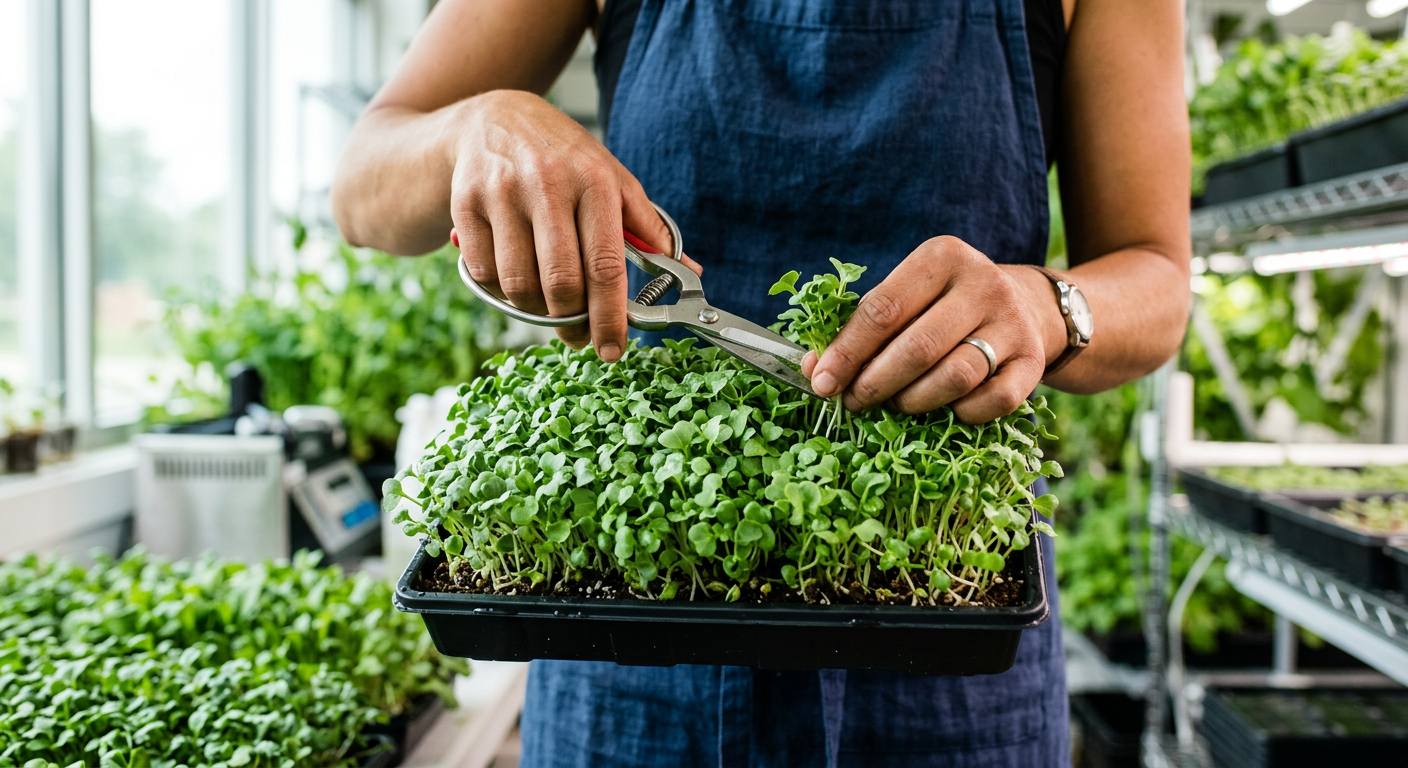
2. Dehydrating: Packing Punch into Small Spaces
Dehydrating food involves removing moisture to inhibit mold, yeast, and bacteria growth. This dramatically reduces food volume and weight, making it perfect for pantry storage, hiking, or emergency kits. We dehydrate a lot of apples, tomatoes, herbs, and even ground beef for our camping trips.
#### Cost and Time Commitment
* Cost: A basic dehydrator can cost $40-$100. More advanced models are $150+. Ours is an old, simple Nesco model we got for about $60 ten years ago. You can also use your oven on its lowest setting, though it’s less efficient.
* Time: Prep is quick, but drying takes hours (6-12+ hours depending on food and dehydrator). It’s mostly hands-off, though.
#### What We Love to Dehydrate:
* Herbs: Mint, oregano, basil, rosemary – we just wash, pat dry, and spread them on trays. They dry in a few hours.
* Fruit: Apple slices, banana chips, fruit leathers (pureed fruit spread thin). These are excellent healthy snacks.
* Vegetables: Onions, bell peppers, carrots, tomatoes (for ‘sun-dried’ tomatoes without the sun!). Add them to soups and stews.
Dehydrating can seem daunting, but once you get the hang of it, you’ll find it incredibly rewarding. Next up, a classic homesteading skill that allows for true shelf-stable storage!
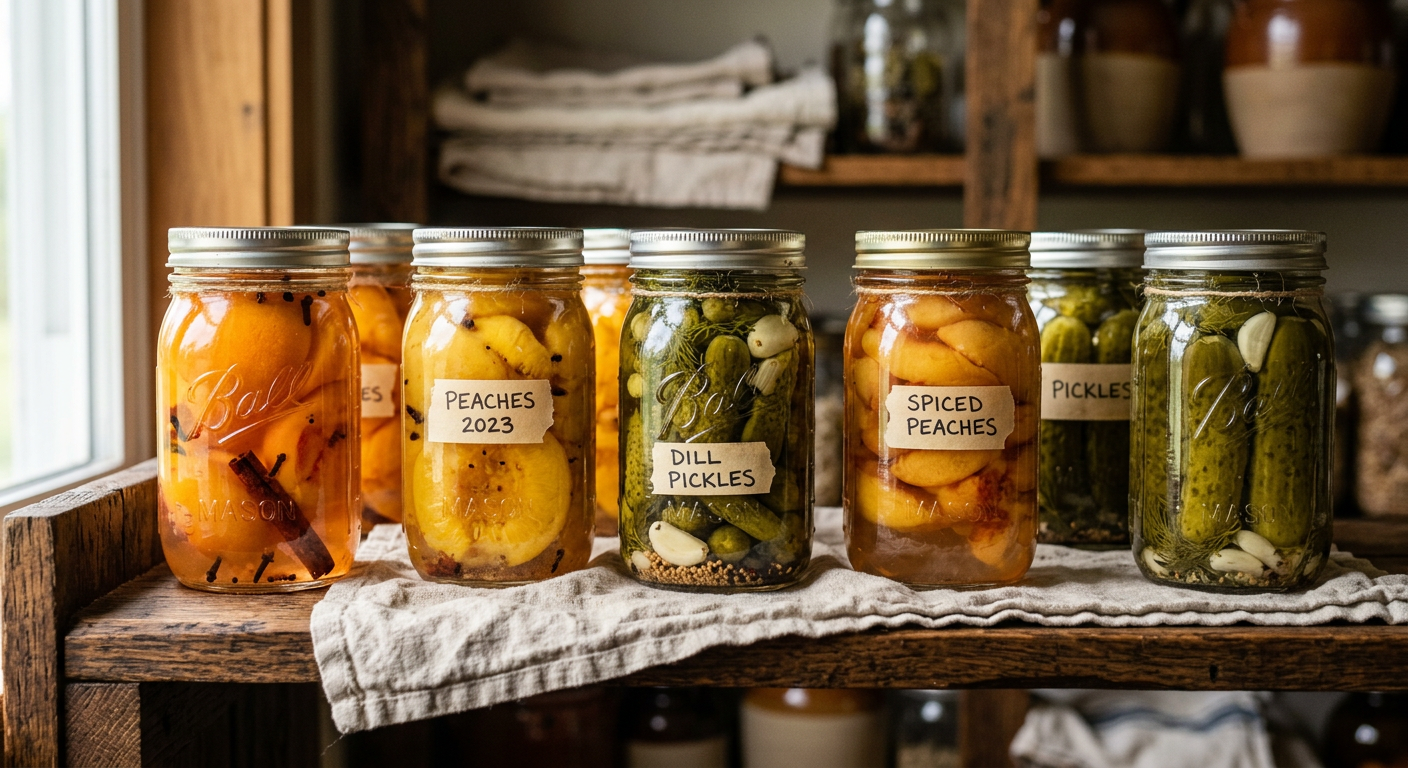
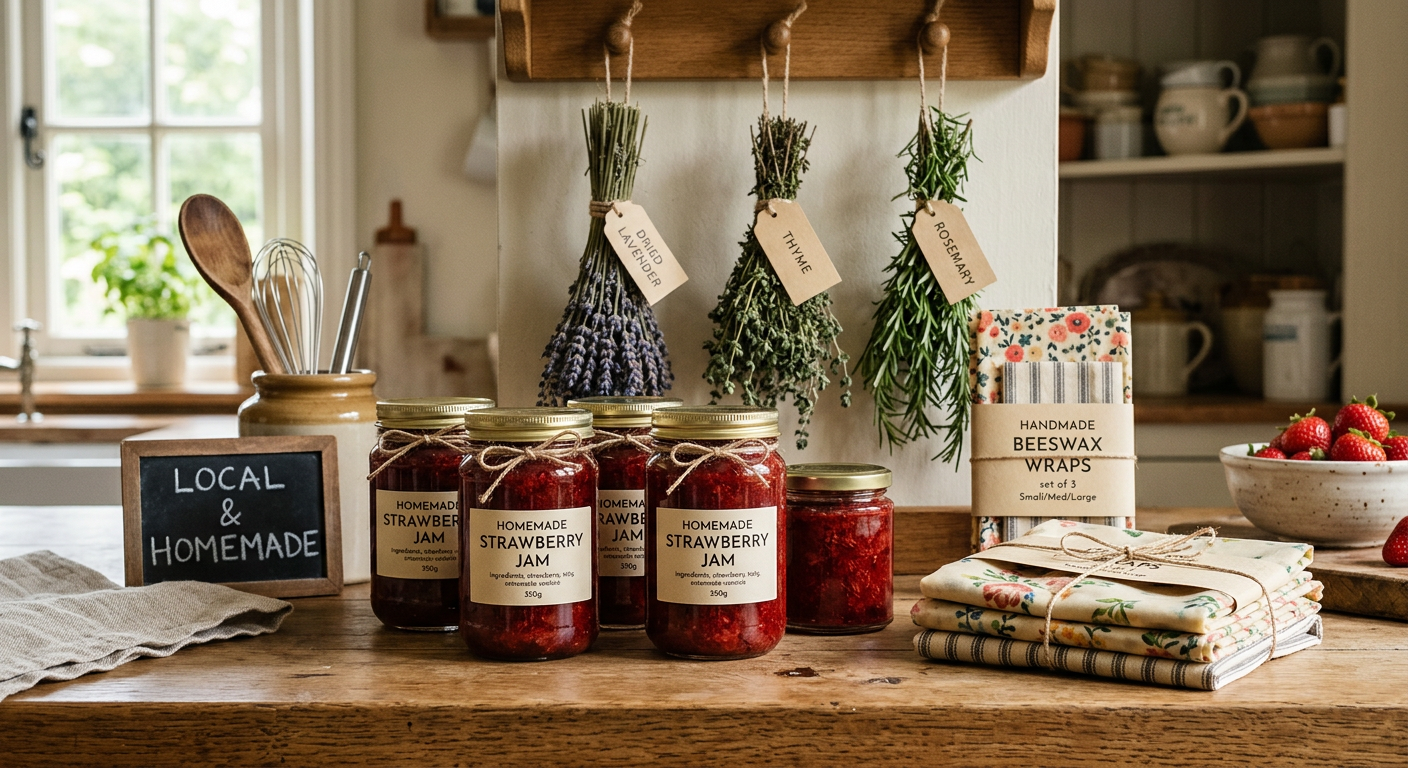
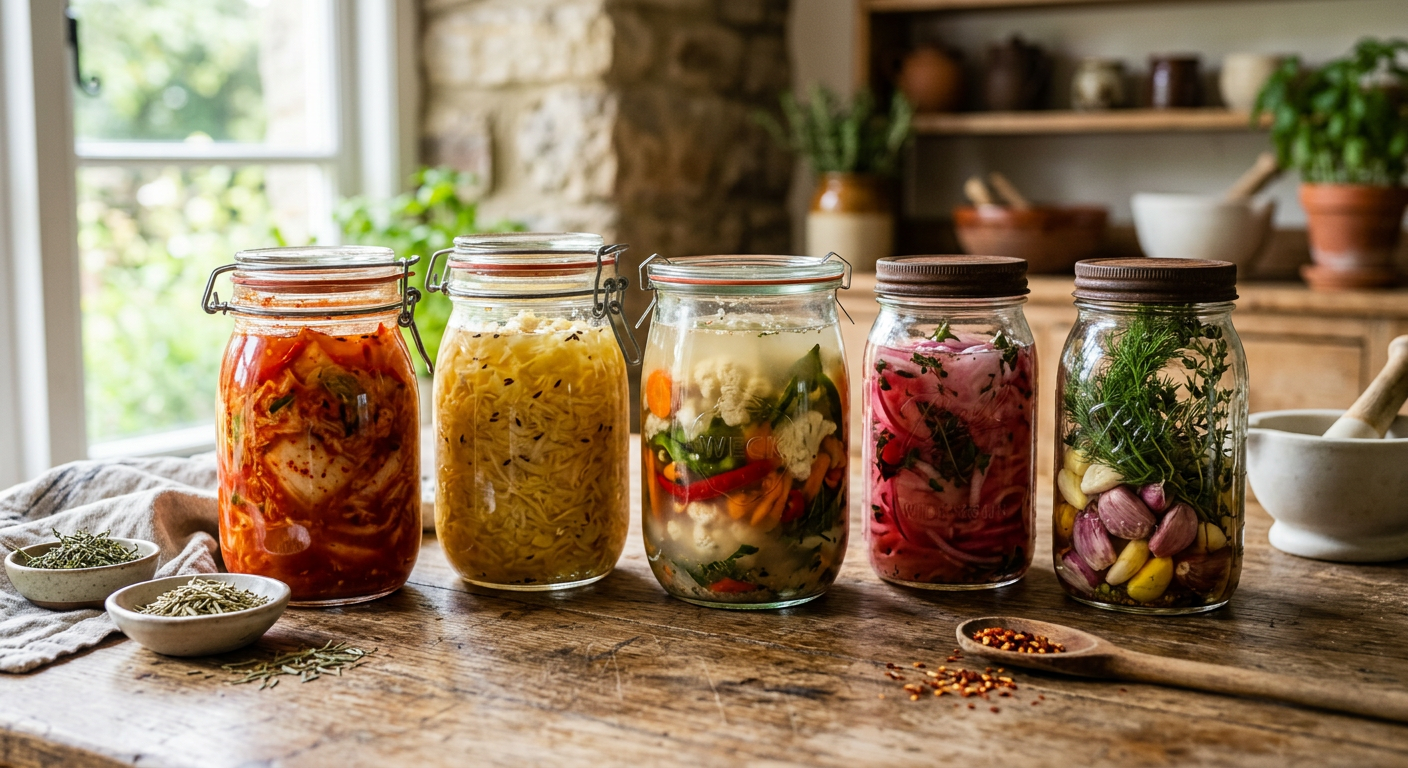
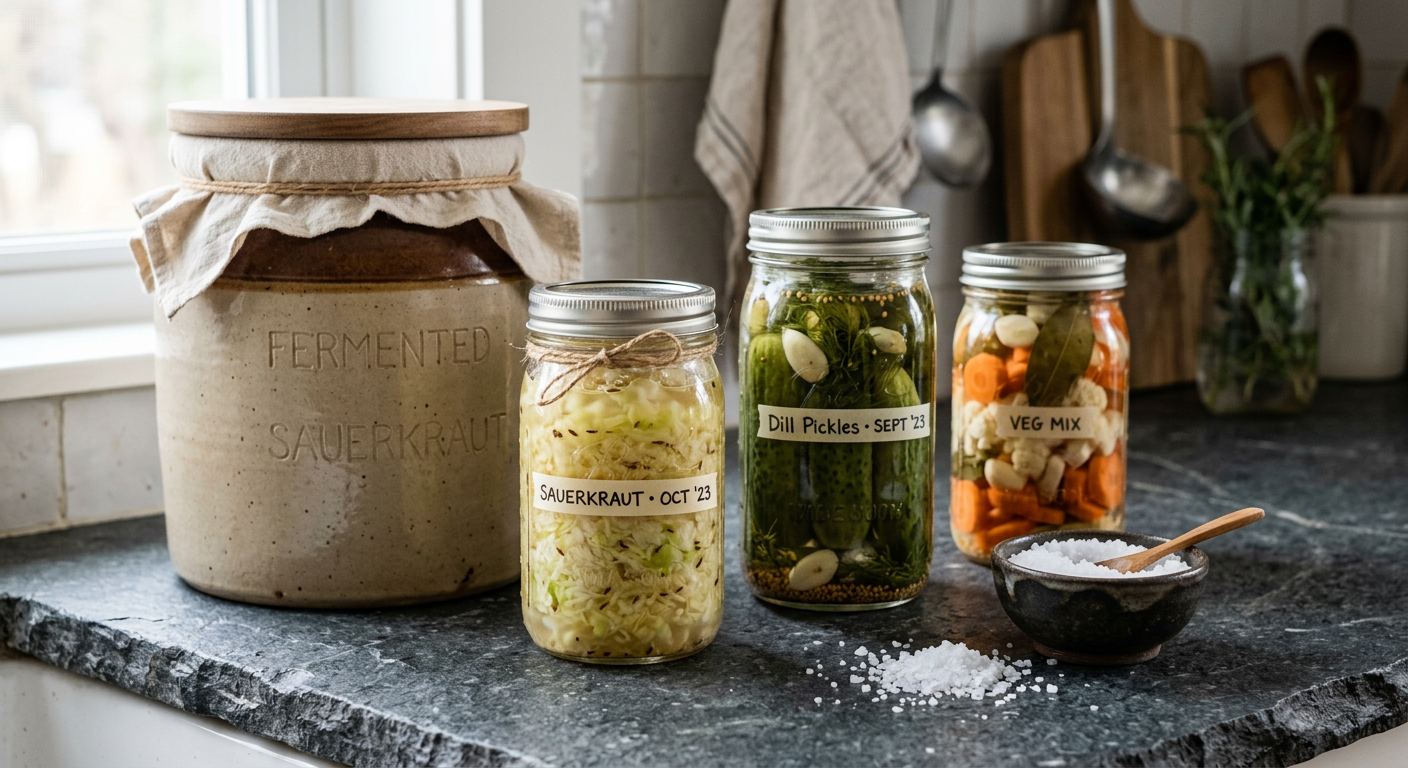
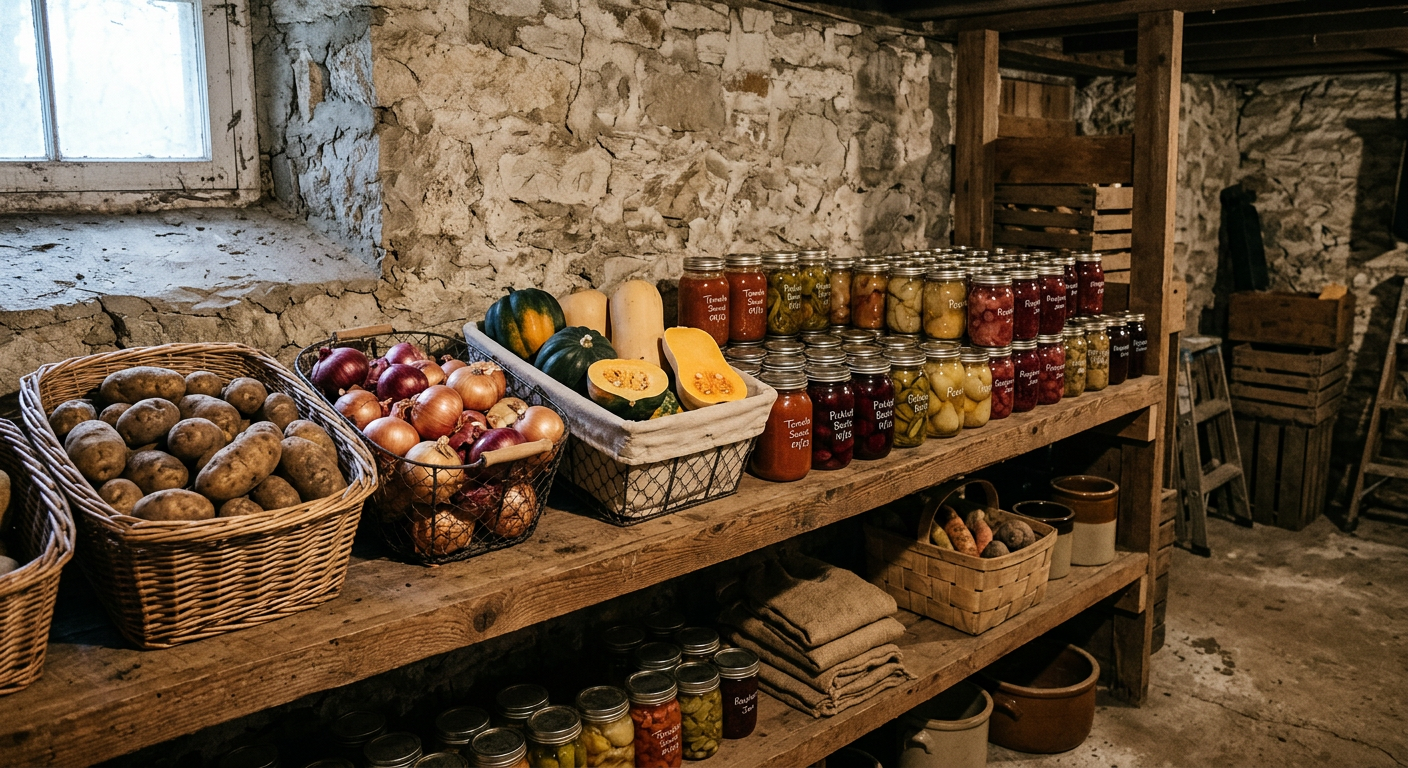
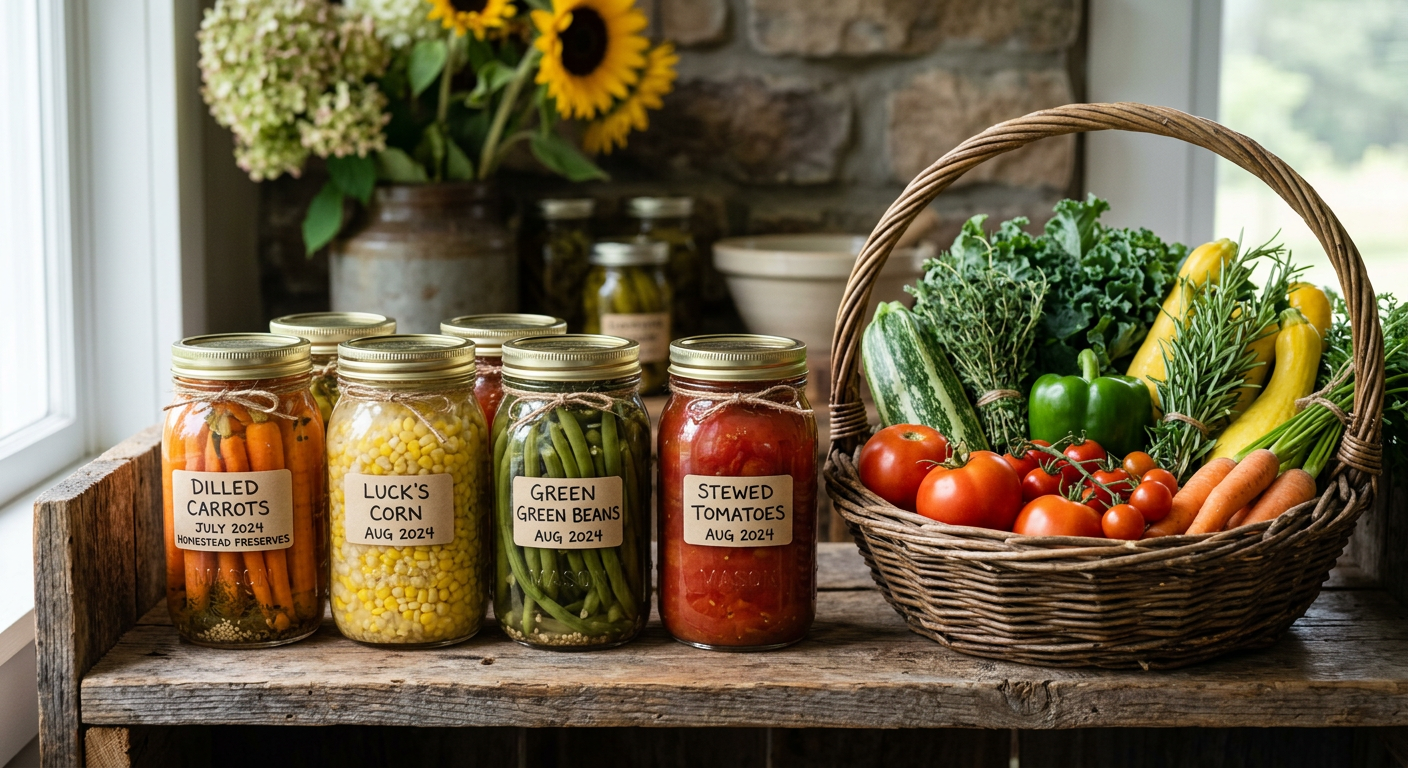
3. Water Bath Canning: The Pantry Builder
Water bath canning is a fantastic way to preserve high-acid foods like fruits, jams, jellies, pickles, and tomatoes (with added acid). It uses heat to create a vacuum seal, making the food shelf-stable. Our shelves are full of homemade apple butter, dill pickles, and strawberry jam, all thanks to water bath canning.
#### Cost and Time Commitment
* Cost: You’ll need a large canning pot with a rack ($20-$40), canning jars (reusable, $15-$25/dozen), lids (new every time, $7-$10/dozen), and basic canning tools (jar lifter, funnel: $15-$25 for a kit). Initial investment might be $75-$150.
* Time: Prep can be time-consuming, especially chopping and cooking. Processing time in the canner varies by recipe, but plan for at least 30-60 minutes per batch, plus cooling time.
#### Our Go-To Water Bath Canning Recipes:
* Homemade Jams and Jellies: Strawberry, raspberry, peach – these are simple and make great gifts. Check out extensions like USDA’s Complete Guide to Home Canning.
* Dill Pickles: Cucumbers from the garden turn into crispy, tangy delights. We use a recipe from a Ball Blue Book that’s been passed down for generations.
* Tomato Sauce: We love canning crushed tomatoes or a basic tomato sauce. No need to worry about pressure canning if you add a bit of citric acid or lemon juice to ensure proper acidity.
This next part? Nobody talks about it, but it changed everything for us.
—
💡 Pro Tips
* Invest in a Good Reference Book: A Ball Blue Book Guide to Preserving is a must-have for safe canning. We refer to ours constantly.
* Buy in Bulk & Preserve Immediately: When you see a great deal on produce, or your garden explodes, act fast. Delaying increases spoilage and can affect quality.
* Batch Process: Don’t try to preserve everything at once. Break it down. One day for blanching and freezing beans, another for making and canning jam.
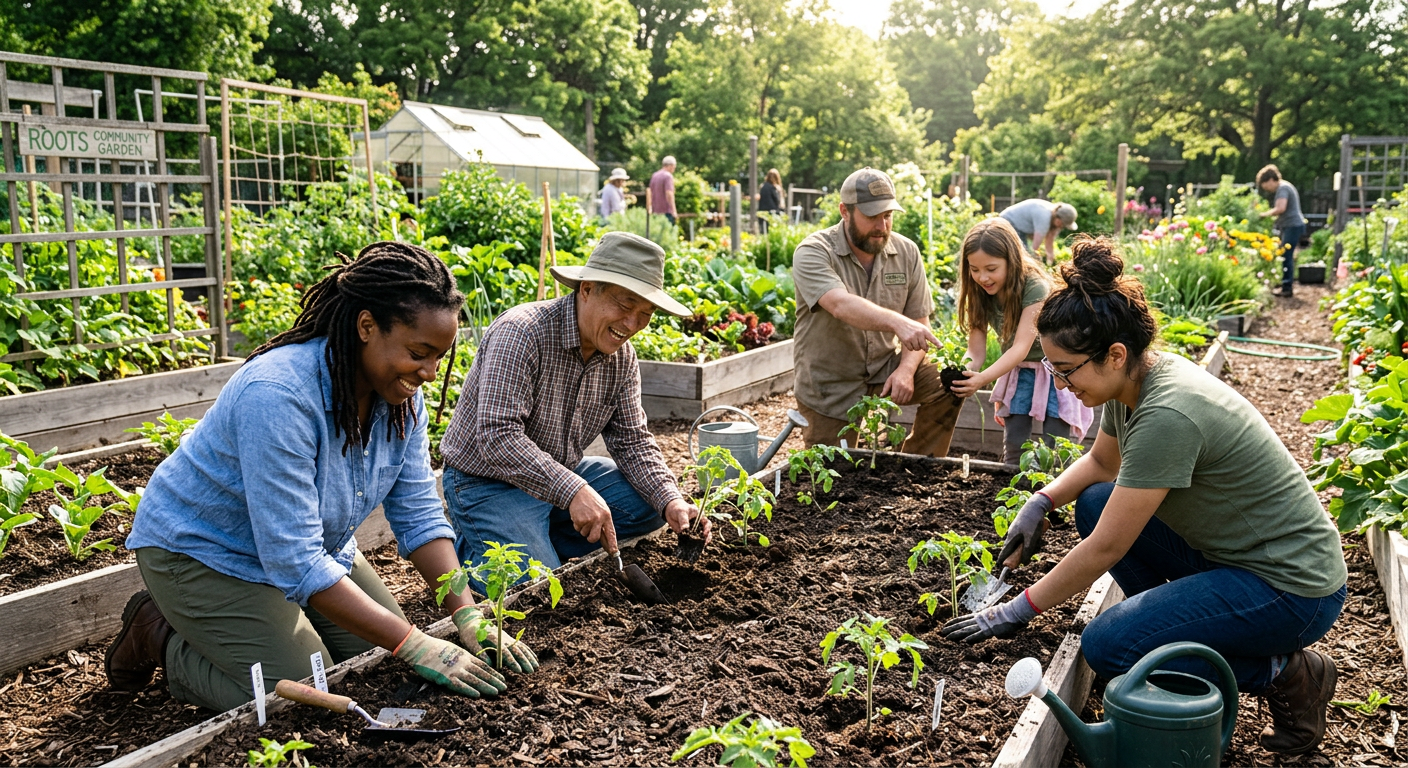
* Utilize Your Garden: Link your preservation efforts to `How to Start a Small Backyard Vegetable Garden: Beginner Guide` so you maximize your harvest. Our harvests of tomatoes and cucumbers truly fuel our canning efforts.
* Learn About Food Storage: Once preserved, learn the best ways to store your goods. Cool, dark, dry places are key for canned and dehydrated items. This is a critical `Essential Homesteading Skills Beginners Need`.
—
!Using a dehydrator as one of the what are basic food preservation methods for beginners for fruits.
⚠️ Beginner Mistakes to Avoid
* Ignoring Safety Guidelines: Especially with canning, improper methods can lead to botulism. Always use tested recipes and follow instructions precisely. No shortcuts!
* Overbuying Equipment: Start simple. You don’t need every gadget. Focus on the method you want to try first.
* Not Labeling: Trust us, that mystery jar in the back of the pantry is not fun. Label, label, label!
* Trying Too Much At Once: It’s exciting, but attempting all three methods in a weekend will lead to burnout. Master one, then move on.
* Using Overripe or Spoiled Produce: Preservation doesn’t improve bad food; it only preserves it in its current state. Start with fresh, high-quality ingredients.
—
Frequently Asked Questions
What are basic food preservation methods for beginners that are cheapest?
The cheapest methods are usually dehydrating (if you already have an oven or can sun-dry in a very dry climate) and freezing (if you have freezer space already). For canning, initial equipment costs can be higher, but jars are reusable, making it economical long-term.
Can I preserve any food with these basic methods?
Not quite! Freezing is very versatile. Dehydrating works well for most fruits, veggies, and herbs. Water bath canning is only for high-acid foods. Low-acid foods (most vegetables, meats, dairy) require a pressure canner for safety, which is a step beyond basic for true beginners.
How long do preserved foods last?
Generally, properly frozen foods last 8-12 months. Dehydrated foods can last 1-5 years depending on the food and storage conditions. Water bath canned goods are typically good for 12-18 months, though they can often be safe to eat for longer if properly stored and sealed.
Do I need special training to start preserving food?
No formal training is required, but it’s crucial to follow reputable guides for safety. Resources like the USDA’s Complete Guide to Home Canning or your local university extension office are excellent starting points for reliable, tested recipes.
What’s the best way to get started if I’m overwhelmed?
Pick one fruit or vegetable you love that’s in season and try one method. For example, freeze some berries, or make a small batch of strawberry jam. Success with one small project will build your confidence for the next! You can also check out our `10 Beginner Homesteading Tips to Start Your Self-Sufficient Journey Today` for broader advice.
—
Conclusion
Learning what are basic food preservation methods for beginners has been one of the most empowering skills we’ve gained on our homestead. It connects us to our food, saves us money, and fills our pantry with delicious, home-grown goodness. Don’t let fear hold you back – start small, learn one method, and before you know it, you’ll be preserving like a pro!
What’s your biggest challenge with food preservation? I’d love to hear your story.
📚 More From Our Homestead
- Homesteading Hacks: Save Serious Money on Groceries!
- How to Make Money From a Small Homestead
- Homesteading Supplies List for Beginners: The Essentials
- Cheap Food Preservation for Beginners: Our Top Budget Hacks
- Maintaining Off-Grid Appliances and Systems for Longevity
Ready to Start Your Homestead Journey?
Free guides, checklists, and tools to help you build your dream homestead.