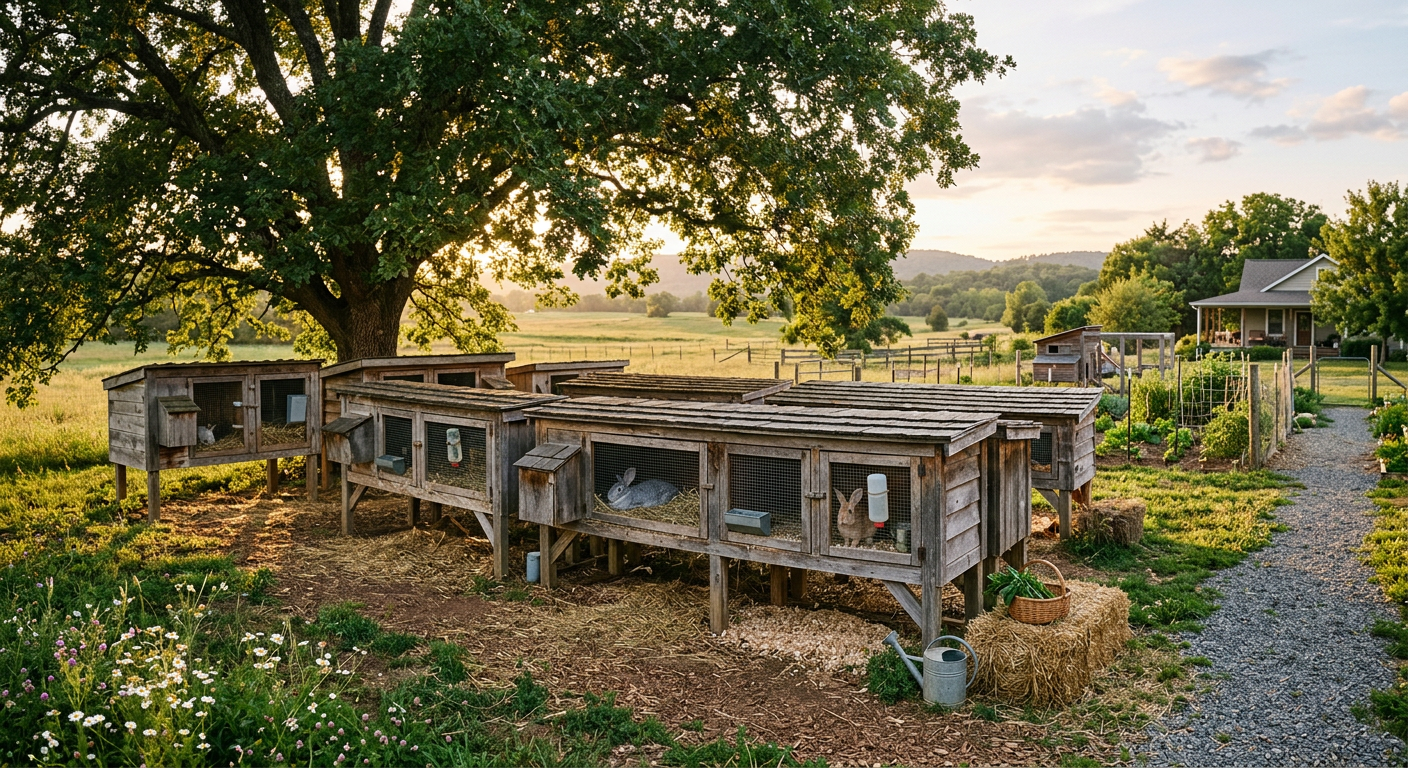
I’ll never forget the cold morning I reached into that first nesting box. My hands were shaking. All I could feel was a soft, warm mound of fur the doe had pulled, and then, the unmistakable squirm of new life. In that moment, the abstract idea of raising our own meat became real, tangible, and incredibly humbling.
🎯 Quick Answer: Success in breeding rabbits for maximum meat production hinges on three things: starting with quality meat-stock genetics (like New Zealands or Californians), implementing a strict rebreeding schedule (we re-breed 5-6 weeks after a doe gives birth), and providing unlimited, high-protein (18%) feed and fresh water to your nursing does and their kits.
🔑 Key Takeaways
* Genetics First: Choose proven meat breeds like New Zealand Whites or Californians. Don’t try to grow out a Mini Rex.
* The Schedule is King: A consistent breeding, kindling, and weaning schedule is the engine of your production.
* Feed for Growth: You cannot skimp on feed. Lactating does and growing kits need high-quality, 18% protein pellets, free choice.
* Process at Peak: Aim for a processing weight of 5 lbs, which well-fed kits should reach by 8-12 weeks.
* Keep Brutally Honest Records: Track everything—breeding dates, litter sizes, weights. Data drives decisions.
* Heat is the Enemy: Rabbits can’t handle high temperatures. Avoid breeding in the hottest summer months to prevent losing does and entire litters.
—
Choosing Your Powerhouse: The Best Meat Rabbit Breeds
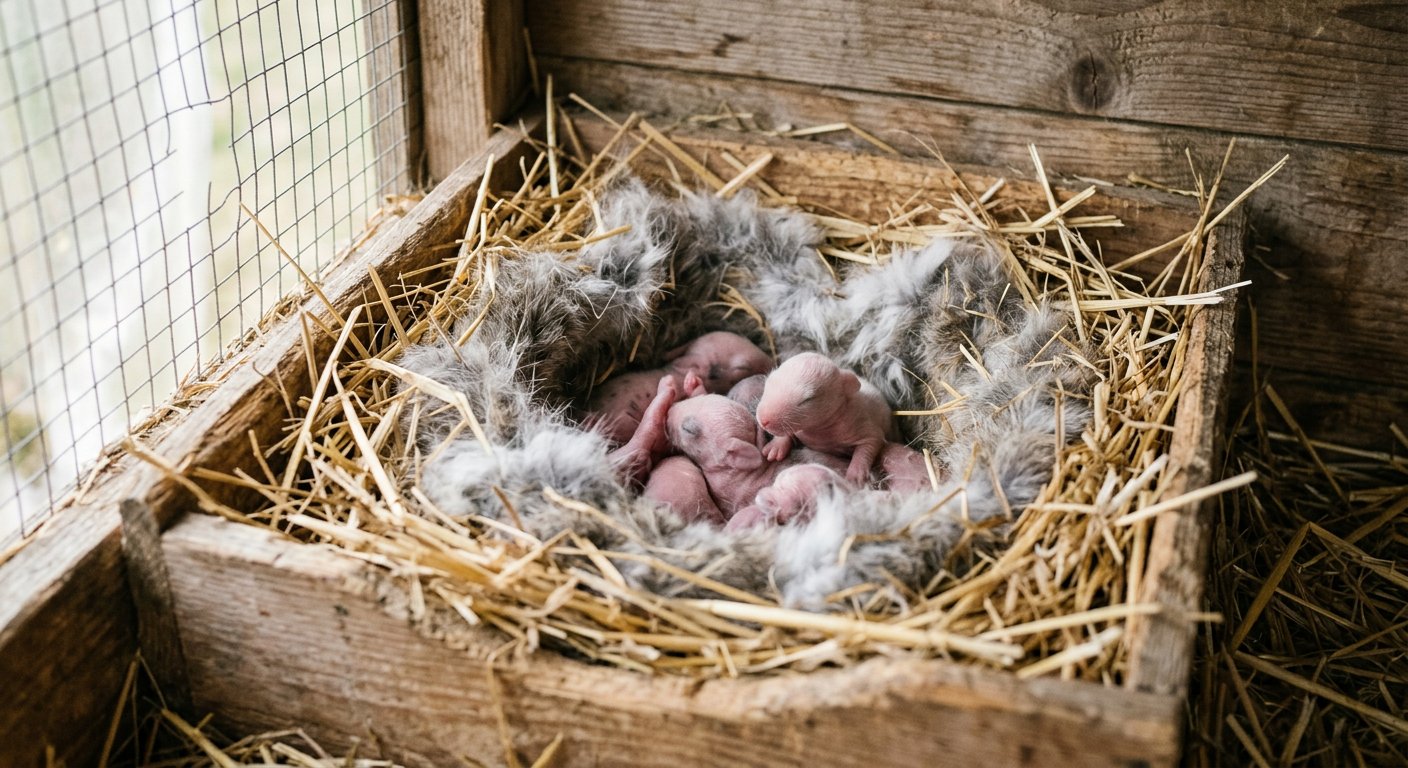
Your entire operation rises or falls on the genetics you start with. You can do everything else right, but if you start with a slow-growing rabbit, you’ll waste time and money. We learned this the hard way with a beautiful mixed-breed buck who threw the smallest litters.
New Zealand Whites: The Broiler Chickens of the Rabbit World
These are the industry standard for a reason. They are thick, meaty, and have a fantastic feed-to-meat conversion ratio. Their bones are lighter than other breeds, meaning more meat per pound. The only downside? Their all-white pelts show every speck of dirt, which is zero fun during muddy spring thaws.
Californians: The Hardy All-Stars
Californians are our personal favorite. They have the same great meat qualities as New Zealands but seem, at least on our homestead, to be a bit hardier and have better mothering instincts. That’s just my two cents. They were developed by crossing New Zealands with Chinchilla and Himalayan rabbits, giving them their distinctive dark points and excellent carcass quality.
Our Homestead Choice & Why
We started with a trio: one New Zealand buck and two Californian does. This cross gave us phenomenal results. The kits grew like weeds and the hybrid vigor was obvious. We paid $50 each for our initial breeding stock from a reputable local breeder, and it was the best money we ever spent. Don’t bargain-hunt on your foundation animals. Quality stock is an investment, not an expense. This is just one part of a bigger system; we track everything from our garden yields to our rabbitry data in a homesteading planner, which has been a complete game-changer for us. You can check it out here: https://xlvvlujsctgiorcwbtkv.supabase.co/functions/v1/social-redirect?p=homesteados&loc=blog_inline_early.
Choosing the right animals is a foundational step, just as important as the breeding schedule itself.
Keep reading — this is where your feed costs can either make or break you.
—
The Engine Room: Your Breeding Schedule & Cycle
Consistency is the name of the game in breeding rabbits for maximum meat production. You need a plan. Winging it leads to forgotten rebreed dates, does getting fat and lazy, and an empty freezer.
Our 42-Day Production Cycle
Some commercial operations rebreed a doe just 14 days after she gives birth. We found that too taxing on our does. It burned them out fast. We landed on a more sustainable, yet still highly productive, 42-day cycle.
With just two does on opposite schedules, you can have a litter of kits hitting processing weight every single month. It’s a beautiful, efficient system when it works.
“Table Breeding” and Confirming Pregnancy
We always take the doe to the buck’s cage. Always. A territorial doe in her own cage will often fight a buck. We watch for a successful “fall-off” from the buck, which usually signals a good breeding. I write the date on a whiteboard right on the rabbitry wall.
Fourteen days later, I gently palpate the doe’s belly. This takes practice. You’re feeling for little marble-sized bumps. I’ll never forget the first time I did it correctly—it felt like finding treasure. If I don’t feel anything, I’ll try re-breeding her immediately.
Don’t skip this. A doe that isn’t pregnant but thinks she is (a false pregnancy) is a 30-day waste of cage space and expensive feed.
That breeding calendar is the heartbeat of your meat production, but it’s fueled by what you put in their bowls.
—
Fueling Growth: Housing and Nutrition Secrets
This is where your investment pays off. Top-tier genetics and a perfect schedule mean nothing if you don’t feed for growth. This is not the place to try and save a buck by buying cheap feed.
The Magic Number: 18% Protein Feed
For lactating does and growing kits (from weaning to processing), you need an 18% protein commercial pellet. We use a brand called Kalmbach, which costs us about $24 for a 50lb bag. A nursing doe with a big litter can empty her feeder daily.
We tried a 16% protein feed once to save money. Huge mistake. The kits grew slower, their weights were lower at 10 weeks, and the whole cycle was less efficient. We spent more on feed in the long run because they had to be housed and fed for an extra two weeks. Never again. Stick to 18%.
Bucks and non-lactating does can be maintained on a 16% protein feed to keep them from getting overweight.
Water Is Everything
I can’t stress this enough. A doe can’t produce milk without constant access to fresh, clean water. A single hot afternoon with a clogged water bottle nozzle can mean losing a whole litter. Check bottles twice a day. In the winter, we use heated water bases, which cost about $20 each, to prevent freezing. They’re a non-negotiable part of our setup, right up there with the essential homesteading tools we recommend buying first.
Feed and water are the fuel. Next up is the finish line: turning that investment into food for your family.
—
From Kit to Kitchen: Grow-Out & Processing
This is the part that separates want-to-be homesteaders from the real thing. It’s not always easy, but it is deeply rewarding to take full responsibility for your food.
The 8- to 12-Week Countdown
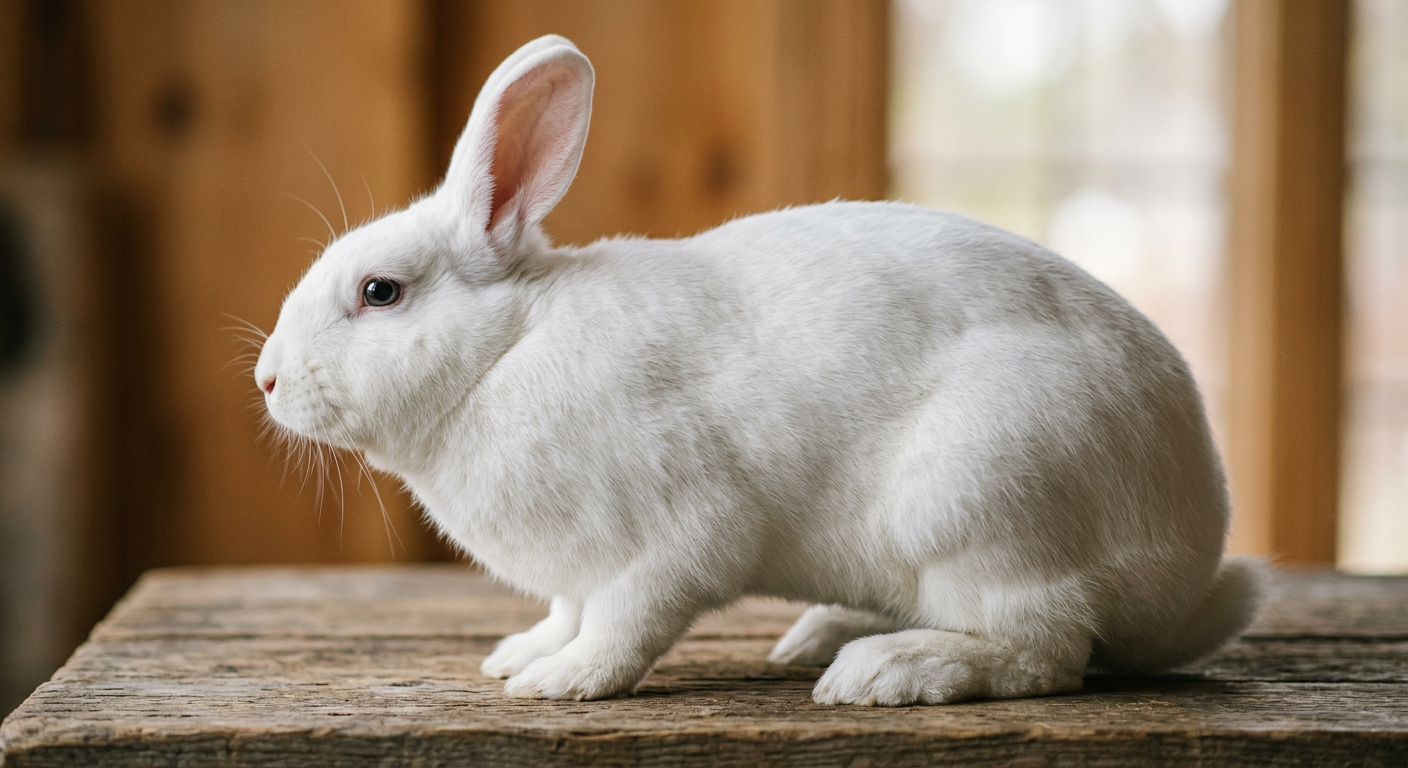
Once weaned around 5-6 weeks, the kits move into a communal “grow-out” tractor or a large cage. Here, they have free-choice access to that 18% protein feed and fresh water. We weigh one or two from the litter every week to track their progress.
Our target is a live weight of 5 lbs. On our feeding program, they consistently hit this between 8 and 10 weeks. If you wait until 12 weeks, you’ll get a slightly larger carcass, but the meat won’t be quite as tender. We find 9 weeks is the sweet spot for us.
The Reality of Dispatch Day
My hands trembled the first time. We had watched these animals grow from tiny, blind things into healthy rabbits. But we were raising them for a purpose. My husband and I did it together, quietly and respectfully. We use the cervical dislocation method, which is instantaneous when done correctly.
Having the right tools makes it less stressful. A sharp knife is critical. We built our own processing station, but the process itself is what matters. It’s a solemn, but not a sad, task. It’s the fulfillment of the cycle. And when you sit down to a meal of roasted rabbit you raised yourself, the sense of pride and gratitude is immense. It’s one of the most important homesteading skills a beginner can master.
We’ve made all the mistakes so you don’t have to. Pay attention to these next tips.
—
💡 Pro Tips
* Invest in a Digital Scale: Stop guessing. A simple digital kitchen scale that measures in pounds and ounces is invaluable for tracking kit growth and holding yourself accountable. Cost us $15 and it’s one of our most-used tools.
* Use a Whiteboard: Forget fancy apps. We have a huge whiteboard right on our rabbitry wall. It lists every doe, breeding dates, kindling dates, and scheduled processing day. You can see your entire operation at a glance.
* Tattoo for Records: If you have more than a few does, you need to identify them. We bought a simple tattoo kit for $60. Each doe gets a unique ID in her ear. It sounds intense, but it makes record-keeping foolproof.
* Build a Grow-Out Tractor: Instead of just a cage, we built a simple PVC and wire tractor for weaned kits. We move it across the lawn every day. They get fresh greens, it saves on feed costs, and their manure fertilizes our pasture. It’s a win-win-win.
—
⚠️ Beginner Mistakes to Avoid
* Breeding in High Heat: We lost an entire litter one July when the temperatures soared over 95°F. The doe got stressed and stopped producing milk. We now stop all breeding rabbits for maximum meat production from mid-June to September. It’s just not worth the risk.
* Starting Too Big: Enthusiasm is great, but don’t buy ten does at once. Start with a trio (one buck, two does). Learn their rhythms. Master the system on a small scale, then expand. I’ve seen so many friends get overwhelmed and quit because they scaled too fast. Planning your growth is critical; laying out your goals early on is a step you can’t skip, and the tools at https://xlvvlujsctgiorcwbtkv.supabase.co/functions/v1/social-redirect?p=homesteados&loc=blog_inline_late can really help you visualize it.
* Forgetting the Nest Box: A doe needs her nesting box on day 28 of her pregnancy. Not day 27, not day 30. Day 28. We forgot once. She kindled on the wire floor of her cage, and we lost half the kits to the cold before we found them. It was a heartbreaking and completely avoidable mistake.
* Cheap Cage Wire: Don’t use standard hardware cloth. It will rust in a year, and the ammonia from rabbit urine will eat right through it. Buy proper galvanized-after-welding (GAW) cage wire. It costs more upfront but lasts for a decade.
—
Frequently Asked Questions
How much meat do you get from one rabbit?
A 5 lb live weight rabbit will typically yield a 2.5 to 3 lb dressed carcass. That’s a dress-out percentage of 50-60%, which is excellent. One fryer rabbit is the perfect size for a family of four for one meal.
What does rabbit meat taste like?
If you’re thinking gamey, you’re wrong. Farm-raised rabbit is incredibly mild and tender. It tastes like a richer, more flavorful chicken breast. It’s a lean, all-white meat that takes on marinades and seasonings beautifully.
Is raising rabbits for meat cost-effective?
It can be, but maybe not in the way you think. If you factor in your time, it’s not always cheaper than sale-priced chicken. For us, a 50lb bag of feed at $24 raises one litter to processing weight. That gives us about 20-24 lbs of meat. So, the feed cost is roughly $1 per pound of meat. The real value is in the quality, security, and knowing exactly what went into your food. For a more detailed breakdown on starting out, our guide on homesteading on a budget can be a huge help.
What is the ideal buck to doe ratio?
For a homestead-scale operation, one good buck can easily service 8-10 does. We keep two bucks just in case one has fertility issues, but one does most of the work. Don’t keep more bucks than you need; they just eat feed without producing anything.
How do you prevent disease in your rabbitry?
Cleanliness is 9/10ths of the law. Keep cages clean and ensure good ventilation to reduce ammonia buildup. Never introduce new rabbits directly into your rabbitry; quarantine them for 30 days. And provide clean food and water. For more in-depth info on rabbit health, the Penn State Extension is a fantastic, reliable resource.
—
It’s More Than Just Meat
Raising rabbits has become one of the most vital parts of our homestead. It’s a quiet rhythm of chores, a constant source of healthy protein, and a powerful lesson in self-sufficiency. It’s the sound of the kits starting to rustle in the nest box, the satisfaction of a full freezer, and the peace of mind that comes with providing for your own.
It’s not for everyone, and it’s not always easy. But if you’re ready for a sustainable, small-footprint meat source, there’s nothing better.
For more behind-the-scenes looks at our rabbitry and daily homestead life, be sure to follow our journey on our Facebook page!
What’s holding you back from raising your own meat rabbits? Share your questions or your own experiences in the comments below!
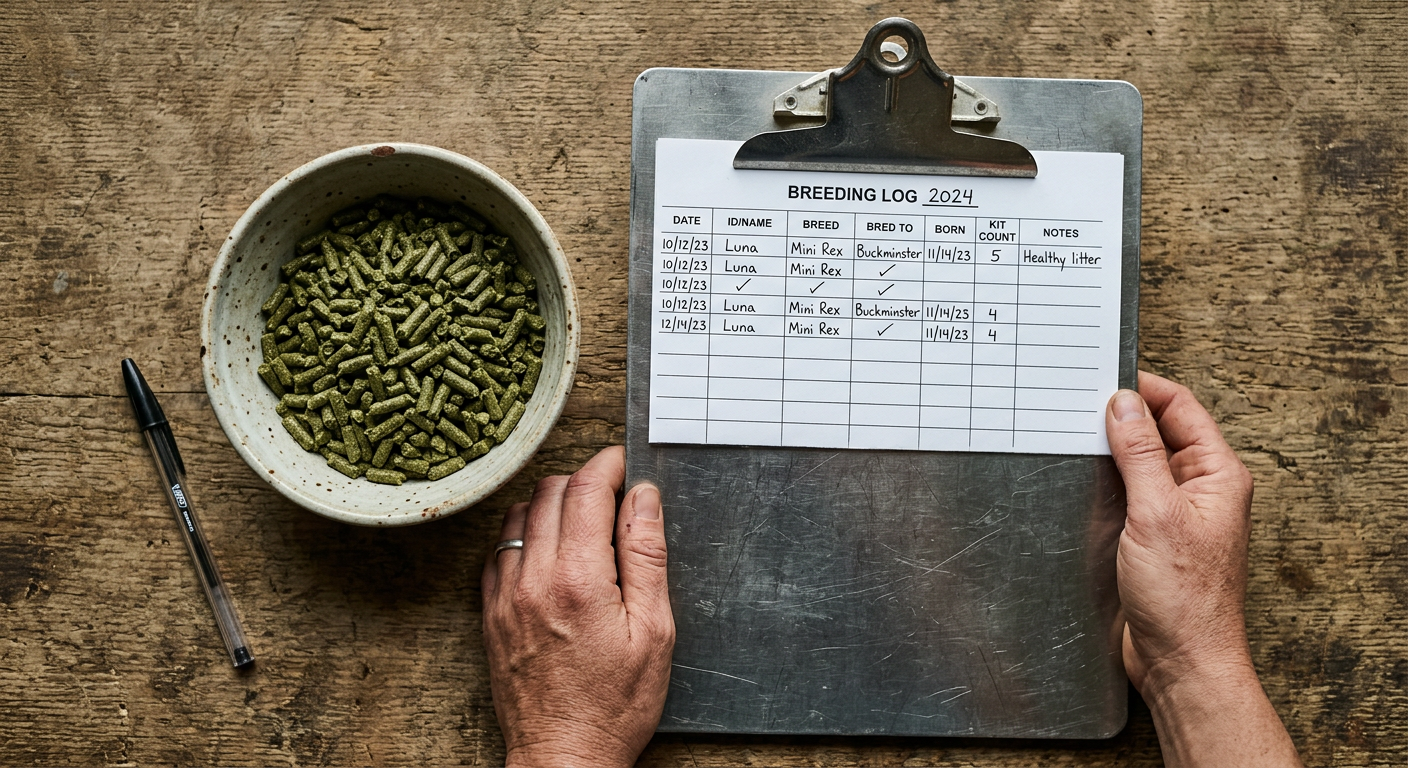
[CTA] Get our free printable rabbit breeding record sheet to start tracking your production today!
📚 More From Our Homestead
- Introduce New Chickens to Your Flock Peacefully
- Building a Raised Garden Bed: Our No-Fail Guide
- Apartment Vertical Gardens: Our Tiny Balcony Wins
- Selling Garden Produce at a Farmers Market (Our First Year)
- Homestead Water Independence Planning: Our Guide
Ready to Start Your Homestead Journey?
Free guides, checklists, and tools to help you build your dream homestead.
Leave a Reply