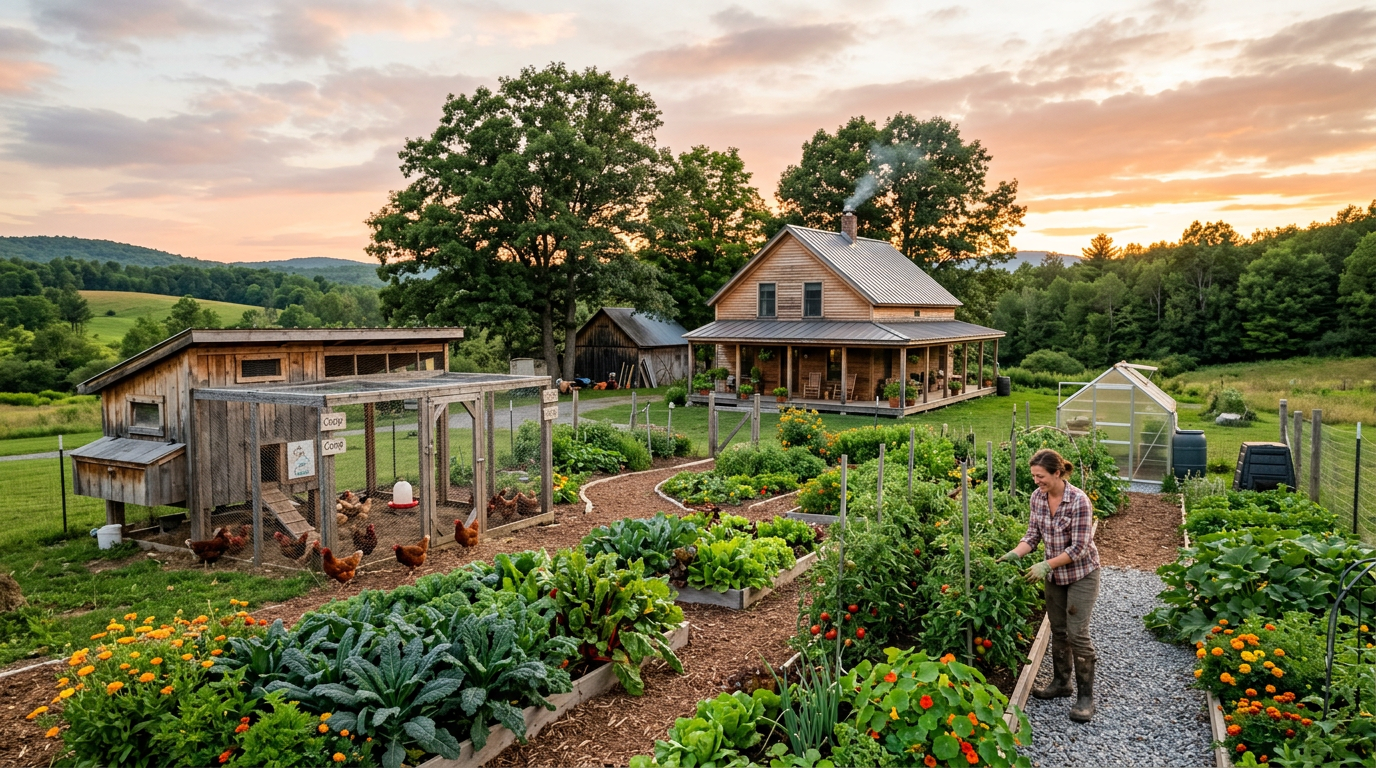
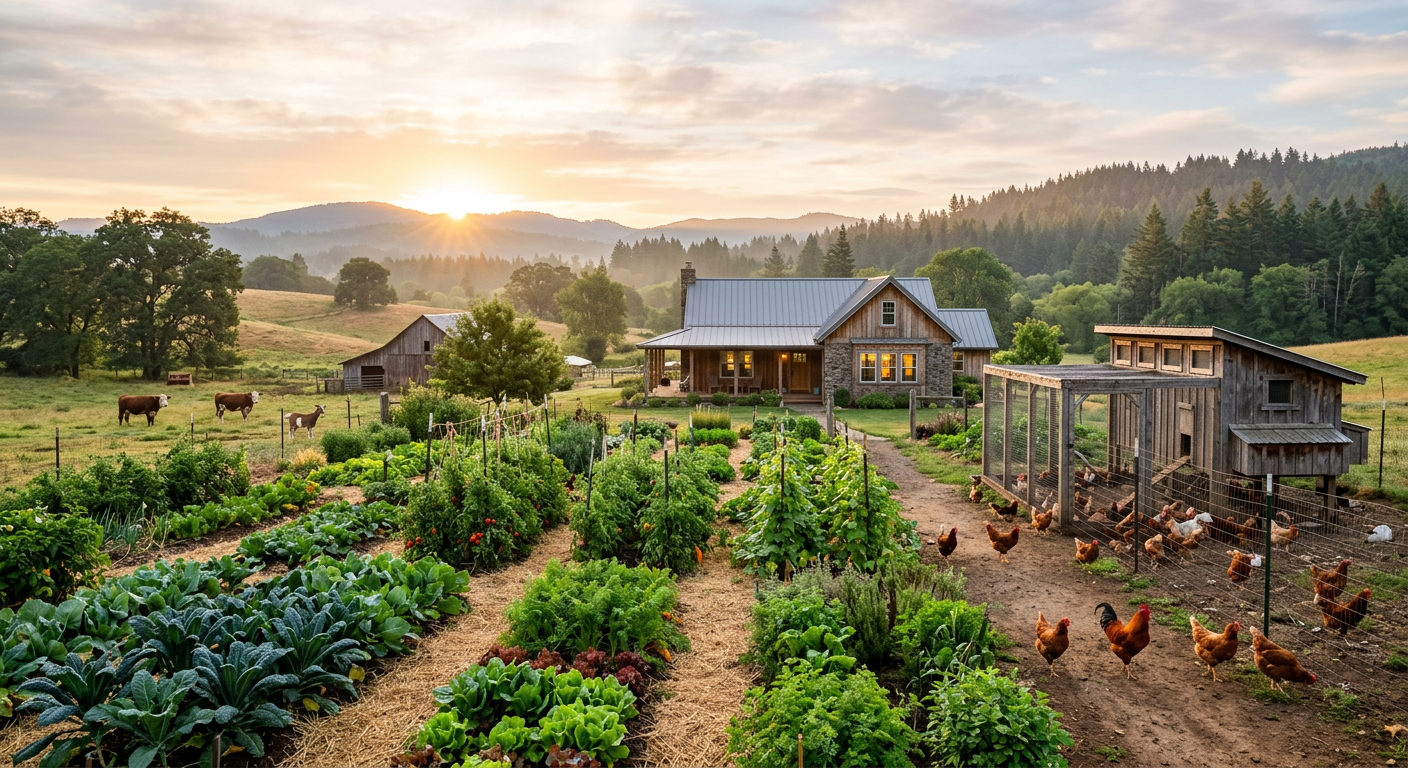
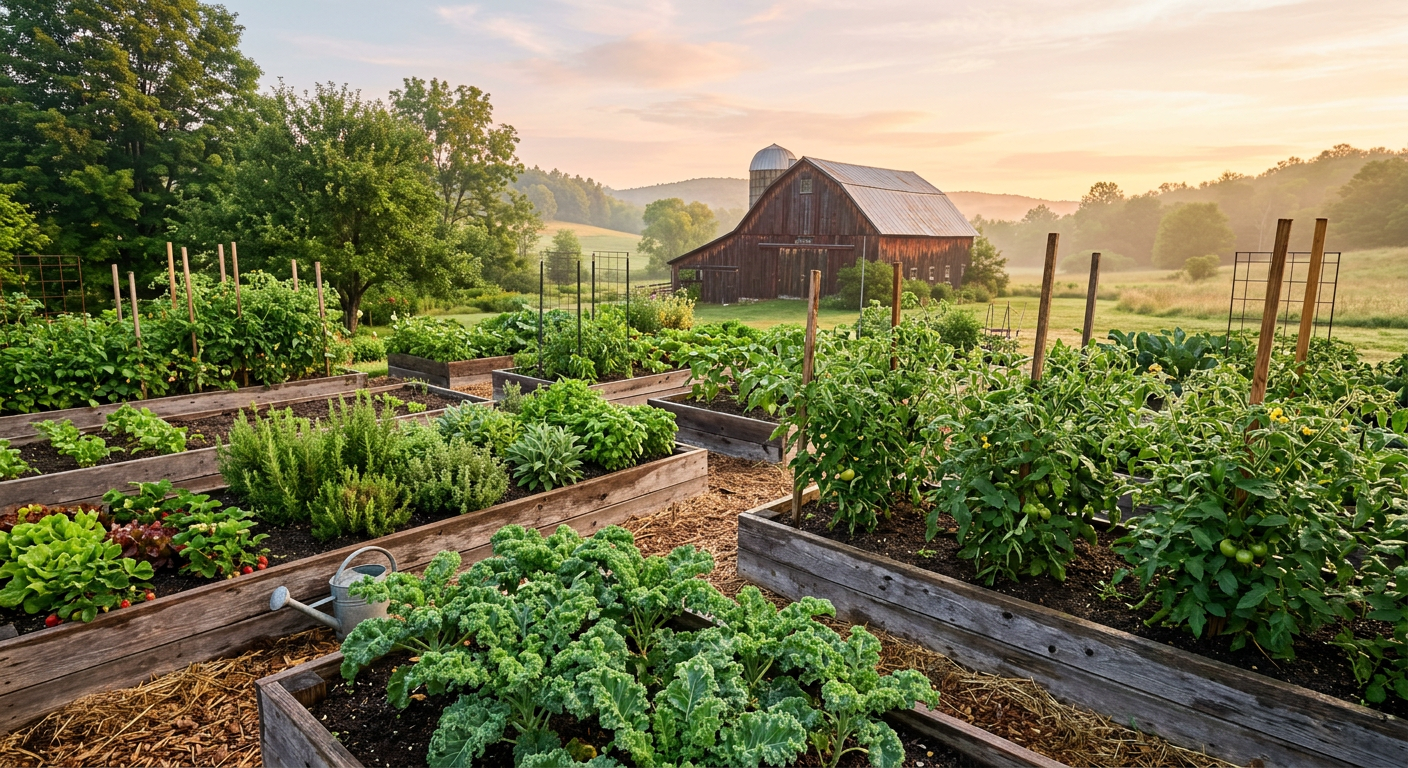
!A thriving family farm showing how to become self-sufficient in five years through planning.
I still remember the silence. Standing on a patch of overgrown weeds that would one day be our homestead, the only sound was the wind and the frantic beating of my own heart. We had a five-year-old, a mountain of student debt, and a wild dream of learning how to become self-sufficient in five years, starting from absolute zero.
🎯 Quick Answer: Becoming self-sufficient in five years is an aggressive but achievable goal. It requires a disciplined, phased approach: spend year one on skill-building and debt elimination, year two on acquiring land and basic infrastructure, year three on intensive food production, year four on energy/water systems, and year five on refining and creating redundancy.
🔑 Key Takeaways
Front-Load the Skills: Your most important work happens before* you buy land. Learn to budget, cook from scratch, preserve food, and make basic repairs in your current home.
* Debt is the Enemy: You cannot be truly self-sufficient if you’re a slave to a car payment or credit card bill. Our first year was a brutal, no-spend bootcamp to kill our debt.
* Infrastructure is Expensive: The land is just the start. The well, septic, and shelter will cost more and take longer than you think. Plan for it.
* Start Small, Then Scale: Don’t get 20 chickens, 4 goats, and 2 pigs in your first year. Start with a small garden and a few hens. Master one system before adding another.
* It’s a Marathon, Not a Sprint: Burnout is real. This is a five-year plan, not a five-month fantasy. Progress over perfection is the mantra.
—
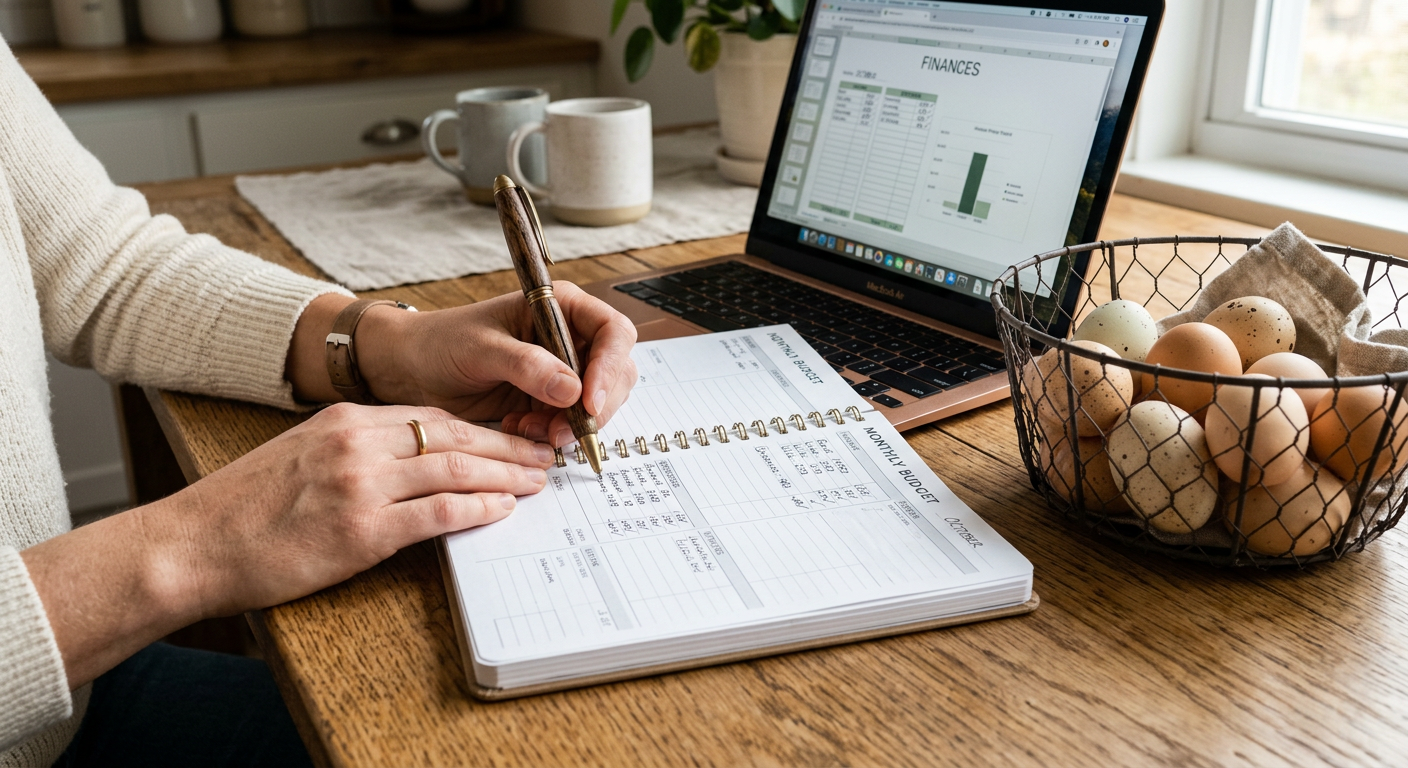
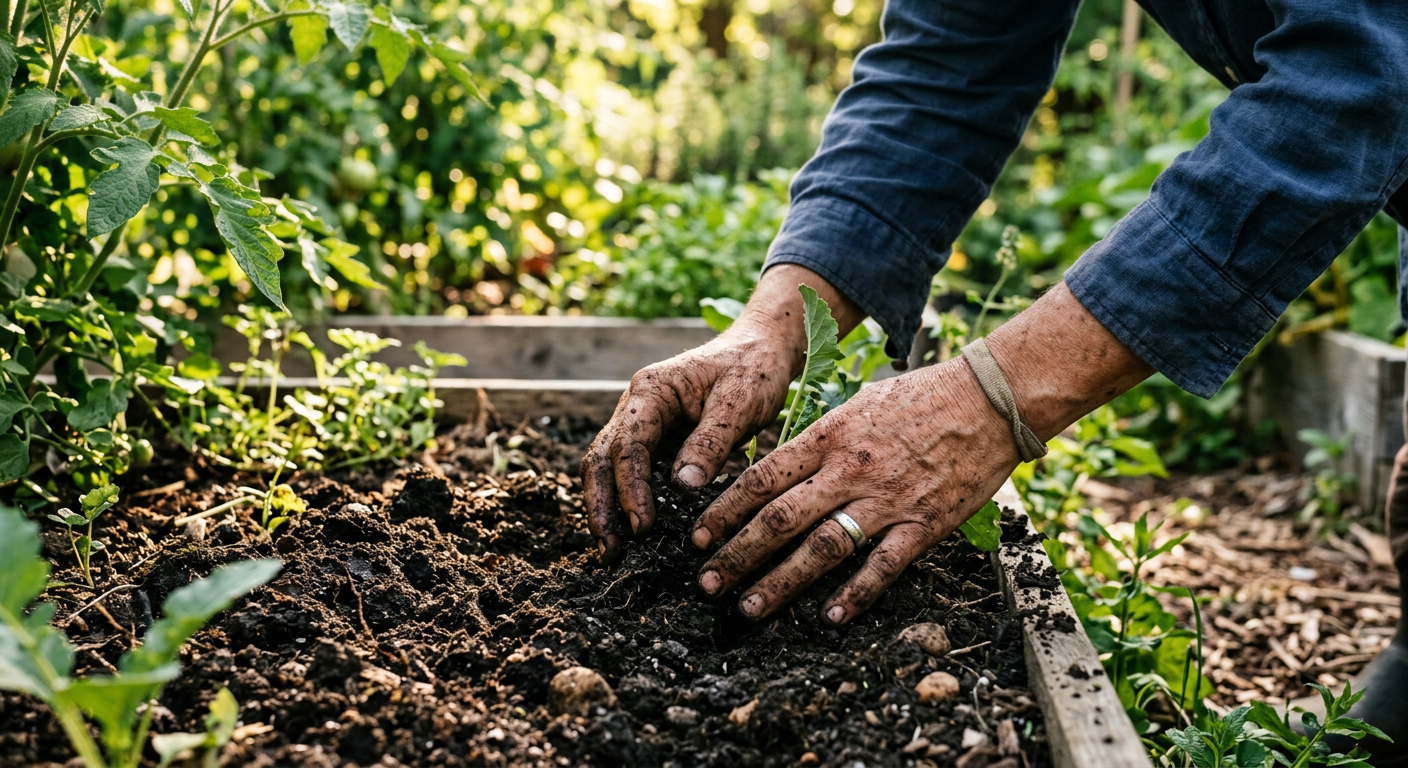
!Financial planning and debt reduction as part of how to become self-sufficient in five years.
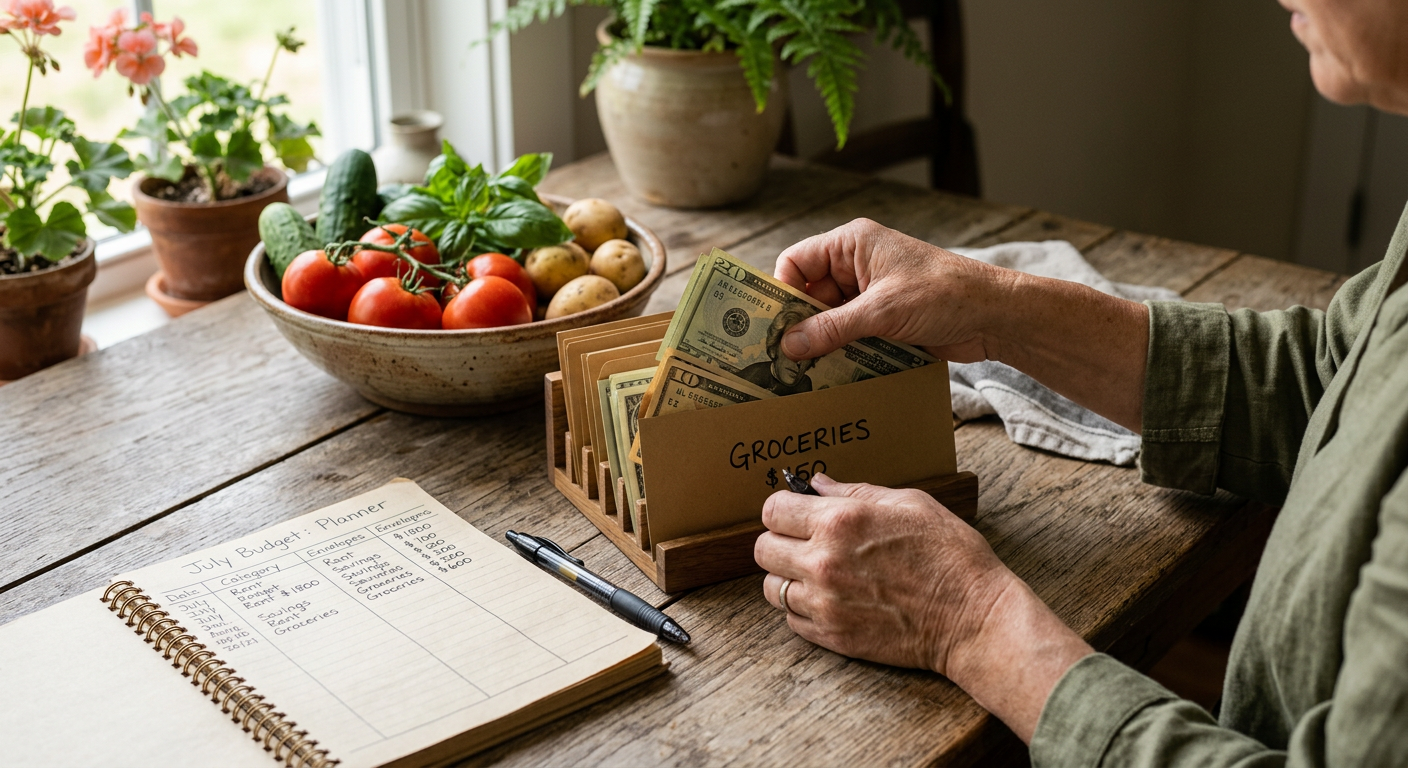
Year 1: The Foundation – Skills & Financial Warfare
This is the least glamorous year, and it’s the most important. The goal for Year 1 isn’t to own land; it’s to become the kind of person who can succeed on it. For us, this meant war on our $42,000 of consumer and student loan debt.
We did a full financial audit. Every subscription was cut, we went down to one clunky (but paid-for) car, and date nights became learning to bake bread together. It was hard. It tested our marriage. But 14 months later, we were debt-free except for our apartment rent.
Building Skills in Place
While we were attacking our finances, we were also learning. You don’t need acreage to learn essential homesteading skills.
* Cooking: We learned to make everything from scratch. Bread, yogurt, bone broth, pasta. This alone saved us hundreds each month.
* Gardening: We started with three 5-gallon buckets on our tiny apartment patio growing tomatoes, lettuce, and herbs. It wasn’t much, but it was a start.
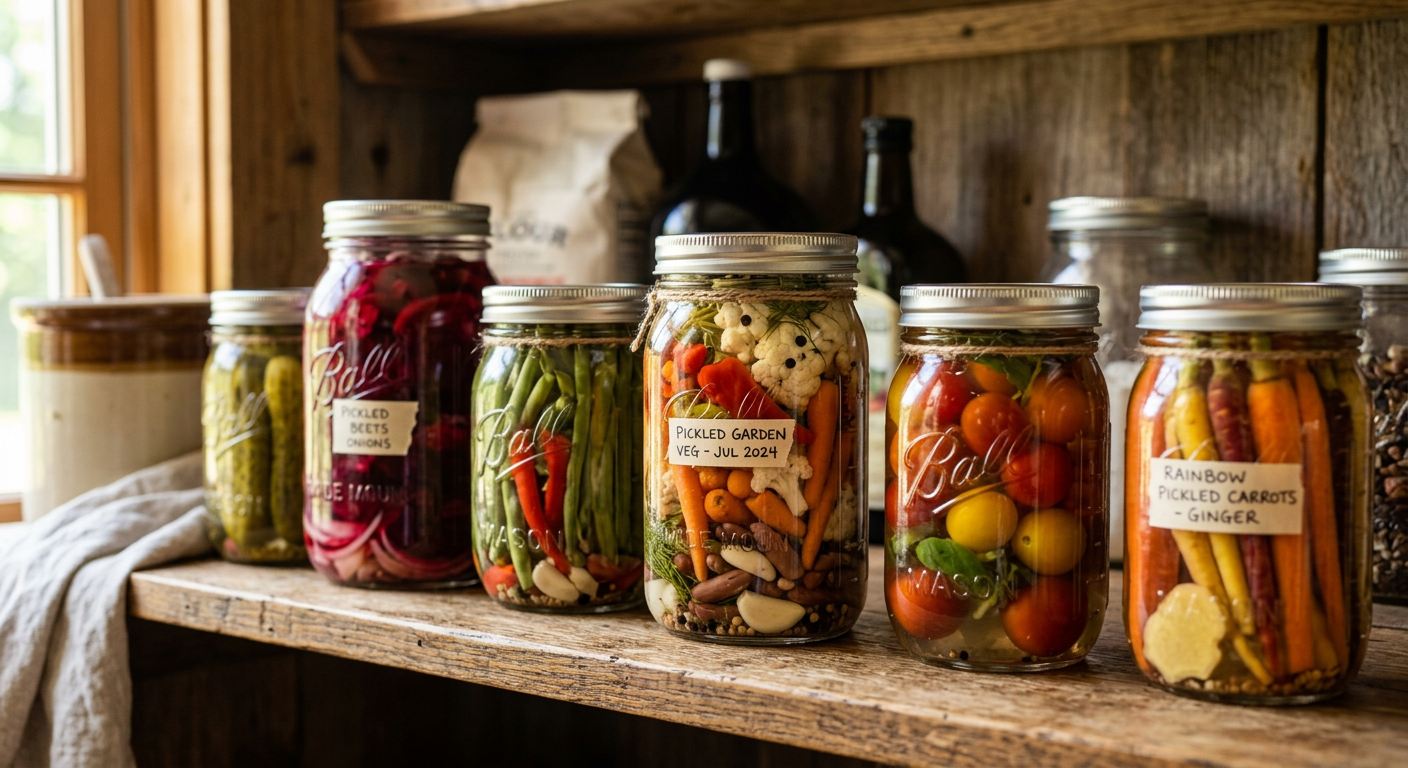
* Preserving: I’ll never forget my first attempt at canning green beans. I bought a cheap water-bath canner for $30 and read everything I could find. We were so proud of those first 12 jars. It was a tangible piece of the future, sitting on our Ikea shelf.
* Mending & Repair: We learned to sew on buttons, patch jeans, and fix the leaky faucet ourselves by watching YouTube videos. These small acts of self-reliance build confidence.
We treated this year like a training montage in a movie. It was our chance to fail small. If you’re serious about this life, tracking your progress from the very beginning is key. We used a simple spreadsheet, but there are dedicated tools now like the ones on HomesteadOS that can help you map out your goals and inventory from day one.
By the end of this year, you won’t have a homestead, but you will have the mindset and the savings account to make it happen.
—
Keep reading — this is where the real money gets spent.
—
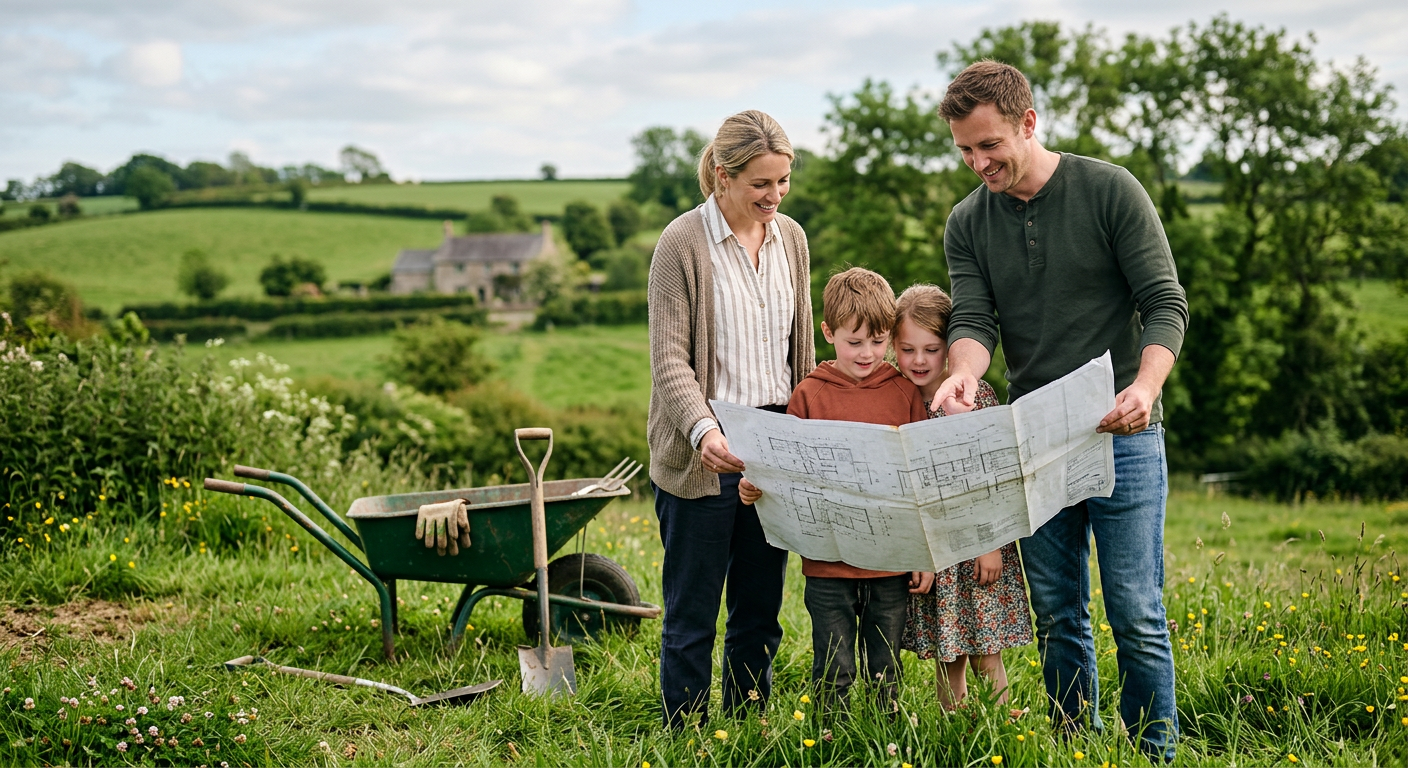
Year 2: Land & Basic Infrastructure
With our debt gone and a down payment saved, Year 2 was about finding our place. This process took us a solid six months of searching, driving down dirt roads, and learning about zoning laws and water rights. Don’t rush this. Check out our detailed guide on how to choose a homestead property for a full breakdown.
Once we closed on our 7 acres (which cost $65,000 at the time), the real work began. Your mantra for this year is Water, Waste, and Walls.
This year is a massive cash drain. You’ll feel like you’re making no progress on the ‘fun’ parts of homesteading. You’re just setting the stage. Be prepared for sticker shock and delays.
—
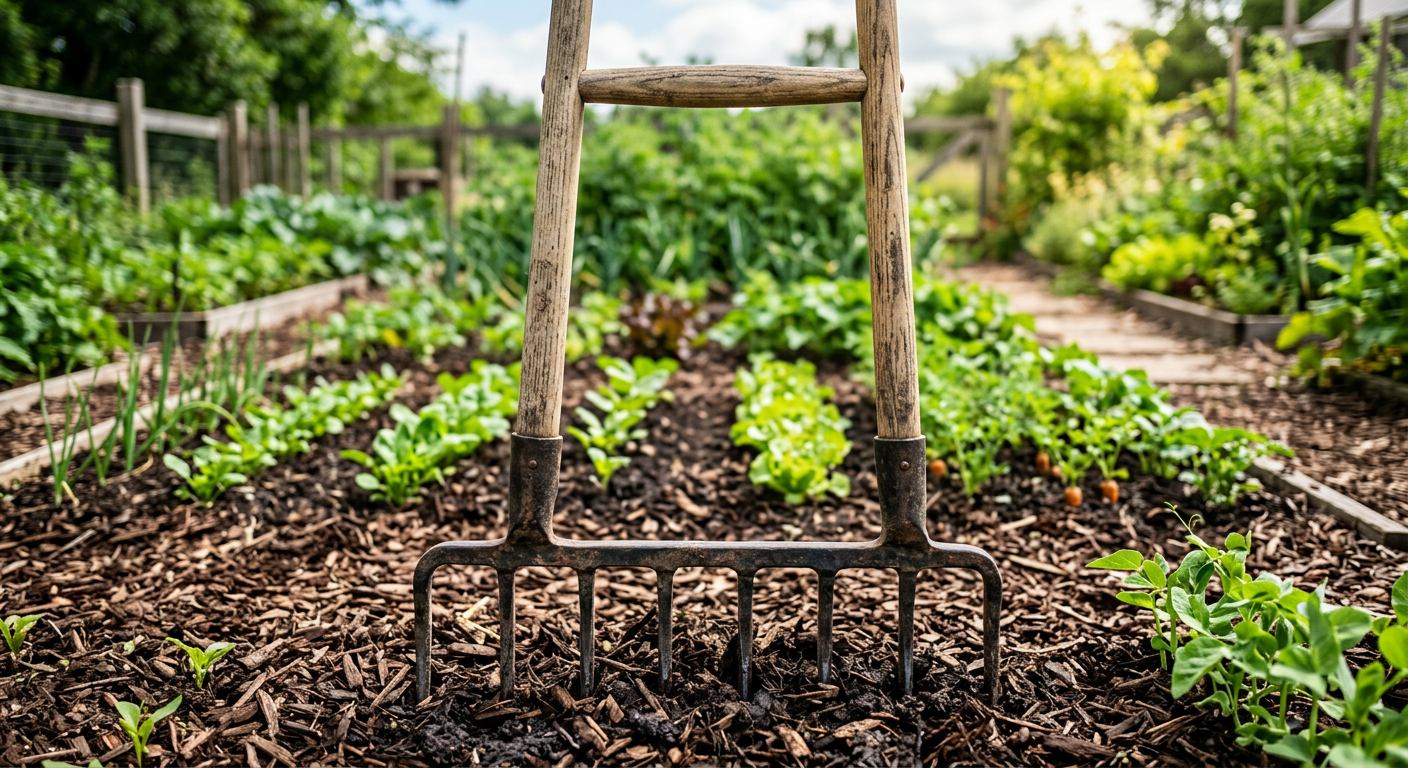
Year 3: A Deeper Dive into How to Become Self-Sufficient with Food Systems
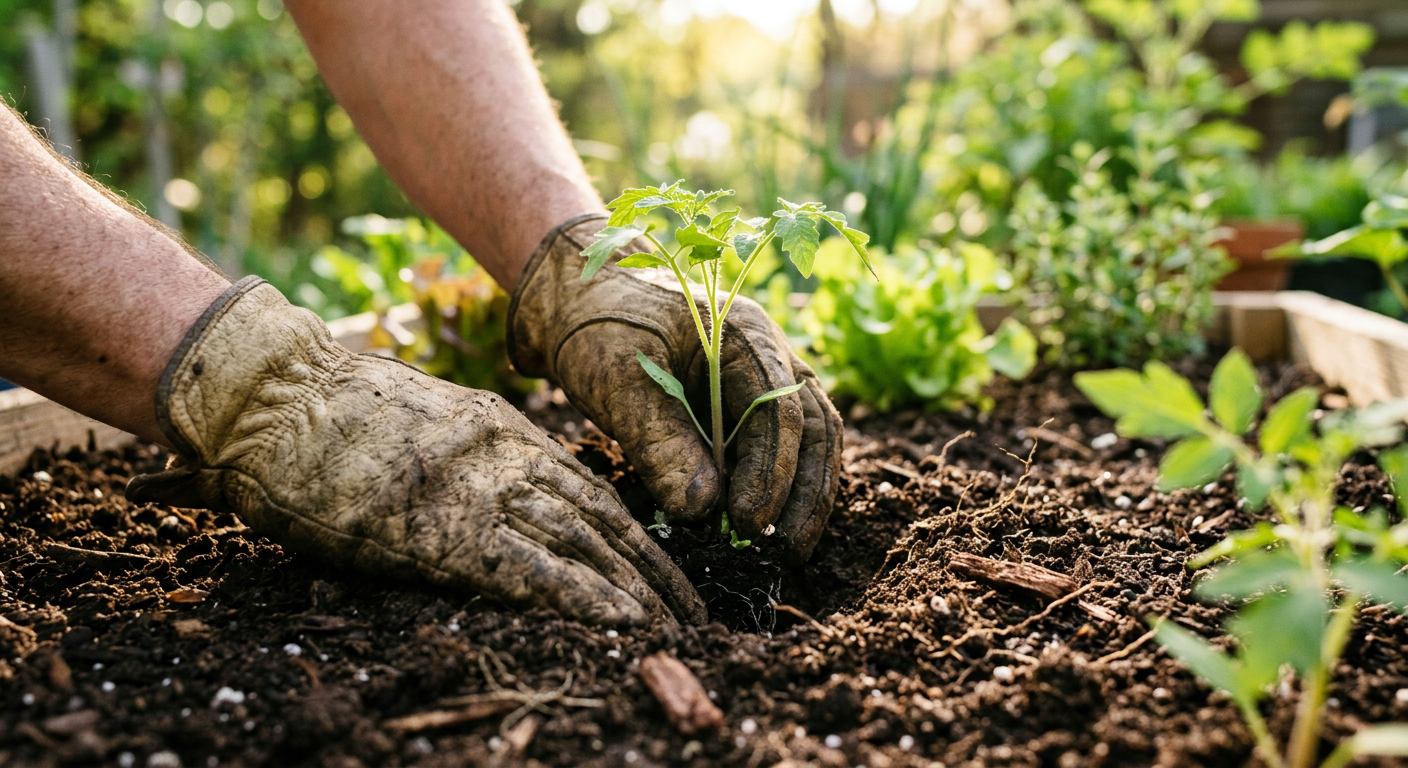
With basic shelter handled, Year 3 is GAME ON for food production. This is the year your property starts to look like a homestead.
The Garden Gets Serious
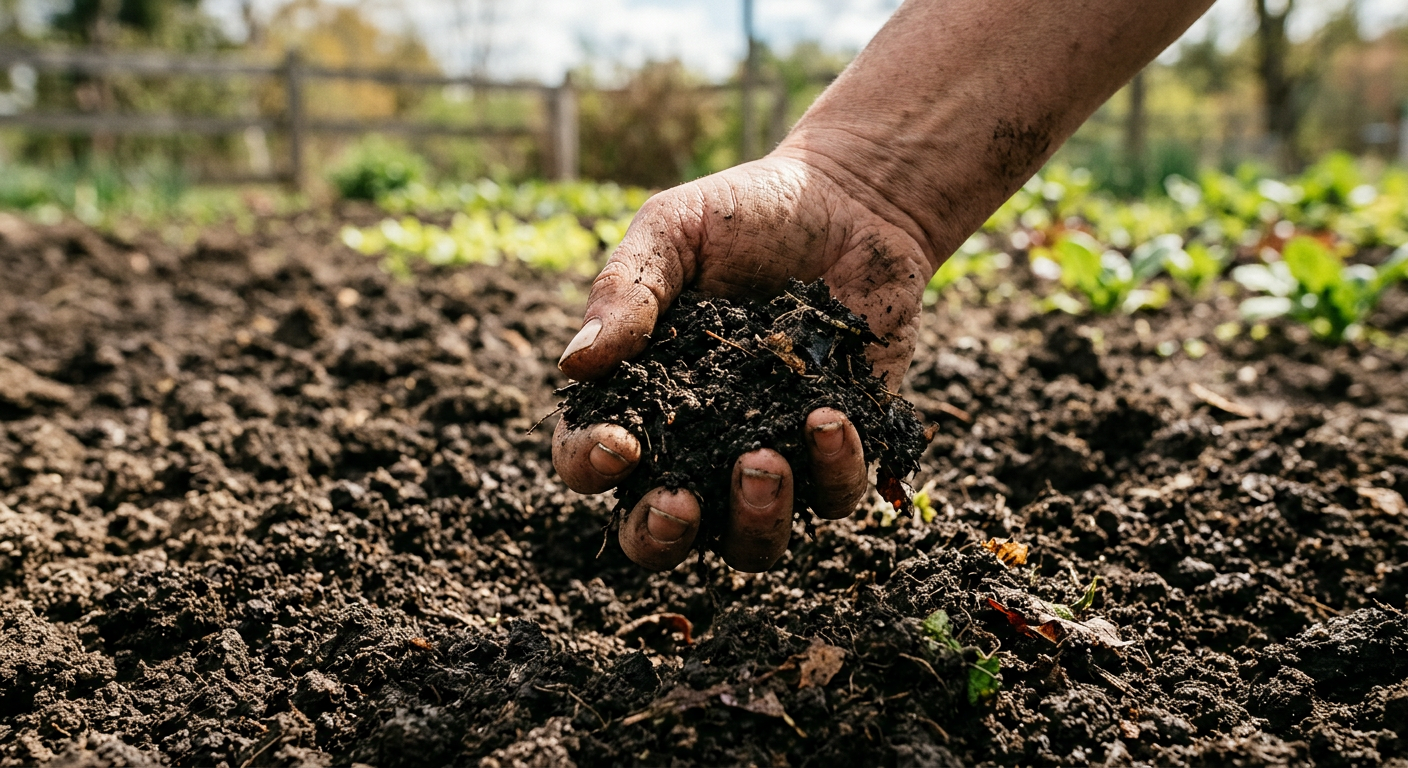
Our first-year garden on the land wasn’t in cute raised beds. It was a 50×50 foot tilled plot we amended with truckloads of free compost from the municipal yard. We focused on high-calorie, easy-to-store crops: potatoes, winter squash, dry beans, garlic, and onions. Plus tons of tomatoes for canning.
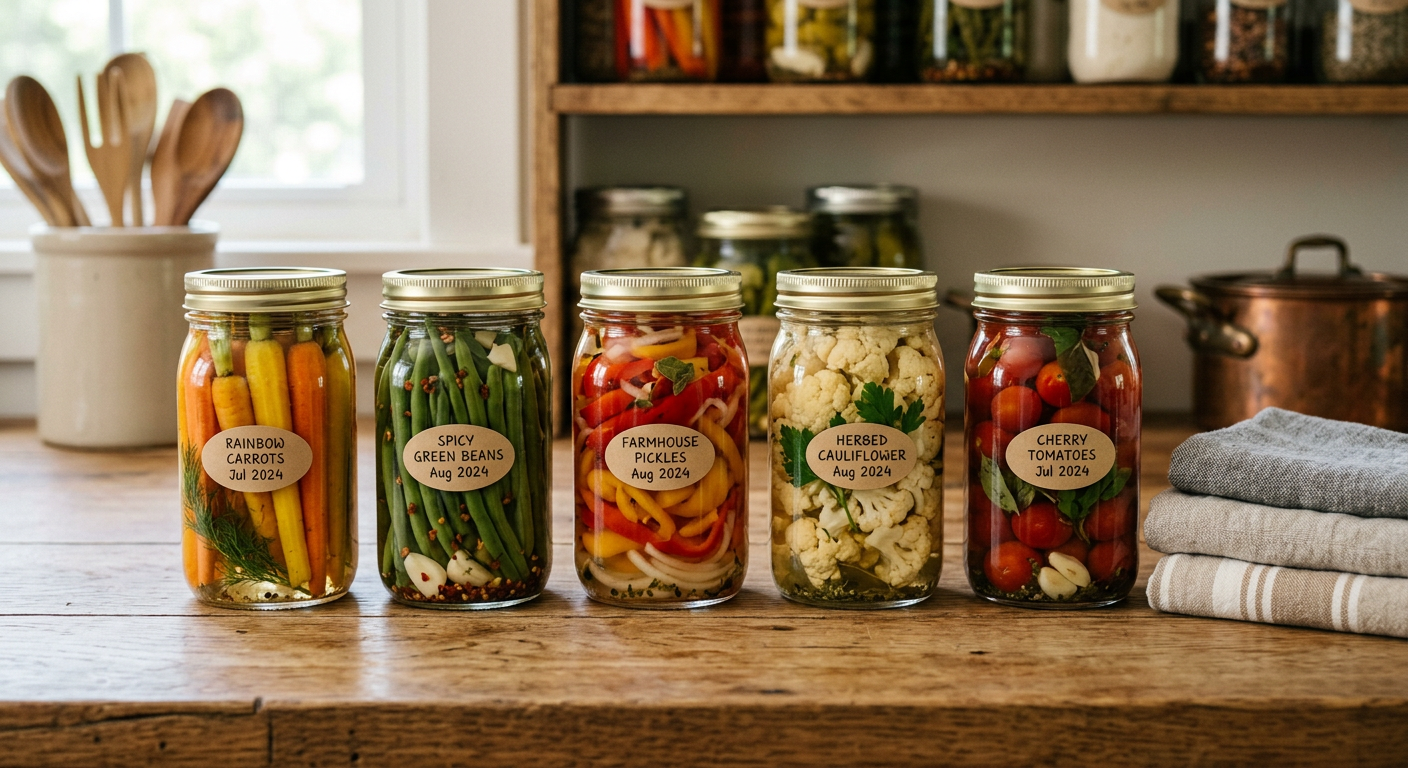
I made a huge mistake that first year: I didn’t get a soil test. Our production was okay, but not great. The next year, we sent a soil sample to our local university extension office for $15, and the report told us exactly what our soil was missing. Don’t skip this step!
Introducing Livestock
This was the year we got chickens. We started with 15 laying hens. The joy of collecting those first warm, brown eggs is something I’ll never forget. It’s a true milestone. For anyone considering it, we have a whole post on the a href=’https://blog.usehomesteados.com/raising-backyard-chickens-for-eggs-pros-cons’>pros and cons of raising backyard chickens you should read.
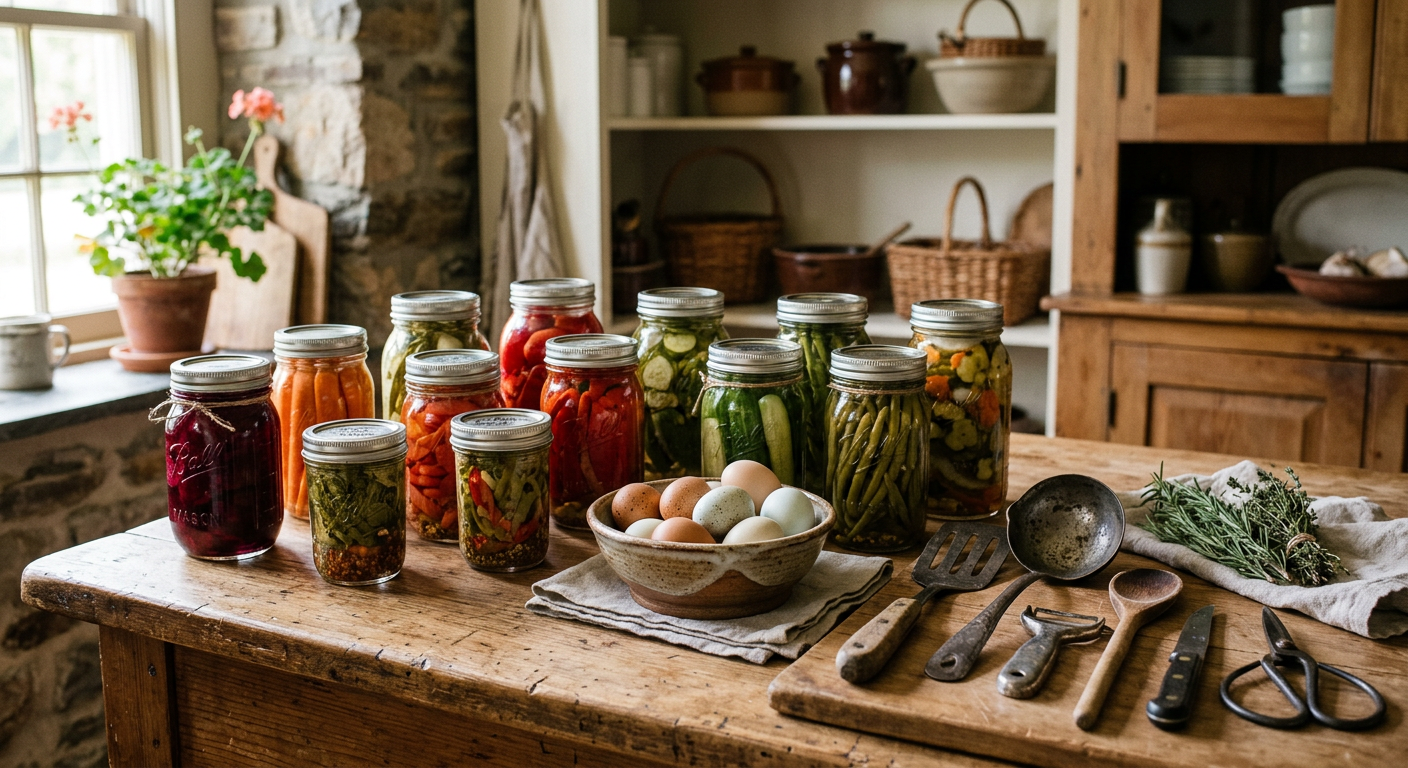
That fall was a blur of harvest and preservation. Every weekend was spent canning, freezing, dehydrating, and storing root vegetables in the small cellar we dug. We put up over 400 jars of food. It was exhausting, satisfying work.
—
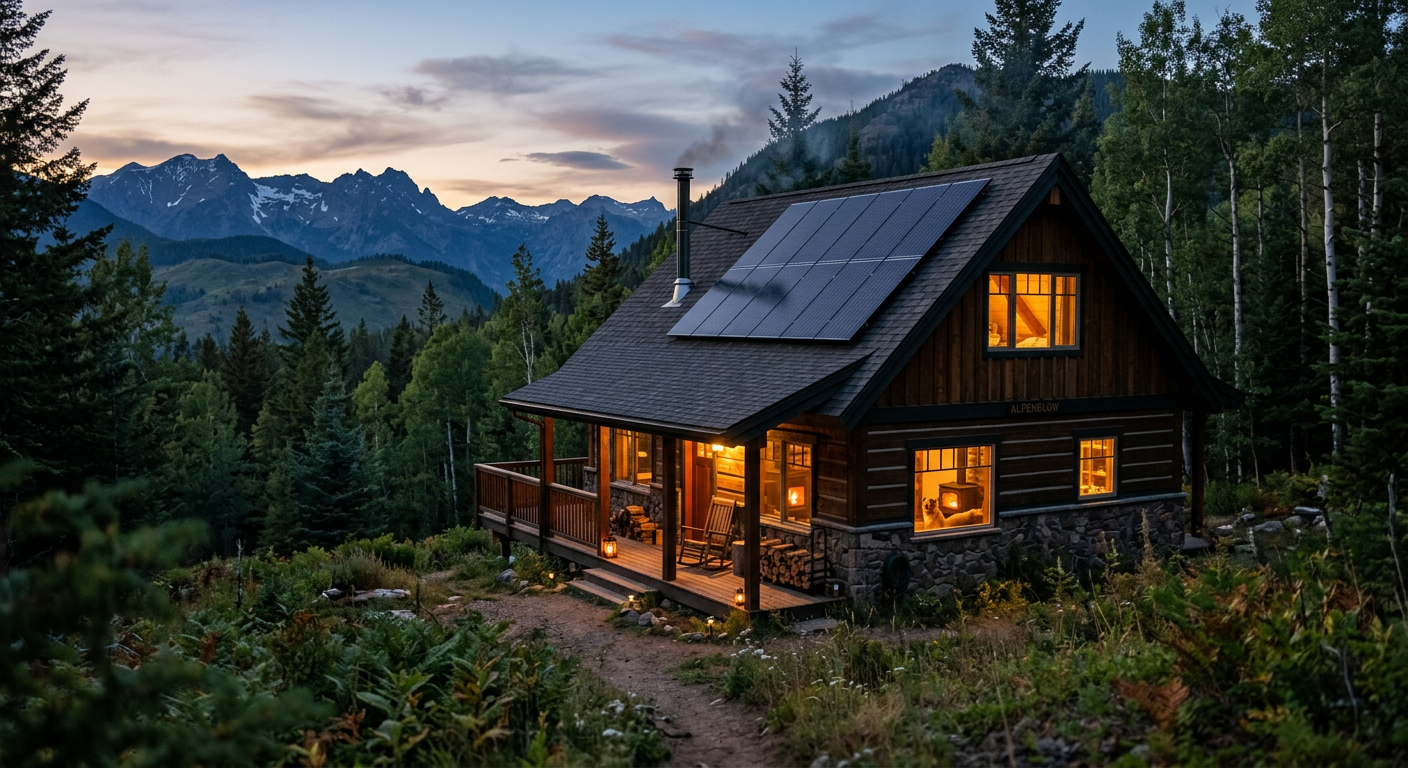
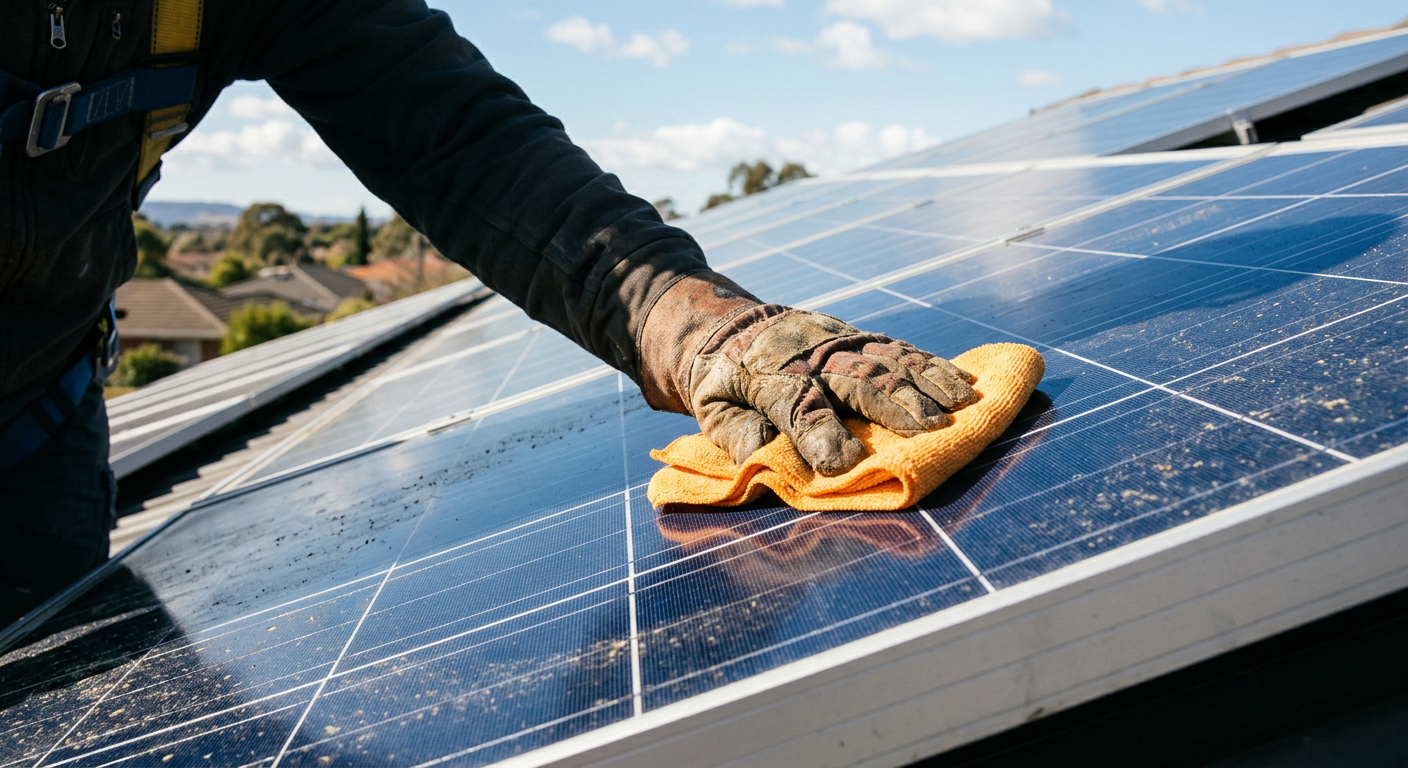
Year 4: Energy, Water & Scaling Up
By Year 4, you’ve got food systems dialed in. Now it’s time to reduce your reliance on outside utilities. For us, this meant tackling energy and water independence.
Our Off-Grid Lite Approach
We couldn’t afford a full $30,000 solar array. So we started smaller.
* Wood Heat: We installed a wood-burning stove as our primary heat source. We spend our autumns harvesting firewood from our own property. It’s labor-intensive but incredibly rewarding to heat your home with your own sweat.
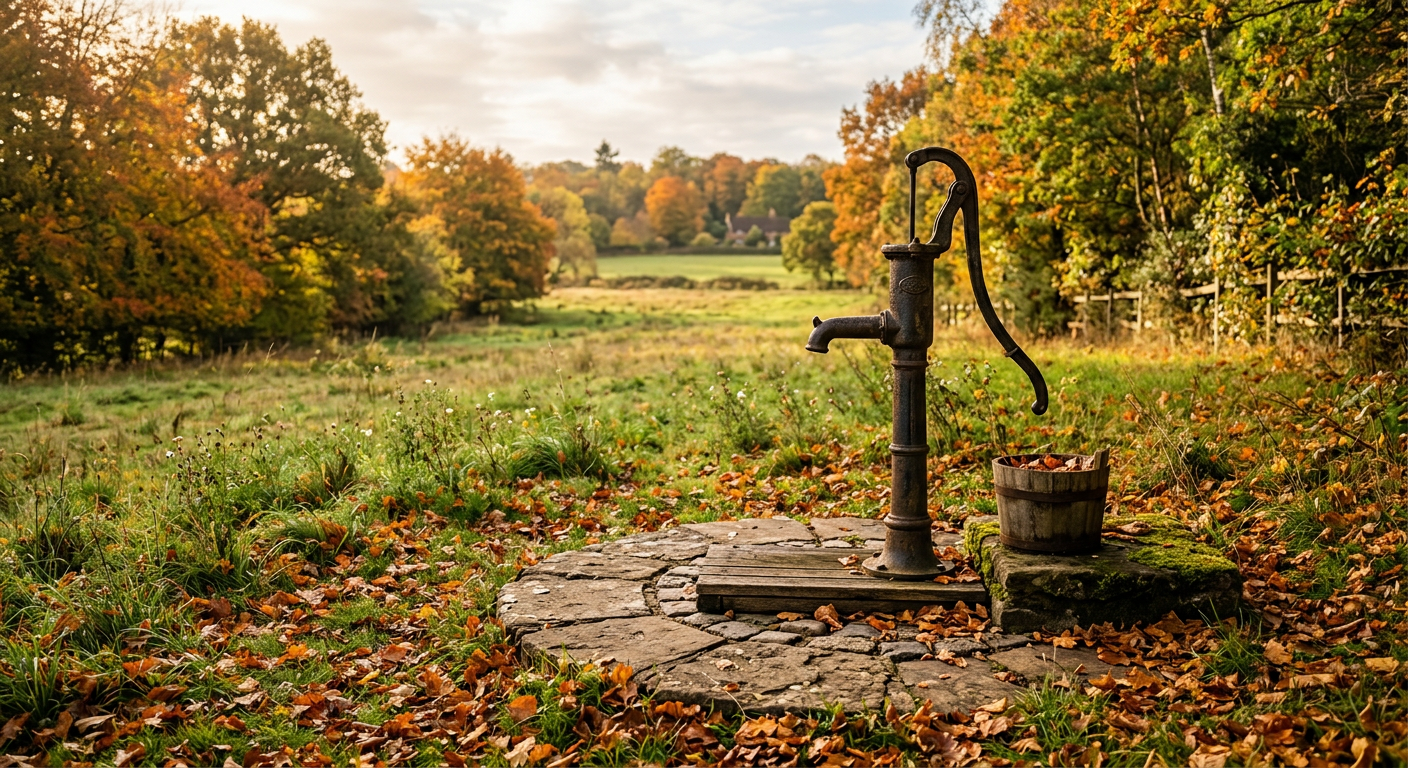
* Rainwater Collection: We added gutters and a 500-gallon tank to our cabin roof to collect rainwater for the garden. This cut our well pump usage dramatically during the dry summer months.
* Power Station: We invested about $1,500 in a Bluetti solar generator and a couple of panels. It doesn’t run the whole house, but it can power the fridge, our chest freezer, and our lights during a power outage. It’s a critical piece of resiliency we learned we needed after a 3-day winter outage.
We also expanded our livestock this year, adding two dairy goats. This was a whole new level of commitment, with twice-a-day milking, but the fresh milk, cheese, and yogurt were a game-changer for our food self-sufficiency. Managing all these moving parts—breeding schedules, feed calculations, harvest times—can get overwhelming, which is why having a central place to track everything, like a dedicated homestead management system, moves from a ‘nice-to-have’ to a necessity.
This is the year you really start to feel the security you’ve been working toward.
—
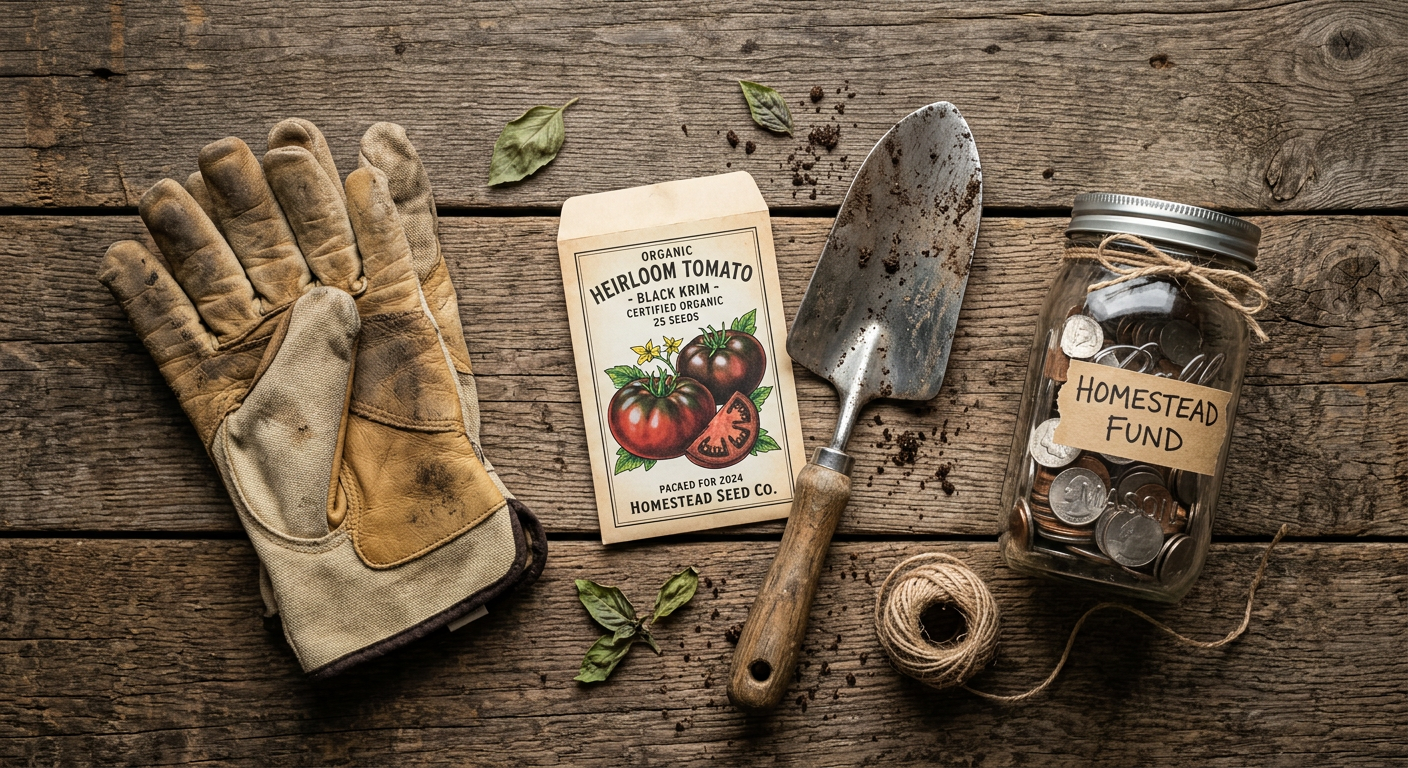
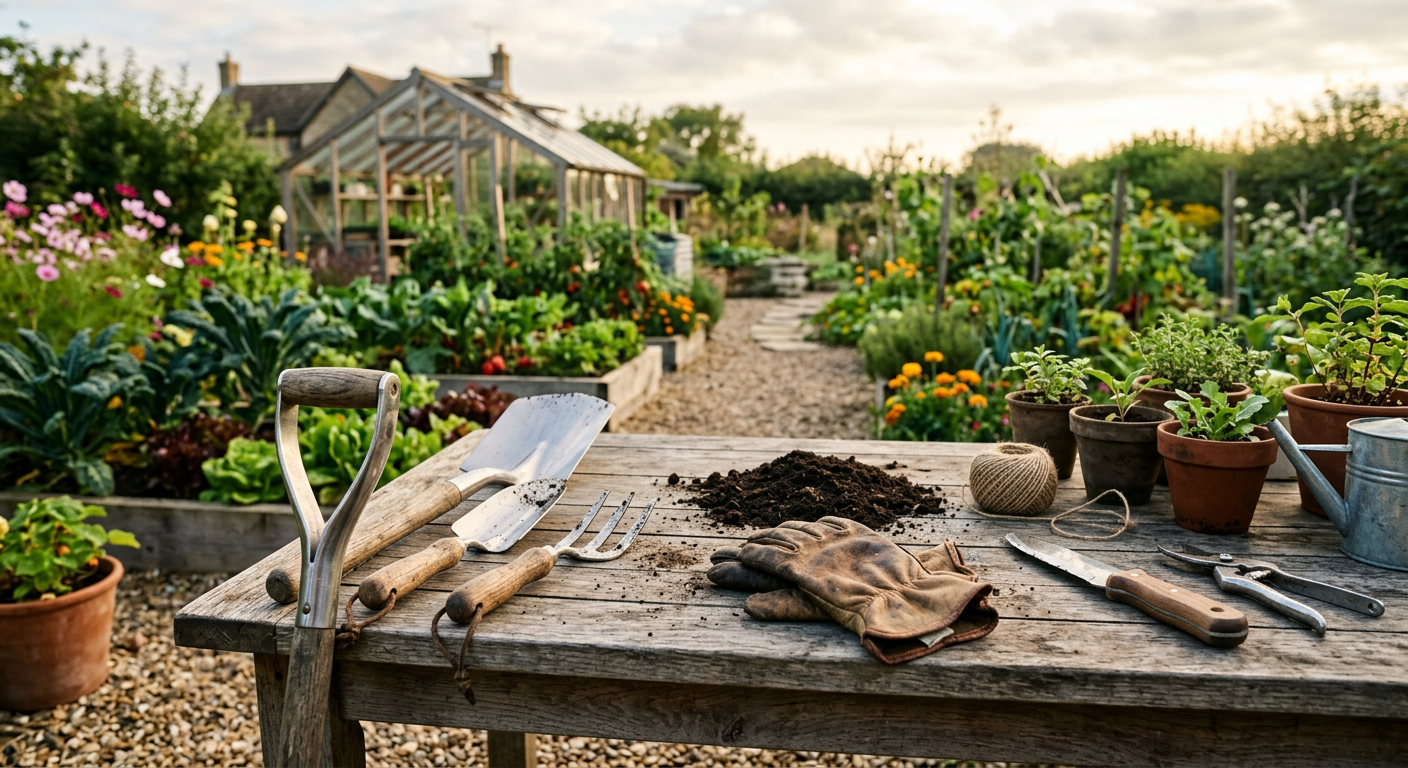
!Learning food preservation skills while figuring out how to become self-sufficient in five years.
Year 5: How To Become Self-Sufficient Through Refinement & Redundancy
Year 5 isn’t about adding new things. It’s about strengthening the systems you already have. The goal is to create a resilient, regenerative homestead that requires fewer outside inputs.
Our focus this year was:
* Closing Loops: This means breeding our own animals instead of buying chicks or kids. It means getting serious about seed saving from our best-performing vegetables. It means creating better compost systems to create our own fertilizer.
* Building Redundancy: What happens if the well pump breaks? We have the rainwater system as a backup. What if a predator gets the chickens? We have a freezer full of preserved meat. We thought about every potential failure point and built a Plan B.
* Community: This is a huge one. We established a barter network with our neighbors. We trade our excess eggs and goat milk for their beef. Another neighbor is a mechanic who helps us with our tractor in exchange for a side of pork. True self-sufficiency isn’t about being an island; it’s about being part of a strong, local community.
By the end of Year 5, our grocery bill was down 80%, we had no debt, and we produced our own heat, a good portion of our power, and most of our food. We weren’t 100% self-sufficient—and I don’t think anyone truly is—but we had built a life of freedom and security we once only dreamed of.
—
💡 Pro Tips
* Focus on One Thing at a Time. In Year 3, don’t start a garden, get chickens, AND get goats. Master the garden. Then add chickens the next year. Slow is smooth, and smooth is fast.
* Buy Quality Tools Once. We learned the hard way that a cheap, $100 chainsaw is more dangerous and frustrating than it’s worth. Save up and buy good tools. Our post on essential homesteading tools covers our must-haves.
* Define ‘Sufficient’ For YOU. Does it mean zero grocery bills? Or just being able to survive a 3-month job loss? Your goal dictates your plan. Be specific.
* Celebrate the Small Wins. When you successfully bake your first loaf of sourdough, that’s a party. When you eat the first tomato from your garden, savor it. This journey is long, and you need to fuel it with joy.
⚠️ Beginner Mistakes to Avoid
* Ignoring Local Knowledge: Don’t just read books. Talk to the old-timer at the feed store. Ask your neighbors what grows well in your specific microclimate. They have decades of experience you can learn from.
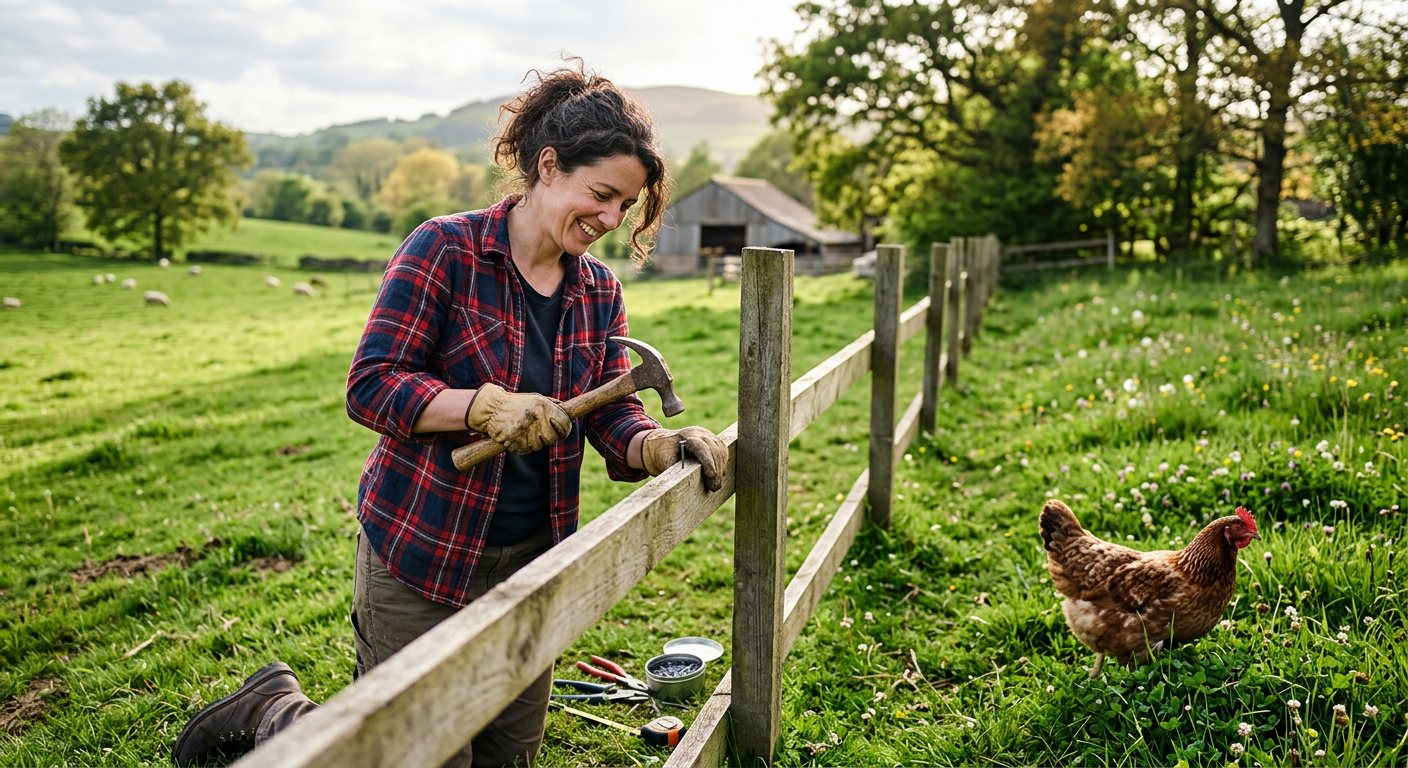
Getting Animals Before Fencing: We watched a neighbor spend their first summer constantly chasing their free-range goats out of the road. Your fencing and shelter must be 100% ready before* the animals arrive. No exceptions.
* Underestimating ‘Sweat Equity’ Time: That cabin we planned to build in six months? It took two years of weekends. Everything takes twice as long and costs 50% more than you plan. Budget time and money accordingly.
Analysis Paralysis: Don’t spend three years ‘researching’ without ever getting your hands dirty. Start a container garden today. Learn to mend a sock tonight*. Action is the greatest teacher.
Frequently Asked Questions
H3: How much money does it take to become self-sufficient?
This varies wildly, but let’s be real: it’s not cheap. Aside from the land cost, we spent roughly $30,000 on essential infrastructure (well, septic, temporary housing) in Year 2. After that, we probably invested another $10,000 over the next three years in animals, fencing, tools, and preservation supplies. We did it by paying cash and avoiding debt like the plague.
H3: Can you truly be 100% self-sufficient?
Honestly, no. And it’s not a great goal. We still buy things like coffee, salt, and tractor parts. A better goal is ‘community-sufficient,’ where you rely on a network of local producers. Total isolation is fragile; community is resilient.
H3: What is the hardest part of this lifestyle?
It’s not the physical labor. It’s the mental and emotional toll. Animals get sick and die. Crops fail. You will face setbacks that make you want to quit. The resilience to get up at 5 AM the next day and do it all over again is the hardest and most important skill.
H3: What can I do to start in an apartment?
A LOT. The most important year is Year 1, and it can be done anywhere. Get out of debt. Learn to cook from scratch, bake, and mend. Start a small container garden. Learn to can using produce from the farmer’s market. These skills are the foundation of everything.
—
!A family planning their future homestead and learning how to become self-sufficient in five years.
Are You Ready for the Work?
The path to become self-sufficient in five years is paved with dirty fingernails, early mornings, and a lot of mistakes. But it’s also a path to incredible freedom, security, and a connection to your food and your family that’s impossible to describe.
It’s not just about surviving; it’s about thriving. If you want to see more of our day-to-day successes and failures, be sure to follow our Facebook page!
What’s the one skill you’re most excited (or scared) to learn on your self-sufficiency journey? Share it in the comments below!
📚 More From Our Homestead
- No Eggs? Troubleshooting Chicken Laying Problems
- Best Veggies for a Backyard Organic Garden (Our Picks)
- How to Store Root Vegetables For Winter Without a Cellar
- My First Year Beekeeping Equipment Checklist (What We Used)
- Start Urban Homesteading on a Small Balcony (Our Story)
Ready to Start Your Homestead Journey?
Free guides, checklists, and tools to help you build your dream homestead.