Tag: gardening

  • Homesteading on a Budget: Our Smart Start Guide

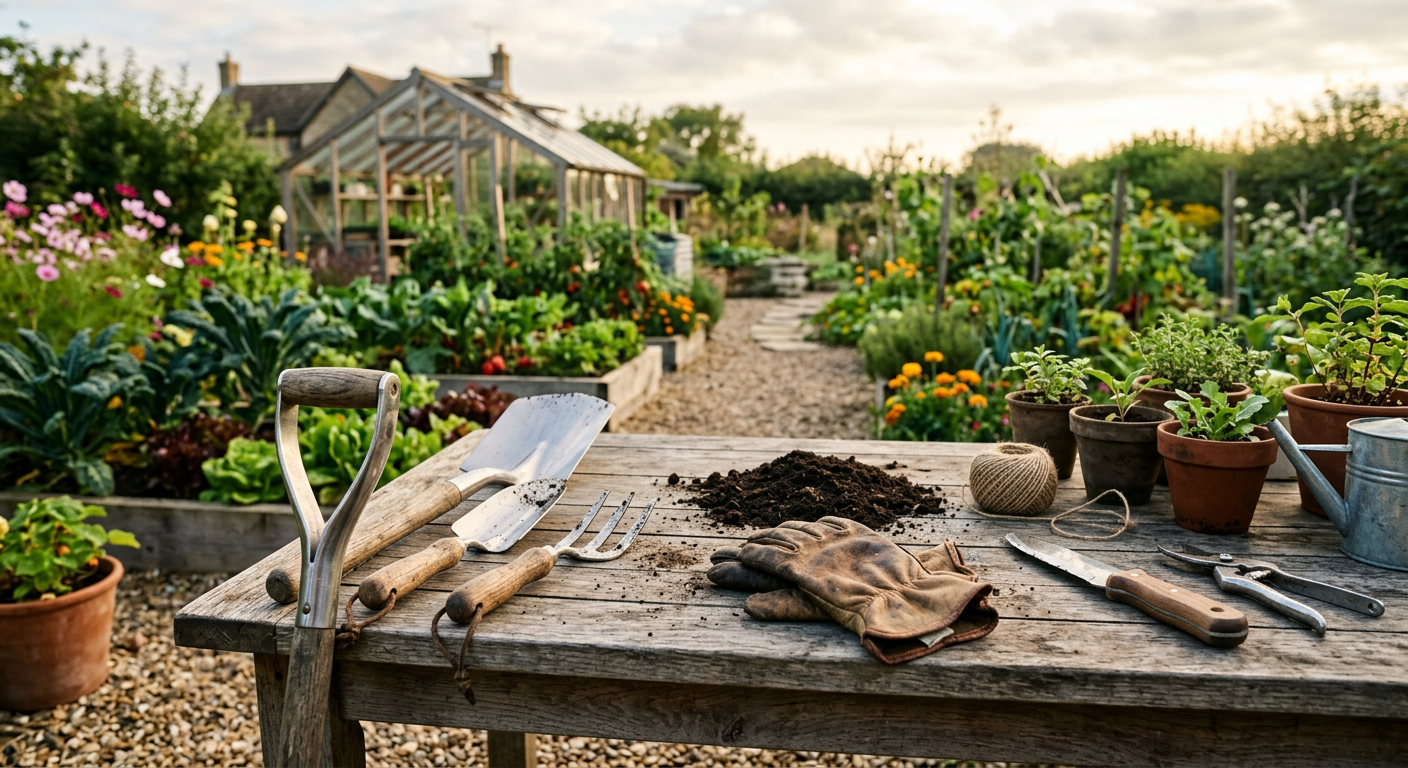
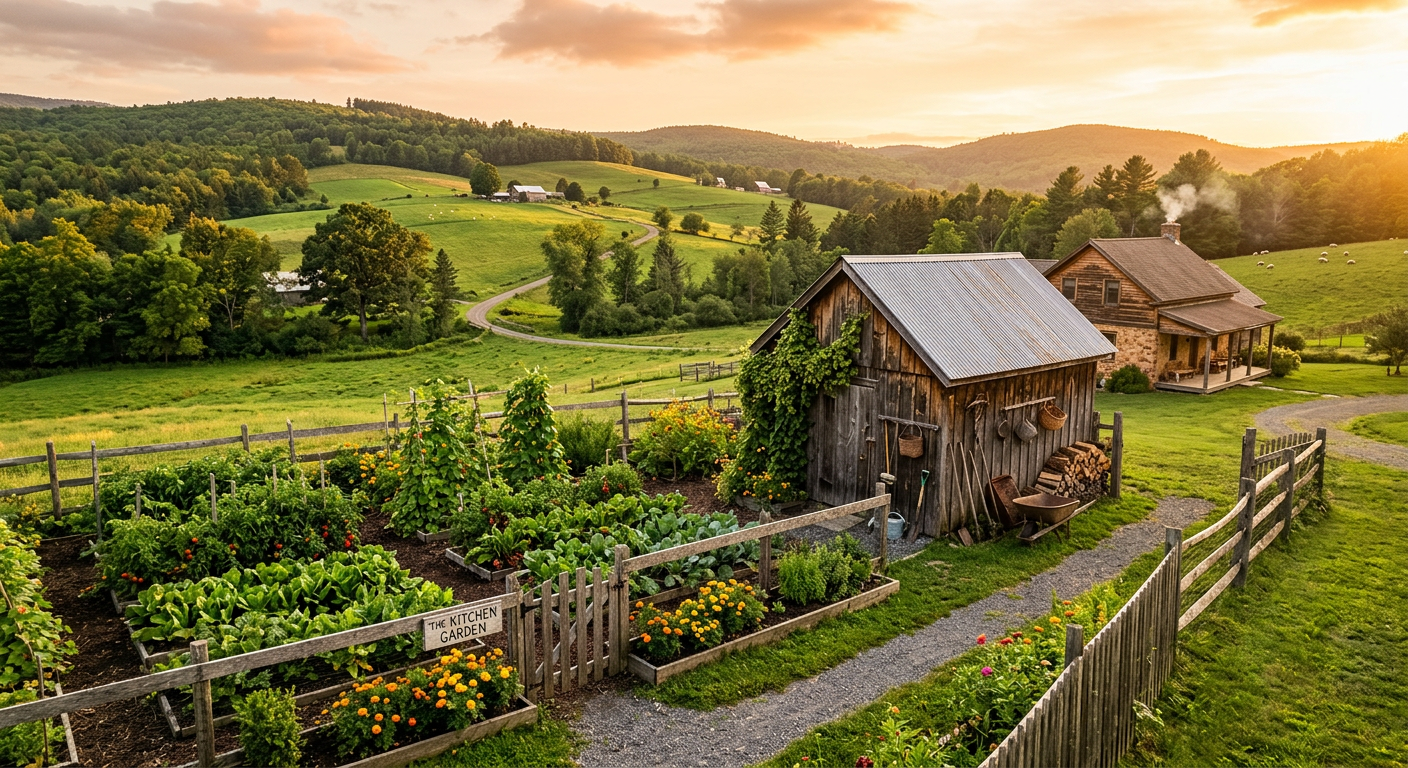
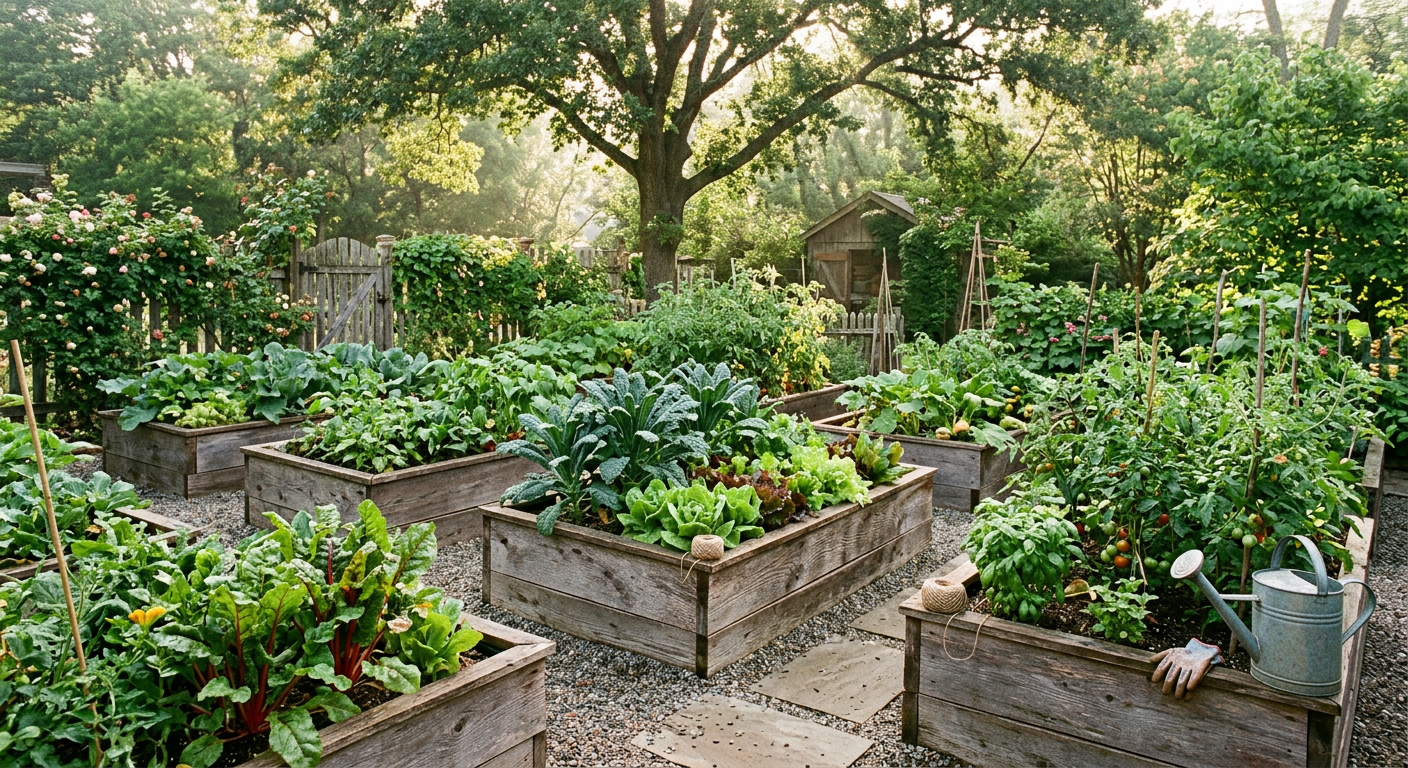
    !A thriving backyard garden showing how to get started homesteading on a budget with DIY raised beds.

    When we first started dreaming of our homestead, the biggest thing holding us back wasn’t the hard work (we’re not afraid of dirty hands!), it was the sheer perceived cost. We pictured huge barns, expensive equipment, and acres of land, and thought, “There’s no way we can afford that!” But thankfully, we quickly learned that how to get started homesteading on a budget isn’t just possible; it’s often the best way to begin. We started small, learned as we went, and saved thousands by being resourceful.

    ๐ŸŽฏ Quick Answer: To get started homesteading on a budget, focus on skill-building over immediate large purchases, prioritize high-yield projects like gardening and composting, and leverage free or low-cost resources like community gardens, skill-shares, and DIY projects. Start with what you have, where you are.

    ๐ŸŒฑ Start Your Homestead Plan โ†’

    ๐Ÿ”‘ Key Takeaways

    Skills First, Purchases Second: Invest time in learning before spending money on tools or supplies. Knowing how* to do something saves you from buying unnecessary gadgets.

    * Start Small & Scale Up: Don’t try to do everything at once. Focus on one or two projects that offer the most immediate return, like a small vegetable garden or composting system.

    * DIY & Repurpose: The most cost-effective homesteads are built on ingenuity. Look for free materials, learn to fix things, and repurpose items you already own.

    * Community is Key: Barter skills, share resources, and learn from experienced homesteaders. Your community is an invaluable, often free, resource.

    * Track Your Wins (and Losses): Keep a journal of what works and what doesn’t. This helps you refine your approach and avoid costly mistakes in the future.

    * Focus on ‘Highest Return’ Projects: Prioritize activities that directly reduce your grocery bill or build essential self-sufficiency skills immediately.

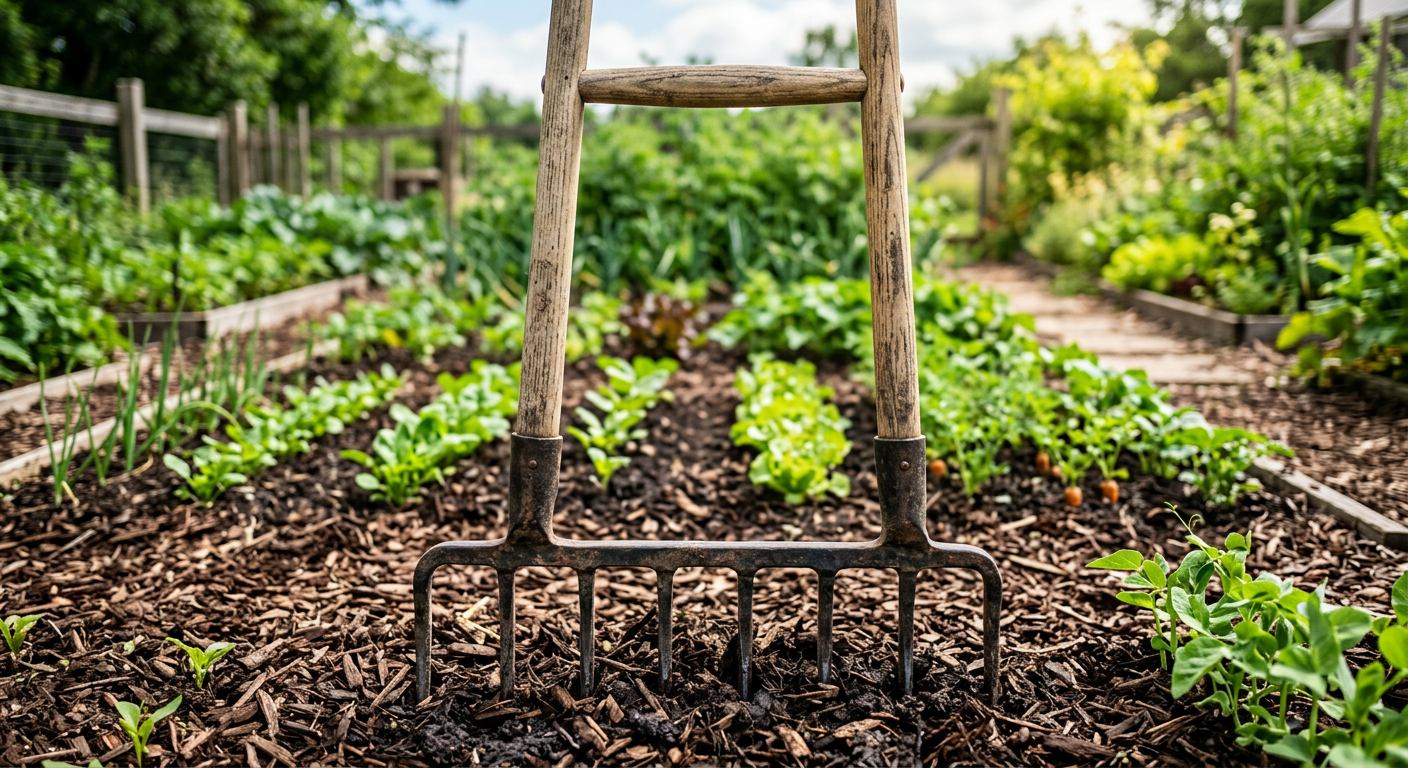
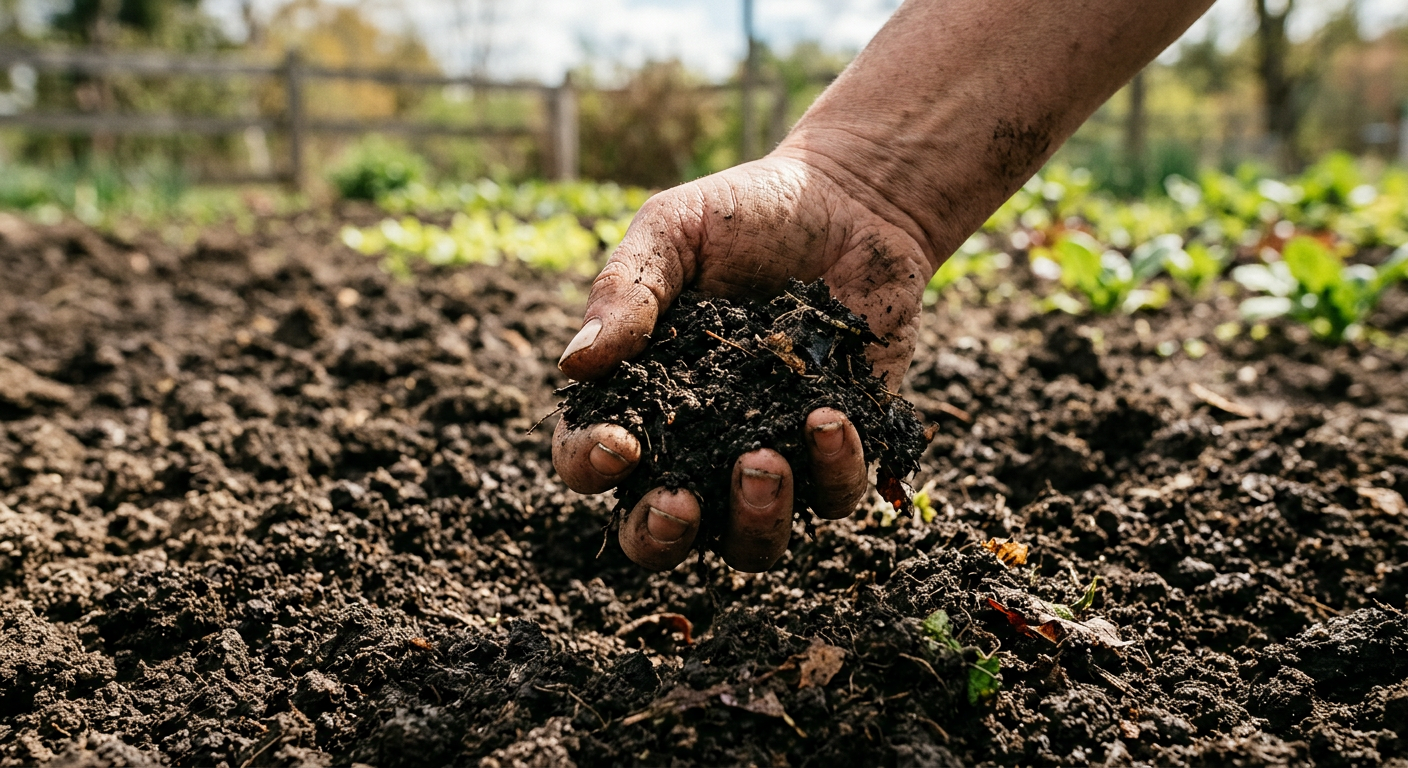
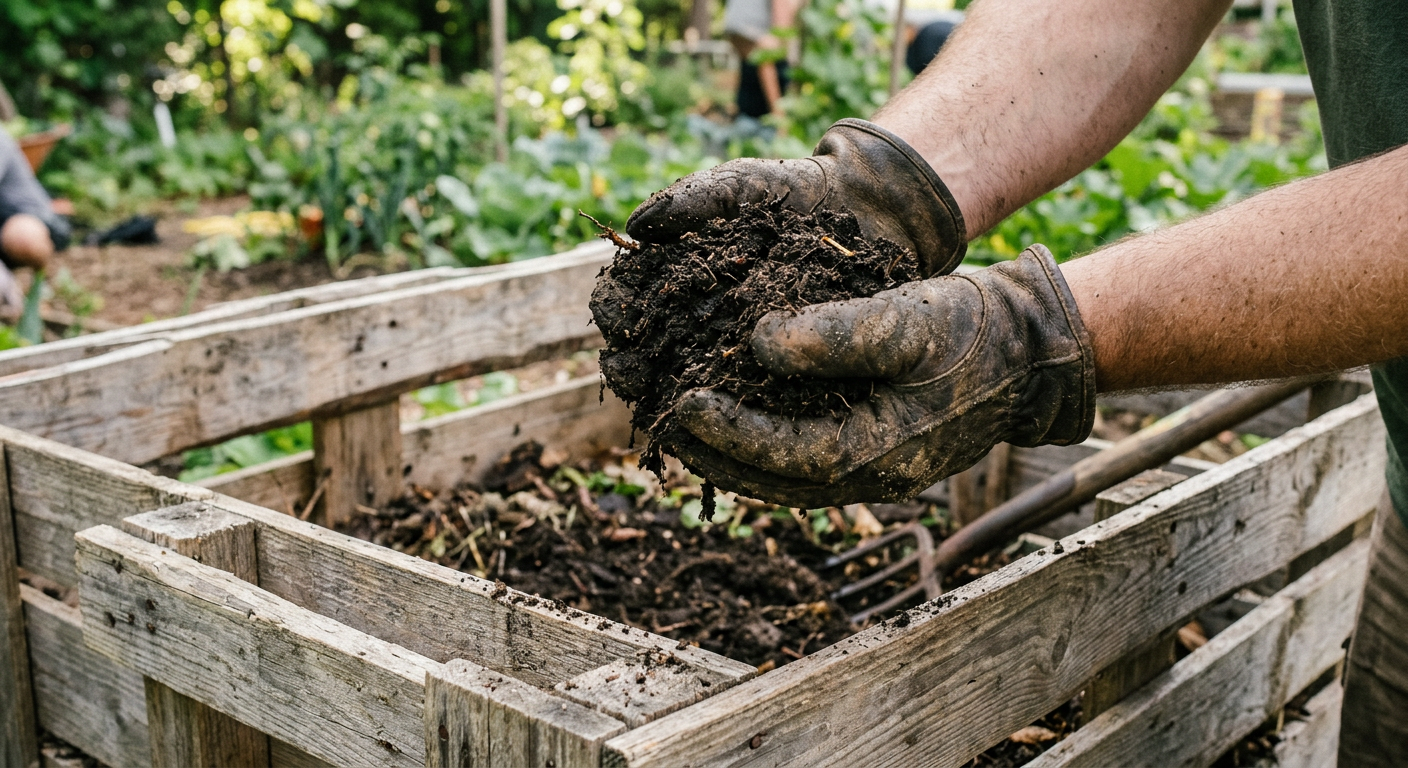
    !Close-up of healthy compost, a key part of how to get started homesteading on a budget.

    Our Journey: Starting with Just a Small Garden Plot

    When we decided to take the plunge, we didn’t buy a sprawling farm. In fact, we were still living in a suburban home with a postage-stamp-sized backyard. Our very first step in how to get started homesteading on a budget was transforming about 100 square feet of lawn into a vegetable garden. We spent less than $50 that first spring on some seeds, soil amendments, and a few hand tools we already had. That tiny garden, while not feeding us entirely, gave us fresh produce for months and invaluable experience.

    Prioritizing High-Yield, Low-Cost Projects

    We learned early on that not all homesteading projects are created equal in terms of upfront cost versus return. Our priorities became:

    * Vegetable Gardening: Hands down, this was the biggest bang for our buck. We saved hundreds of dollars on groceries by growing our own tomatoes, lettuce, beans, and herbs. For more on getting started, check out our guide on How to Start a Small Backyard Vegetable Garden: Beginner Guide.

    * Composting: Free fertilizer! We started with a simple DIY pallet compost bin. All our kitchen scraps, yard waste, and even shredded paper went in, and rich soil came out. Cost: essentially zero.

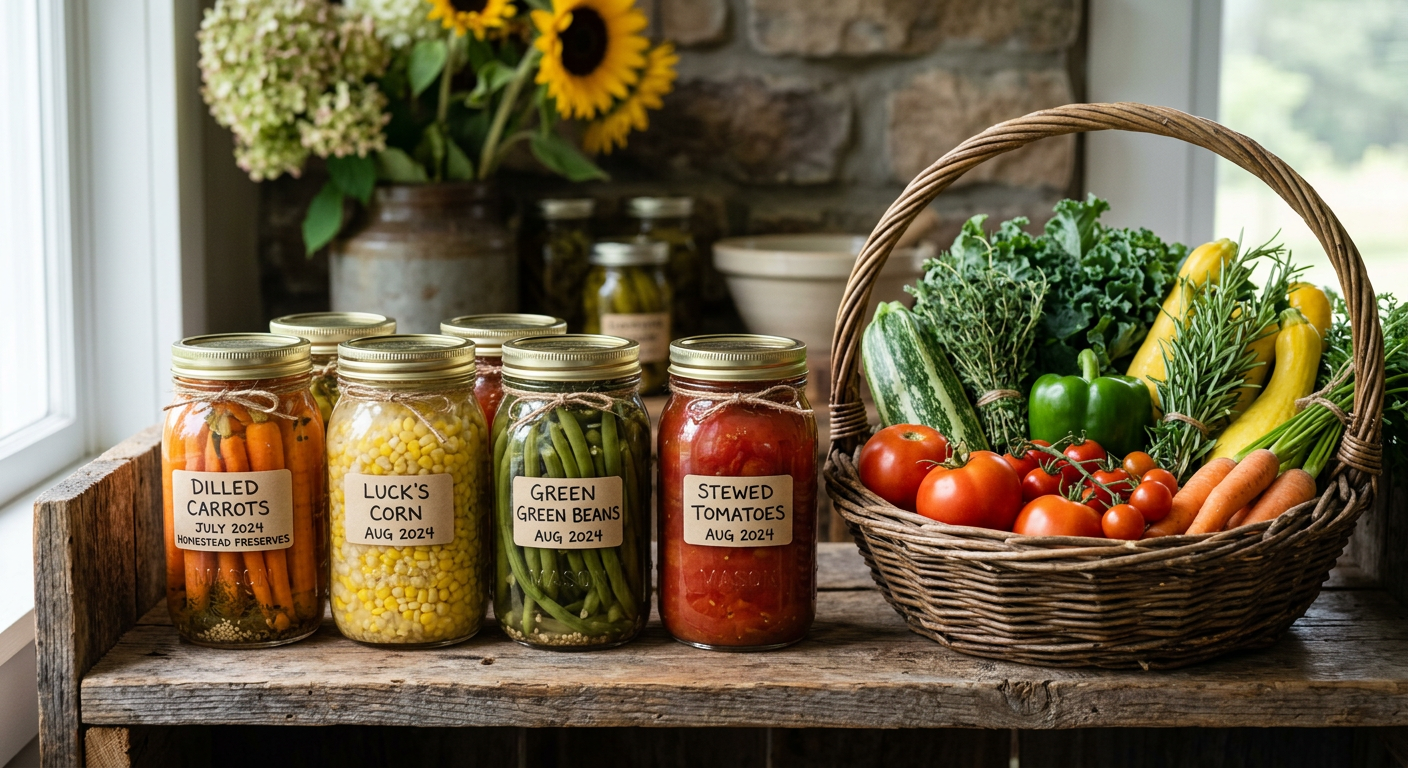
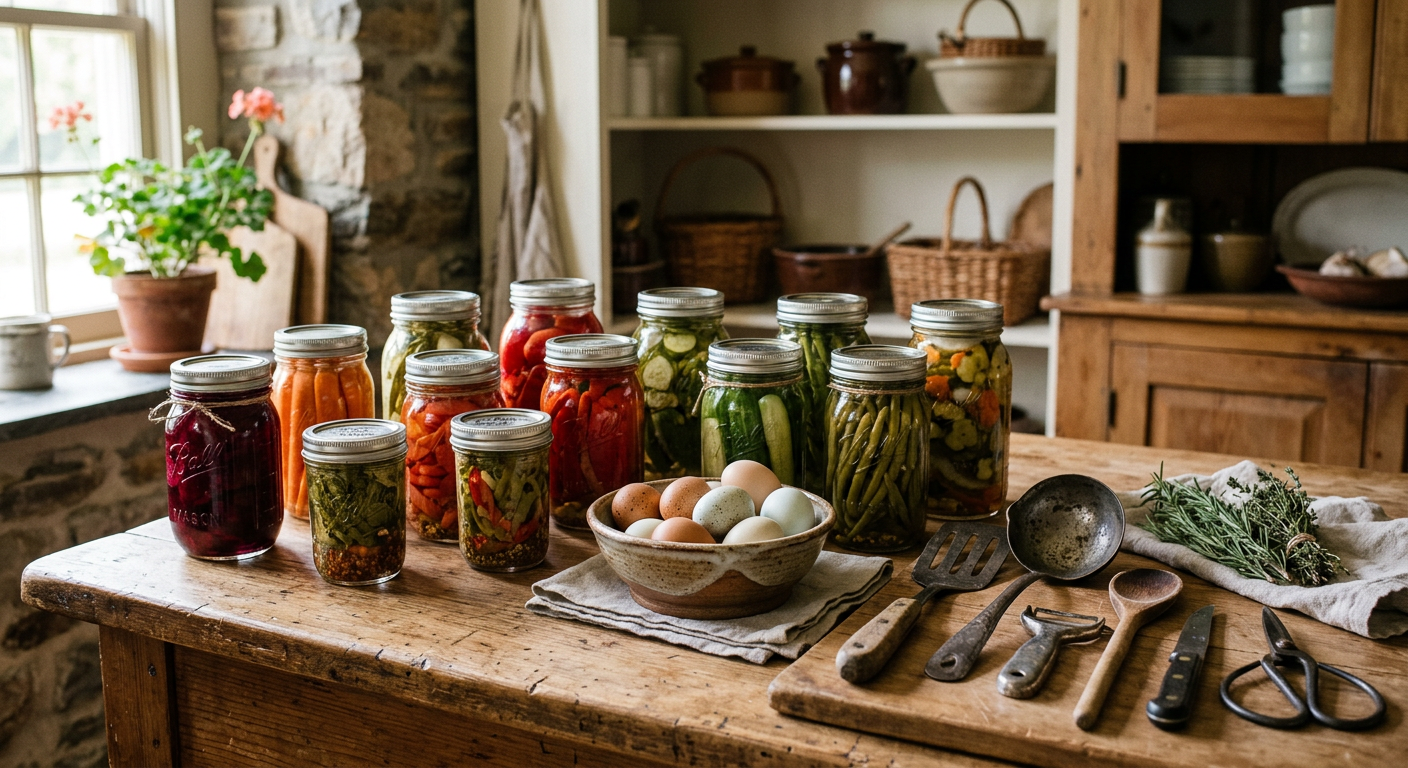
    * Preserving Food: Learning basic canning, freezing, and dehydrating meant we could make our garden bounty last. We started with a basic water bath canner our grandma gave us.

    This next part? Nobody talks about it, but it changed everything for us.

    The Power of DIY and Scavenging for Your Homestead

    One of the biggest budget-savers on our homestead has been our willingness to build, fix, and repurpose. We rarely buy new if we can help it. When figuring out how to get started homesteading on a budget, think like a scavenger. Our chicken coop was built from reclaimed pallets and old fence posts we got for free from a local construction site. Our first rainwater catchment system (a crucial budget saver for irrigation!) was literally just a fifty-gallon food-grade barrel we bought for $20, connected to our gutter with a simple diverter.

    Where to Find Free & Cheap Materials:

    * Craigslist/Facebook Marketplace (Free Section): This is a goldmine for everything from moving boxes (great for sheet mulching!) to compost, landscaping rocks, and even lumber scraps.

    * Construction Sites: Always ask first! Often, they’ll let you take scrap wood, concrete blocks, or dirt for free.

    * Local Businesses: Restaurants might have five-gallon pickle buckets (perfect for harvesting or small storage), bakeries might have large plastic tubs, and fruit stands often have apple boxes.

    * Roadside Finds: Keep an eye out for discarded furniture, old tires (great for elevated garden beds), or broken appliances that have useful parts.

    We’ve outfitted entire sections of our homestead purely from salvaged materials. It takes more time and creativity, yes, but it saves an incredible amount of money. Next, I’ll share how we approached animal integration without breaking the bank.

    Smart Ways to Introduce Livestock on a Shoestring

    Adding animals can feel like a massive jump in cost, but it doesn’t have to be. We integrated chickens into our homestead after about a year, and we did it as frugally as possible. When considering how to get started homesteading on a budget with animals, always ask yourself: What’s the immediate benefit, and what’s the minimum viable setup?

    Our Chicken Experiment (and How We Kept Costs Low)

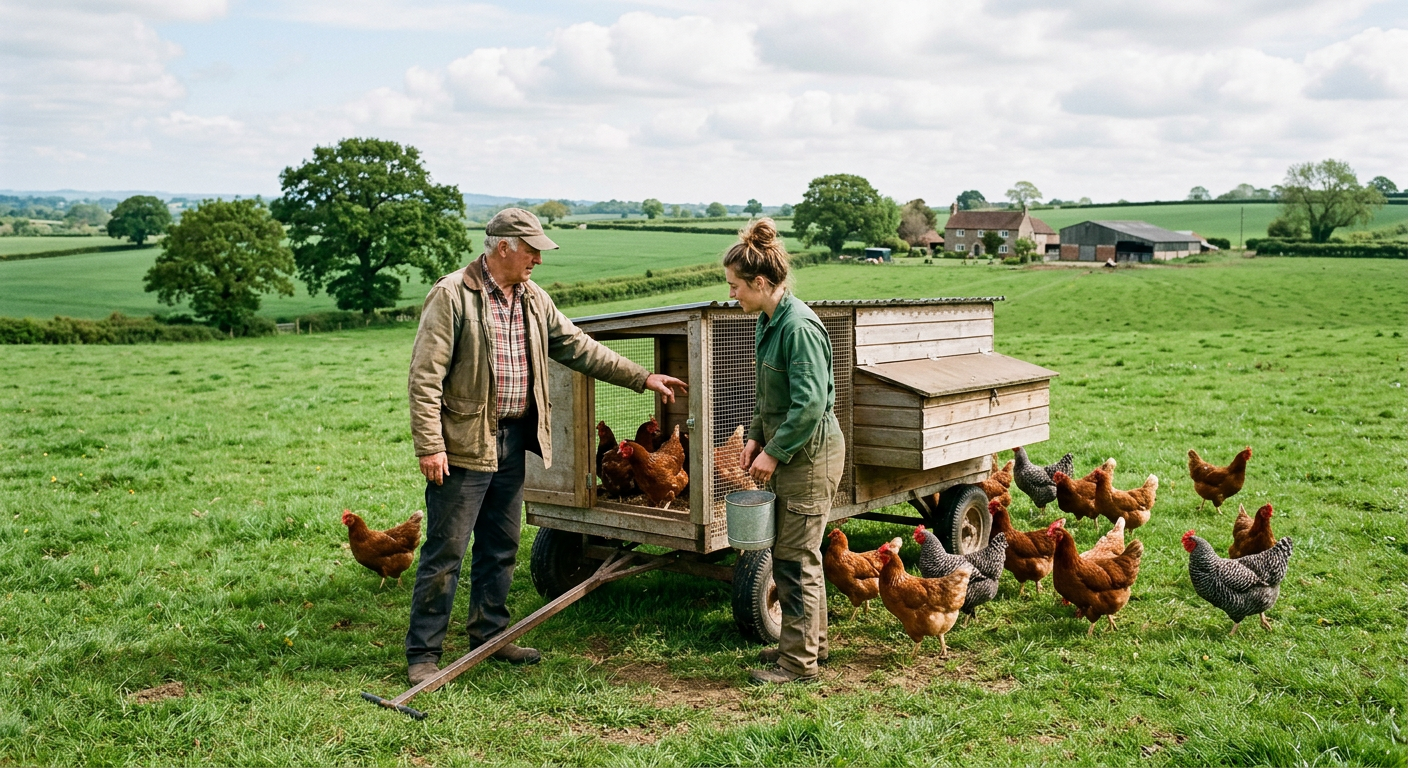
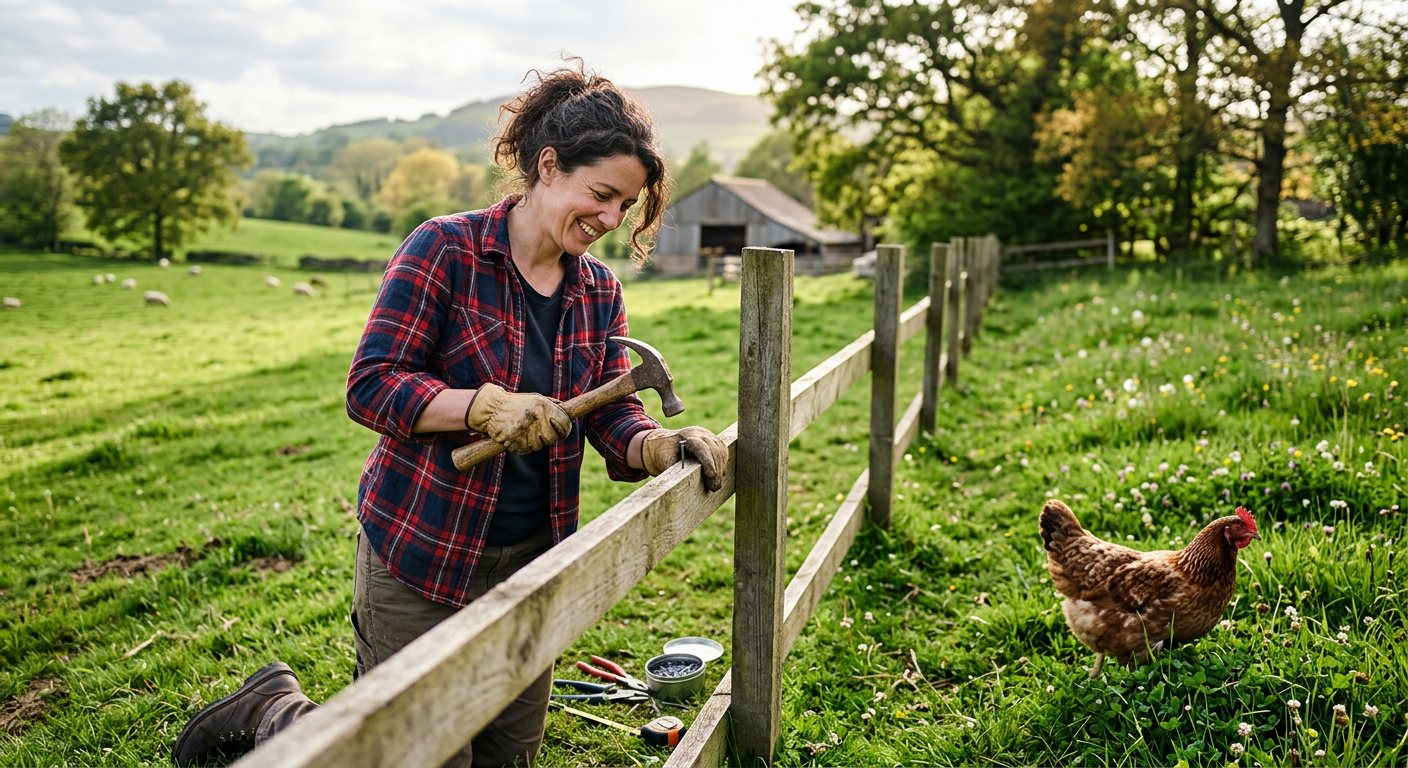
    We started with just three baby chicks we bought for about $4 each. Their initial brooder was a large plastic tote in our spare bathroom! We built their first small coop almost entirely from free pallets and reclaimed roofing tin. Our total investment was under $75 for the chicks, some feed, and a few hardware pieces.

    * Consider “Free” Chickens: Sometimes local farmers or enthusiasts offer surplus roosters or older hens for free. Check local groups!

    * DIY Housing: Avoid expensive pre-made coops or shelters. Learn to build your own from scavenged materials. For inspiration, check out our post on Build a Movable Chicken Tractor for Sustainable Pest Control.

    * Forage & Supplement: Let your chickens free-range if possible to reduce feed costs. We also sprout grains and grow fodder for them (more free food!).

    * Start Small: Don’t get 20 chickens if you’ve never had any. Start with 3-5, learn their needs, and expand if your budget and space allow.

    Keep reading โ€” this is where most people mess up.

    ๐Ÿ“‹ Get the Beginner Checklist โ†’

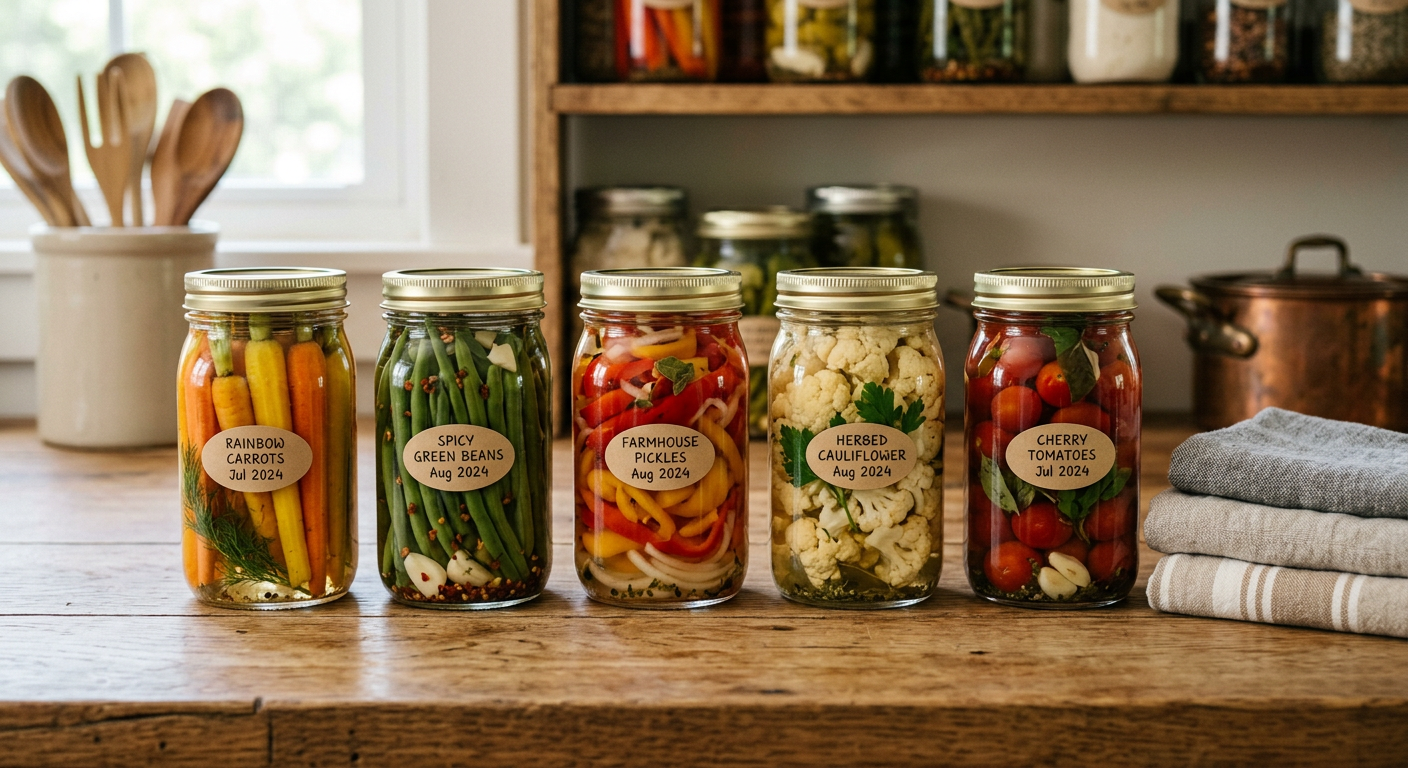
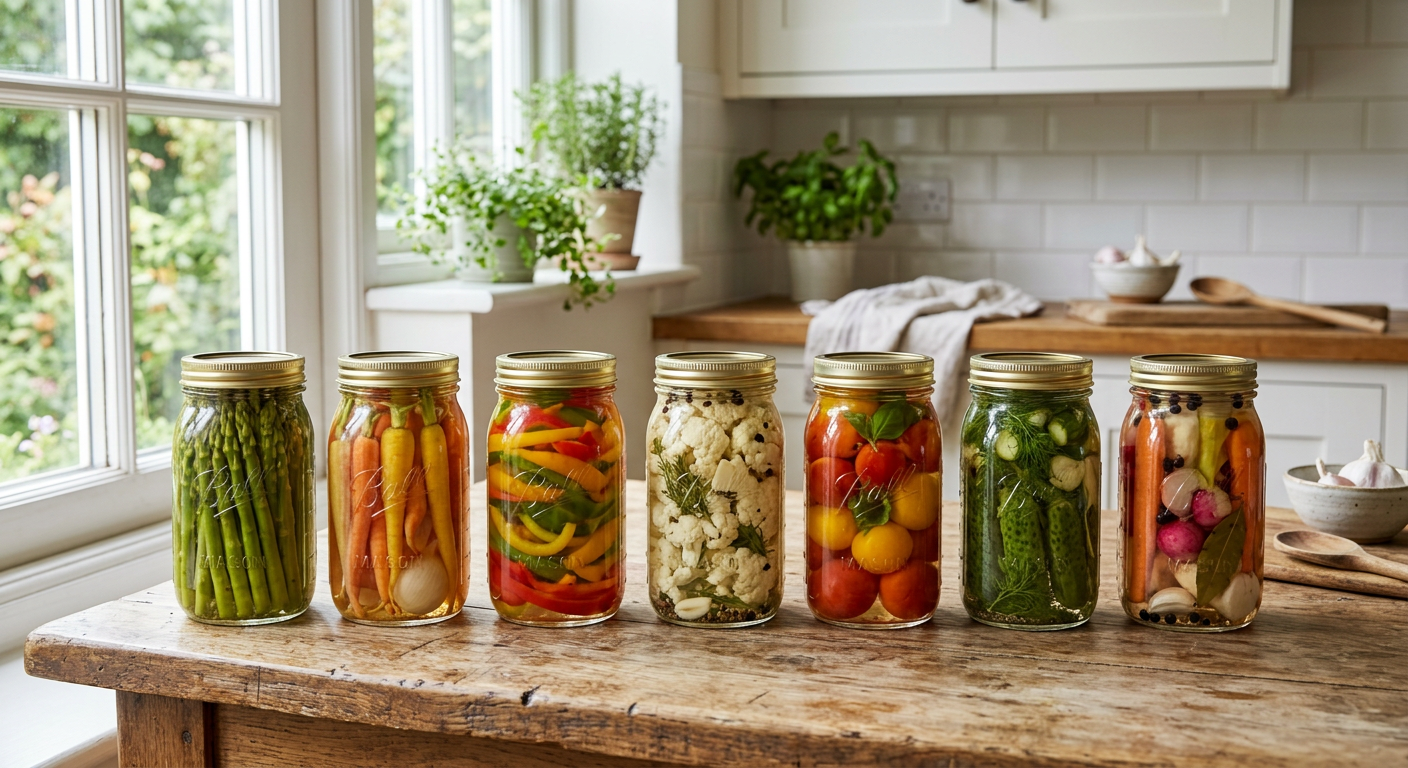
    !Preserved jars of food highlighting how to get started homesteading on a budget through food storage.

    Building Essential Skills (Without Paid Courses!)

    This is perhaps the most overlooked aspect of how to get started homesteading on a budget: investing in your knowledge. Every skill you learn for free means you don’t have to pay someone else to do it, or buy an expensive tool you’ll only use once. We spent countless hours reading books from the library, watching YouTube videos, and talking to experienced homesteaders.

    Frugal Skill-Building Resources:

    * Your Local Library: Seriously, it’s a treasure trove. We’ve learned about everything from canning to basic carpentry and animal husbandry just through library books. There are some fantastic Top Homesteading Books for Beginners 2026: Start Today.

    * Online Tutorials: From YouTube to university extension sites (like the USDA National Agricultural Library), there’s a wealth of free information on almost any homesteading topic you can imagine.

    * Local Co-ops & Groups: Many areas have gardening clubs, homesteading meetups, or permaculture groups. These are fantastic places to learn, share resources, and even barter skills.

    * Apprenticeships/Volunteering: Offer to help out a local farm or experienced homesteader in exchange for learning. It’s hands-on experience that costs you nothing but time.

    The less you have to pay for an expert, the more money stays in your budget for the essentials. Speaking of essentials, let’s talk about the common pitfalls.

    ๐Ÿ’ก Pro Tips

    The “Homesteading Before You Homestead” Mindset: Start practicing skills now*, even if you’re in an apartment. Grow herbs in pots, learn to mend clothes, cook from scratch. You’re already homesteading!

    * Leverage Free Manure: Find local farms or equestrians who are happy for you to take their aged manure for your garden. Itโ€™s a fantastic, free soil amendment.

    * Seed Saving: Once you’ve grown a first successful crop, learn to save seeds from open-pollinated varieties. This virtually eliminates future seed costs.

    * “Use It Up, Wear It Out, Make It Do, or Do Without”: This old adage is the homesteader’s mantra. Truly embrace it to save money and foster resourcefulness.

    * One-Year Plan: Focus on what you can realistically achieve in your first year with minimal investment. For us, it was a productive garden and starting our compost and worm bin.

    โš ๏ธ Beginner Mistakes to Avoid

    Buying Too Many Tools Too Soon: Resist the urge for every shiny new garden gadget. Start with the basics (shovel, rake, hoe, hand trowel) and only buy specialized tools when you truly* need them and have the experience to back it up. We have a great guide on Essential Homesteading Tools to Buy First? Our Top Picks!.

    * Overspending on Seeds/Plants: Especially as a beginner, it’s easy to buy more than you can possibly plant or care for. Start small. Seeds are cheaper than starts.

    * Ignoring Soil Health: Trying to grow in poor soil is a recipe for frustration and wasted money on fertilizers. Focus on building healthy soil from day one with compost, mulch, and cover crops.

    * Taking on Too Many Projects: Burnout leads to wasted resources. Start with one or two manageable projects, master them, then slowly expand your homestead. You can’t do it all at once.

    * Not Learning Basic Repairs: Paying someone else to fix a leaky faucet or a broken fence post quickly eats into your budget. Watch videos, read manuals, and learn basic maintenance.

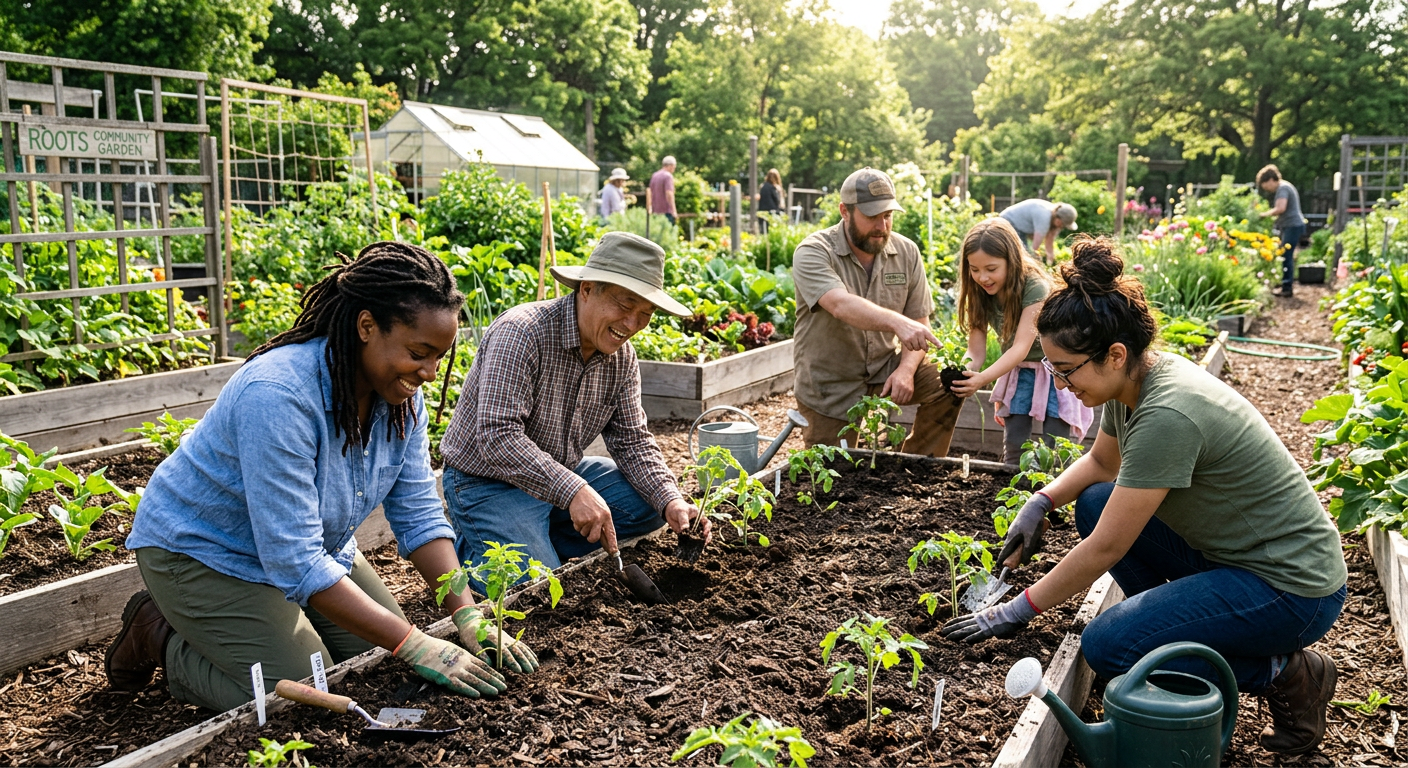
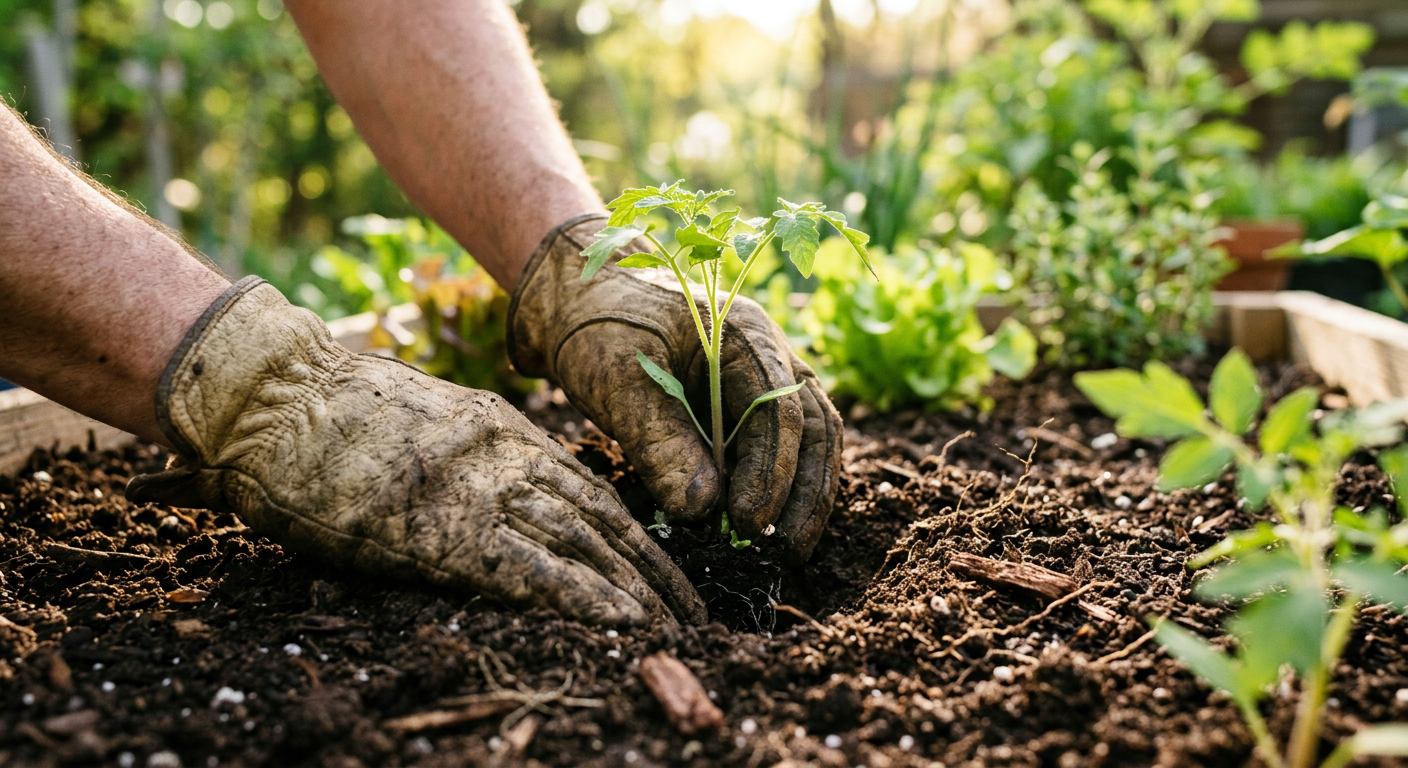
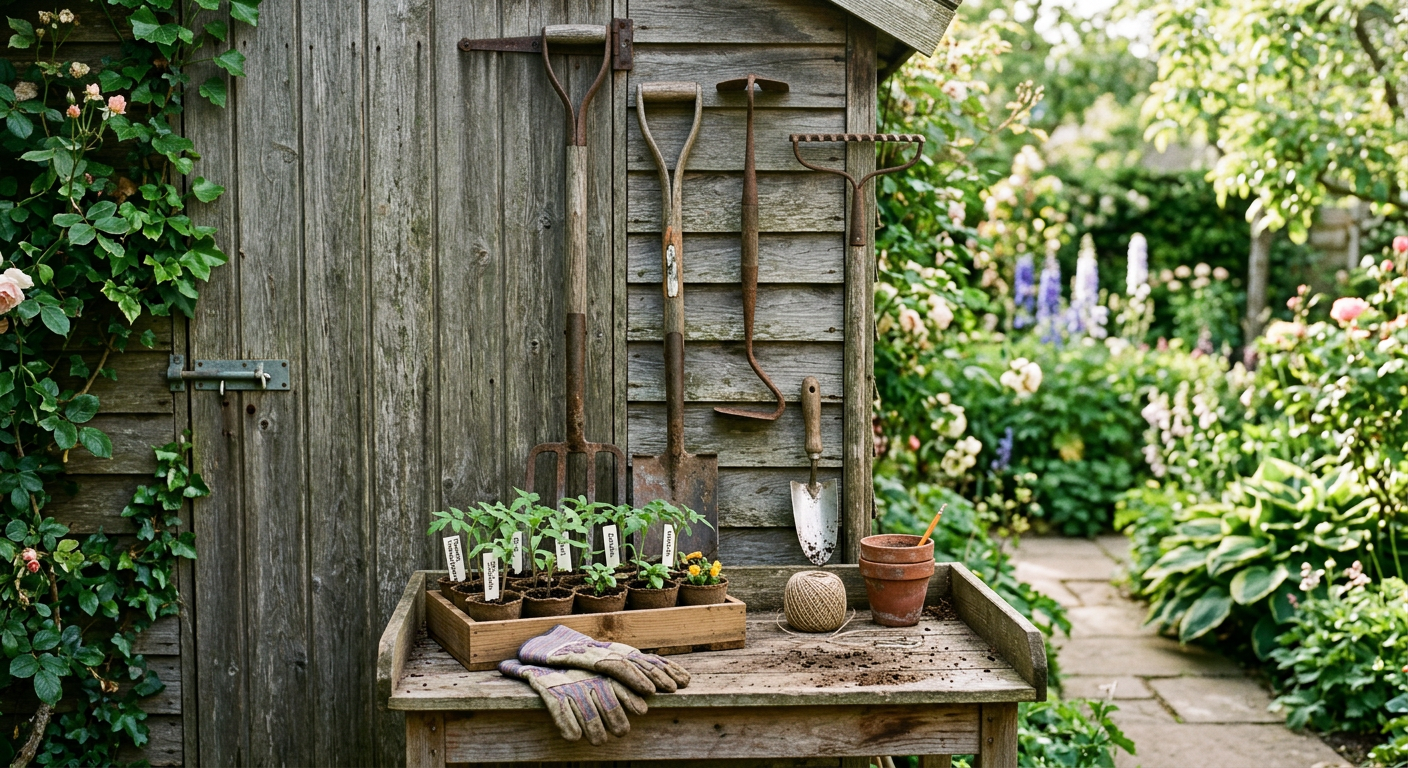
    !Second-hand tools and seedlings represent how to get started homesteading on a budget efficiently.

    Frequently Asked Questions

    How much money do I need to start homesteading?

    You can literally start with zero dollars if you’re willing to invest time and effort. Start with free resources like library books and foraging. Many of us started with just a few dollars for seeds and grew from there. The goal is to reduce reliance on money, not necessarily to spend a lot of it.

    Can I homestead without a lot of land?

    Absolutely! We started on less than an eighth of an acre. Urban homesteading is a growing movement. Focus on vertical gardening, container gardening, and maximizing every square foot. Check out our post on Tiny Space, Big Harvest: How to Start Urban Homesteading Small Space.

    What’s the very first step on a budget?

    The absolute first step is to assess your current skills and resources. What do you already have? What can you learn for free? For us, it was a small patch of grass and a determination to learn how to grow food. Start with research and skill-building before any purchases.

    How do I acquire animals cheaply?

    Look for local farm sales, check online classifieds from hobby farmers offering surplus animals, or even consider rescuing animals. DIY pens and coops from reclaimed materials will drastically cut costs. Remember, chickens are often the most affordable entry point for livestock.

    Is homesteading ever truly free?

    While you’ll always have some input of time, energy, or very basic supplies, the financial outlay can be incredibly low, especially if you prioritize skill-building, foraging, and repurposing. The goal isn’t necessarily zero cost, but rather, maximum self-sufficiency and minimal reliance on external systems.

    Honestly, how to get started homesteading on a budget boils down to one thing: ingenuity. We didn’t start with a trust fund or a sprawling farm. We started with two hands, a small garden, and a burning desire to live more sustainably. Every saved seed, every reclaimed board, every fresh egg from our own backyard felt like a huge victory. It’s a journey of learning, adapting, and celebrating the small wins.

    What’s your biggest challenge with starting a homestead on a budget? I’d love to hear your story.

    ๐Ÿ”ง See Recommended Tools โ†’


    ๐Ÿ“š More From Our Homestead

    Ready to Start Your Homestead Journey?

    Free guides, checklists, and tools to help you build your dream homestead.

    Explore Free Resources โ†’


    ๐Ÿ‘‰ Related: Mastering: What Essential Homesteading Skills Beginners Need

    ๐Ÿ‘‰ Related: Finding Your Homestead: A Beginner’s Property Guide

    ๐Ÿ‘‰ Related: Easiest Homesteading Animals to Raise? Here’s Our Story

  • Top Homesteading Books for Beginners 2026: Start Today

    Top Homesteading Books for Beginners 2026: Start Today

    Starting a homestead can feel like standing at the foot of a massive mountain. Whether you have a tiny balcony in the city or forty acres in the country, the transition to self-sufficiency is a journey of a thousand skills. As we move into the mid-2020s, the resources available to new growers and builders have evolved. If you are looking for the best homesteading books for beginners 2026, you are in the right place to build your ultimate reference library.

    In this guide, we will explore the essential literature that defines modern homesteading. These books bridge the gap between traditional wisdom and contemporary technology, helping you live a more sustainable life.

    Why Books are Essential for Modern Homesteaders

    While the internet is full of quick tutorials and social media snippets, homesteading requires deep, foundational knowledge. When your internet goes out during a storm or you are deep in the garden with muddy hands, a physical book is your most reliable tool. The curated list of homesteading books for beginners 2026 focuses on comprehensive manuals that cover everything from soil health to food preservation.

    Reading a full-length book allows you to understand the “why” behind the “how.” It builds a cohesive mindset rather than a fragmented collection of life hacks. For the 2026 homesteader, these books also integrate modern sustainability practices like greywater systems and smart-tech composting.

    The Must-Have Manuals for 2026

    1. The All-in-One Encyclopedia

    Every beginner needs a “Bible” of homesteading. These massive volumes cover the widest range of topics. Look for titles that include updated sections on renewable energy and climate-resilient gardening. A primary resource should teach you how to plan your layout, manage a budget, and understand the seasonal cycles of a working farm.

    2. High-Yield Small-Space Gardening

    Not everyone starts with a massive plot of land. In 2026, urban and suburban homesteading is more popular than ever. Books focused on intensive gardeningโ€”such as square-foot gardening or vertical hydroponicsโ€”are vital. These resources teach you how to maximize every square inch of your soil to feed your family year-round.

    3. Modern Livestock Management

    Raising animals is a significant step up from growing carrots. The best homesteading books for beginners 2026 offer practical, humane, and efficient ways to raise chickens, goats, or bees. Look for guides that emphasize preventative health care and natural feeding systems to keep your livestock thriving without constant chemical intervention.

    Skill-Specific Guides for Self-Sufficiency

    Once you have your general manual, you need to dive deep into specific crafts. Homesteading is a collection of dozens of different hobbies that work together as one lifestyle.

    Food Preservation and Fermentation

    Growing the food is only half the battle; keeping it is the other. Modern preservation books go beyond simple canning. The 2026 beginner should look for guides on freeze-drying, advanced fermentation, and root cellar construction. Understanding food safety is paramount, so ensure your chosen books follow the latest USDA safety guidelines.

    Off-Grid Power and Water Systems

    True independence means managing your utilities. As technology becomes more accessible, beginners are now installing their own small-scale solar arrays and rainwater harvesting systems. Books that simplify these complex engineering tasks into beginner-friendly projects are worth their weight in gold.

    Creating Your 2026 Study Plan

    If you are just starting, don’t try to read every book at once. It leads to information overload. Follow this tiered approach to building your knowledge base:

  • Phase One (The Dream): Read general homesteading philosophy and planning books to decide what kind of life you want.
  • Phase Two (The Soil): Focus on gardening and soil health books. This is the foundation of almost every successful homestead.
  • Phase Three (The Animals): Once your garden is established, buy books on small livestock.
  • Phase Four (The Kitchen): Study preservation and cooking from scratch.
  • Digital vs. Physical: Which Should You Buy?

    While we love the convenience of E-readers, homesteading books for beginners 2026 are often better as physical copies. Many of these books contain intricate diagrams, planting charts, and maps that are difficult to view on a small screen. Furthermore, a physical book can be used as a reference in the field where a tablet might be easily damaged by dirt or moisture.

    Conclusion: Your Journey Starts Here

    Building a homestead is a lifelong learning process. By investing in the right homesteading books for beginners 2026, you are not just buying paper and ink; you are investing in your future independence and security. Start with one or two core manuals, master the skills within them, and then expand your library as your homestead grows.

    Remember, the best time to start learning was ten years ago; the second best time is today. Happy reading and happy farming!


    ๐Ÿ“š More From Our Homestead

    Ready to Start Your Homestead Journey?

    Free guides, checklists, and tools to help you build your dream homestead.

    Explore Free Resources โ†’


    ๐Ÿ‘‰ Related: Raising Backyard Chickens: Pros, Cons & What to Expect

    ๐Ÿ‘‰ Related: Homesteading on a Budget: Our Smart Start Guide

    ๐Ÿ‘‰ Related: Mastering: What Essential Homesteading Skills Beginners Need

  • Vegetable Garden Profit Calculator & ROI Guide

    The Ultimate Vegetable Garden Profit Calculator and ROI Guide

    Turning a small plot of land into a source of income is one of the most rewarding aspects of homesteading. This guide and calculator framework help you move beyond guesswork by identifying your exact input costs versus your potential market returns, ensuring your garden is a financial asset rather than a hobby expense.

    How to Calculate Your Garden Profit: Step-by-Step

    Calculating your profit requires tracking both the tangible money spent and the potential value of the harvest. Follow these steps to build your own calculation model:

  • Determine Your Growing Area: Measure the actual square footage of your planting beds. Do not include walkways. For example, if you have ten 4’x10′ beds, your growing area is 400 square feet.
  • Select Your Crops: Choose the vegetables you intend to grow. High-value crops like salad greens, heirloom tomatoes, and garlic generally offer a higher return per square foot than low-value crops like field corn or pumpkins.
  • Estimate Yield per Square Foot: Use historical data or gardening charts to estimate how many pounds of produce each foot will provide. For instance, a well-managed square foot of leaf lettuce can yield 0.5 to 1 pound per harvest.
  • Calculate Total Revenue: Multiply your estimated total yield (in pounds) by the current market price per pound. Use prices from local farmers’ markets rather than wholesale grocery prices for a more accurate reflection of direct-to-consumer sales.
  • Direct Costs (Inputs): Subtract the cost of seeds, transplants, fertilizers, compost, water, and specialized packaging (like clamshells or bio-degradable bags).
  • Subtract Indirect Costs (Overhead): Account for tool depreciation, fencing, irrigation hardware, and land taxes or lease payments.
  • Calculate Net Profit: The formula is: `(Total Yield ร— Price per Unit) – (Direct Costs + Indirect Costs) = Net Profit`.
  • Key Factors Influencing Your Results

    * Succession Planting: One of the biggest variables in a profit calculator is how many times you use the same patch of soil. By planting radishes in early spring followed by peppers in summer and greens in fall, you triple the revenue potential of that specific square foot.

    * Market Channel: Where you sell dictates your price Point. Selling to a restaurant might yield $4/lb for greens, while a boutique farmers’ market could fetch $8/lb. Home delivery or CSA models often have higher margins but higher labor costs.

    * Input Efficiency: Bulk-buying compost or starting your own seeds instead of buying starts significantly lowers your “Cost per Unit,” directly increasing profit margins.

    * Local Climate & Season Extension: Using low tunnels or row covers can extend your harvest window by 4โ€“8 weeks, allowing you to sell when supply is low and prices are at their peak.

    * Yield Consistency: Factors like pest pressure, irrigation consistency, and soil health determine whether you hit the high end of yield estimates or the low end.

    Example Calculation: The Salad Green Bed

    Letโ€™s look at a realistic example for a single 50-square-foot bed dedicated to a “Gourmet Salad Mix.”

    * Growing Area: 50 sq. ft.

    * Estimated Yield: 0.75 lbs per sq. ft. per harvest.

    * Number of Harvests: 3 (Spring, Early Summer, Late Fall).

    Total Annual Yield: 112.5 lbs (50 0.75 * 3).

    * Market Price: $12.00 per lb (average for organic, washed mix).

    * Total Revenue: $1,350.00.

    Total Expenses:

    * Seeds (Bulk): $45.00

    * Compost/Organic Fertilizer: $60.00

    * Watering: $15.00

    * Packaging (100 bags): $30.00

    * Total Costs: $150.00.

    The Result:

    * Net Profit: $1,200.00 per year from one bed.

    * Profit per Sq. Ft.: $24.00.

    Tips to Maximize Your Profit

  • Focus on Customization: Instead of selling plain carrots, sell “Rainbow Carrots” or “Baby Carrots with Tops.” Value-added aesthetic choices allow for a 20-30% price premium.
  • Vertical Gardening: Use trellises for peas, cucumbers, and vining tomatoes. This effectively doubles or triples your square footage without increasing your footprint.
  • Soil Testing: Spending $20 on a professional soil test can save you hundreds in unnecessary fertilizers and prevent crop failure due to nutrient imbalances.
  • Master the Harvest Window: Pick crops at their peak. Overripe vegetables are often unsellable, and under-ripe produce lacks the flavor that brings customers back.
  • Automate Irrigation: Drip irrigation reduces water waste and labor time, ensuring consistent growth even during dry spells, which maximizes total weight per bed.
  • Common Mistakes to Avoid

    * Ignoring Labor Costs: Beginners often forget to value their own time. Even if you aren’t paying yourself a wage yet, track your hours to ensure your “hourly rate” makes sense compared to other work.

    * Over-planting One Variety: If you plant 500 tomato plants that all ripen in the same two weeks, much of your potential profit will rot before you can sell it. Use staggered planting.

    * Neglecting Post-Harvest Handling: A beautiful vegetable can wilt in 30 minutes in the sun. If you don’t have a plan for cooling and storage, your “Estimated Yield” will be much higher than your “Actual Sales.”

    Quick Reference: High-Value vs. Low-Value Crops

    | Crop Type | Avg. Profit Potential | Space Required | Days to Harvest |

    | :— | :— | :— | :— |

    | Microgreens | Very High | Minimal (Shelving) | 7-14 Days |

    | Salad Greens | High | Medium | 30-45 Days |

    | Garlic | Medium/High | Low (Overwintered) | 240 Days |

    | Tomatoes | High | Vertical Space | 70-90 Days |

    | Potatoes | Low/Medium | High | 90-120 Days |

    | Pumpkins | Low | Very High | 100+ Days |

    Frequently Asked Questions (FAQ)

    Q: Is it better to grow many types of vegetables or just one?

    A: For beginners, a “niche” approach (3-5 high-value crops) is usually more profitable. It allows you to master the specific needs of those plants and streamline your harvesting and packaging tools.

    Q: How much land do I need to make a living?

    A: With intensive techniques (high-density planting and succession), some market gardeners make a full-time income on as little as 0.5 to 1 acre. However, this requires significant expertise and established market channels.

    Q: Does organic certification help profit?

    A: Yes and no. While you can charge a higher price, the certification process is expensive and time-consuming. Many small growers use “organic practices” and build trust with customers directly without the formal label to save on costs.

    Q: What is the most profitable vegetable to grow?

    A: Microgreens and salad mixes generally have the highest turnover and profit margin per square foot because they grow quickly and require very little space.

    Q: Should I include the cost of tools in my first-year profit calculation?

    A: Tools are “Capital Expenses.” It is better to “depreciate” them over 5 years. If a broadfork costs $200, count $40 per year toward your expenses rather than the full $200 in year one, which would skew your ROI perception.


    ๐Ÿ“š More From Our Homestead

    Ready to Start Your Homestead Journey?

    Free guides, checklists, and tools to help you build your dream homestead.

    Explore Free Resources โ†’


  • How to Start a Small Backyard Vegetable Garden: Beginner Guide

    How to Start a Vegetable Garden in a Small Backyard: A Beginnerโ€™s Guide

    You donโ€™t need a 40-acre farm to grow your own healthy, organic food. In fact, some of the most productive gardens in the world are tucked away in small suburban backyards. If you have at least 100 square feet of spaceโ€”or even just a sunny patioโ€”you can cultivate a high-yield vegetable garden that reduces your grocery bill and provides fresh flavors you canโ€™t find at the store.

    This guide will walk you through exactly how to start a vegetable garden in a small backyard, focusing on actionable steps, specific measurements, and beginner-friendly techniques.

    1. Plan Your Space: The Power of the Sunny Spot

    Success in a small garden starts with location. Most vegetables require “full sun,” which means a minimum of 6 to 8 hours of direct sunlight per day.

    Assessing Your Backyard

    * Observe the Light: Spend a Saturday tracking the sun. Notice where shadows from your house, fences, or trees fall at 9:00 AM, 12:00 PM, and 4:00 PM.

    * Proximity to Water: Don’t put your garden at the far edge of your yard if your hose doesn’t reach. You are more likely to maintain a garden that is convenient to access.

    * Level Ground: While you can terrace a slope, beginners should aim for the flattest area possible to prevent water runoff and soil erosion.

    2. Choose Your Gardening Method

    In a small backyard, traditional row gardening (like you see on large farms) is inefficient because it wastes space on walking paths. Instead, choose one of these high-intensity methods:

    Raised Beds

    Raised beds are frames (usually 4×4 or 4×8 feet) filled with high-quality soil.

    * Pros: Better drainage, fewer weeds, and the soil warms up faster in spring.

    * Cost: Approximately $50โ€“$150 per bed depending on materials (cedar is best for longevity).

    Vertical Gardening

    When you run out of horizontal space, grow up. Use trellises, cattle panels, or wall-mounted planters.

    * Best Crops for Verticality: Pole beans, cucumbers, peas, and small vining squash.

    Container Gardening

    If your backyard is mostly a concrete patio, use pots.

    * Size Matters: A standard tomato plant needs at least a 5-gallon bucket to thrive. Leafy greens can grow in 6-inch deep window boxes.

    3. Prepare the Soil: The Secret to High Yields

    Your garden is only as good as its soil. In a small space, you cannot afford poor soil quality because every square inch needs to be nutrient-dense.

    The Perfect Soil Mix for Small Gardens

    If using raised beds, avoid using “topsoil” from your yard, which is often heavy and full of weed seeds. Instead, use the “Melโ€™s Mix” ratio:

    * 1/3 Peat Moss or Coconut Coir (for moisture retention)

    * 1/3 Vermiculite (for aeration)

    * 1/3 Blended Compost (for nutrientsโ€”try to mix 3-4 different types of compost)

    4. Selecting Beginner-Friendly, Space-Efficient Crops

    Not all vegetables are suited for small backyards. Avoid “space hogs” like corn, pumpkins, or standard watermelons unless you have a specific vertical plan. Focus on these high-value crops:

    | Vegetable | Recommended Variety | Planting Distance | Why itโ€™s Great for Beginners |

    | :— | :— | :— | :— |

    | Cherry Tomatoes | Sun Gold or Black Cherry | 18-24 inches | Produces hundreds of fruits on one plant. |

    | Leaf Lettuce | Black Seeded Simpson | 4 inches | Can be harvested “cut and come again.” |

    | Zucchini | Raven or Dunja | 24 inches | Extremely prolific; one plant feeds a family. |

    | Bush Beans | Blue Lake 274 | 3 inches | No trellis needed; fast 50-day maturity. |

    | Radishes | Cherry Belle | 2 inches | Ready to eat in just 25 days. |

    5. Layout and Design: The 4×4 Square Foot Method

    For beginners, I highly recommend the Square Foot Gardening (SFG) method. Divide your garden bed into 1×1 foot squares using string or wood lath. This prevents overplanting and helps you visualize exactly how much room each plant needs.

    * 1 per square: Cabbage, Broccoli, Peppers, Tomatoes (staked).

    * 4 per square: Leaf lettuce, Chard, Parsley.

    * 9 per square: Bush beans, Spinach.

    * 16 per square: Carrots, Radishes, Onions.

    6. How to Plant: Seeds vs. Transplants

    When to Buy Seedlings (Transplants)

    Purchase young plants from a nursery if you are starting late in the season or if you want to grow “long season” crops like Tomatoes, Peppers, and Eggplants. This gives you a 6-eight week head start.

    When to Direct Sow (Seeds)

    Plant seeds directly into the garden soil for crops that don’t like their roots disturbed:

    * Root vegetables (Carrots, Radishes, Beets)

    * Beans and Peas

    * Cucumbers and Squash

    7. Essential Maintenance for Small Gardens

    Because plants are packed closer together in a small garden, maintenance is vital to prevent disease and nutrient depletion.

    Watering Right

    * Consistency is Key: Aim for 1 inch of water per week. In the heat of summer, containers may need watering twice a day.

    * Water at the Base: Avoid wetting the leaves, which can lead to fungal issues like powdery mildew.

    Mulching

    Cover the bare soil around your plants with 2 inches of weed-free straw or shredded leaves. This suppresses weeds and keeps the soil moist.

    Fertilizing

    In a high-intensity small garden, plants use up nutrients quickly. Feed your plants with an organic, water-soluble fertilizer every 2-4 weeks during the peak growing season.

    8. Common Beginner Mistakes to Avoid

  • Over-planting: Itโ€™s tempting to buy every seed packet in the store. Start with 3โ€“5 of your favorite vegetables to avoid becoming overwhelmed.
  • Ignoring Pests: Check your plants daily. It is much easier to hand-pick five cabbage worms today than to deal with an infestation of 500 next week.
  • Forgetting to Harvest: Many vegetables (like zucchini and beans) stop producing if the fruit is left to grow too large. Harvest early and often to encourage the plant to keep producing.
  • 9. Timeline for Success

    * 6 Weeks Before Frost: Plan layout, build raised beds, and buy seeds.

    * 2 Weeks Before Frost: Amend soil with compost; plant “cool weather” crops like peas and spinach.

    * After Last Frost: Plant “warm weather” crops like tomatoes, peppers, and cucumbers.

    * Mid-Summer: Harvest early crops and replant the empty squares with fall crops like kale or carrots.

    Conclusion

    Starting a vegetable garden in a small backyard is one of the most rewarding projects you can undertake. By focusing on soil health, maximizing vertical space, and choosing high-yield varieties, you can produce a surprising amount of food in a tiny footprint.

    Remember: gardening is a skill learned through practice. Don’t be discouraged if a plant diesโ€”every garden failure is just a lesson for next season. Grip your trowel, get your hands in the dirt, and start growing today!


    ๐Ÿ“š More From Our Homestead

    Ready to Start Your Homestead Journey?

    Free guides, checklists, and tools to help you build your dream homestead.

    Explore Free Resources โ†’


    ๐Ÿ‘‰ Related: Top Homesteading Books for Beginners 2026: Start Today

    ๐Ÿ‘‰ Related: Raising Backyard Chickens: Pros, Cons & What to Expect

    ๐Ÿ‘‰ Related: Homesteading on a Budget: Our Smart Start Guide

  • Tiny Space, Big Harvest: How to Start Urban Homesteading Small Space

    When we first started our homesteading journey, I never imagined we’d be sharing tips on how to start urban homesteading small space. Our dream was always sprawling acres, livestock, and a huge garden. But life has a funny way of planting you where you are, and for so many of you, that means a city apartment, a suburban lot, or even just a tiny balcony. The beautiful truth is, you don’t need a farm to embrace the homesteading spirit! It’s about self-sufficiency, growing your own food, and making the most of what you have, no matter how small.

    We faced our own set of challenges early on, even with our larger rural property. Learning to maximize every inch, dealing with unexpected issues, and finding creative solutions became second nature. That’s why I’m so passionate about helping you, whether you’re in a high-rise or a compact townhouse, discover the incredible joy of urban homesteading. It’s not just a hobby; it’s a lifestyle that connects you deeply to your food, your community, and your environment. Letโ€™s dive in!

    Define Your Urban Homesteading Goals

    Before you sow your first seed or bring home a single chick (don’t worry, we’ll get to that!), it’s crucial to define what homesteading means to you in your specific urban environment. When we first started, we tried to do everything at once โ€“ a huge garden, chickens, even contemplating rabbits! It was overwhelming and honestly, a bit of a flop. We quickly learned that starting small and focusing on realistic goals was key.

    Ask yourself:

    * What are your biggest motivations? Is it fresh herbs, pesticide-free veggies, reducing waste, or connecting with nature?

    * How much time can you realistically commit? Daily? Weekly? A few hours here and there?

    What are your local ordinances? Many cities have strict rules about what you can grow or raise. Check with your city or HOA before* you invest any money. When we lived in a more suburban area briefly, we learned our HOA had surprising restrictions on garden bed heights and fencing.

    * What’s your budget? Starting small can be very affordable, but some projects require more upfront investment. We generally budget about $200-$300 for our initial garden setup each spring, including seeds, soil, and starter plants, but you can do it for much less if you’re resourceful.

    Once you have a clearer picture, you can prioritize projects that align with your available space, time, and budget. For more general advice, check out our post on Beginner Homesteading Tips to Start Your Self-Sufficient Journey Today.

    Maximizing Every Inch: Vertical Growing & Container Gardening

    When you’re trying to figure out how to start urban homesteading small space, the absolute golden rule is to go up! Vertical gardening is a game-changer for tight spots. Think of your walls, fences, and even windows as prime real estate for growing food.

    Here are some ideas we’ve seen work wonders:

    * Stackable Planters: These are fantastic for strawberries, herbs, and leafy greens. You can get a three-tier planter for around $30-$50.

    * Vertical Wall Gardens: DIY pallet gardens or purpose-built fabric pockets can transform a bare wall into a lush food factory. We built a simple one from salvaged pallet wood that cost us less than $10 for soil and seeds, and it produced so many herbs we couldn’t keep up!

    * Hanging Baskets: Ideal for cherry tomatoes, certain pepper varieties, and various herbs. Just be mindful of sun exposure.

    * Container Gardening: This is your bread and butter. Most vegetables can be grown in containers. The trick is choosing the right size. Most herbs and leafy greens are happy in 6-8 inch pots, while tomatoes and peppers need at least 5-gallon containers (or larger). We use a lot of 5-gallon paint buckets we clean thoroughly, which are practically free!

    Martha, a friend of ours who lives in a tiny apartment, even turned an old bookcase into a vertical herb garden by lining the shelves and adding grow lights. It’s amazing what you can achieve with a little creativity!

    For more detailed guidance on getting started with growing, take a look at How to Start a Small Backyard Vegetable Garden: Beginner Guide, which has tons of tips applicable even to container gardening.

    Getting Started with Small-Scale Urban Animal Husbandry (Carefully!)

    Alright, let’s talk about furry and feathered friends. This is often where local ordinances become super important. When considering how to start urban homesteading small space with animals, research your local laws FIRST. Some cities surprise you with what they allow, others are very restrictive.

    Chickens (If Permitted!)

    Many urban areas now allow a small flock of hens (roosters are usually a no-go due to noise). We started with 6 hens, and their fresh eggs were a revelation. In a small space, you’ll need:

    * A Compact Coop: Look for options designed for 2-4 hens. You might even find sleek, modern designs that blend into an urban backyard. We know folks who’ve built fantastic coops from repurposed materials for under $100.

    Space for a Run: Even if it’s small, they need an outdoor area. Consider a movable chicken tractor design if space is extremely* limited. This lets them fertilize different parts of your yard. Here’s a great guide on how to build a movable chicken tractor.

    * Food & Water: Self-filling feeders and waterers are a must for small spaces to reduce daily maintenance.

    Rabbits

    Another option for food or fiber, rabbits take up very little space. They are quiet, clean, and their waste is excellent for composting. A small hutch can easily fit on a patio or in a protected corner of a yard.

    Quail

    These tiny birds are gaining popularity in urban settings. They’re much smaller, quieter, and produce eggs even faster than chickens. We’ve considered them for our own setup due to their minimal space requirements.

    Remember, any animal requires daily care, commitment, and often, an initial investment. Be realistic about what you can manage in your tiny urban oasis.

    Beyond Growing: Water, Waste, & Preserving in the City

    Homesteading isn’t just about what you grow; it’s about closing loops and maximizing resources. This is especially true when learning how to start urban homesteading small space.

    Rainwater Harvesting

    This is a fantastic way to conserve water and give your plants chemical-free hydration. A simple rain barrel connected to a downspout can collect gallons of water during a single rain shower. We have a couple of 55-gallon barrels that cost us about $150 each, and they significantly cut down our water bill during dry spells. You can learn more about small-scale rainwater systems here.

    Composting

    Don’t let your food scraps go to waste! Composting reduces landfill burden and creates incredible, nutrient-rich soil for your containers. In a small space, options include:

    * Vermiculture (Worm Composting): A small worm bin can live indoors or on a balcony, is practically odorless if done right, and produces fantastic worm castings. We started with a small kit for about $60.

    * Bokashi Composting: This is an anaerobic process that ferments food scraps, including meat and dairy, which traditional composting can’t handle. The fermented material then needs to be buried or added to a regular compost pile, but it’s a great first step for breaking down all your food waste.

    Food Preservation

    Even a small harvest can be preserved! Learn basic methods:

    * Freezing: Easiest for herbs, blanched vegetables, and berries.

    * Dehydrating: Great for herbs, fruit leathers, and even veggie chips. We have a small dehydrator that cost us around $80 and it’s always running in the autumn.

    * Canning: If you have the space for equipment (a pressure canner can be bulky), canning allows for long-term storage of sauces, pickles, and jams. We typically do a big canning day once a month during harvest season.

    Community & Skill-Sharing: Your Urban Homesteading Network

    One of the most surprising and fulfilling aspects of our homesteading journey has been the community. In an urban environment, this sense of connection is even more vital. You don’t have to go it alone!

    * Join Local Groups: Look for urban gardening clubs, community garden initiatives, or homesteading meetups. Facebook groups are a great place to start.

    * Seed Swaps & Plant Exchanges: A fantastic way to diversify your garden for free and meet like-minded people. We regularly participate in these and always come home with something new and exciting.

    * Skill-Sharing: Can you bake bread? Does your neighbor know how to mend clothes? Bartering skills is a hallmark of homesteading.

    * Support Local Farmers Markets: Even as you grow your own, supporting local farmers keeps agriculture alive in your region and provides you with things you can’t produce yourself.

    Building this network can provide invaluable support, shared knowledge, and even practical resources that you might not have in your small space. Sometimes, the “village” is the biggest resource of all. If you’re looking for broader community and resources, check out usehomesteados.com for a wealth of information and tools to help you on your journey.

    FAQ: Urban Homesteading in Small Spaces

    Q1: Is urban homesteading expensive to start?

    A1: It doesn’t have to be! You can start very affordably with salvaged containers, free seeds from exchanges, and compost made from your kitchen scraps. Our first garden cost us less than $50. However, if you want to invest in vertical garden systems or start with animals like chickens, the initial costs will be higher. Plan on $100-$300 for a solid beginner setup, but itโ€™s possible to do it for much less with creativity.

    Q2: What are the best plants for urban container gardening?

    A2: Leafy greens (lettuce, spinach, kale), herbs (basil, mint, parsley, rosemary), bush beans, radishes, carrots (stubby varieties), peppers, and determinate (bush) tomato varieties are excellent choices that thrive in containers. We’ve had great success with ‘Patio Perfect’ tomatoes and ‘Little Gem’ lettuce in gallon pots.

    Q3: How do I deal with pests in a small urban garden?

    A3: Integrated Pest Management (IPM) is key. This includes companion planting (e.g., marigolds to deter nematodes), hand-picking visible pests, using beneficial insects (you can order ladybugs online!), and applying organic pest sprays like neem oil or insecticidal soap if absolutely necessary. Healthy soil and strong plants are your best defense.

    Q4: Can I really preserve food in a small urban kitchen?

    A4: Absolutely! Freezing and dehydrating require minimal counter space. You can often make small batches of jams or pickles with a regular pot. We even manage to can a few jars at a time on our stovetop pressure canner, though it takes up most of one burner. Itโ€™s all about doing what you can with the space you have.

    Q5: What’s the most important thing to remember for urban homesteading?

    A5: Start small, be realistic, and don’t be afraid to experiment! Every mistake is a lesson learned. Consistency is more important than perfection. Enjoy the process of learning and connecting with your food and environment.

    Your Urban Homestead Awaits!

    Homesteading isn’t just about land; it’s a mindset. It’s about resilience, sustainability, and the profound satisfaction of providing for your family. Whether you have a balcony, a small yard, or just a sunny windowsill, you can embrace the homesteading journey. Don’t let a lack of acreage hold you back from growing your own food, nurturing your environment, and living a more self-sufficient life.

    Ready to dig in? Explore more of our articles at usehomesteados.com for practical guides, personal stories, and all the inspiration you need to build your thriving urban homestead, no matter the size!


    ๐Ÿ“š More From Our Homestead


    Ready to start your homesteading journey? Visit UseHomesteados.com for more guides, tools, and resources.


    ๐Ÿ‘‰ Related: Tiny Farm, Big Rewards: Best Low Maintenance Farm Animals

    ๐Ÿ‘‰ Related: Top Homesteading Books for Beginners 2026: Start Today

  • Urban Homesteading with Kids: Start Smart Today!

    Hey there, fellow dreamers! My heart races a little every time I hear someone talk about bringing a bit of the farm to the city, especially when they ask, “How to get started urban homesteading with kids?” It warms my soul because that’s exactly where our journey began, right in our cozy suburban backyard! We might have visions of sprawling acres, but the truth is, a surprising amount of self-sufficiency can happen on a small patch of land, even with little hands eager to “help” (and, let’s be honest, sometimes “rearrange” your meticulously planted rows!).

    When we first dipped our toes into urban homesteading, our kids were tiny โ€” 3 and 5 years old. My husband, Mark, and I knew we wanted to teach them where food truly comes from, beyond a grocery store shelf. We wanted to slow down, connect with nature, and build a more resilient life, right in our neighborhood. The key for us was starting small, involving the kids every step of the way, and accepting that perfection wasn’t the goal. Muddy boots, crooked carrots, and a few escaped chickens became part of our charm. If you’re looking to cultivate a little bit of country in your city life and want to know how to get started urban homesteading with kids, you’ve come to the right place. We’ll walk through our family’s experiences, sharing the ups, downs, and invaluable lessons weโ€™ve learned.

    Why Urban Homesteading with Kids is a Game-Changer

    Honestly, I can’t imagine our family life without our homesteading adventures. It’s not just about growing food; it’s about growing people. For us, having our children involved from day one transformed mundane tasks into magical discoveries. Theyโ€™ve learned patience waiting for seeds to sprout, responsibility caring for our animals, and the incredible satisfaction of eating something they helped grow or harvest.

    * Connection to Nature: Even in the city, thereโ€™s immense joy in observing a worm, understanding the life cycle of a plant, or watching a bee pollinate a flower. Our kids spend hours outside, eyes wide with wonder.

    * Practical Skills: From planting seeds to harvesting vegetables and even helping with animal chores, they’re developing skills that many kids today just don’t get. They know how to identify edible plants, understand composting, and have a healthy respect for hard work.

    * Healthy Eating Habits: When they’ve seen a tomato grow from a tiny flower, they’re far more likely to eat it! Our kids eat an astonishing variety of fruits and vegetables, and I truly believe urban homesteading is why.

    * Family Bonding: These shared projects, whether it’s building a raised bed or collecting eggs, become cherished memories. We’re working towards a common goal, learning and laughing together.

    Starting Small: Your First Steps to Urban Homesteading with Kids

    One of the biggest mistakes beginners make is trying to do too much, too fast. We certainly felt that pull! But trust me, a few small, consistent wins build momentum. Think about what truly excites your family and your kids.

    1. Plan Your Garden Together

    Before you even think about digging, sit down as a family and dream! What do you all want to grow? Let the kids draw pictures of their ideal garden. When we planned our first significant urban garden, we gave each child a small corner of a raised bed to choose one thing they wanted to grow. Our daughter, Lily, insisted on cultivating “super sweet peas” (which she then ate straight off the vine!), while our son, Finn, was obsessed with finding the biggest pumpkin seed.

    Consider your space: Do you have a sunny balcony? A small backyard? Raised beds are fantastic for urban spaces because they offer better drainage, fewer weeds, and you can control the soil quality. We started with two 4×8 foot raised beds โ€“ a manageable size for a family of four. You can find simple plans online, or purchase kits. Our first two beds cost us about $150 in lumber and another $200 for good quality organic soil, which felt like a significant investment then, but paid for itself in fresh produce many times over. Learn more about planning your garden in our post, How to Start a Small Backyard Vegetable Garden: Beginner Guide.

    2. Choose Kid-Friendly Plants (and Tasks!)

    Gardening needs to be fun and engaging, especially when you’re figure out how to get started urban homesteading with kids. Here are some plants and tasks that are great for little helpers:

    * Seeds that are easy to handle: Peas, beans, squash, corn. Avoid tiny seeds like carrots for their first go, unless you pre-seed them on a paper strip.

    * Fast growers: Radishes (harvest in 3-4 weeks!), bush beans, lettuce. Quick success keeps interest high.

    * Edible flowers: Nasturtiums (peppery!) and calendula are beautiful and safe for kids to pick and taste.

    * Herbs: Mint, basil, and chives are incredibly rewarding and smell amazing! Weโ€™ve got a whole post about Best Perennial Herbs for Cold Climate Homesteads if you’re looking for hardy options.

    Kid-friendly tasks:

    * Watering (with a small watering can, supervision optional but recommended to avoid over-watering!)

    * Harvesting (cucumbers, cherry tomatoes, berries, peas are great for little hands)

    * “Helping” with weeding (teach them what’s a weed and what’s not!)

    * Mixing soil with compost

    Incorporating Small Livestock: When You’re Ready

    For many, the thought of urban chickens is the cornerstone of how to get started urban homesteading with kids. We waited a full year before getting chickens, making sure our garden was established and we felt confident in our capacity. Check your local ordinances first โ€“ this is crucial! Many cities allow a small number of hens (roosters are usually a no-go due to noise).

    Urban Chickens: Our Family’s Feathered Friends

    We started with three Rhode Island Reds, which cost us about $5 each as chicks. We built a small coop ourselves from reclaimed palets and some new lumber (around $150 total), and bought a bag of organic feed for about $25. Our kids absolutely adored the chicks, holding them gently and watching them grow. Collecting eggs became the highlight of their day!

    Tips for urban chickens and kids:

    * Build a secure coop: Predators are everywhere, even in the city. We added a run with mesh buried a foot deep to deter digging predators.

    * Teach gentle handling: Chickens are hardy but can get stressed. Supervise interaction, especially at first.

    * Daily chores: Assign small responsibilities like filling the waterer or scattering scratch grains. Our kids learned valuable consistency.

    * Egg safety: Teach them how to collect eggs carefully and inspect them.

    Beyond Chickens: Thinking Small and Sustainable

    If chickens aren’t feasible, consider other small animals:

    * Worm Composting (Vermiculture): Not livestock in the traditional sense, but red wigglers are incredible decomposers! We have a small worm bin under our kitchen sink. It cost us about $30 for the bin and worms, and the kids love feeding them kitchen scraps. Plus, you get fantastic “worm castings” for your garden.

    * Composting: Even without worms, a simple backyard compost pile or tumbler is an easy way to reduce waste and create nutrient-rich soil. Our kids take great pride in adding their apple cores and banana peels.

    Maximizing Your Small Space for Urban Homesteading with Kids

    Don’t let a small footprint discourage you! Urban homesteading is all about creativity. We live on a standard city lot, about 0.15 acres, but we’ve squeezed a lot into it.

    Vertical Gardening Solutions

    When you can’t go out, go up! Vertical gardens are a lifesaver. We use stacked planters for herbs, hanging baskets for strawberries, and a vertical wall planter for lettuce. This technique significantly increased our yield without taking up precious ground space.

    Edible Landscaping

    Replace ornamental shrubs with edible ones! Think blueberry bushes, dwarf fruit trees (they can even be grown in large pots!), or perennial herbs like oregano and thyme as ground cover. We planted a dwarf apple tree that gives us about 30-40 apples a year โ€“ perfect for pies. Our kids love watching the fruit develop. For more ideas on efficient layouts, check out Your First Homestead Layout: Simple Steps for Beginners.

    Water Conservation

    Water is a precious resource. We installed a 50-gallon rain barrel that connects to our gutter, costing about $100. It’s amazing how much water it collects for our garden, and the kids love checking its level. This is a simple yet impactful step towards sustainability. Learn more from our post on Best Small Scale Rainwater Systems for Off-Grid Living.

    Lessons Learned (and Laughed About) While Urban Homesteading with Kids

    Our journey hasn’t been without its share of hilarious mishaps and learning curves. I remember one summer when our zucchini patch absolutely exploded. We had so much zucchini, we were leaving it on neighbors’ doorsteps in the dead of night like garden ninjas!

    * Patience is a Virtue: Growing food teaches incredible patience. Kids learn that things don’t happen instantly.

    * Expect Imperfection: Not every seed will sprout. Pests will attack. Animals will get into things. It’s all part of the process. “Failure” is just a step towards learning.

    * Involve Them in Everything: Even the less glamorous tasks, like turning the compost pile (our kids call it “feeding the stink heap”), can be fun if approached with the right attitude.

    * Celebrate Small Wins: The first sprout, the first egg, the first perfectly ripe tomato. Make a big deal out of these moments!

    * Flexibility is Key: Kids’ interests change. Some days they’ll be super engaged; other days, not so much. Don’t force it. Let it be a natural part of family life.

    At the end of the day, how to get started urban homesteading with kids isn’t about perfectly manicured gardens or maximum yields. It’s about the journey, the discovery, and the invaluable life lessons you impart. It’s about raising independent, resourceful, and nature-loving humans capable of contributing to a more sustainable future.

    FAQ: Urban Homesteading with Kids

    Q: What’s the absolute best first step for urban homesteading with kids?

    A: My top recommendation is to start a small, easy-to-manage vegetable garden together. Choose 3-5 quick-growing, kid-friendly plants like radishes, bush beans, or cherry tomatoes. Give them their own small patch or pot to be solely responsible for. Success in this small venture will build their confidence and enthusiasm for more!

    Q: How much space do you really need for urban homesteading?

    A: Surprisingly little! We’ve seen incredible things done on balconies, patios, and small backyards. Even a sunny windowsill can yield herbs and microgreens. The key is to think vertically with planters and trellises, and prioritize plants with high yields per square foot.

    Q: Are chickens too much work for an urban setting with kids?

    A: Chickens do require daily care, but it’s very manageable, especially with a good coop setup. Our kids quickly took over egg collection and helping with water and feed. The benefits โ€“ fresh eggs, pest control, and endless entertainment โ€“ often outweigh the work. Just make sure to check your city’s regulations first!

    Q: What are some cost-saving tips for starting an urban homestead?

    A: Start with seeds instead of plant starts, hunt for free compost or use your own kitchen scraps, build raised beds from reclaimed materials (like pallets), and look for local plant swaps. We’ve saved a ton by using DIY solutions. Check out Essential Homesteading Tools to Buy First? Our Top Picks! for smart initial investments.

    Q: How do you keep kids from getting bored with gardening chores?

    A: We make it a game! “Who can find the biggest weed?” “Let’s count how many cherry tomatoes we can pick!” We also give them their own kid-sized tools and specific, age-appropriate tasks. Most importantly, we celebrate every harvest and use what we grow in meals, so they see the direct benefit of their hard work. You can explore more ideas on how to keep kids engaged on your homestead at usehomesteados.com.

    If you’re eager to build a more self-sufficient, connected life with your family, start small, embrace the mess, and dive into urban homesteading with kids. It’s truly one of the most rewarding adventures you’ll ever embark on. Have questions or want to share your own urban homesteading stories? Drop a comment below, or explore more of our family’s journey and practical tips right here at usehomesteados.com!


    Ready to start your homesteading journey? Visit UseHomesteados.com for more guides, tools, and resources.


    ๐Ÿ‘‰ Related: Build a Movable Chicken Tractor for Sustainable Pest Control

    ๐Ÿ‘‰ Related: Tiny Space, Big Harvest: How to Start Urban Homesteading Small Space

    ๐Ÿ‘‰ Related: Tiny Farm, Big Rewards: Best Low Maintenance Farm Animals

  • Urban Homesteading with Kids: Start Smart Today!

    Hey there, fellow dreamers! My heart races a little every time I hear someone talk about bringing a bit of the farm to the city, especially when they ask, “How to get started urban homesteading with kids?” It warms my soul because that’s exactly where our journey began, right in our cozy suburban backyard! We might have visions of sprawling acres, but the truth is, a surprising amount of self-sufficiency can happen on a small patch of land, even with little hands eager to “help” (and, let’s be honest, sometimes “rearrange” your meticulously planted rows!).

    When we first dipped our toes into urban homesteading, our kids were tiny โ€” 3 and 5 years old. My husband, Mark, and I knew we wanted to teach them where food truly comes from, beyond a grocery store shelf. We wanted to slow down, connect with nature, and build a more resilient life, right in our neighborhood. The key for us was starting small, involving the kids every step of the way, and accepting that perfection wasn’t the goal. Muddy boots, crooked carrots, and a few escaped chickens became part of our charm. If you’re looking to cultivate a little bit of country in your city life and want to know how to get started urban homesteading with kids, you’ve come to the right place. We’ll walk through our family’s experiences, sharing the ups, downs, and invaluable lessons weโ€™ve learned.

    Why Urban Homesteading with Kids is a Game-Changer

    Honestly, I can’t imagine our family life without our homesteading adventures. It’s not just about growing food; it’s about growing people. For us, having our children involved from day one transformed mundane tasks into magical discoveries. Theyโ€™ve learned patience waiting for seeds to sprout, responsibility caring for our animals, and the incredible satisfaction of eating something they helped grow or harvest.

    * Connection to Nature: Even in the city, thereโ€™s immense joy in observing a worm, understanding the life cycle of a plant, or watching a bee pollinate a flower. Our kids spend hours outside, eyes wide with wonder.

    * Practical Skills: From planting seeds to harvesting vegetables and even helping with animal chores, they’re developing skills that many kids today just don’t get. They know how to identify edible plants, understand composting, and have a healthy respect for hard work.

    * Healthy Eating Habits: When they’ve seen a tomato grow from a tiny flower, they’re far more likely to eat it! Our kids eat an astonishing variety of fruits and vegetables, and I truly believe urban homesteading is why.

    * Family Bonding: These shared projects, whether it’s building a raised bed or collecting eggs, become cherished memories. We’re working towards a common goal, learning and laughing together.

    Starting Small: Your First Steps to Urban Homesteading with Kids

    One of the biggest mistakes beginners make is trying to do too much, too fast. We certainly felt that pull! But trust me, a few small, consistent wins build momentum. Think about what truly excites your family and your kids.

    1. Plan Your Garden Together

    Before you even think about digging, sit down as a family and dream! What do you all want to grow? Let the kids draw pictures of their ideal garden. When we planned our first significant urban garden, we gave each child a small corner of a raised bed to choose one thing they wanted to grow. Our daughter, Lily, insisted on cultivating “super sweet peas” (which she then ate straight off the vine!), while our son, Finn, was obsessed with finding the biggest pumpkin seed.

    Consider your space: Do you have a sunny balcony? A small backyard? Raised beds are fantastic for urban spaces because they offer better drainage, fewer weeds, and you can control the soil quality. We started with two 4×8 foot raised beds โ€“ a manageable size for a family of four. You can find simple plans online, or purchase kits. Our first two beds cost us about $150 in lumber and another $200 for good quality organic soil, which felt like a significant investment then, but paid for itself in fresh produce many times over. Learn more about planning your garden in our post, How to Start a Small Backyard Vegetable Garden: Beginner Guide.

    2. Choose Kid-Friendly Plants (and Tasks!)

    Gardening needs to be fun and engaging, especially when you’re figure out how to get started urban homesteading with kids. Here are some plants and tasks that are great for little helpers:

    * Seeds that are easy to handle: Peas, beans, squash, corn. Avoid tiny seeds like carrots for their first go, unless you pre-seed them on a paper strip.

    * Fast growers: Radishes (harvest in 3-4 weeks!), bush beans, lettuce. Quick success keeps interest high.

    * Edible flowers: Nasturtiums (peppery!) and calendula are beautiful and safe for kids to pick and taste.

    * Herbs: Mint, basil, and chives are incredibly rewarding and smell amazing! Weโ€™ve got a whole post about Best Perennial Herbs for Cold Climate Homesteads if you’re looking for hardy options.

    Kid-friendly tasks:

    * Watering (with a small watering can, supervision optional but recommended to avoid over-watering!)

    * Harvesting (cucumbers, cherry tomatoes, berries, peas are great for little hands)

    * “Helping” with weeding (teach them what’s a weed and what’s not!)

    * Mixing soil with compost

    Incorporating Small Livestock: When You’re Ready

    For many, the thought of urban chickens is the cornerstone of how to get started urban homesteading with kids. We waited a full year before getting chickens, making sure our garden was established and we felt confident in our capacity. Check your local ordinances first โ€“ this is crucial! Many cities allow a small number of hens (roosters are usually a no-go due to noise).

    Urban Chickens: Our Family’s Feathered Friends

    We started with three Rhode Island Reds, which cost us about $5 each as chicks. We built a small coop ourselves from reclaimed palets and some new lumber (around $150 total), and bought a bag of organic feed for about $25. Our kids absolutely adored the chicks, holding them gently and watching them grow. Collecting eggs became the highlight of their day!

    Tips for urban chickens and kids:

    * Build a secure coop: Predators are everywhere, even in the city. We added a run with mesh buried a foot deep to deter digging predators.

    * Teach gentle handling: Chickens are hardy but can get stressed. Supervise interaction, especially at first.

    * Daily chores: Assign small responsibilities like filling the waterer or scattering scratch grains. Our kids learned valuable consistency.

    * Egg safety: Teach them how to collect eggs carefully and inspect them.

    Beyond Chickens: Thinking Small and Sustainable

    If chickens aren’t feasible, consider other small animals:

    * Worm Composting (Vermiculture): Not livestock in the traditional sense, but red wigglers are incredible decomposers! We have a small worm bin under our kitchen sink. It cost us about $30 for the bin and worms, and the kids love feeding them kitchen scraps. Plus, you get fantastic “worm castings” for your garden.

    * Composting: Even without worms, a simple backyard compost pile or tumbler is an easy way to reduce waste and create nutrient-rich soil. Our kids take great pride in adding their apple cores and banana peels.

    Maximizing Your Small Space for Urban Homesteading with Kids

    Don’t let a small footprint discourage you! Urban homesteading is all about creativity. We live on a standard city lot, about 0.15 acres, but we’ve squeezed a lot into it.

    Vertical Gardening Solutions

    When you can’t go out, go up! Vertical gardens are a lifesaver. We use stacked planters for herbs, hanging baskets for strawberries, and a vertical wall planter for lettuce. This technique significantly increased our yield without taking up precious ground space.

    Edible Landscaping

    Replace ornamental shrubs with edible ones! Think blueberry bushes, dwarf fruit trees (they can even be grown in large pots!), or perennial herbs like oregano and thyme as ground cover. We planted a dwarf apple tree that gives us about 30-40 apples a year โ€“ perfect for pies. Our kids love watching the fruit develop. For more ideas on efficient layouts, check out Your First Homestead Layout: Simple Steps for Beginners.

    Water Conservation

    Water is a precious resource. We installed a 50-gallon rain barrel that connects to our gutter, costing about $100. It’s amazing how much water it collects for our garden, and the kids love checking its level. This is a simple yet impactful step towards sustainability. Learn more from our post on Best Small Scale Rainwater Systems for Off-Grid Living.

    Lessons Learned (and Laughed About) While Urban Homesteading with Kids

    Our journey hasn’t been without its share of hilarious mishaps and learning curves. I remember one summer when our zucchini patch absolutely exploded. We had so much zucchini, we were leaving it on neighbors’ doorsteps in the dead of night like garden ninjas!

    * Patience is a Virtue: Growing food teaches incredible patience. Kids learn that things don’t happen instantly.

    * Expect Imperfection: Not every seed will sprout. Pests will attack. Animals will get into things. It’s all part of the process. “Failure” is just a step towards learning.

    * Involve Them in Everything: Even the less glamorous tasks, like turning the compost pile (our kids call it “feeding the stink heap”), can be fun if approached with the right attitude.

    * Celebrate Small Wins: The first sprout, the first egg, the first perfectly ripe tomato. Make a big deal out of these moments!

    * Flexibility is Key: Kids’ interests change. Some days they’ll be super engaged; other days, not so much. Don’t force it. Let it be a natural part of family life.

    At the end of the day, how to get started urban homesteading with kids isn’t about perfectly manicured gardens or maximum yields. It’s about the journey, the discovery, and the invaluable life lessons you impart. It’s about raising independent, resourceful, and nature-loving humans capable of contributing to a more sustainable future.

    FAQ: Urban Homesteading with Kids

    Q: What’s the absolute best first step for urban homesteading with kids?

    A: My top recommendation is to start a small, easy-to-manage vegetable garden together. Choose 3-5 quick-growing, kid-friendly plants like radishes, bush beans, or cherry tomatoes. Give them their own small patch or pot to be solely responsible for. Success in this small venture will build their confidence and enthusiasm for more!

    Q: How much space do you really need for urban homesteading?

    A: Surprisingly little! We’ve seen incredible things done on balconies, patios, and small backyards. Even a sunny windowsill can yield herbs and microgreens. The key is to think vertically with planters and trellises, and prioritize plants with high yields per square foot.

    Q: Are chickens too much work for an urban setting with kids?

    A: Chickens do require daily care, but it’s very manageable, especially with a good coop setup. Our kids quickly took over egg collection and helping with water and feed. The benefits โ€“ fresh eggs, pest control, and endless entertainment โ€“ often outweigh the work. Just make sure to check your city’s regulations first!

    Q: What are some cost-saving tips for starting an urban homestead?

    A: Start with seeds instead of plant starts, hunt for free compost or use your own kitchen scraps, build raised beds from reclaimed materials (like pallets), and look for local plant swaps. We’ve saved a ton by using DIY solutions. Check out Essential Homesteading Tools to Buy First? Our Top Picks! for smart initial investments.

    Q: How do you keep kids from getting bored with gardening chores?

    A: We make it a game! “Who can find the biggest weed?” “Let’s count how many cherry tomatoes we can pick!” We also give them their own kid-sized tools and specific, age-appropriate tasks. Most importantly, we celebrate every harvest and use what we grow in meals, so they see the direct benefit of their hard work. You can explore more ideas on how to keep kids engaged on your homestead at usehomesteados.com.

    If you’re eager to build a more self-sufficient, connected life with your family, start small, embrace the mess, and dive into urban homesteading with kids. It’s truly one of the most rewarding adventures you’ll ever embark on. Have questions or want to share your own urban homesteading stories? Drop a comment below, or explore more of our family’s journey and practical tips right here at usehomesteados.com!


    Ready to start your homesteading journey? Visit UseHomesteados.com for more guides, tools, and resources.


    ๐Ÿ‘‰ Related: Build a Movable Chicken Tractor for Sustainable Pest Control

    ๐Ÿ‘‰ Related: Tiny Space, Big Harvest: How to Start Urban Homesteading Small Space