Your First Homestead Layout: Simple Steps for Beginners
When we first officially bought our little slice of heaven and decided to dive headfirst into homesteading, my head was spinning! I pictured rows of thriving gardens, happy chickens clucking, and maybe even a goat or two. But how do you get from that dreamy vision to a functional, productive space? That’s the million-dollar question, isn’t it? If you’re wondering how to plan a homestead layout for beginners, trust me, I’ve been exactly where you are. It felt like trying to solve a giant jigsaw puzzle without all the pieces.
After years of trial, error, and a lot of moving things around, we’ve learned a ton about what works and what really doesn’t. Our first garden was in the wrong spot, our chicken coop was too far from the water source, and our compost pile was… well, let’s just say it was a learning experience. But that’s okay! We’re here to share our real-life lessons so you can avoid some of our early mistakes and get a head start. Planning your homestead layout doesn’t have to be overwhelming; it can actually be a really exciting part of the journey!
Why a Good Homestead Layout Matters (More Than You Think!)
Think of your homestead as a living, breathing ecosystem – and you’re the architect. A well-thought-out layout isn’t just about aesthetics; it’s about efficiency, productivity, and your sanity. When we first started, we just kind of plunked things down where they seemed to fit. Our garden was way out in the back forty, meaning every trip for watering or harvesting was a trek. Our compost heap was a good 100 feet from the kitchen, which meant less frequent trips and therefore less useful compost.
What we quickly realized was that a smart layout minimizes wasted effort, saves you time, and can even reduce resource use. It’s the difference between feeling like you’re constantly fighting against your property and feeling like your homestead is working with you. For beginners especially, getting this right from the start can make all the difference in staying motivated and preventing burnout.
Our Early Layout Blunders and Lessons Learned
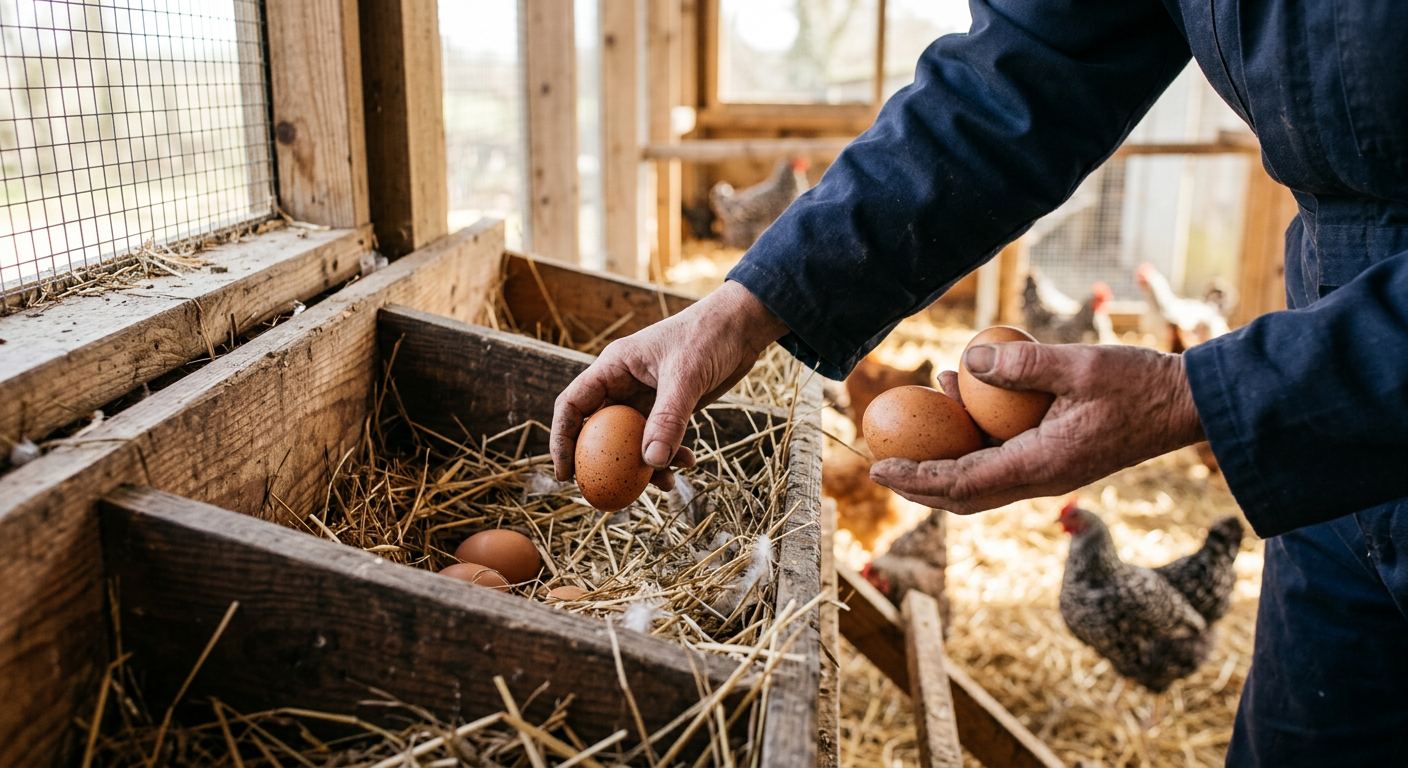
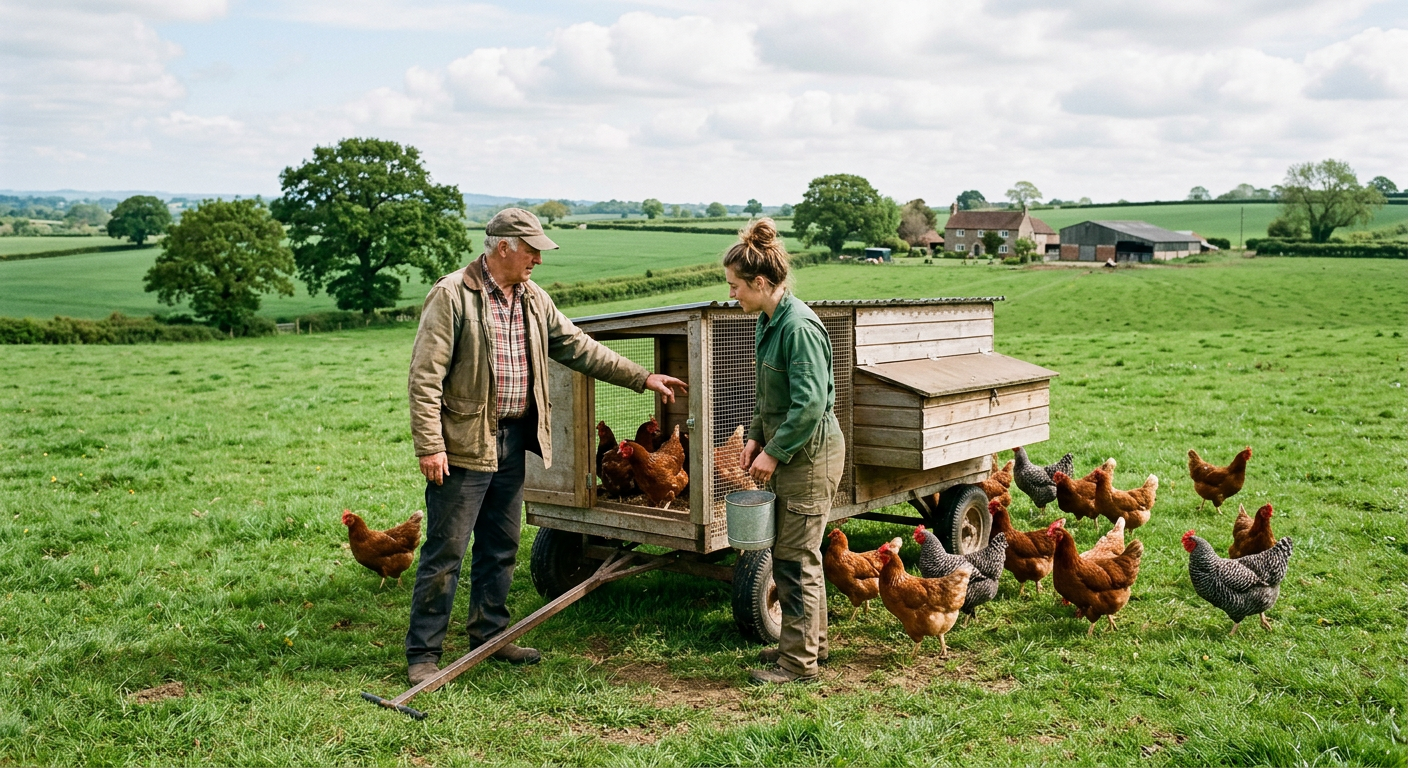
Our biggest mistake was underestimating access. We put our first chicken coop tucked away in a corner because it felt ‘out of the way.’ What we didn’t think about was the daily trek with buckets of water and feed, and then hauling eggs back to the house. It was a chore, pure and simple. Moving the coop closer to our water spigot and main pathways made daily chores so much smoother. We also learned that thinking about future expansion now is key. We wish we’d considered where our fruit trees would go before we planted that first random shrub.
Phase 1: Observing Your Land – The Foundation of a Great Plan
Before you even dream about where the chicken coop will go, the very first step in how to plan a homestead layout for beginners is to sit back and observe your land. This phase is critical and often overlooked. When we bought our 5 acres, we spent a solid six months just watching before we put a single shovel in the ground for a major project.
Map it Out: The First Step to Understanding Your Space
Grab some graph paper or use an online tool (we use a simple free one called “Homesteados Maps” which you can find at https://usehomesteados.com/maps). Sketch out your property boundaries. Mark existing structures like your house, shed, and driveway. Don’t forget any big trees, rock formations, or wet areas.
* Existing Features: House, driveway, large trees, fences, utility lines (call 811!), septic system.
* Sun Paths: Observe where the sun hits in summer and winter. Which areas get full sun? Which are shady? This is HUGE for garden placement.
* Water Flow: Where does water collect after a rain? Where does it drain? This impacts garden beds, animal enclosures, and even potential pond placement. Look at natural swales and slopes.
* Wind Patterns: Which direction does the prevailing wind come from? You’ll want to protect certain areas, like delicate vegetable gardens or wind-sensitive structures.
* Microclimates: Notice small areas that are warmer, colder, wetter, or drier than their surroundings. A sunny, protected south-facing wall might be perfect for special herbs like those mentioned in our post on Best Perennial Herbs for Cold Climate Homesteads.
Taking photos throughout the day and in different seasons can be incredibly helpful during this observation period. We kept a journal for weeks to track these things.
Phase 2: Defining Your Homestead Goals and Needs
Now that you know your land, it’s time to figure out what you want your land to do for you. This is where your personal vision comes into play. When we first started, “self-sufficiency” was a buzzword, but we quickly realized that meant different things to different people. For us, it meant growing most of our vegetables, having fresh eggs, and eventually, some fruit.
* Prioritize Your Projects: Are you starting with a vegetable garden? Chickens? Beekeeping? Not everything has to happen at once. Our family began with a very small garden (you can read about our journey in How to Start a Small Backyard Vegetable Garden: Beginner Guide). Slowly, we added chickens a year later.
* Consider Your Family’s Needs: How much food do you need to produce? How much time can you realistically commit each day/week? We have two young kids, so daily chores need to be efficient.
Future Expansion: Even if you’re not getting goats this year, think about where they could* go in the future. Leave some room!
* Budget: Be realistic about what you can afford upfront. Starting small and expanding is always a good strategy.
Make a list of all the elements you’d like to include: vegetable garden, fruit trees, berry patches, chicken coop, rabbit hutches, compost areas, rainwater catchment (grab some tips here about Best Small Scale Rainwater Systems for Off-Grid Living), tool shed, outdoor living spaces, etc. Don’t censor yourself here – get all your dreams down!
Phase 3: Designing Your Functional Zones – Applying Permaculture Principles
This is where you start to put pencil to paper (or mouse to screen) and truly plan a homestead layout for beginners. We’ve found that thinking in terms of “zones” makes this much simpler. This is a core permaculture principle, and it really helps with efficiency.
The Zone System: Locating Elements Logically
* Zone 0: The House. This is your hub. Activities directly around your home.
* Zone 1: Frequently Visited. Things you use daily or multiple times a day.
* Examples: Kitchen garden (salad greens, herbs), compost bin (for kitchen scraps), main paths, small herb spiral near the kitchen door. Our Zone 1 compost is now only 20 steps from our kitchen!
* Zone 2: Regularly Visited. Things you visit a few times a week.
* Examples: Main vegetable garden, chicken coop, small orchard, berry bushes, nursery beds. Ours now includes a dedicated spot for our compost pile, which gets turned weekly.
* Zone 3: Periodically Visited. Things you visit weekly or a few times a month for maintenance or harvest.
* Examples: Larger orchards, staple crop gardens (corn, potatoes), pastured animals, firewood storage, tool shed. Our main potato patch is here.
* Zone 4: Infrequently Visited. Semi-wild areas, larger pastures, timber production. Minimal human maintenance.
* Examples: Woodlot, larger animal pastures.
* Zone 5: Wild/Untouched. This zone is left as wild as possible, allowing nature to thrive.
When we redid our layout, we took our map from Phase 1 and started sketching potential zones. We realized that our initial chicken coop, originally in Zone 3, needed to be in Zone 2. And our main garden, initially in Zone 4, definitely belonged in Zone 2 to make it manageable.
Phase 4: Considering Key Elements for Your Layout
Now, let’s get specific about placing those elements you dreamed about. This is crucial for how to plan a homestead layout for beginners effectively.
1. Water Access: The Lifeline of Your Homestead
Water is king. Period. Our first year, we spent hours hauling water because we didn’t fully map out our spigots and potential rainwater collection points.
* Connect to existing sources: Where are your outdoor spigots? Can you expand your plumbing easily?
* Rainwater Harvesting: Consider placing greenhouses, sheds, or coops under rooflines that can easily collect rainwater. Check out our guide on Best Small Scale Rainwater Systems for Off-Grid Living for ideas. We collect about 500 gallons annually from our barn roof alone!
* Gravity: Can you use the natural slope of your land for irrigation? A water tank placed uphill can gravity-feed water downhill.
2. Sunlight Needs: Orienting Gardens and Structures
Most vegetables need at least 6-8 hours of direct sunlight. Our first garden was shaded by a huge oak tree in the late afternoon, which significantly reduced our yields.
* Garden Placement: Generally, south-facing (in the Northern Hemisphere) with full sun is ideal. Avoid placing tall structures or trees immediately to the south of your garden.
* Greenhouses/Polytunnels: Orient them east-west for maximum winter sun exposure.
* Animal Housing: Protection from harsh winter winds and scorching summer sun is vital. East-facing entrances are often best for catching morning sun in winter.
3. Pathways and Access: Your Homestead’s Arteries
Efficiency! Wide, clear paths save so much time and effort.
* Main Pathways: Should be wide enough for a wheelbarrow (at least 3-4 feet) and lead to frequently visited areas (garden, compost, coop). We use wood chips for ours – they’re cheap, good for soil, and suppress weeds.
* Utility/Service Paths: Driveway access, delivery points, areas for turning equipment.
* Slope Considerations: Avoid paths that become slippery or prone to erosion.
4. Animal Integration: Placement with Purpose
When we started with chickens, they were just… chickens. Now, we think about how they integrate into the system.
* Pastures/Runs: Consider rotating animals through different areas for soil fertility and pest control.
* Protection: Predators are a real threat. Place coops and runs where they’re visible and accessible for protection. Our chicken run now integrates into our orchard, helping with pest control and fertilization.
* Composting: Chicken litter is fantastic for compost! Locate coops near your compost pile.
5. Utilities and Services: Plan for Power, Greywater & Waste
Don’t forget the boring but essential stuff!
* Electricity: Where do you need power? For pumps, lighting, tools? Plan for trenching if necessary.
* Septic/Sewer: Know your septic field location – you can’t build over it.
* Compost Toilets/Greywater: If you’re going off-grid, where will these systems be located?
* Waste Management: Beyond the compost, where will you stash garbage and recycling?
Phase 5: Iteration and Flexibility – Your Plan isn’t Set in Stone!
Here’s the honest truth: your first homestead layout won’t be your last. Even after our careful planning, we’ve adjusted things. Our compost pile has moved three times! Our initial garden expanded into another bed because we realized we needed more space for tomatoes. This flexibility is a strength, not a weakness. Don’t be afraid to tweak as you go.
Start small, implement a portion of your plan, and observe. Does it work? Is it efficient? What could be better? We often recommend implementing one major element per season or year for beginners. Remember, homesteading is a journey of continuous learning, as we’ve highlighted in our 10 Beginner Homesteading Tips to Start Your Self-Sufficient Journey Today.
When we started, if someone had handed me a perfect, final layout for our property, I wouldn’t have learned nearly as much as I did through the process of observing, planning, doing, and adjusting. Your homestead is a canvas, and you’re the artist. Get creative, stay practical, and most importantly, enjoy the process!
—
Frequently Asked Questions About Homestead Layouts
Q1: How much land do I need to start a homestead and plan a layout?
A: You can start homesteading and planning a layout on surprisingly little land! Many urban homesteaders thrive on just a quarter-acre or even less by focusing on vertical gardening, intensive planting, and container growing. For typical suburban homesteading goals (vegetables, a few chickens), 1/2 to 1 acre is a great starting point. For larger animals like goats or a small orchard, 2-5+ acres might be more suitable. It’s more about efficient design than sheer size.
Q2: What’s the most common mistake beginners make when planning their homestead layout?
A: Hands down, it’s underestimating the importance of water access and sunlight. Many beginners place gardens in convenient spots without checking for optimal sun exposure, or they put animal housing far from a water source, leading to daily hauling chores. Another big one is not thinking about pathways and flow – making it hard to move materials or people around efficiently. We really encourage spending time in the observation phase before you commit to anything permanent.
Q3: How long should I spend on the observation phase before designing?
A: Ideally, you should observe your land for at least one full year, if possible, to see how sun, wind, and water behave in all four seasons. However, for most beginners eager to start, even 3-6 months of focused observation during your primary growing season can provide invaluable insights. Don’t rush it! The more you observe, the fewer mistakes you’ll make later on.
Q4: Are there free tools to help me design my homestead layout?
A: Absolutely! For simple mapping, grab some graph paper, a ruler, and colored pencils – that’s often the best start. For digital options, you can use Google Earth to get an aerial view of your property and then print it to draw on. There are also free online drawing tools or simple diagram makers that can help. We built a basic one at https://usehomesteados.com/maps for our community which is super easy to use for initial sketching.
Q5: Should I try to implement my entire homestead layout plan all at once?
A: Definitely not! That’s a recipe for burnout and frustration. We always advise a phased approach. Pick one major project (like your main garden or chicken coop) that aligns with your most pressing goals. Implement that, learn, observe, and then move on to the next piece of your plan. This iterative process allows you to adapt as you gain experience and understand your land better. Most successful homesteads are built layer by layer over many years.
—
Ready to Start Sketching Your Dream Homestead?
I hope our family’s journey has given you a clearer path for how to plan a homestead layout for beginners. It’s a journey, not a sprint, and every step, even the missteps, teaches you something valuable. Don’t let perfection be the enemy of good when you’re just starting out. Grab your pad and pencil, head outside, and start observing.
Got questions as you plan? I’d love to hear them! And if you’re looking for more practical advice and real-life homesteading stories, be sure to explore more articles right here on our blog. We’re always sharing our latest projects, lessons, and tips to help you on your own self-sufficiency adventure. You can find many guides, from gardening to animal care, to help you bring your homestead vision to life!
📚 More From Our Homestead
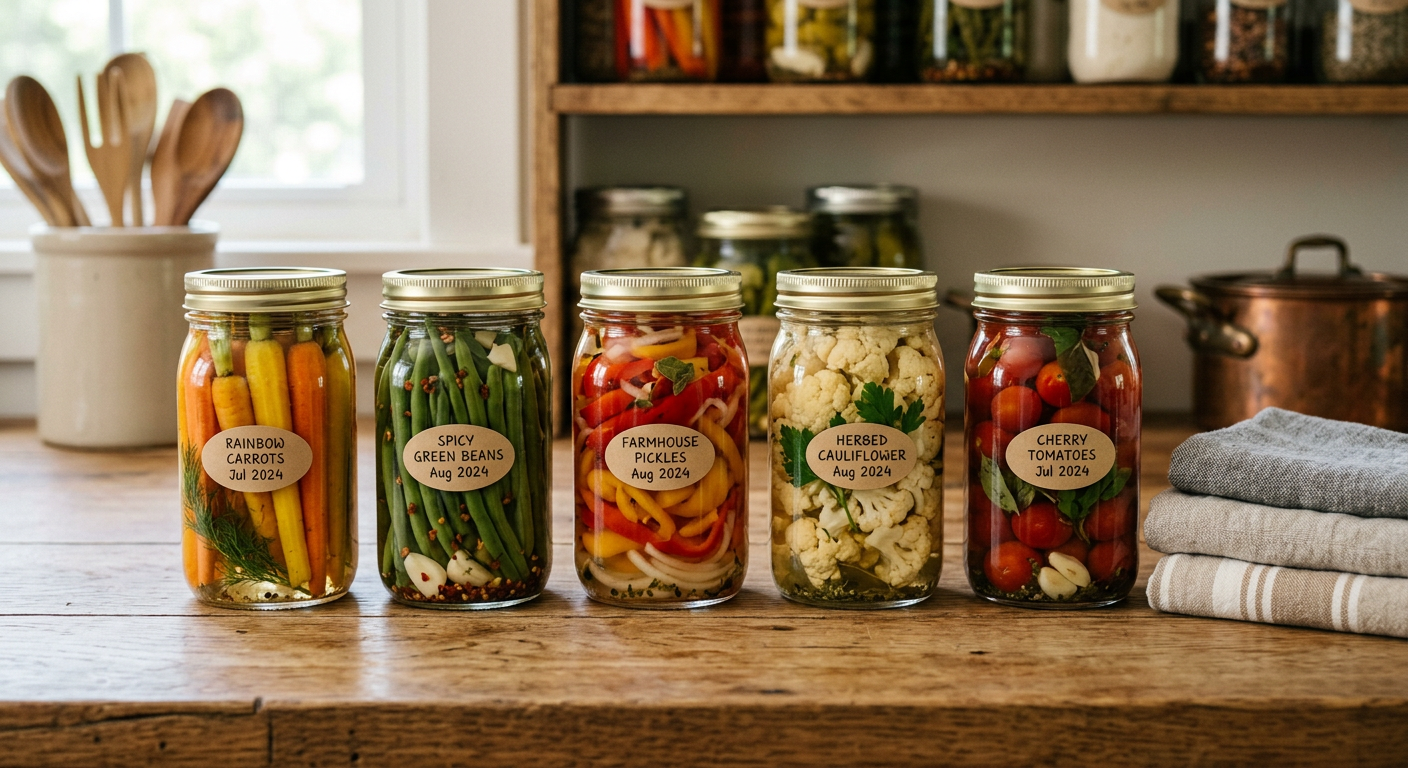
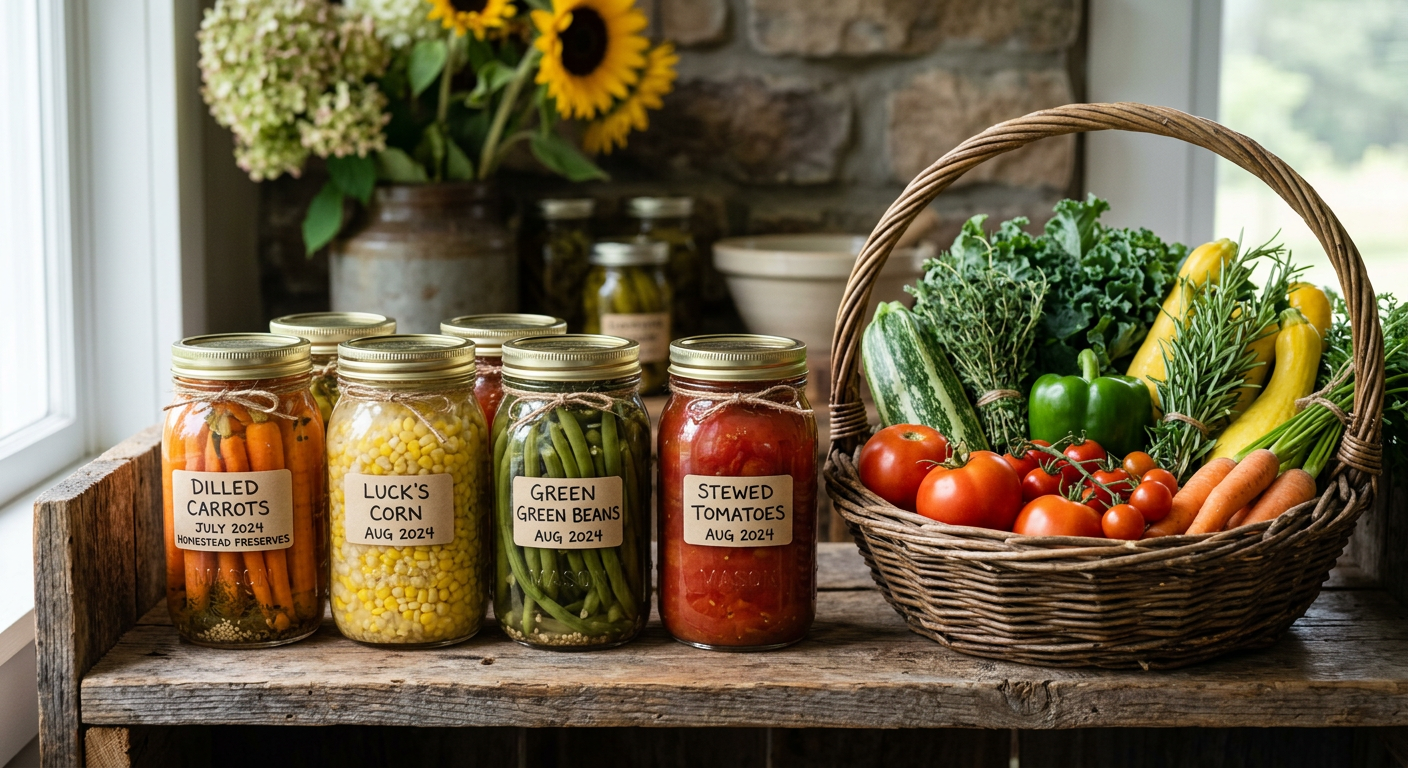
- Basic Food Preservation for Beginners: Our Family’s Go-To Methods
- Homesteading Hacks: Save Serious Money on Groceries!
- How to Make Money From a Small Homestead
- Homesteading Supplies List for Beginners: The Essentials
- Cheap Food Preservation for Beginners: Our Top Budget Hacks
Ready to Start Your Homestead Journey?
Free guides, checklists, and tools to help you build your dream homestead.