When we first started dreaming of homesteading, the idea of finding our perfect patch of land felt like searching for a unicorn – magical, elusive, and maybe a little impossible. We spent countless evenings poring over property listings, our heads swimming with zoning laws, well depths, and septic systems. It was overwhelming, to say the least, but also incredibly exciting to imagine our future on that land.
🎯 Quick Answer: Choosing a homestead property requires balancing your dreams with practical realities like water access, soil quality, zoning, and budget. For beginners, start by defining your homesteading goals, then prioritize features that support those goals, always keeping an eye on accessibility and infrastructure.
—
🔑 Key Takeaways
* Define Your Vision: Before looking at properties, clarify your homesteading goals (gardening, livestock, off-grid, etc.).
* Location, Location, Location: Consider climate, community, and proximity to resources you might still need.
* Water is Life: Assess water sources like wells, springs, or municipal hook-ups – this is non-negotiable!
* Soil Matters: Good soil is the foundation of a productive garden; poor soil can be remediated but takes time and money.
* Zoning & Regulations: Understand local laws regarding animals, structures, and land use to avoid costly surprises.
* Beyond the Price Tag: Factor in infrastructure costs (well, septic, power) and potential land improvements.
—
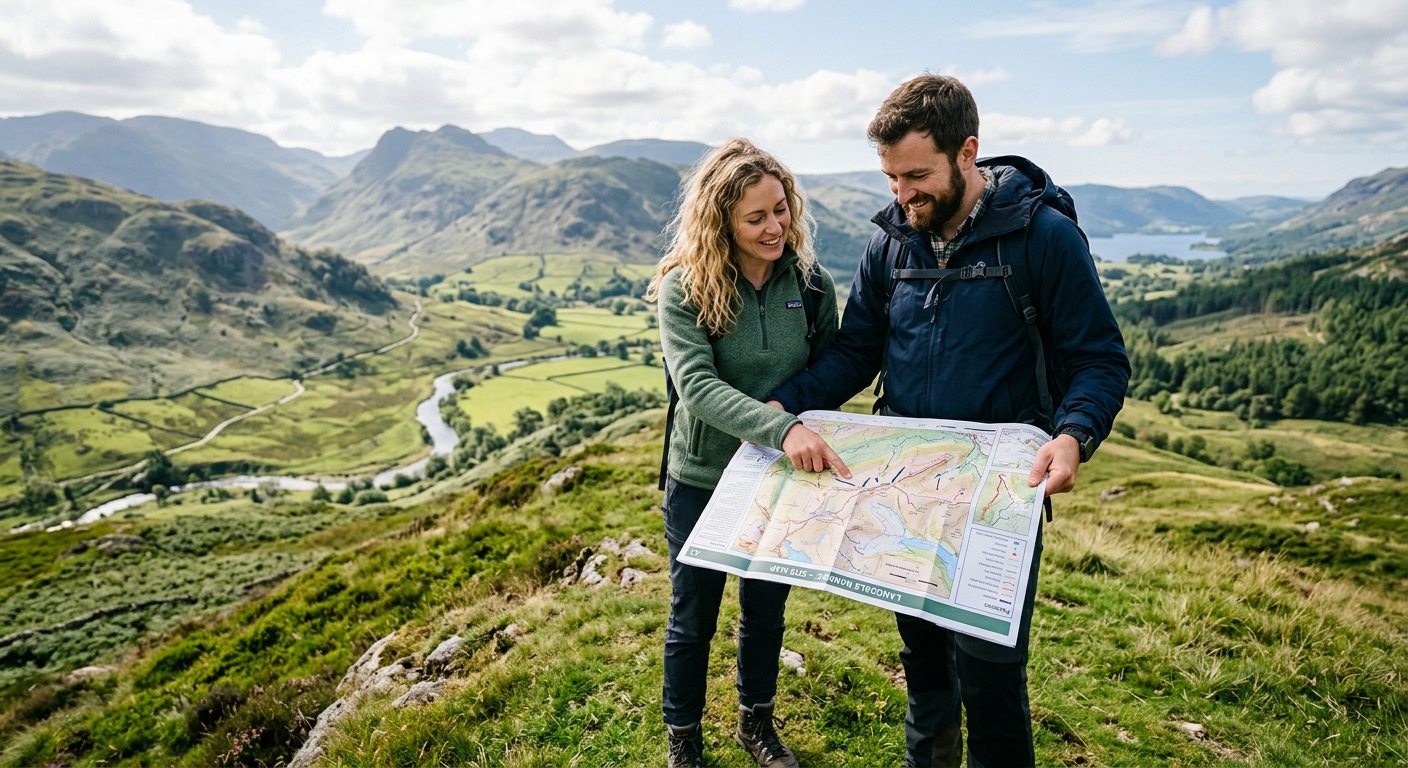
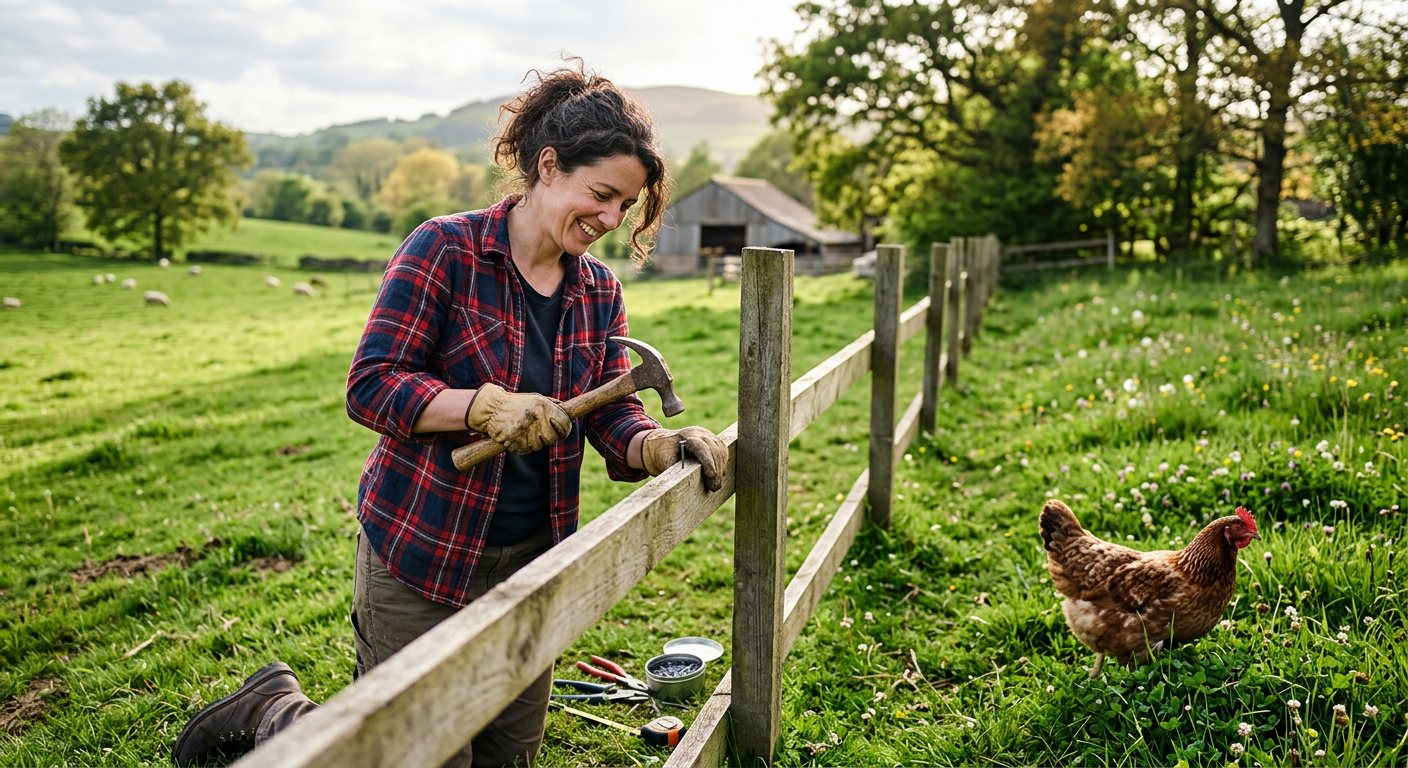
!A couple planning land use while learning how to choose a homestead property for beginners.
Understanding Your Homesteading Dreams First
Before you even glance at a real estate listing, we found it crucial to sit down and honestly answer some big questions about our homesteading dreams. What do you really want to do on your land? This isn’t just about fun, it’s about practicalities that will dictate the size, location, and features you need when you’re asking how to choose a homestead property for beginners.
What are Your Homesteading Goals?
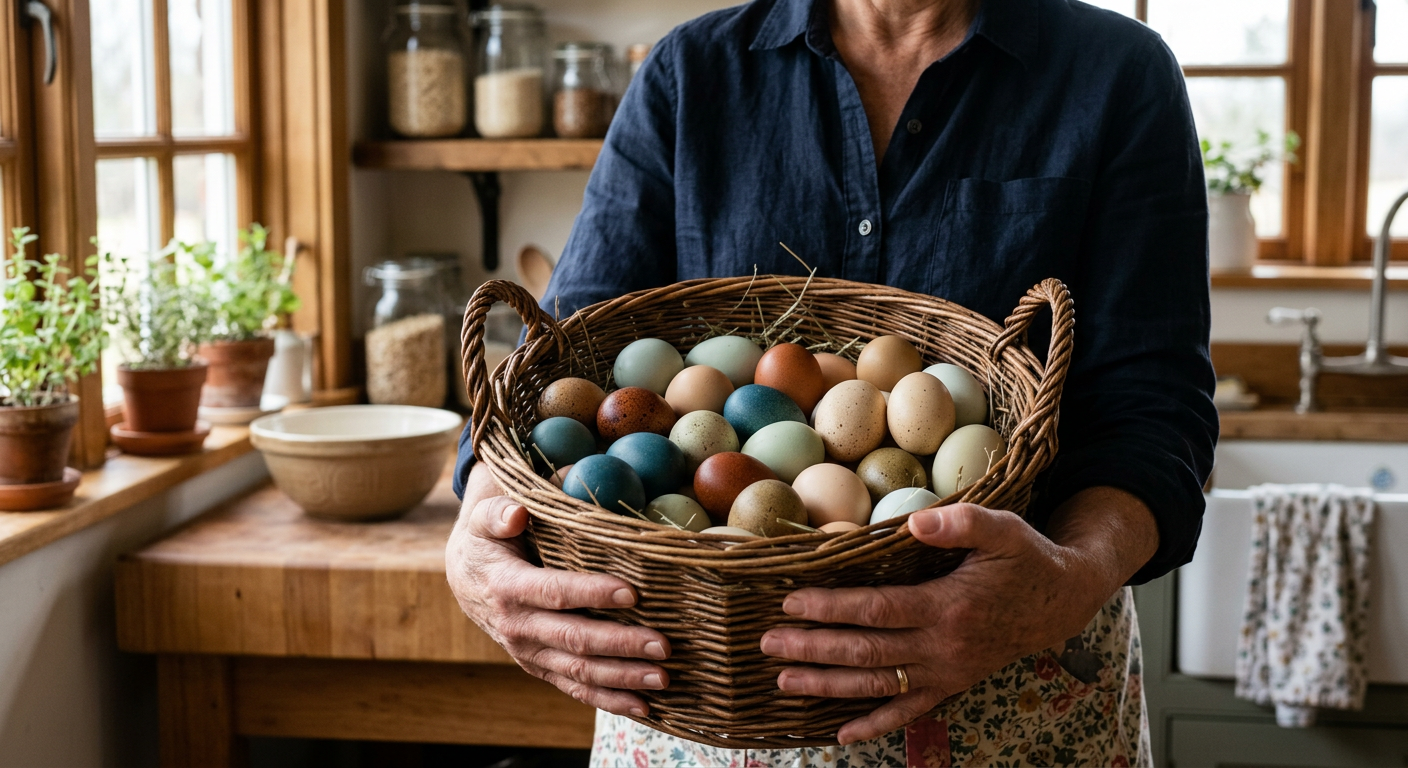
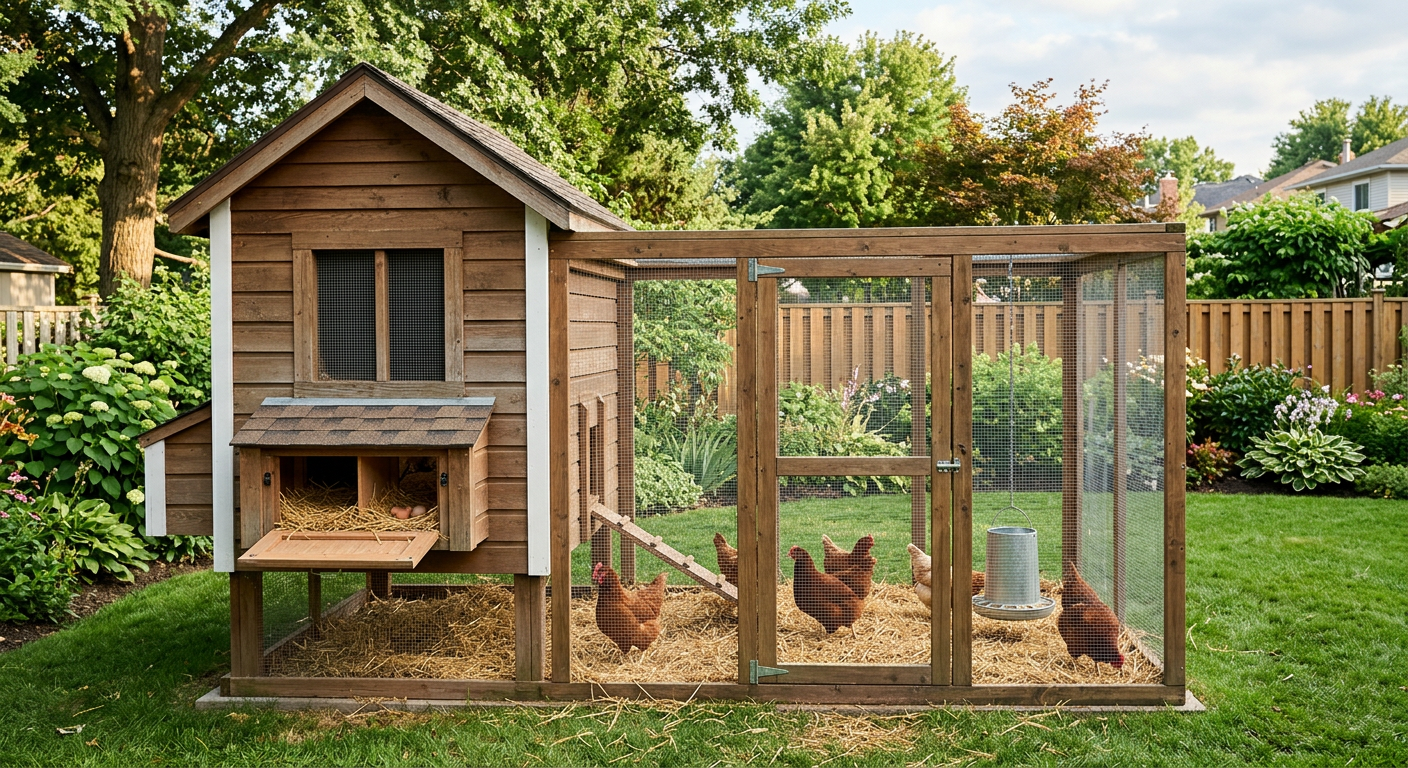
For us, our initial goal was to grow most of our family’s vegetables, raise a small flock of chickens for eggs, and eventually add a couple of dairy goats. This meant we needed ample garden space, secure fencing potential, and enough acreage to keep animals happily (and legally). If your dream is a sprawling orchard, you’ll need healthy soil and good drainage. If you envision a small-scale cattle operation, pasture quality and water access become paramount. Conversely, if you’re thinking urban homesteading with kids, your property needs will look very different.
Desired Level of Self-Sufficiency
Are you aiming for completely off-grid living, or do you just want to supplement your groceries? Off-grid will demand specific features like south-facing slopes for solar, reliable water sources, and potentially a location further from infrastructure. We decided early on to stay connected to grid power for convenience, but with plans for solar backup down the road. This decision significantly impacted the types of properties we considered.
* Deep Self-Sufficiency: Expect to prioritize natural resources, isolation, and larger acreage.
* Partial Self-Sufficiency: A smaller plot with good soil and municipal access might be perfect.
* Budgeting for Self-Sufficiency: Remember, going off-grid can involve substantial upfront costs for systems like solar panels, well drilling, or rainwater harvesting.
Knowing your ‘why’ will save you countless headaches down the line when you start property hunting. But before you dive in, let’s talk about the single most critical resource.
—
The Non-Negotiable: Water, Water, Water
Seriously, we cannot stress this enough. Water isn’t just nice to have; it’s absolutely essential for a thriving homestead. Whether you’re watering your backyard vegetable garden, hydrating your livestock, or simply living comfortably, reliable water access is paramount when considering how to choose a homestead property for beginners.
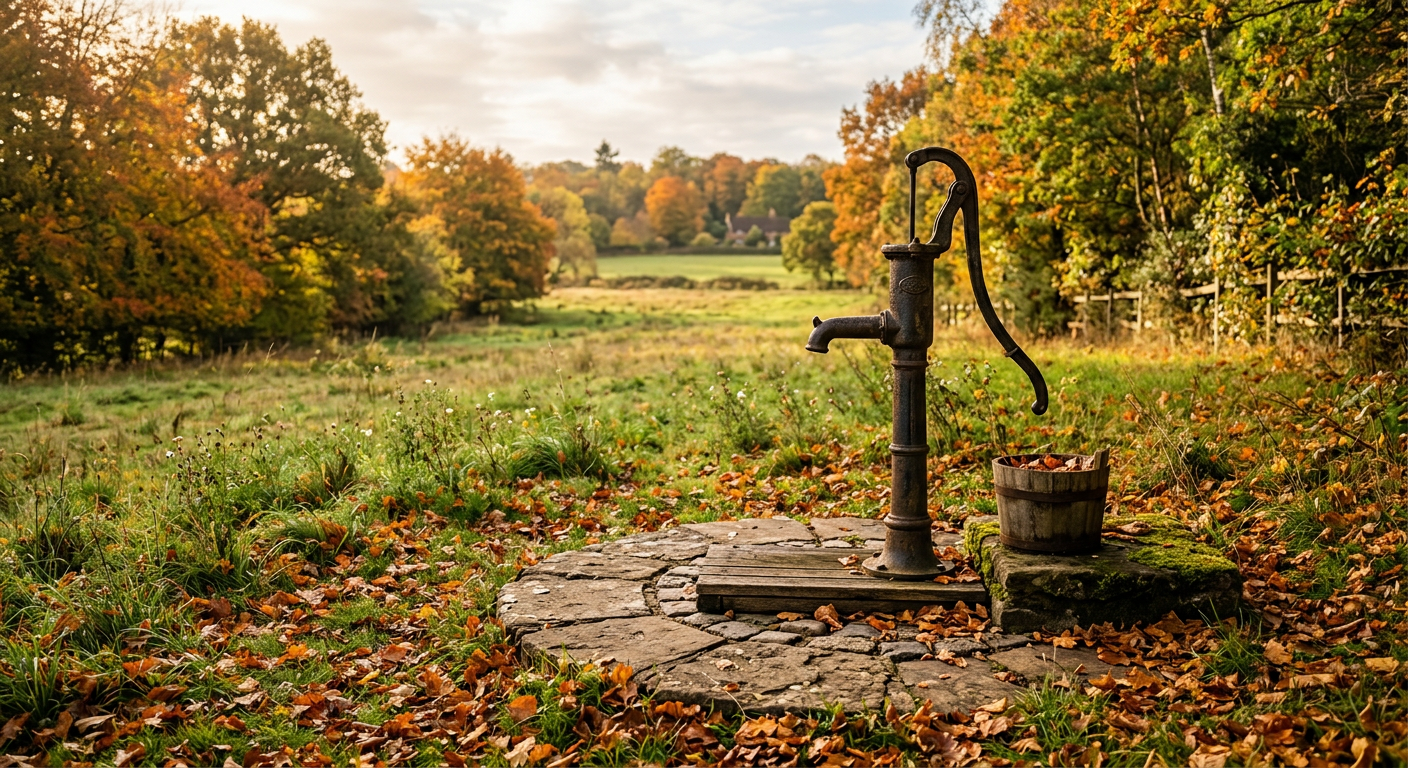
Identifying Water Sources
When we looked at properties, the first question we asked was always about water. Is there a well? How deep is it? What’s the yield? Is it a shared well? For us, a reliable, private well was a must-have. Asking for well logs and testing the water quality is non-negotiable.
* Private Wells: Often the most desirable for homesteaders. Inquire about depth, pump age, and historical water levels.
* Natural Springs/Creeks: Fantastic assets, but check for seasonal fluctuations and potential contamination from upstream sources.
* Municipal Water: Convenient, but limits self-sufficiency and comes with monthly bills.
* Rainwater Harvesting: An excellent supplement, but rarely sufficient as a sole source for a full homestead, especially in arid regions.
Water Rights and Quality
Many states have complex water rights laws. Make sure you understand what rights come with the property, especially if it includes a stream or shared well. We once looked at a beautiful piece of land with a shared well, but the agreement was so vague and complex that we walked away. Plus, get that water tested! Our local extension office offered affordable water testing for common contaminants like coliform bacteria and nitrates. You don’t want to dig in for years only to find your water is unsafe.
Keep reading — this is where most people mess up.
—
Soil, Topography, and Microclimates
After water, the ground beneath your feet is your next biggest asset (or liability!). Thinking about how to choose a homestead property for beginners often overlooks the actual composition of the land itself. Our first garden on our current homestead taught us a lot about what good soil isn’t.
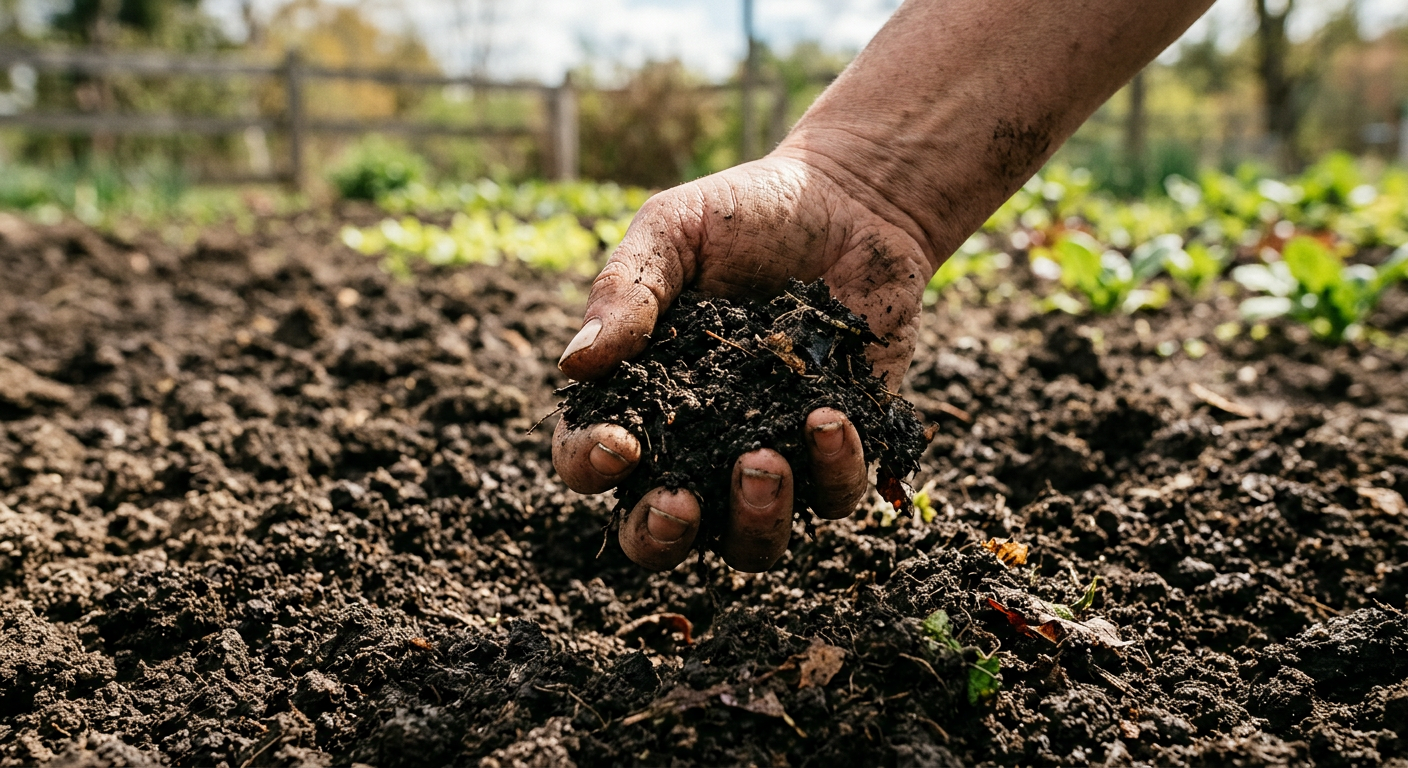
Soil Quality: A Gardener’s Best Friend
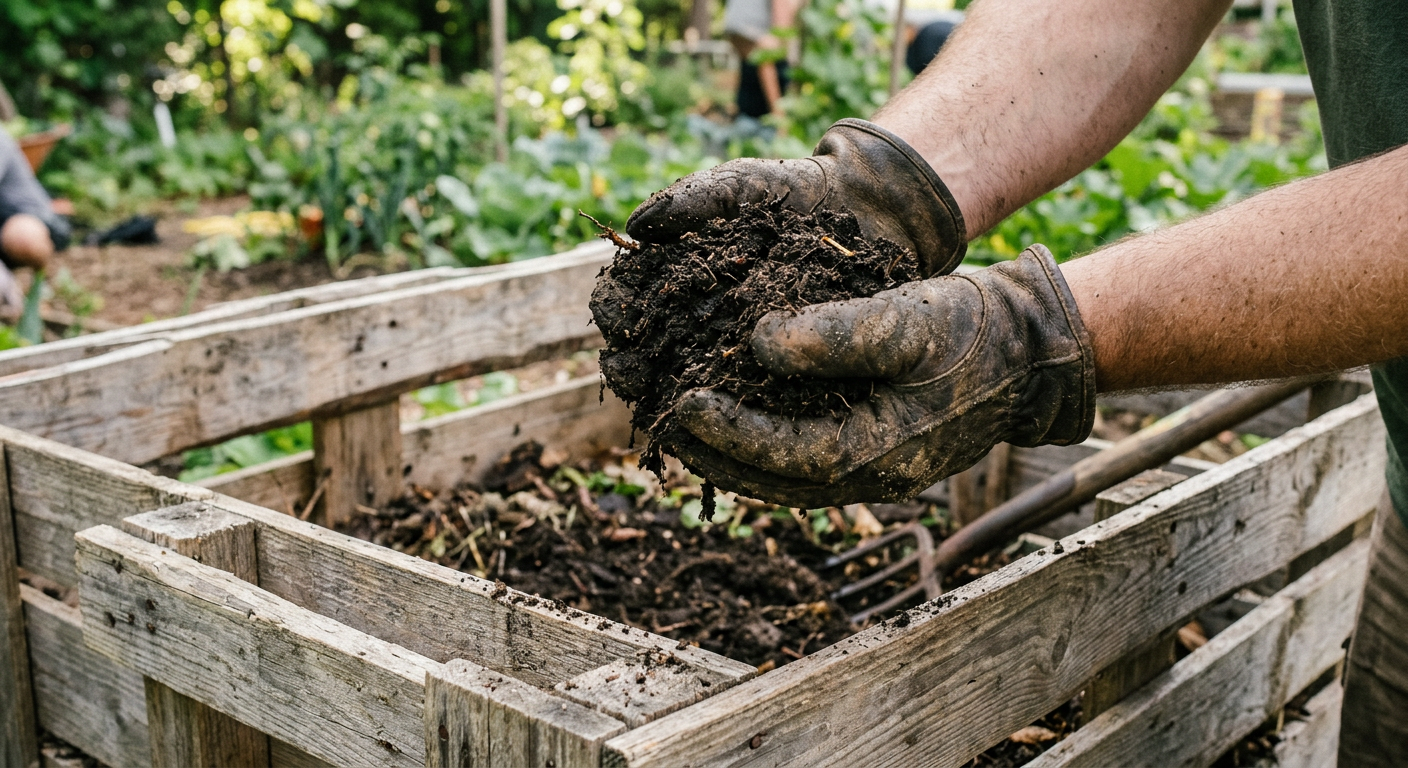
We naively bought our first property assuming all ‘farm land’ was good land. Turns out, our initial soil was heavy clay, compacted, and nutrient-depleted. Building it up took years of adding compost, cover crops, and amendments. If you can get a soil test done before buying, do it! If not, observe native plants – do they look healthy and robust? Are there large swaths of invasive weeds that indicate poor soil? Or, even better, look at what the current owners are growing. Lush, healthy gardens are a good sign.
* Ideal Soil: Loamy, well-draining, rich in organic matter (dark and crumbly).
* Challenging Soils: Heavy clay (poor drainage), sandy (dries quickly, nutrient leaching), rocky (limits root growth).
* Remediation: All soils can be improved, but it’s a long-term investment in time, labor, and materials.
Topography and Drainage
Is the land flat, gently sloped, or steep? Gentle slopes are often ideal for drainage and passive solar design. Flat land can be prone to standing water if drainage isn’t good. Steep slopes, while offering great views, can be challenging for gardening, building, and even driving equipment. We learned to look for natural contours that could be used for things like swales or terracing.
Understanding Microclimates
Every piece of land has its own unique microclimates. Where does the sun hit strongest? Which areas are sheltered from prevailing winds? Are there frost pockets? On our homestead, we have a low-lying area that reliably gets frost two weeks earlier and lasts two weeks longer than other parts of our property. This affects where we plant tender crops or choose to locate certain animal shelters. Observing how current owners have laid out their property can offer valuable clues.
This next part? Nobody talks about it, but it changed everything for us.
—
Zoning, Regulations, and Neighborhood Vibe
This is the dry, unglamorous part of homesteading, but it’s absolutely critical. Ignoring zoning and local regulations can turn your dream into a nightmare, fast. When we were learning how to choose a homestead property for beginners, we almost made a huge mistake by not digging deep enough into these details.
Decoding Zoning Laws
Every county and sometimes even specific townships have zoning laws that dictate what you can and can’t do on your land. Can you have livestock? If so, what kind and how many per acre? Are there restrictions on building new structures like a barn or a greenhouse? What about home-based businesses? These rules are usually available through the county planning department or online. Don’t take a realtor’s word for it; verify everything yourself.
* Agricultural Zoning: Generally most flexible for homesteaders, but still check specific animal limits.
* Rural Residential: Often allows some animals and gardening, but can have tighter restrictions on types or numbers.
* Conservation/Flood Zones: Can severely limit building and land use.
* HOAs (Homeowners Associations): A HUGE red flag for homesteaders, as they often have very restrictive rules about animals, outbuildings, and even front yard gardens.
Permitting and Regulations
Beyond zoning, there are permits for everything from new wells and septic systems to adding a chicken coop (believe it or not!). Understand what local building codes and health department regulations might affect your plans. Some areas have specific rules about minimum setbacks from property lines for animal enclosures or compost piles.
The Importance of Neighbors and Community
While finding your slice of heaven, don’t forget the human element. Drive through the neighborhood at different times of day. Are there other homesteaders or farmers around who could be a resource? Or are your potential neighbors hostile to things like roosters crowing at dawn? We made sure to introduce ourselves to a few neighbors before closing on our current property. Their insights were invaluable, and we’ve since built strong friendships.
Don’t skip this — it’ll save you hours (and money).
—
Budgeting Beyond the Purchase Price
It’s easy to get caught up in the listed price of the land, but the true cost of setting up a homestead goes far beyond that initial mortgage payment. When thinking about how to choose a homestead property for beginners, remember that the cheapest land isn’t always the least expensive in the long run. Our family learned this lesson the hard way.
Infrastructure Costs
If the property doesn’t have a well, septic system, or power hookup, you’ll need to budget for those. We looked at one property that seemed like a steal, but digging a new well was estimated at $15,000 and installing a septic system another $10,000-$20,000 – suddenly, it wasn’t such a bargain! Get quotes for these major projects before making an offer.
* Well Drilling: Can range from $5,000 to $25,000+ depending on depth and location.
* Septic System: Installation averages $10,000-$30,000, varying greatly by system type and soil conditions.
* Utility Hookups: Bringing power or internet to a remote property can be surprisingly expensive, sometimes tens of thousands of dollars per pole.
* Fencing: Essential for animals and gardens; costs add up quickly for hundreds or thousands of feet.
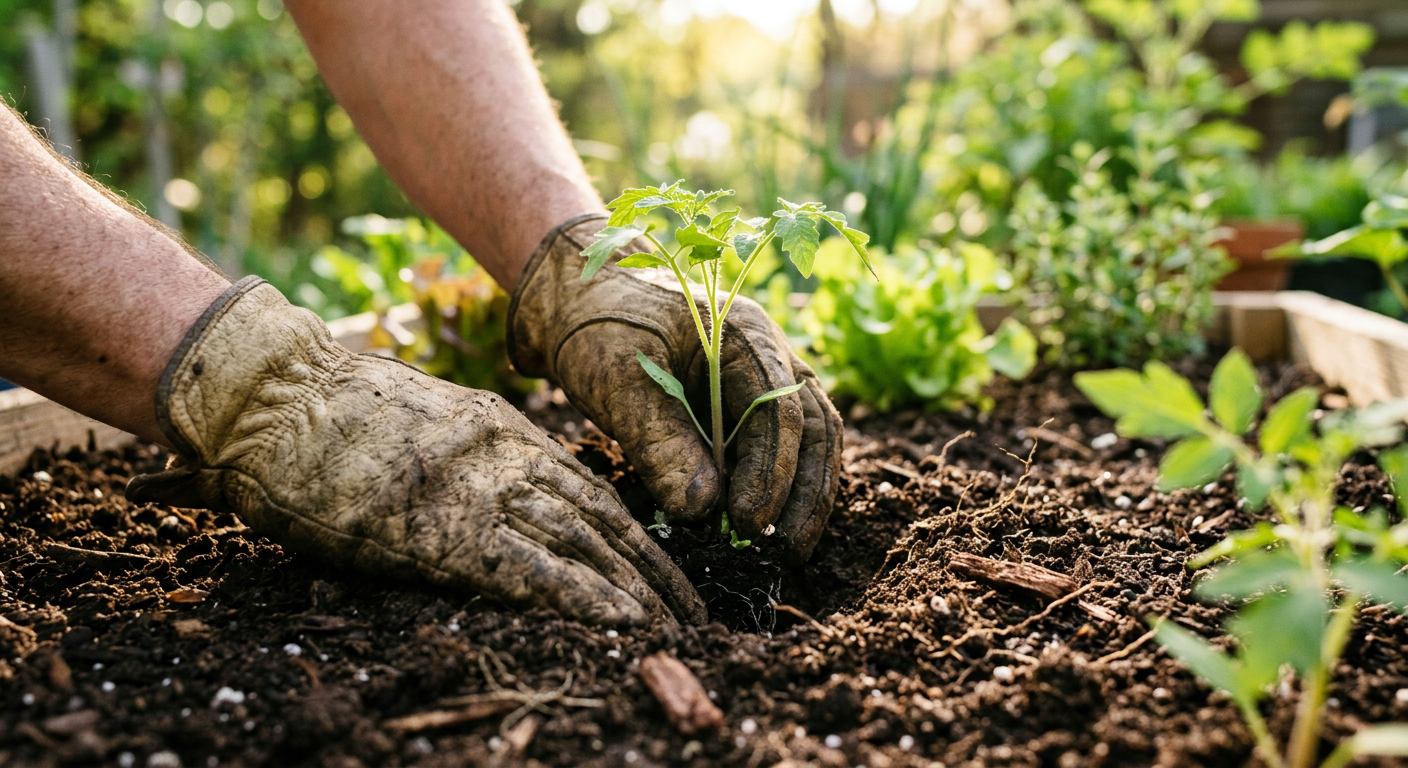
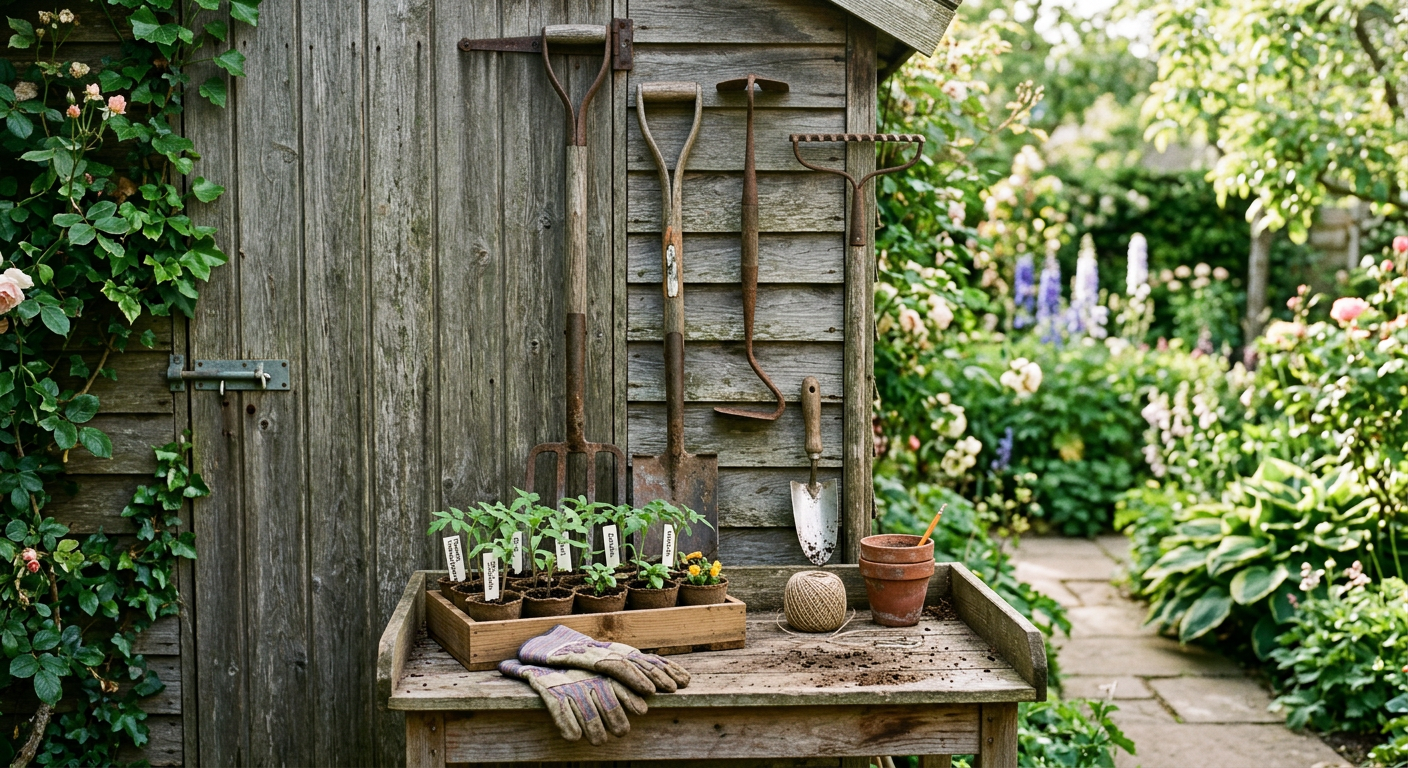
Land Improvements and Tools
Once you own the land, the work (and spending) really begins. You’ll need tools: a good tractor or four-wheeler, chainsaws, gardening implements, maybe even a small backhoe. There’s also the cost of amending soil, clearing brush, building outbuildings, and establishing gardens or pastures. We initially estimated about 15-20% of our property purchase price for initial setup costs in the first two years, and we still went over!
* Land Clearing: Removing trees, brush, or old structures.
* Soil Amendment: Truckloads of compost, manure, or other organic matter.
* Outbuildings: Chicken coops, sheds, barns.
* Access Roads/Driveways: If the property lacks good access.
—
💡 Pro Tips
* Walk the Property (Multiple Times!): Visit in different seasons if possible. See how water drains after a rain. Check for shade patterns in summer and winter.
* Talk to the Locals: Chat with neighbors, post office staff, or folks at the local feed store. They often have invaluable insights about the area, microclimates, and community.
* Hire a Homestead-Savvy Realtor: Finding a realtor who understands rural properties and homesteading needs can make a huge difference. They’ll know what questions to ask and what pitfalls to look for.
* Check Cell Service & Internet: Don’t assume. Many rural areas have spotty service, which can be tough if you work from home or need emergency access.
* Future-Proof Your Purchase: Think 5, 10, even 20 years down the line. Will this property still meet your evolving homesteading goals?
—
⚠️ Beginner Mistakes to Avoid
* Buying Blindly: Don’t fall in love with the pretty pictures online. Always visit the property in person, multiple times if possible.
* Ignoring Soil Tests: Planting in poor soil will lead to frustration and wasted effort. At least do a basic home test kit or dig a few holes to inspect the soil structure.
* Underestimating Water Needs: Water isn’t just for drinking; it’s for animals, gardens, and general homestead operations. Assume you’ll need more than you think.
* Overlooking Zoning/HOA Rules: These can kill your homesteading dreams before they even start. Verify everything with local authorities.
* Budgeting Only for Purchase Price: This is probably the biggest mistake. Always factor in significant costs for infrastructure, tools, and land development.
—
Frequently Asked Questions
Is 1 acre enough for a homestead?
The answer really depends on your goals! For intensive gardening, a small flock of chickens, and perhaps a few fruit trees, 1 acre can be very productive. For grazing larger animals like cows or going completely off-grid with extensive solar arrays, you’ll likely need more. For some inspiration on maximizing small spaces, you could check out this post on homestead layouts for beginners.
What are the most important things to look for in a homestead property?
When learning how to choose a homestead property for beginners, the absolute must-haves are reliable water access, decent soil, and favorable zoning. After that, look for defensible space, good sun exposure for gardening, and practical access to infrastructure or community when needed. Your personal goals will help prioritize the rest.
How much does it cost to start a homestead from scratch?
Ah, the million-dollar question! Starting a homestead from scratch can range from tens of thousands for a small, developed property to hundreds of thousands or even millions for raw land that needs all new infrastructure. We spent about $150,000 on our 5-acre property and then another $50,000+ in the first three years on well, septic upgrades, fencing, garden beds, and tools. Starting on a budget is possible, but prepare for ongoing expenses!
Should I buy raw land or a property with existing infrastructure?
For beginners, a property with existing (and functional!) infrastructure like a well, septic system, and a habitable dwelling is often much easier and faster to get started on. While raw land can be cheaper upfront, the costs and time to develop it can quickly surpass the savings. We opted for a property with a fixer-upper house and a working well/septic, which allowed us to move in and start gardening immediately.
How do I check for flood zones or other environmental hazards?
You can typically check federal flood maps (FEMA maps) online for any property address. Your local county planning department can also provide information on environmental overlays, wetlands, or other hazard zones. It’s smart to also visually inspect the land for signs of past flooding or erosion, especially after heavy rains.
—
Finding Your Place Under the Sun
Choosing a homestead property is one of the most significant decisions you’ll make on your self-sufficiency journey. It’s exhilarating, daunting, and incredibly rewarding when you finally find ‘the one.’ Remember that no property is perfect, and every piece of land comes with its own set of challenges and opportunities. Our advice? Be patient, do your homework, and prioritize the foundational elements like water and soil. With a clear vision and a practical mindset, you’ll be well on your way to breaking ground on your own piece of paradise.
What’s your biggest challenge with finding the perfect homestead property? I’d love to hear your story in the comments!
📚 More From Our Homestead
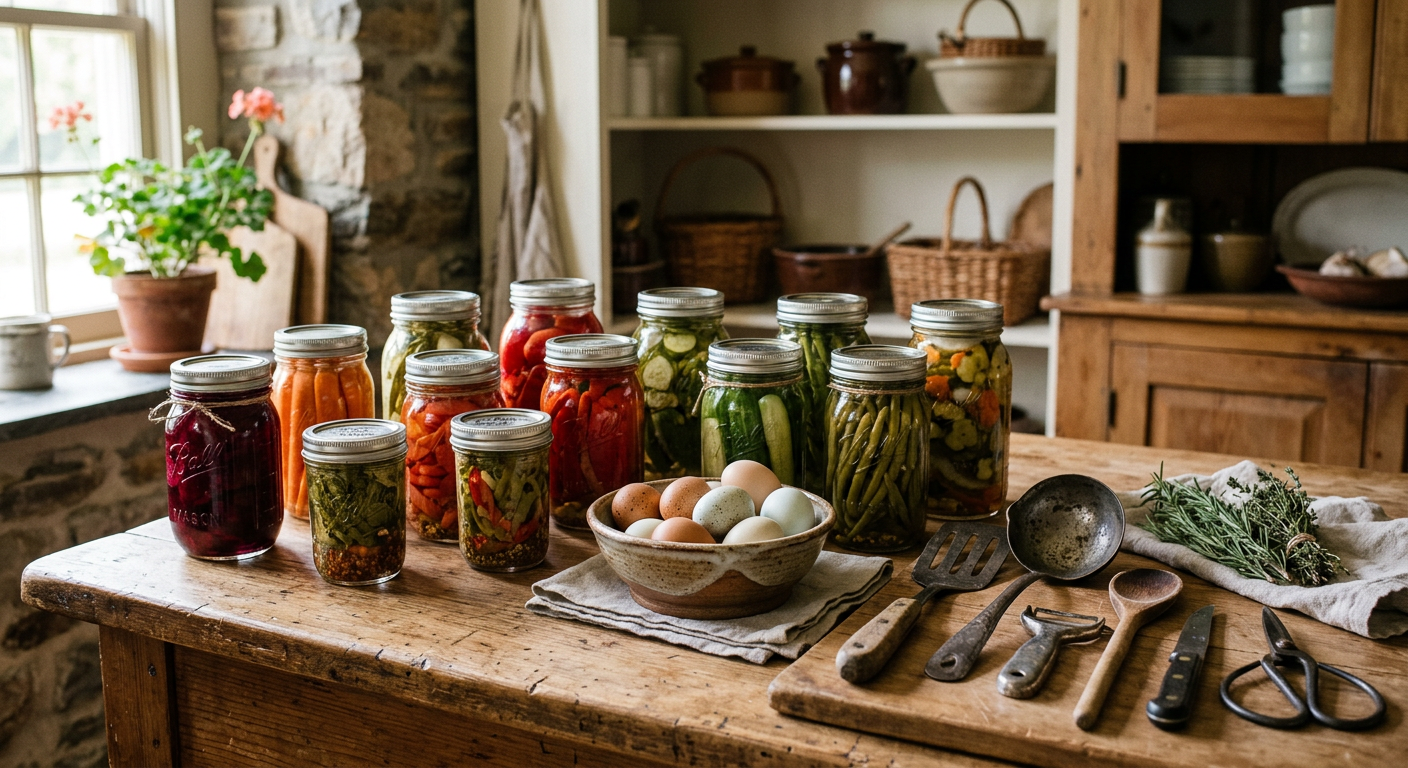
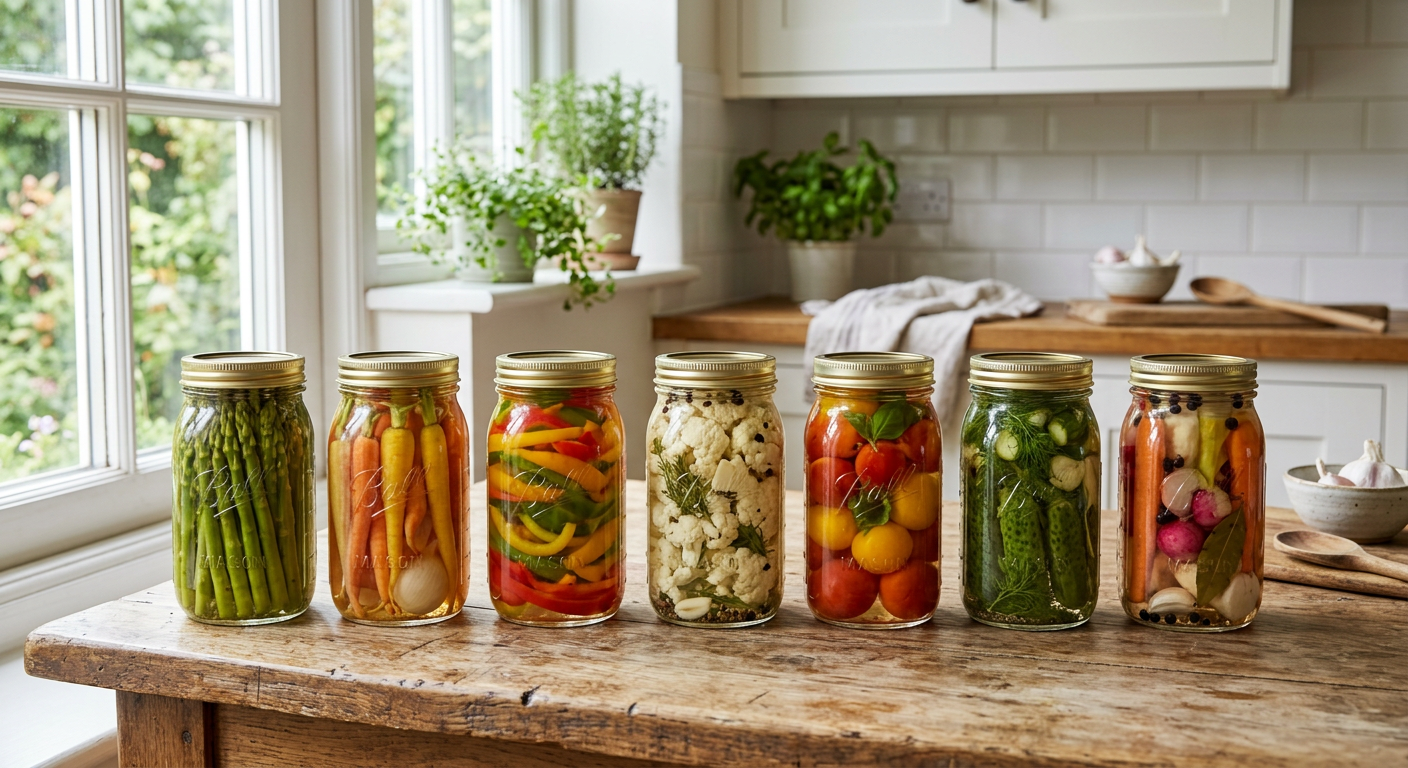
- Basic Food Preservation for Beginners: Our Family’s Go-To Methods
- Homesteading Hacks: Save Serious Money on Groceries!
- How to Make Money From a Small Homestead
- Homesteading Supplies List for Beginners: The Essentials
- Cheap Food Preservation for Beginners: Our Top Budget Hacks
Ready to Start Your Homestead Journey?
Free guides, checklists, and tools to help you build your dream homestead.