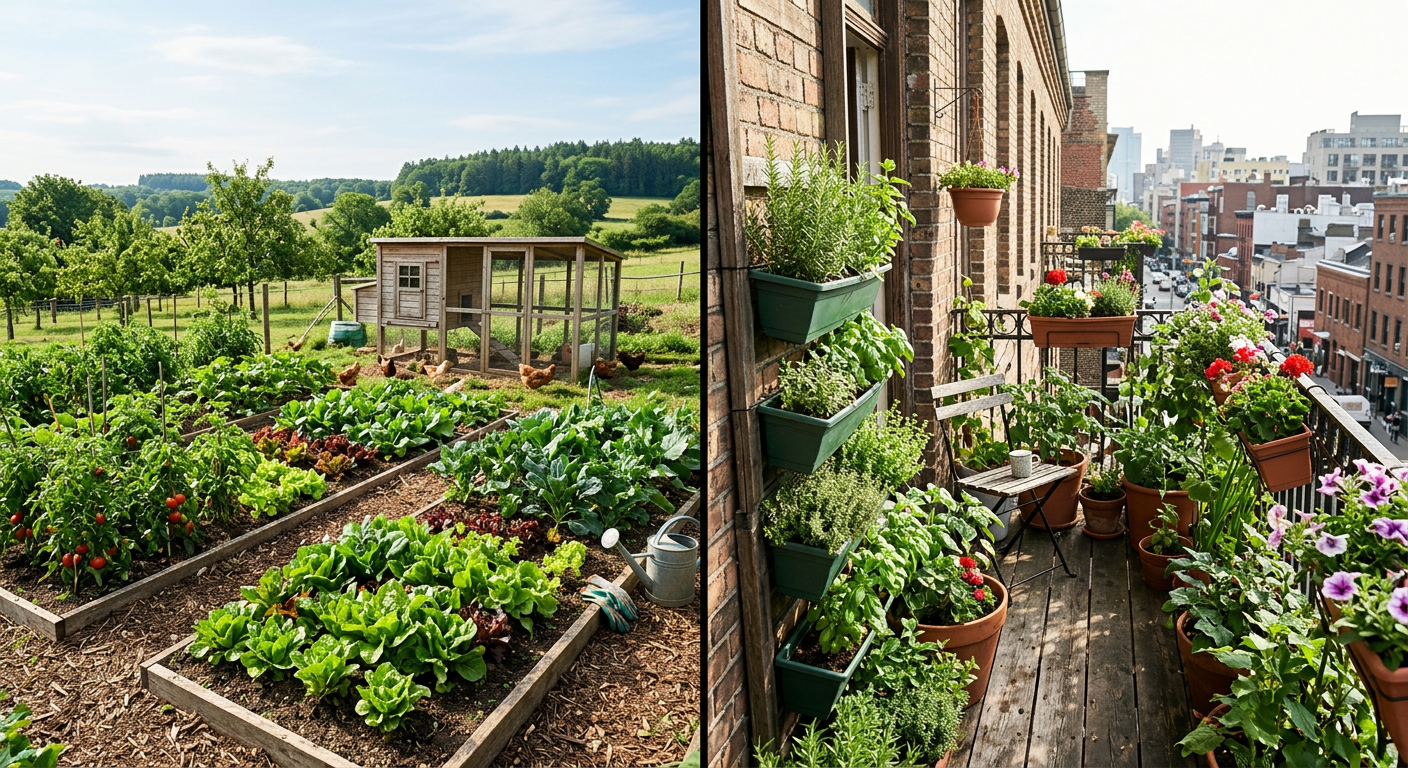
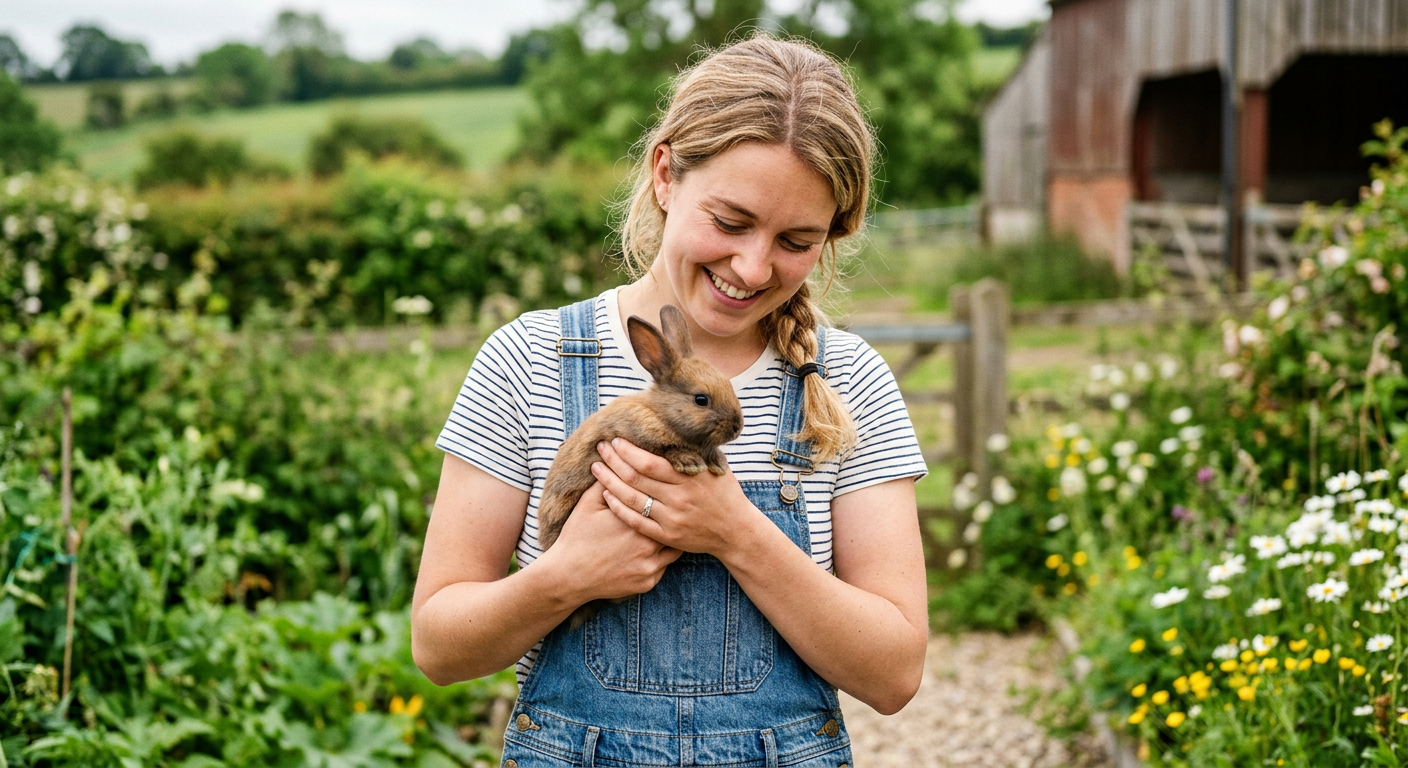
!A visual showing what is difference between rural and urban homesteading in terms of space.
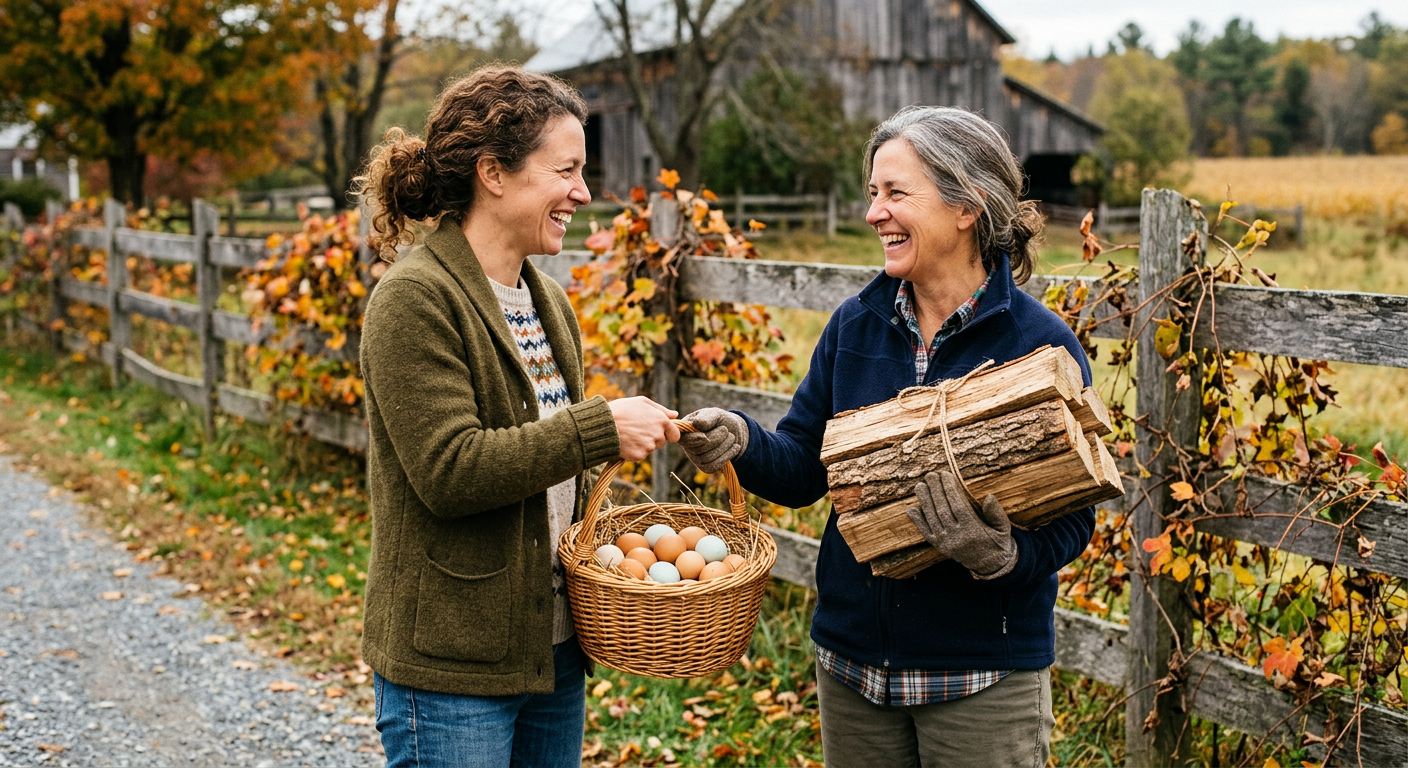
I’ll never forget the smell of our neighbor’s two-stroke leaf blower mixing with exhaust fumes on our tiny city patio. I was trying to feel connected to the basil I was growing in a cracked terracotta pot, but the noise was a constant reminder of how little space we really had. Now, the loudest sound at 6 AM is a rooster clearing his throat two hundred yards away, and the air smells like damp earth and pine. People always ask what is the difference between rural and urban homesteading, and for me, it’s all in that memory.
🎯 Quick Answer: The core difference between rural and urban homesteading is scale, dictated by space and local regulations. Rural homesteading allows for larger animals, bigger gardens, and more infrastructure like wells and septic, while urban homesteading focuses on maximizing small spaces with skills like container gardening, preserving, and raising small livestock like quail or chickens where permitted.
🔑 Key Takeaways
- Space is the Game Changer: Rural offers acres; urban offers square feet. This single factor dictates almost every other choice you make.
- Regulations Rule Everything: Urban homesteaders live by city ordinances (chickens, composting, water barrels). Rural homesteaders face zoning, land use codes, and water rights.
- Cost Varies Wildly: Urban homesteading has lower entry costs but can be expensive per square foot. Rural homesteading requires massive upfront investment in land and infrastructure.
- Animal Choices Are Drastically Different: A few hens or quail might be possible in the city. Goats, pigs, and cattle are strictly a rural option.
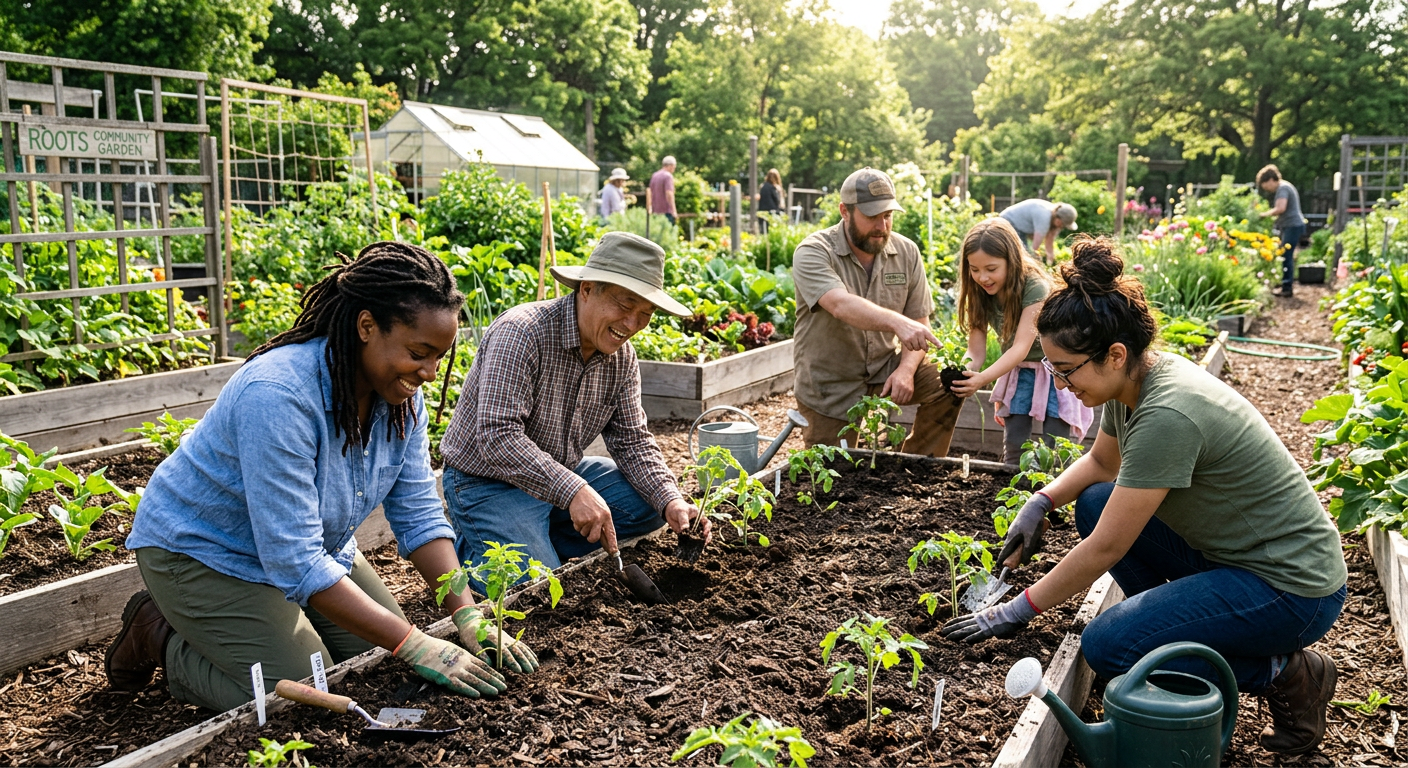
- Community Looks Different: Urban homesteaders often find tight-knit online groups and local meetups. Rural communities can be more spread out, requiring deliberate effort to connect.
- The Goal is the Same: Both paths are about building resilience, producing more than you consume, and learning valuable skills.
—
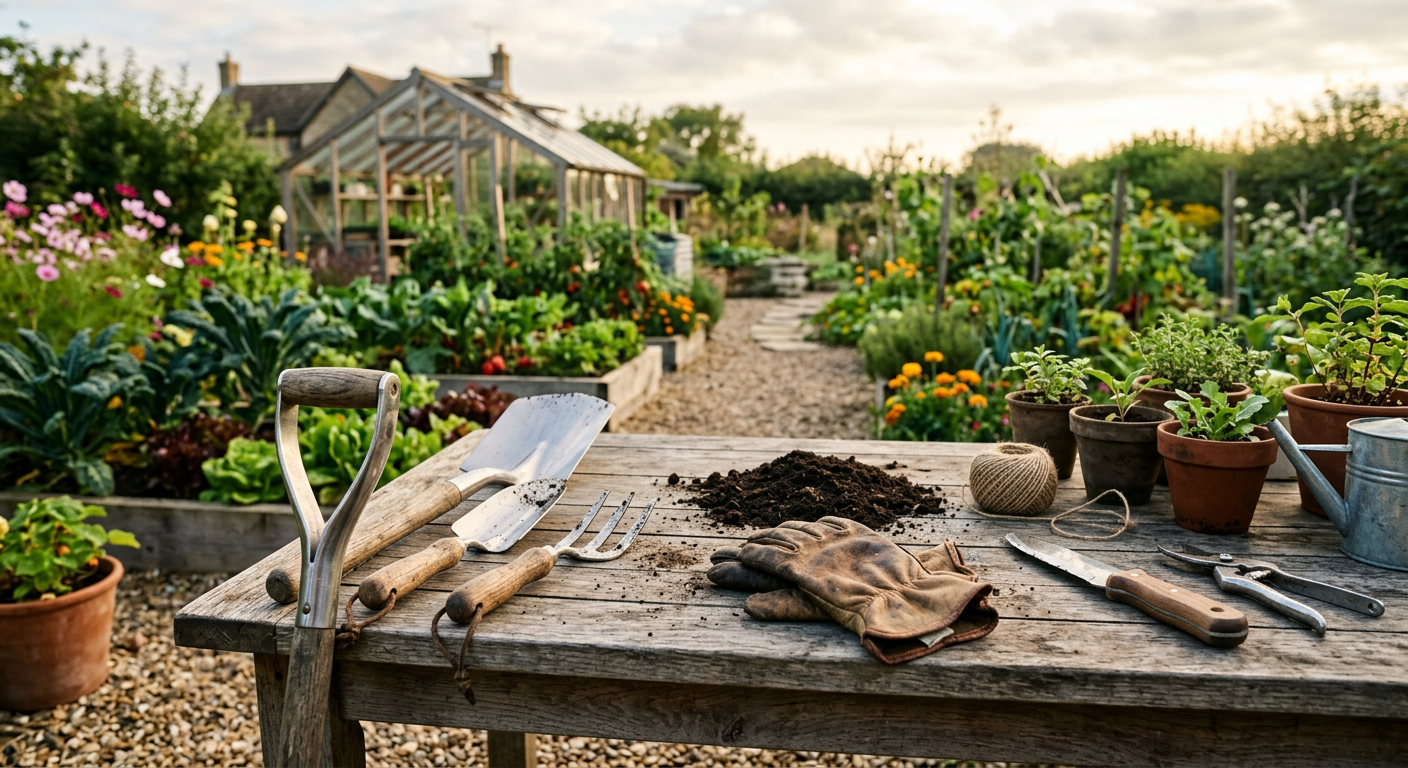
The Soul of Urban Homesteading: A Haven in the City
Before we bought our land, we spent five years learning on a 1/8th acre lot in the suburbs. It was our laboratory. It wasn’t about total self-sufficiency; it was about learning the rhythm of the seasons on a small, manageable scale.
Your Biggest Puzzle: Space
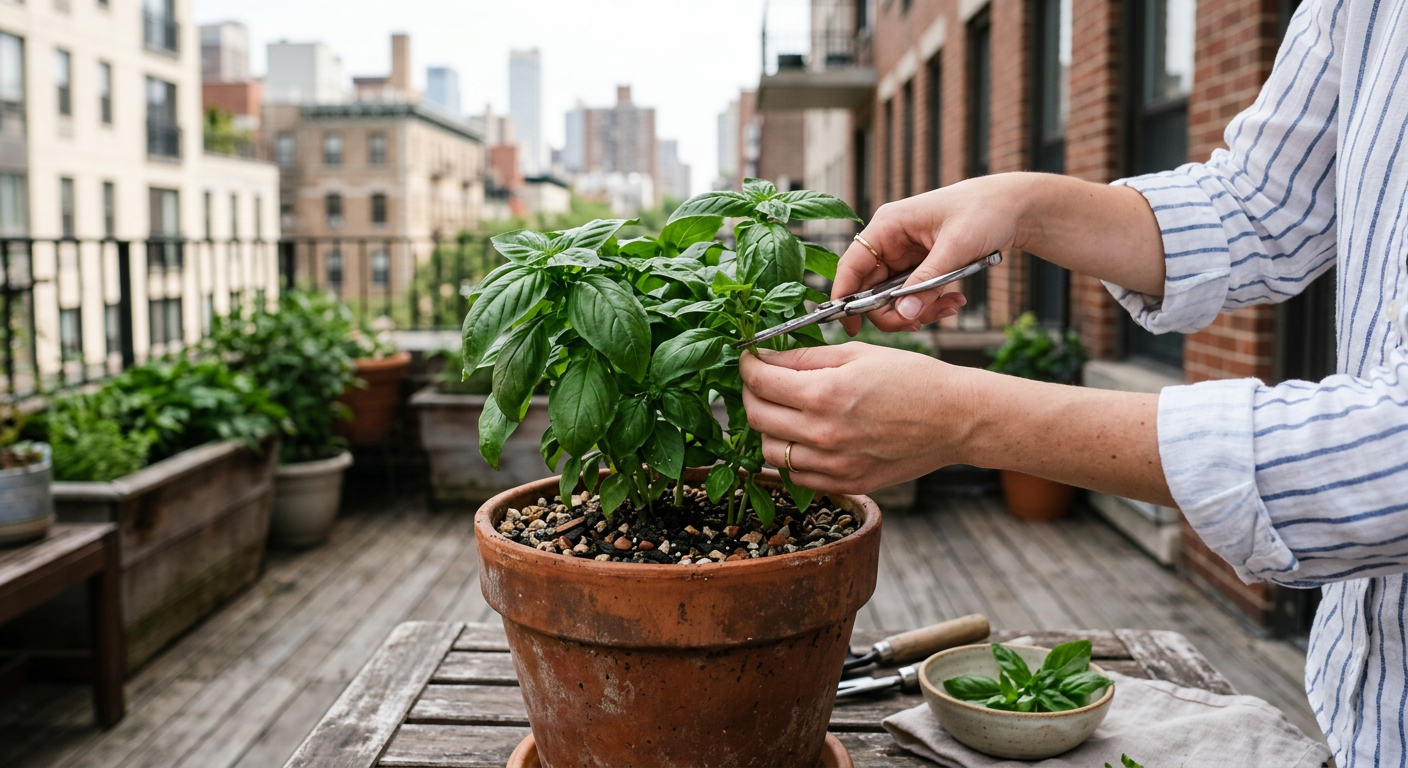
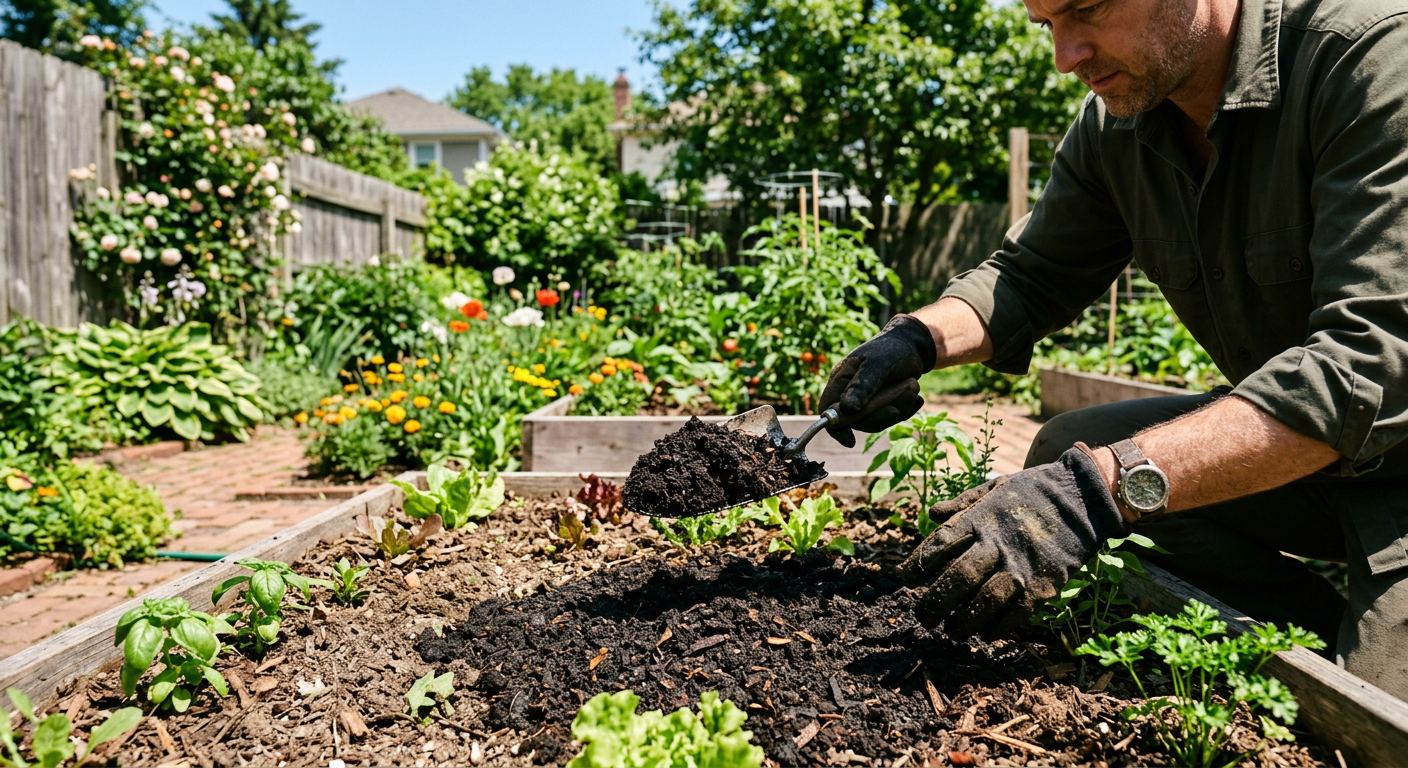
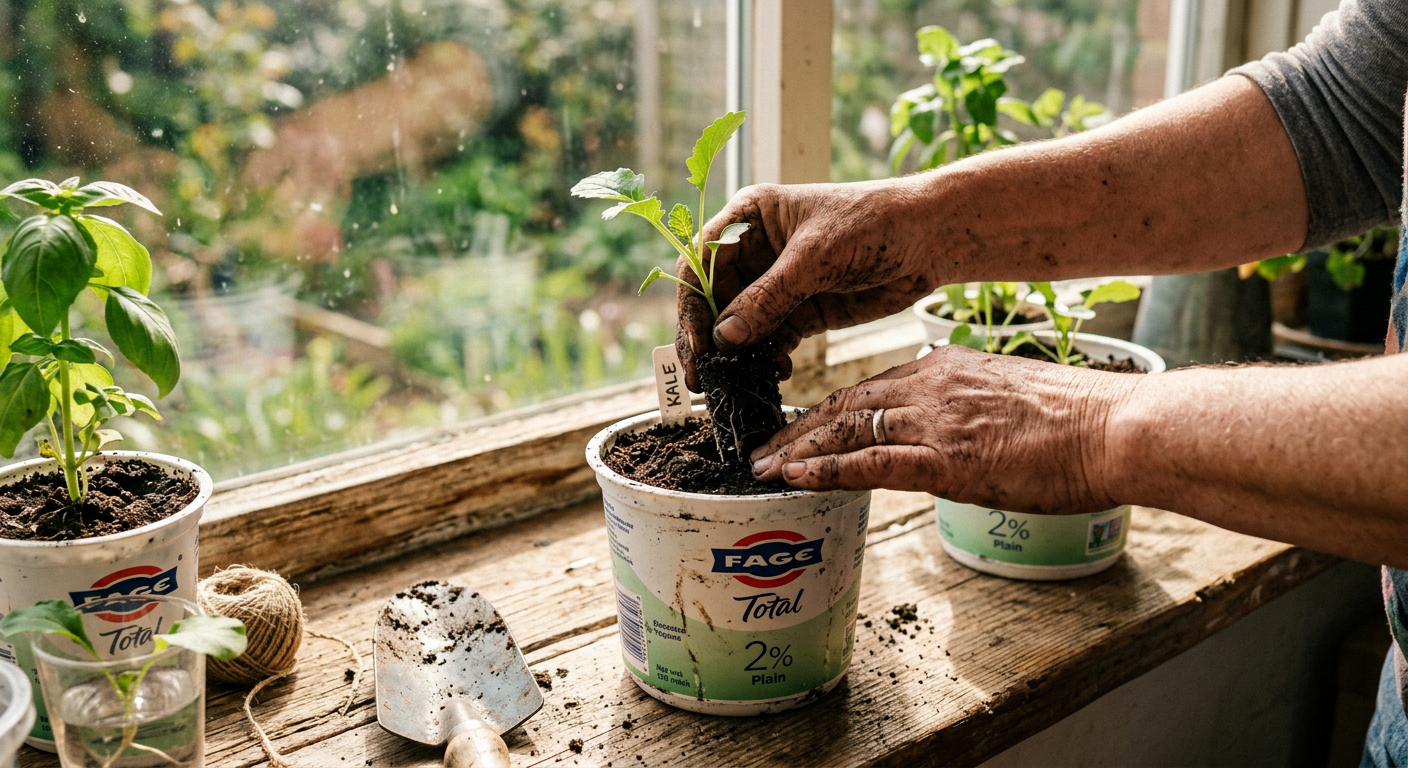
Our first “farm” was a 10×12 foot concrete patio. I was obsessed. We built vertical planters out of scavenged pallets and grew lettuce and strawberries. We had five-gallon buckets filled with potatoes and tomatoes. It’s amazing what you can do when you stop thinking about acreage and start thinking in cubic feet. We learned more about soil composition and intensive planting in that tiny space than we did in our first year on acres because every inch mattered.
Our journey into Urban Homesteading with Kids was a fantastic way to teach them where food actually comes from, even with sirens in the background.
The Legal Maze: Know Your Code
I’ll never forget the thrill and terror of researching our city’s ordinances on chickens. I spent a week scrolling through the municipal code, a dry and confusing document. The verdict? We could have six hens, no rooster. They had to be 25 feet from any neighboring dwelling. Our coop plan had to be submitted for approval. It was a lesson: urban homesteading is a partnership with your local government, whether you like it or not.
A great place to start your own search is the American Legal Publishing Corporation’s Code Library, which hosts municipal codes for thousands of towns and cities. Don’t guess—know the rules before you invest a dime.
Ultimately, urban homesteading is an exercise in creativity and optimization. You’re not taming the wilderness; you’re carving out a productive paradise within it.
Keep reading — this is where most people mess up.
—
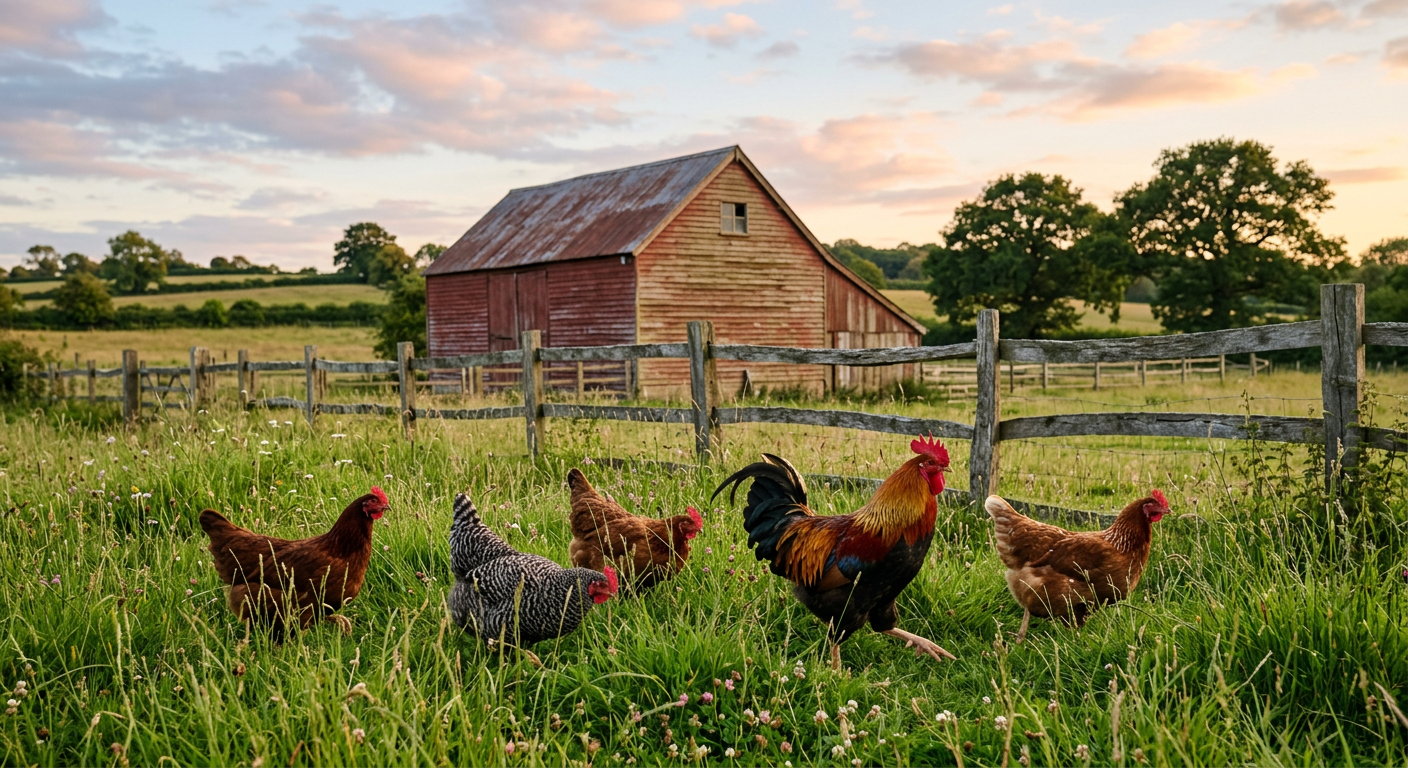
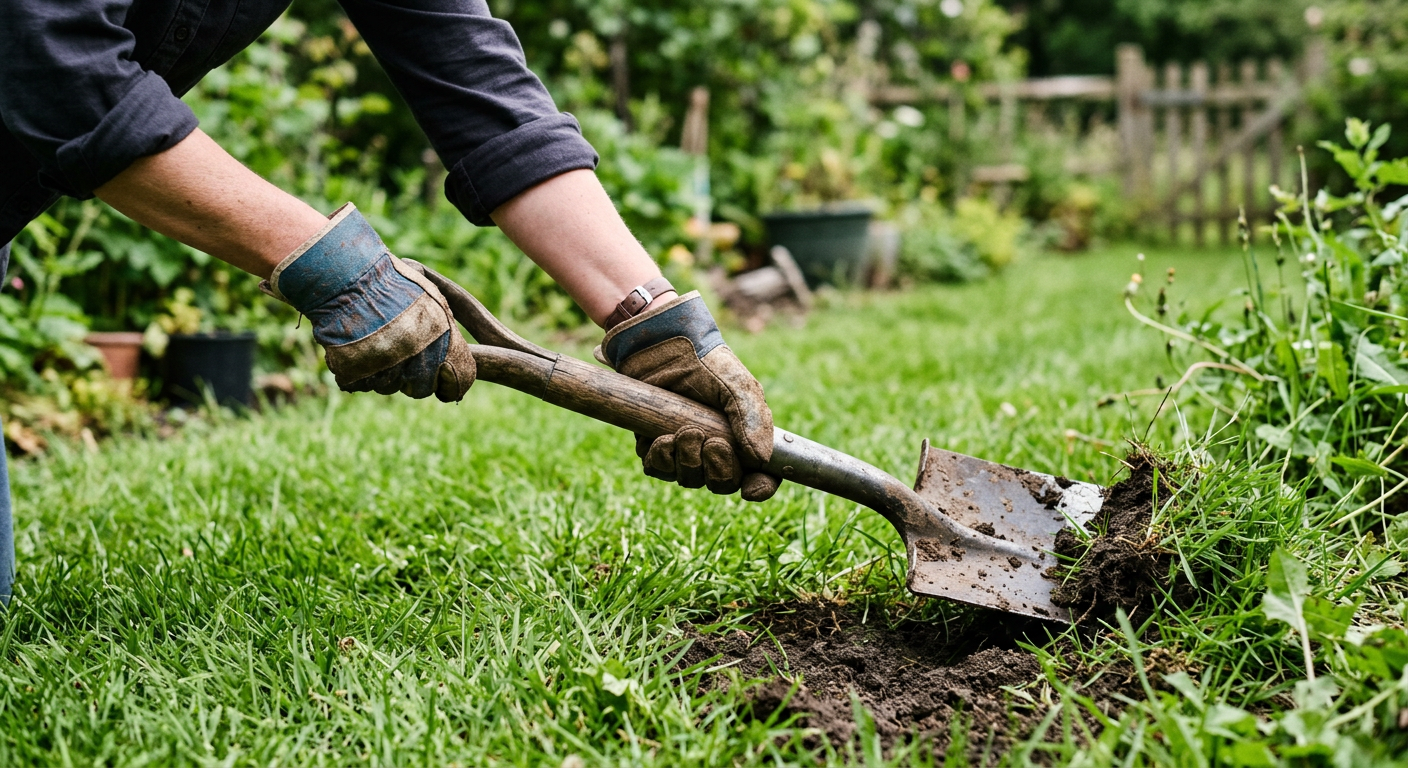
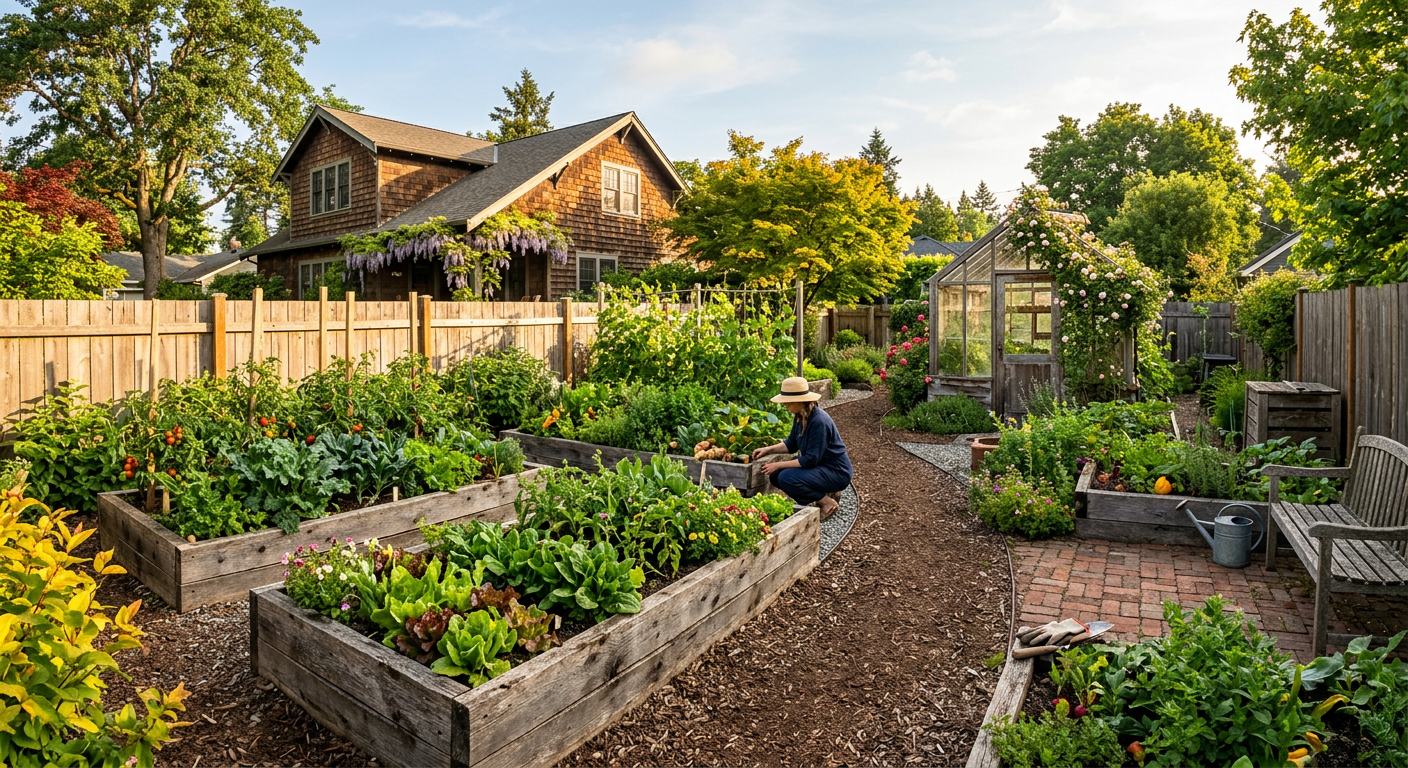
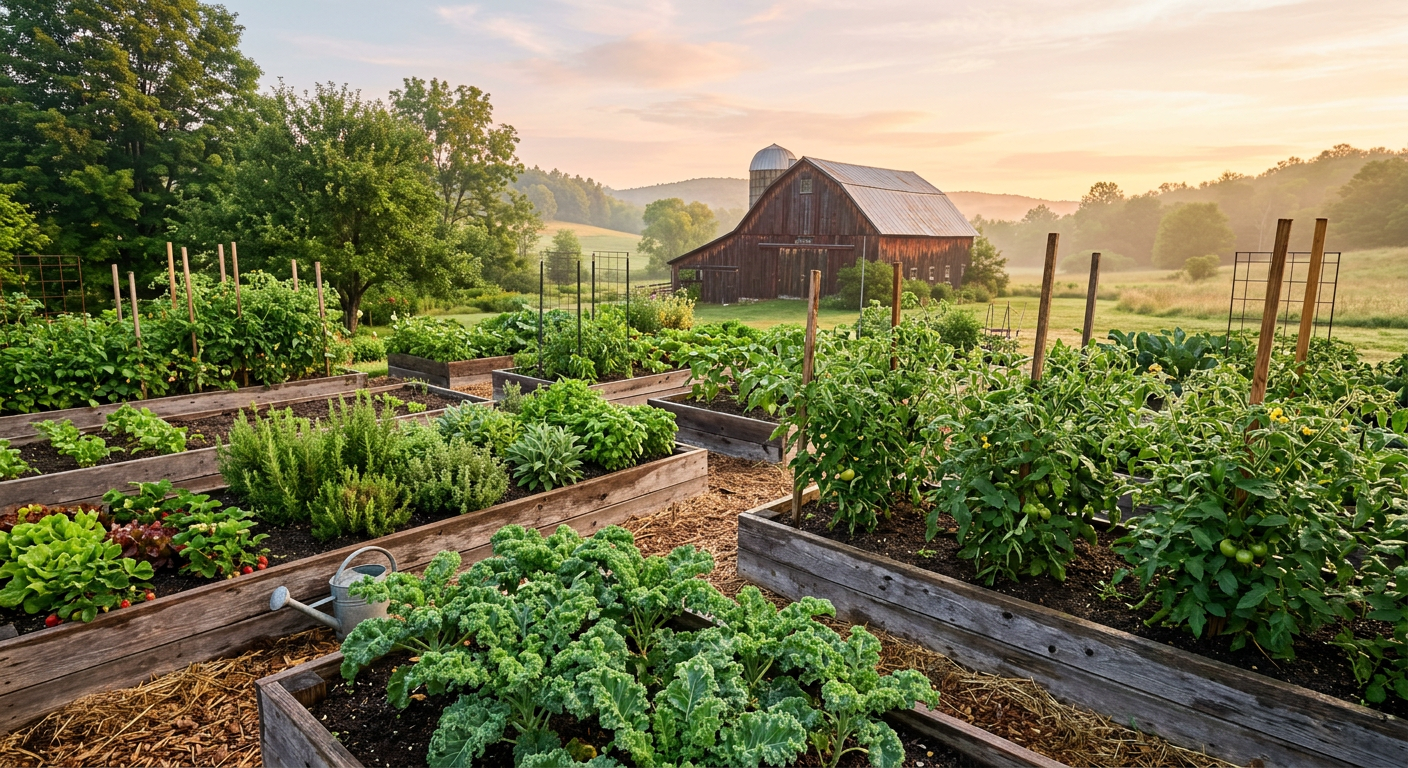
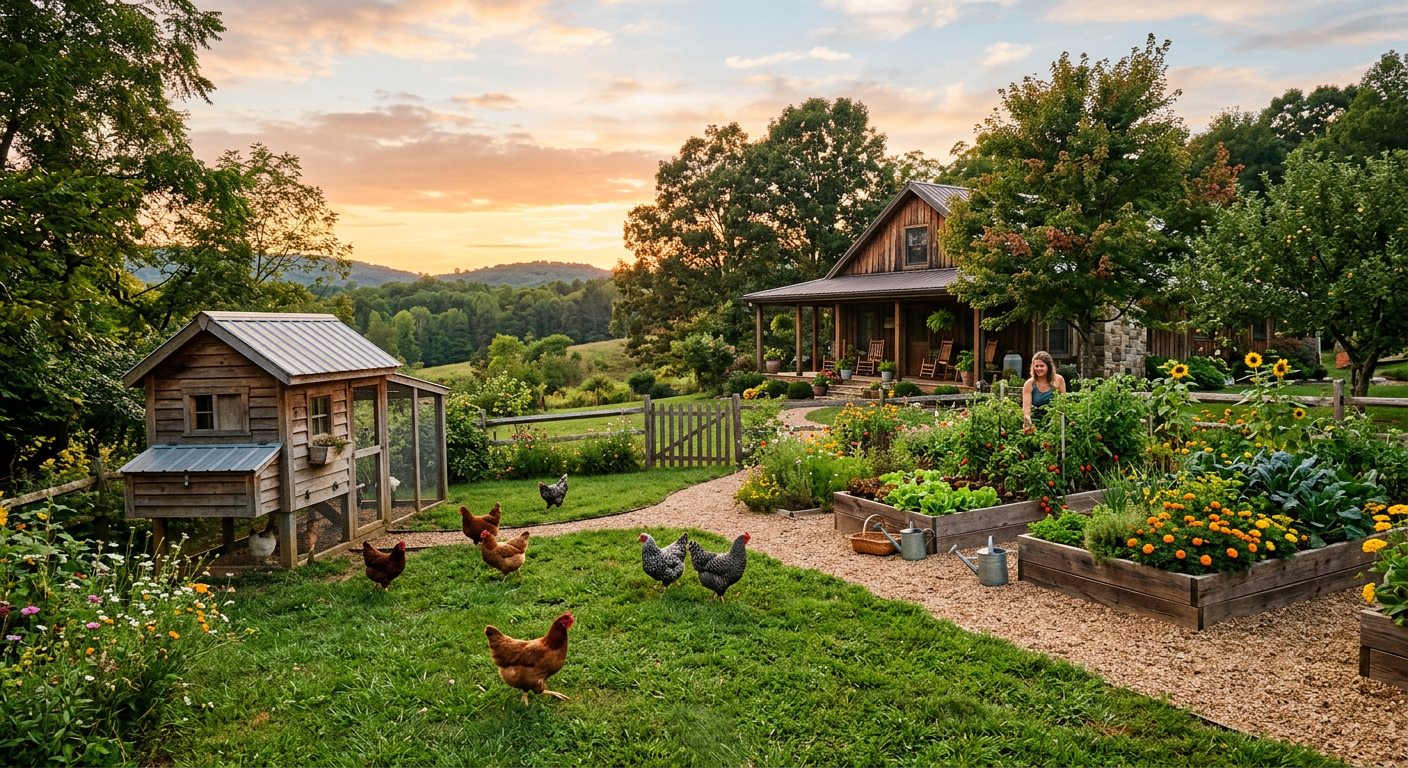
The Reality of Rural Homesteading: Big Dreams, Big Work
Moving to our five acres was like stepping onto another planet. The silence was the first thing we noticed. And then, the sheer amount of work hit us like a physical blow. The difference between rural and urban homesteading became crystal clear that first spring.
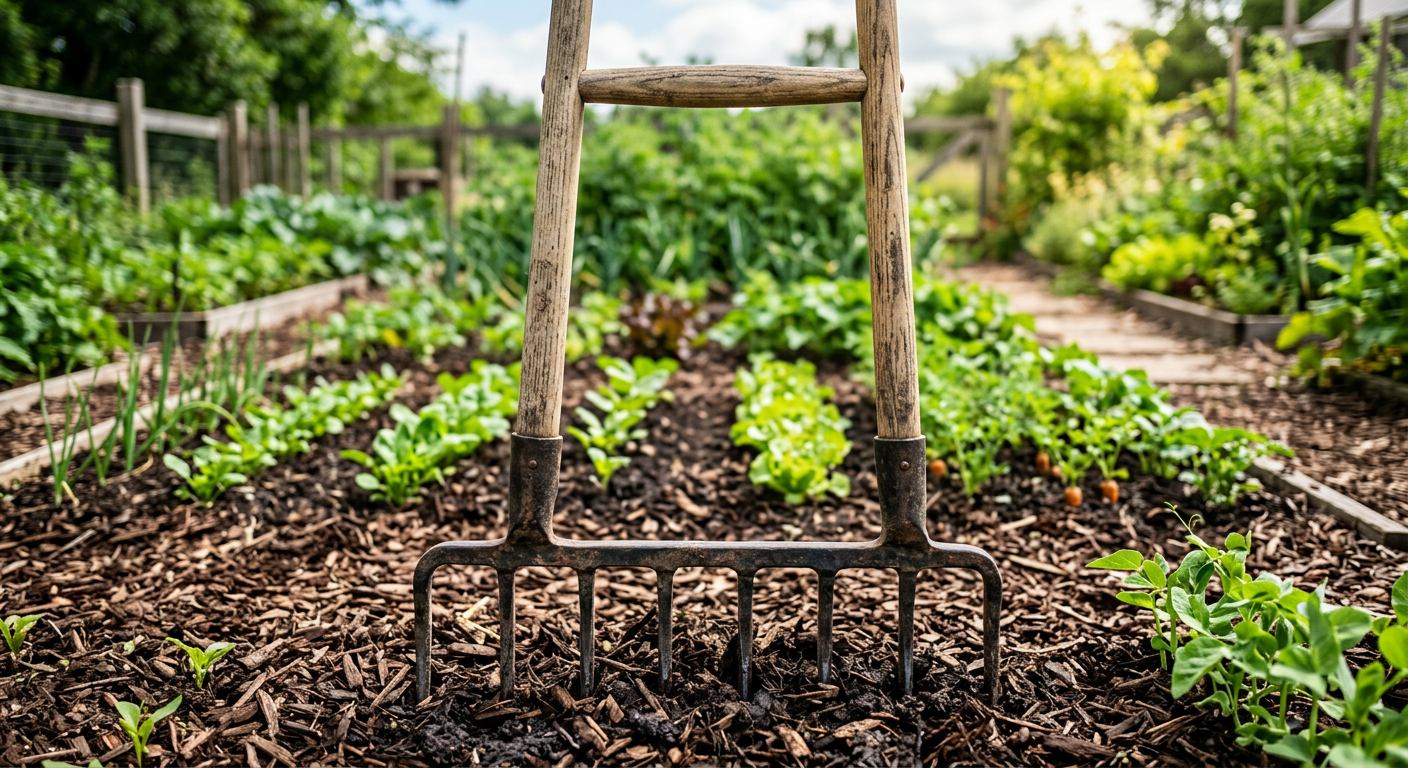
Acres of Opportunity (and Weeds)
The first time I stood in the middle of our field, I was paralyzed. Where do you even start? In the city, the garden was a defined project. Here, the project was… everywhere. We spent our first six months just clearing brush, pulling invasive blackberries, and trying to understand the flow of water on the land. That year, we spent over $800 on a heavy-duty Stihl brush cutter, a tool we’d never even conceived of needing in the city.
Finding the right piece of land is its own challenge. We spent a year looking before we found our spot, and our Beginner’s Property Guide covers the mistakes we almost made.
Freedom From Rules… Sort Of
Yes, I can build a greenhouse without asking a committee. I can have a rooster (we have three). I can dig a pond. But that freedom comes with a new set of responsibilities. We had to learn about septic systems—a breakdown is a multi-thousand-dollar disaster. We had to understand our well—when the power went out for 72 hours last winter, we had no water. That’s a lesson that hits hard and fast. Every homesteading choice you make is affected by your initial planning, and using a framework like the one from HomesteadOS can mean the difference between thriving and just surviving.
Rural living isn’t lawless; the laws are just written by nature and physics instead of a city council.
—
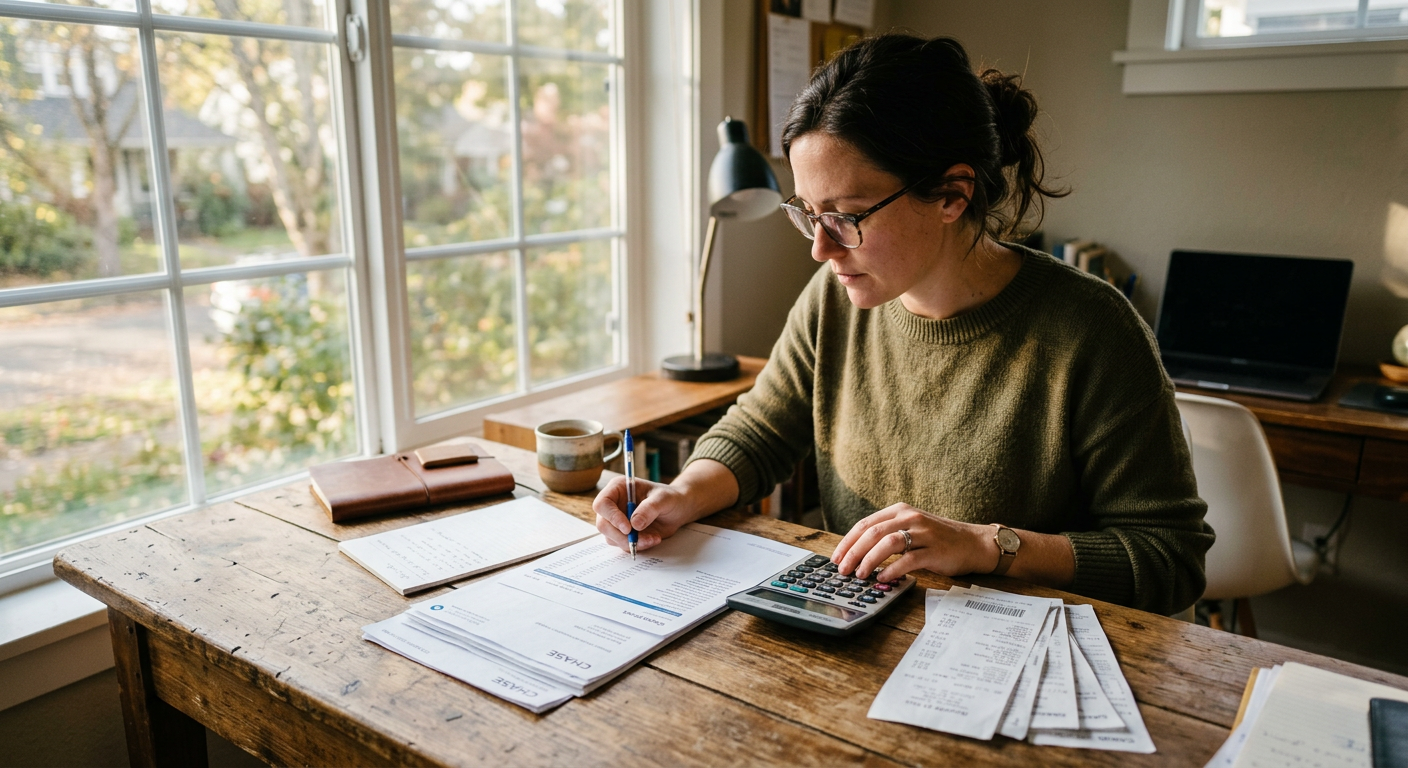
What is the Difference Between Rural and Urban Homesteading Costs?
This is the question that trips everyone up. The financial realities are polar opposites. One is a slow burn; the other is a series of massive financial hits.
Urban: Death by a Thousand Cuts
In the city, the land itself is your biggest expense (via mortgage or rent). After that, it’s a constant stream of smaller costs. You have to buy everything. Good organic compost? $10 a bag. Raised bed kits? $150 each. Specialized, compact tools cost a premium. Our first-year urban garden setup, with four raised beds and all the soil, cost us around $1,200. It wasn’t one big check, but it added up fast.
Rural: Big Ticket Shock
On our rural homestead, the land purchase was just the entry fee. The real costs came after.
- Used Kubota Tractor: $14,500
- Fencing for 1 Acre: $6,200 (and we installed it ourselves over 11 weekends)
- Emergency Well Pump Replacement: $2,800
- Barn Roof Repair: $4,500
You aren’t just buying land; you’re buying infrastructure. And if it’s not there, you’re paying to build it. Our guide on Homesteading on a Budget started with lessons learned from these exact expenses.
Deciding what animals to bring onto the homestead is the next big financial and logistical hurdle you’ll face.
Don’t skip this next part—these mistakes cost us time and money.
—
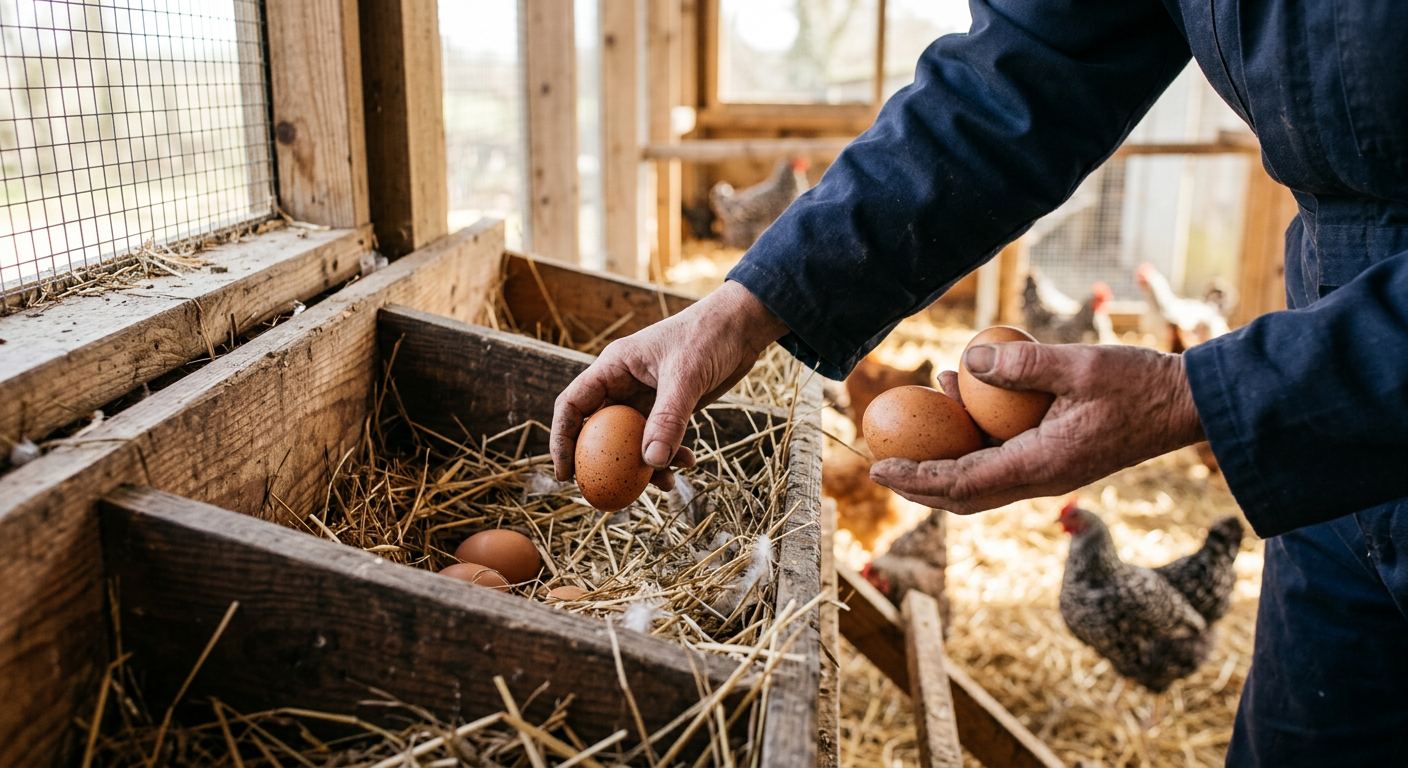
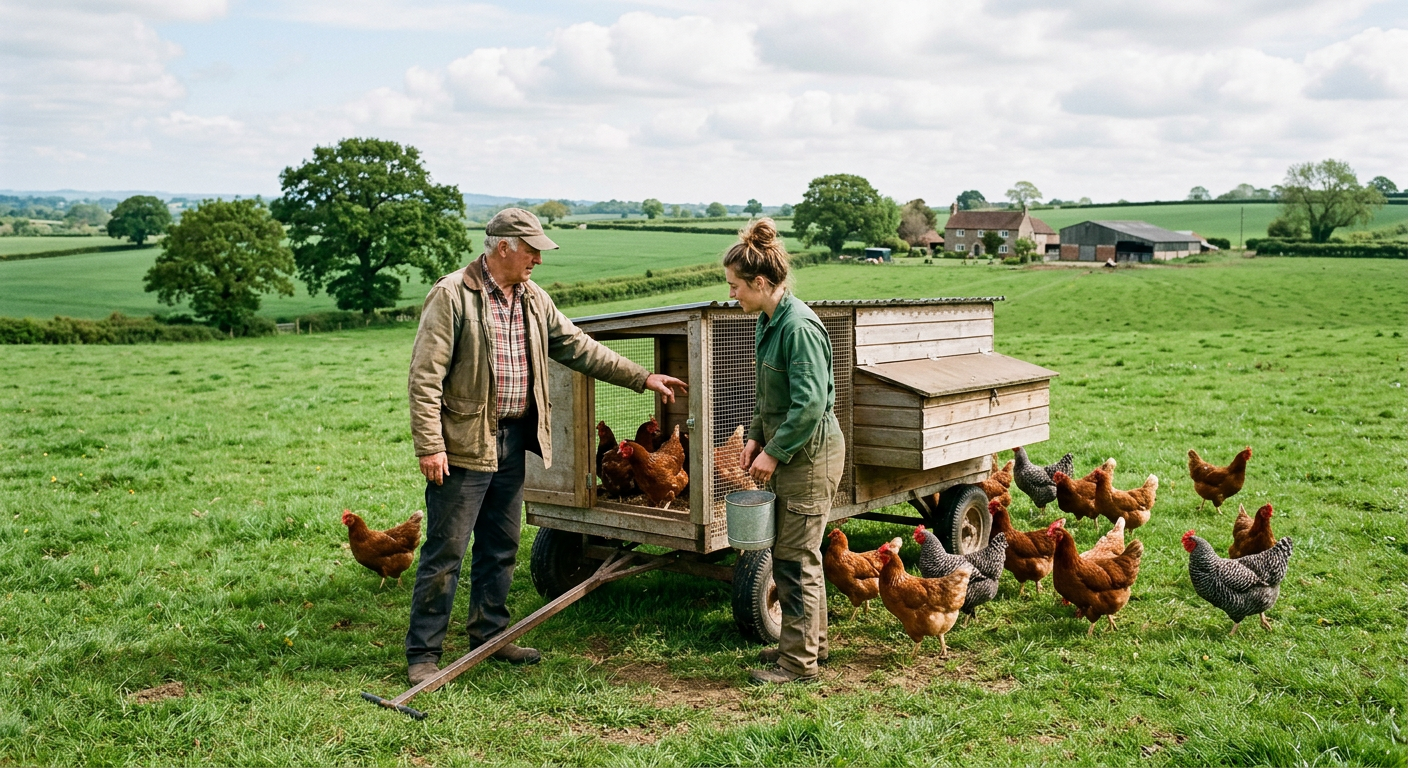
The Animal Question: Chickens, Goats, and Ordinances
Your location directly dictates your livestock options. This is a non-negotiable part of understanding what is the difference between rural and urban homesteading.
Urban Livestock: Small and Stealthy
In the city, we had four Buff Orpington hens. They were wonderful pets that gave us breakfast. But managing them was an art. We built a coop that was more like a piece of fine furniture to keep the neighbors happy. We dealt with pests like rats drawn to the feed. We had to have a plan for what to do with an ailing chicken since vets who treat them are rare in cities. It’s totally doable, but it’s high-management. Many urban homesteaders turn to quail, which are quiet, take up very little space, and are often not regulated like chickens.
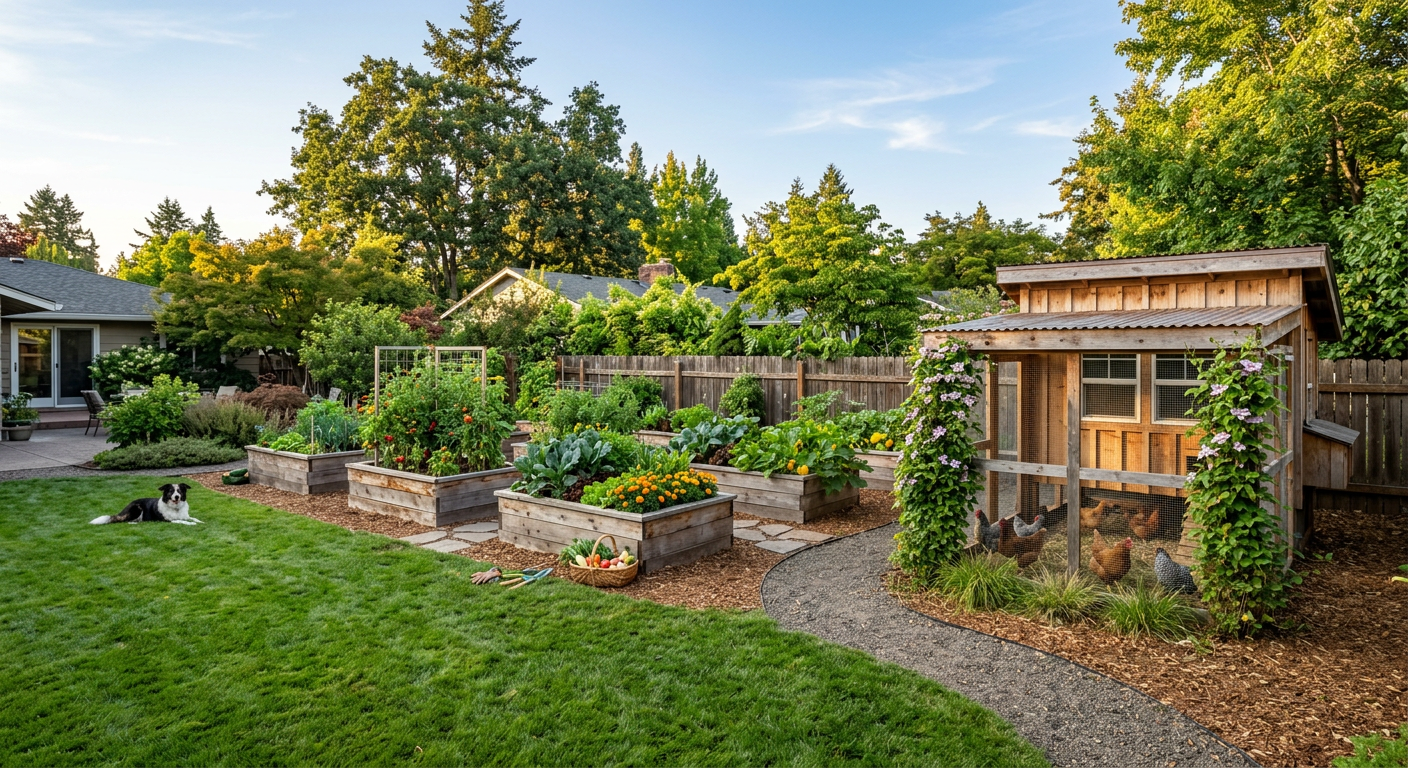
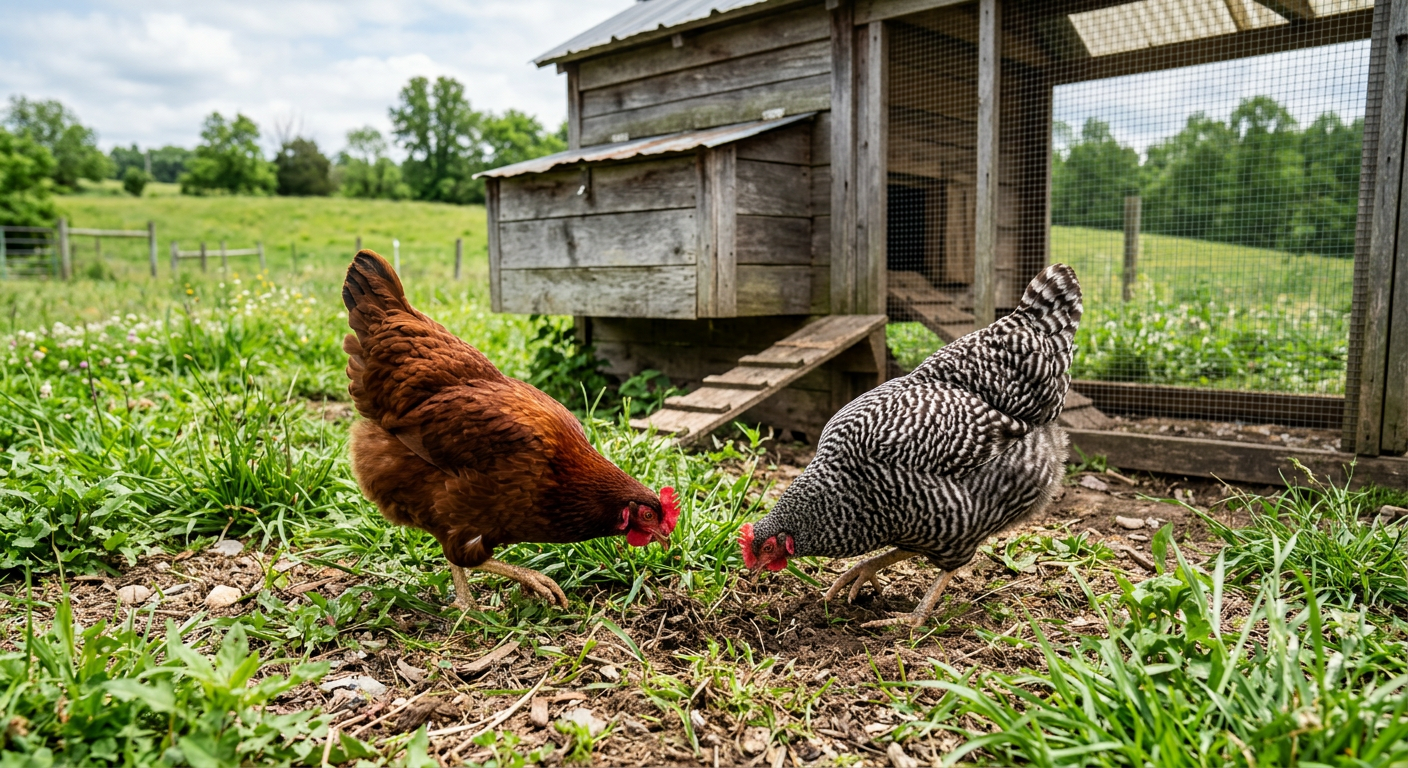
Rural Livestock: The Dream and the Nightmare
The day we brought home our first two Nigerian Dwarf goats was one of the best days on the homestead. The reality check came a week later when one of them found a single, tiny flaw in our very expensive fencing and got out. Rural homesteading means you are fully responsible for the safety, health, and containment of your animals. There’s no one to call. You become the vet, the fence-mender, and the herdsman. It requires a completely different level of knowledge you often have to gain on the fly. The systems for managing your whole operation, from animals to gardens, need to be robust, which is why we’ve come to rely on the dedicated tools found at HomesteadOS to keep it all straight.
—
💡 Pro Tips
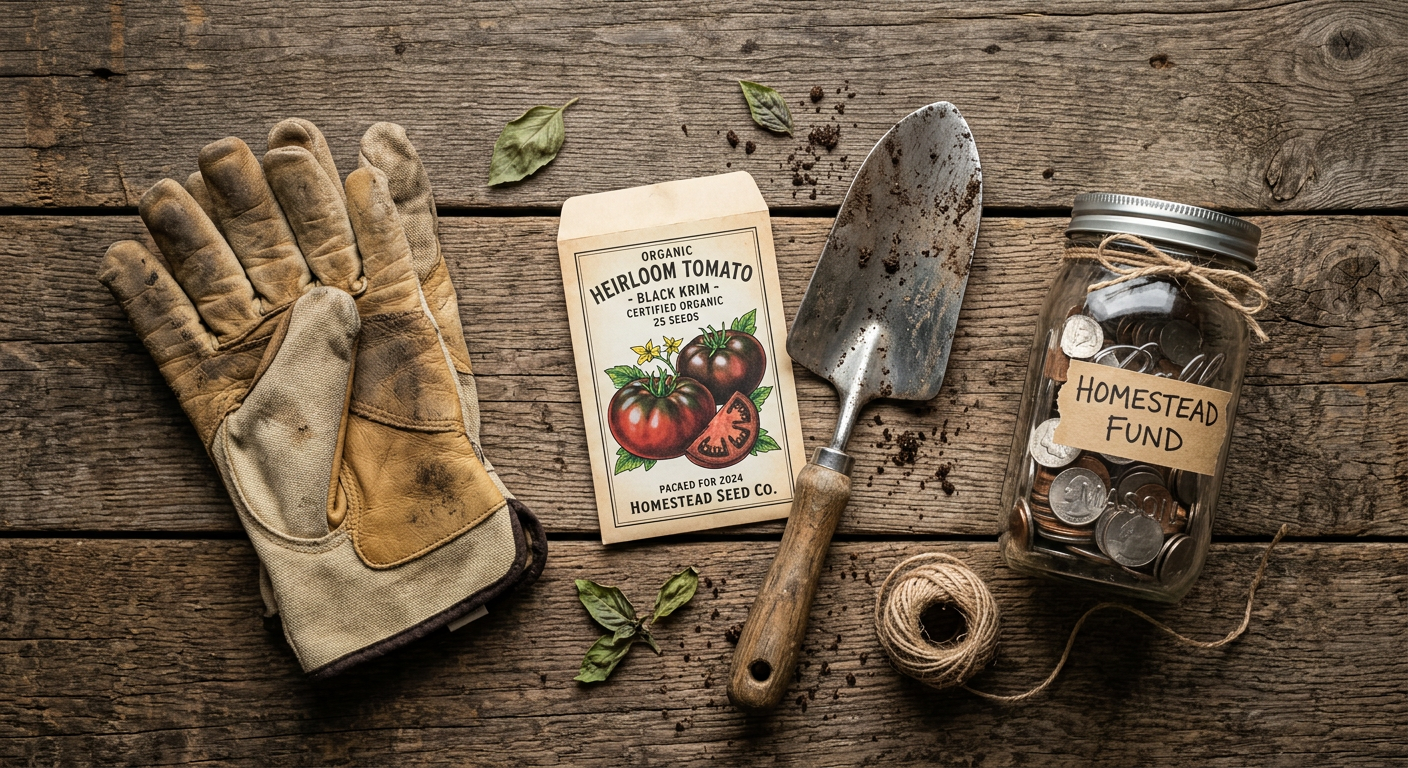
- Start Right Where You Are. Don’t wait for acres. Learn to bake bread, ferment vegetables, or mend clothing in your apartment right now. These skills are portable and foundational.
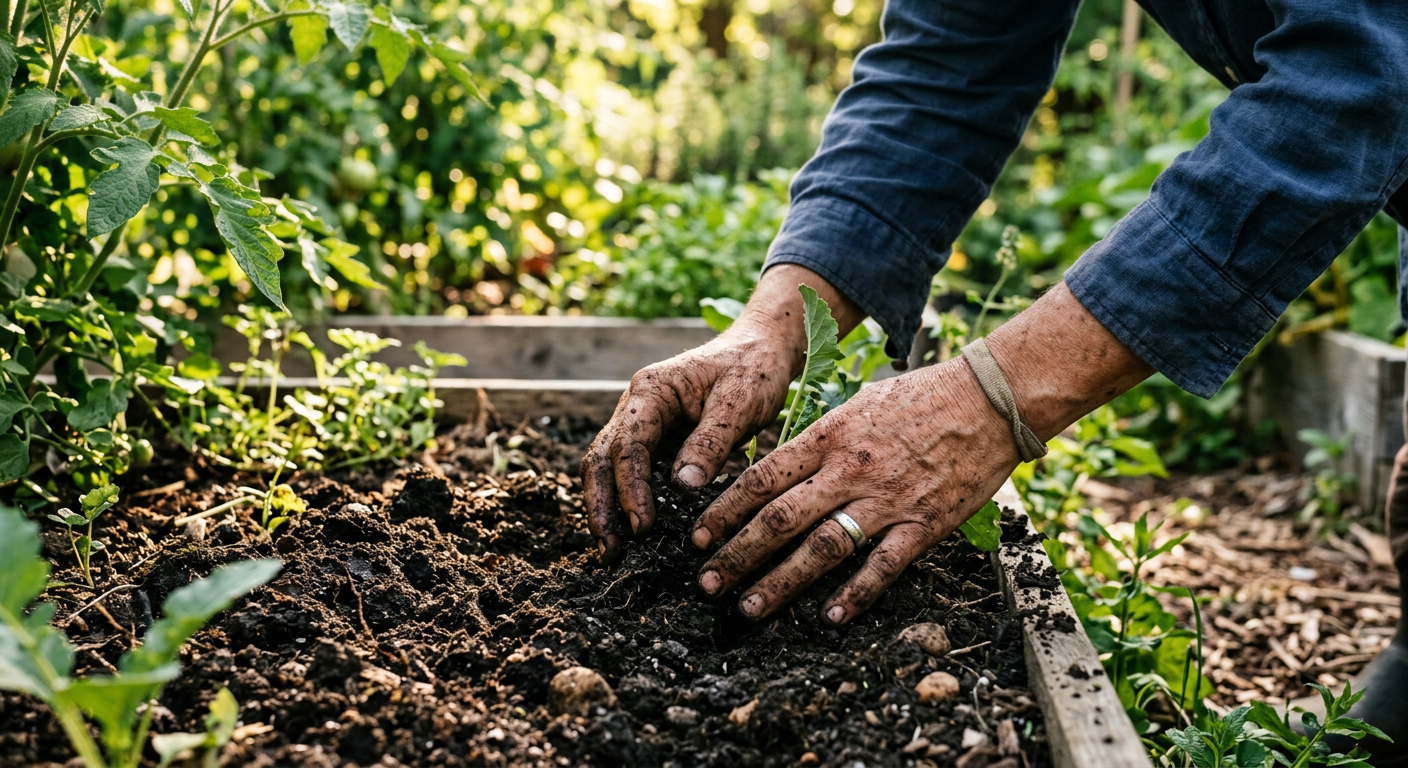
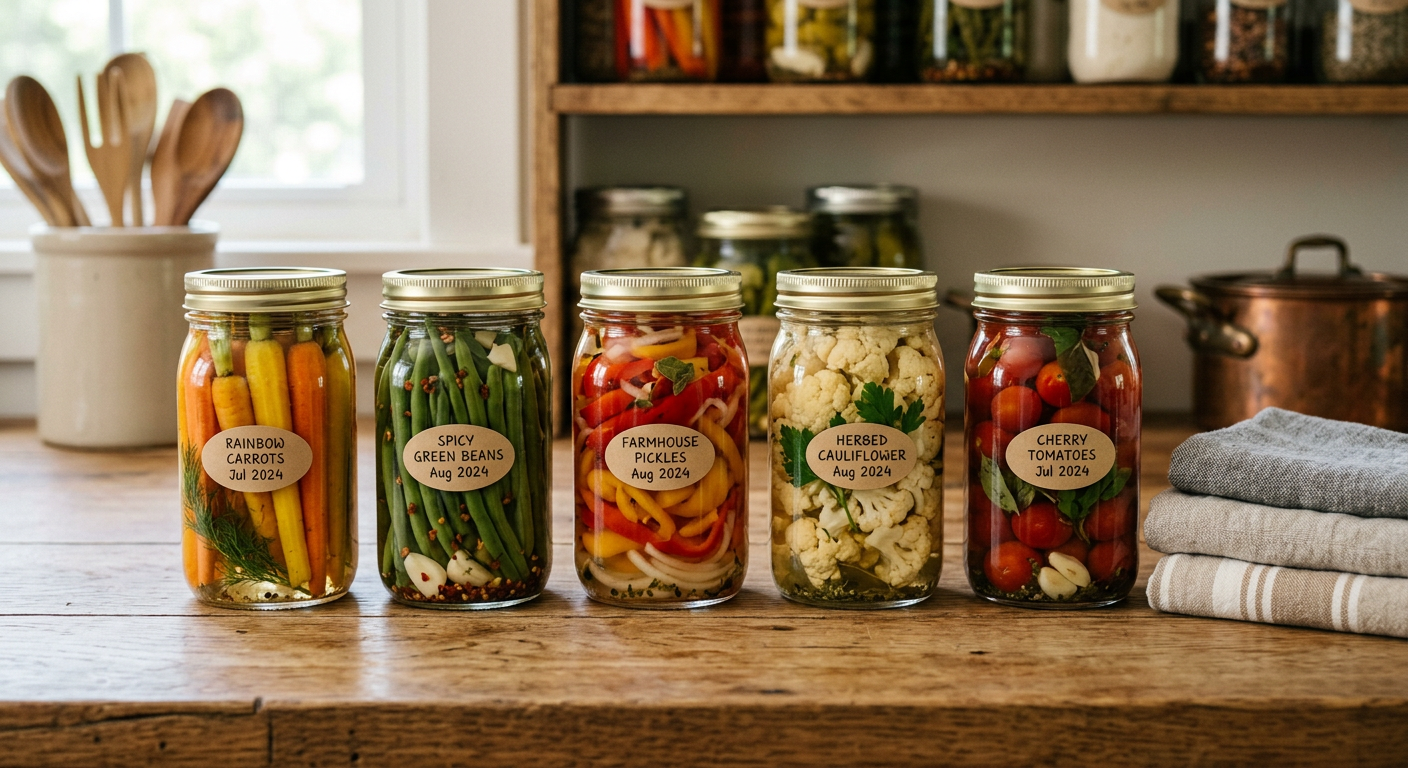
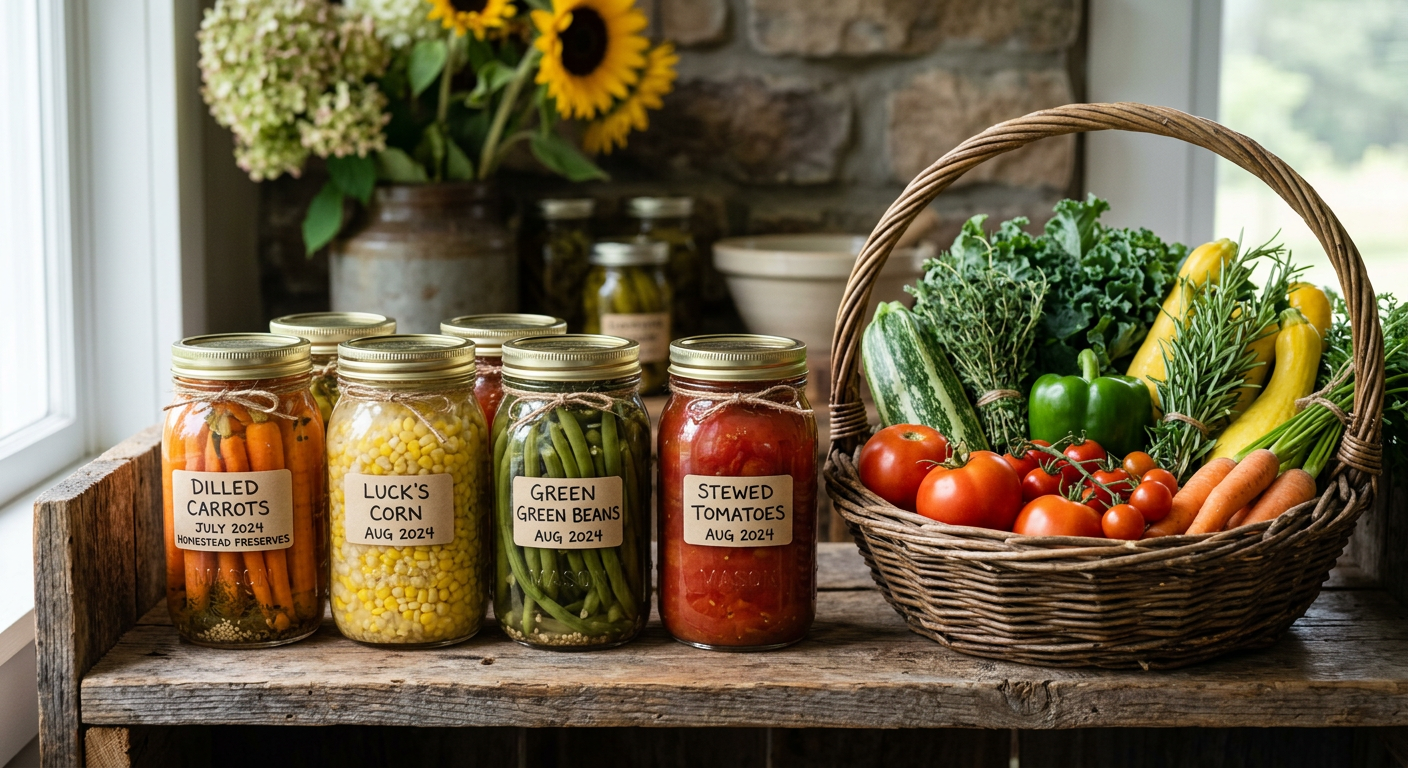
- Soil is Everything. We learned the hard way that you must get a soil test, urban or rural. We wasted an entire season and hundreds of dollars on amendments because our rural soil was incredibly acidic. A $30 test from your local University Extension Office would have saved us a year.
- Master One Thing at a Time. Don’t try to get chickens, start a giant garden, and learn to make cheese in the same season. You’ll burn out. Pick one project, master it, then add another. Slow is smooth, and smooth is fast.
- Redefine “Community”. In the city, community was easy to find. In the country, we had to build it. It meant showing up at the Grange meetings, shopping at the local feed store and actually talking to people, and offering to help a neighbor when a storm knocked down their fence. It takes more effort but can be incredibly deep.
—
⚠️ Beginner Mistakes to Avoid
- Romanticizing Rural Life: Thinking it’s all peaceful sunrises and cute goats. It’s also frozen pipes, predator attacks, and physical exhaustion.
- Ignoring City Code (Urban): A friend in a nearby town had to get rid of her beloved flock of four hens because a new neighbor complained and she was, technically, in violation of a setback rule. It was heartbreaking and totally avoidable.
- Buying Too Much Land (Rural): Our five acres is plenty. I’ve seen friends buy 20+ acres and become slaves to mowing it, paying taxes on it, and worrying about it. Start smaller than you think you need.
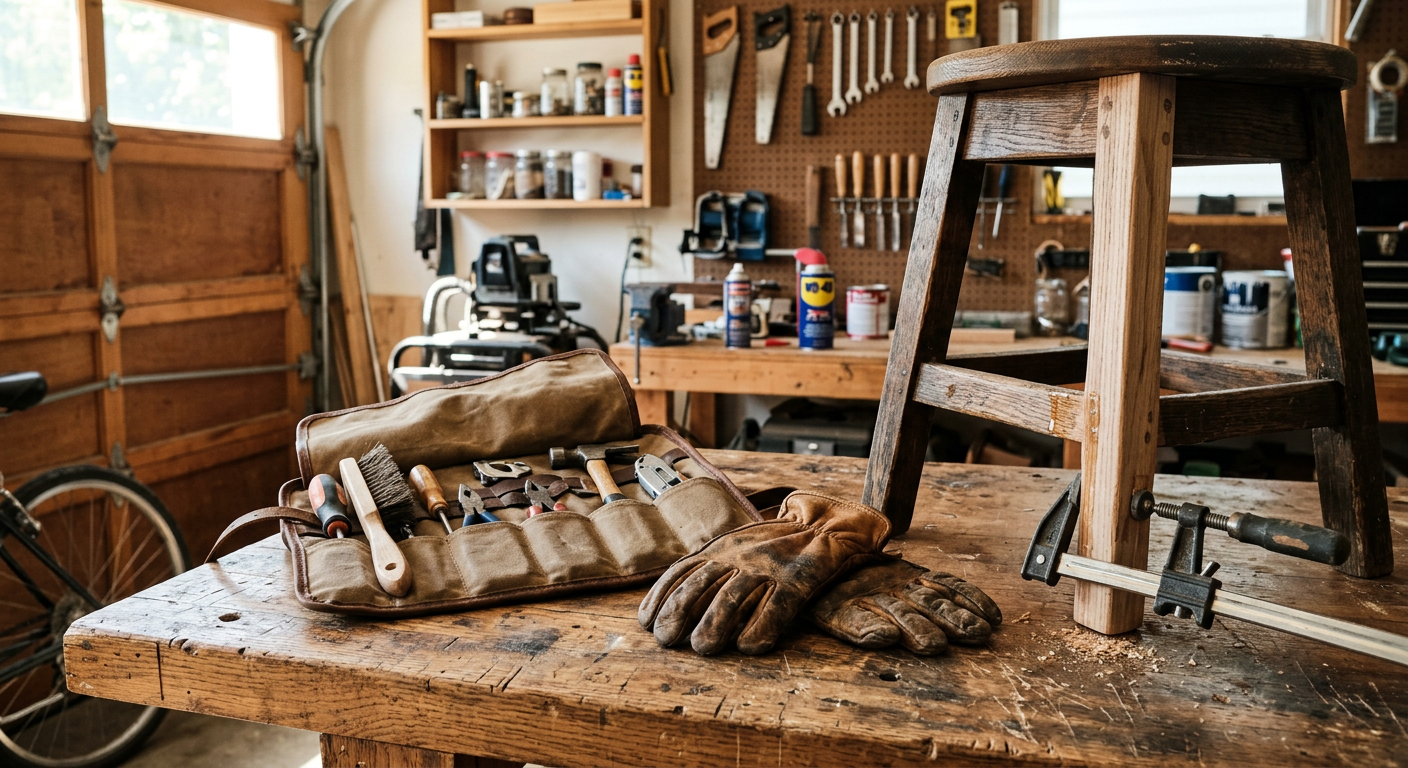
- Using the Wrong Tools: A cheap, plastic wheelbarrow from a big box store will last one season on a rural homestead. A city hand trowel will bend in rocky country soil. Invest in the right tools for your specific environment. See our list of Essential Homesteading Tools to Buy First.
—
Frequently Asked Questions
Can you really be self-sufficient on an urban homestead?
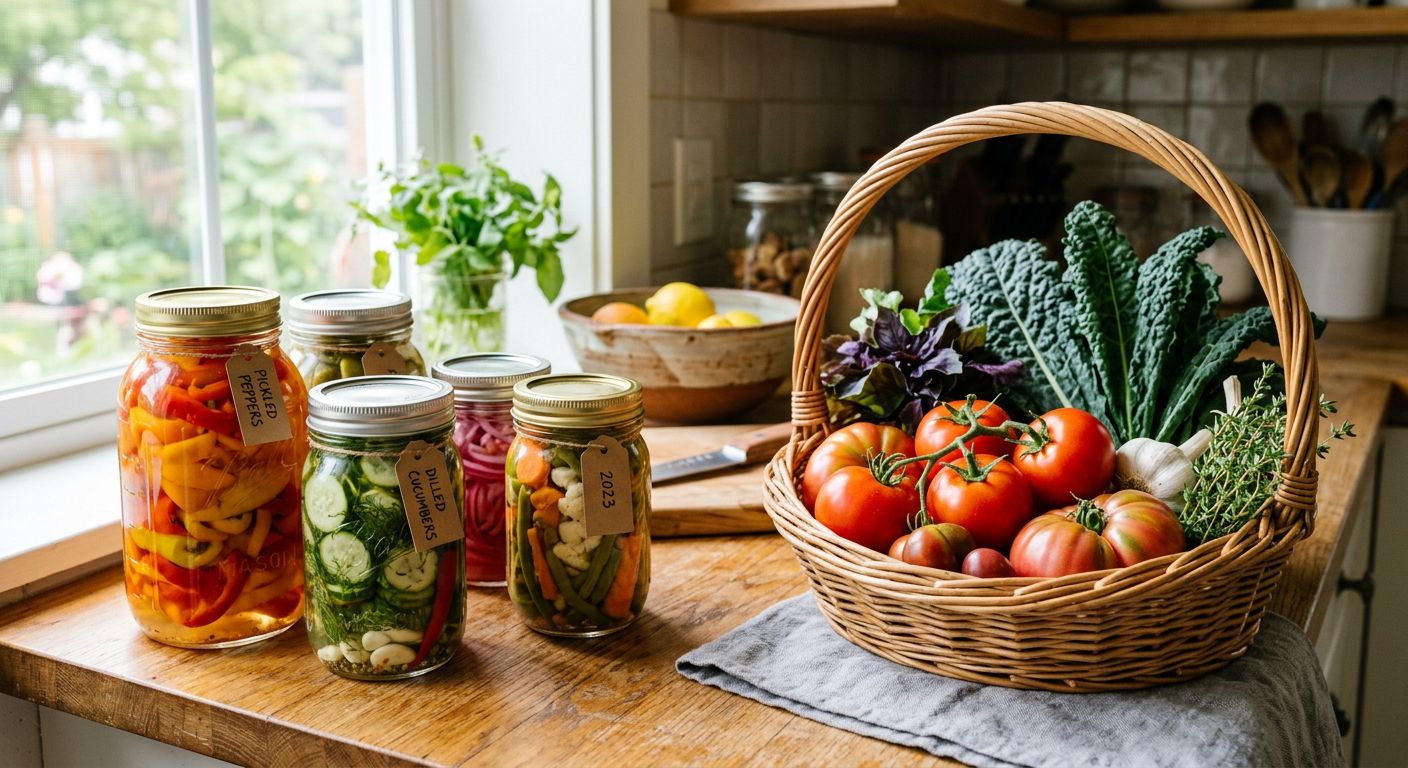
No, not completely. True self-sufficiency (food, water, energy) is nearly impossible in a city. The goal of urban homesteading is increased self-reliance. This means growing a significant portion of your own produce, preserving food, reducing waste, and maybe producing your own eggs or honey. It’s about dependence on the system, not complete independence from it.
What is the minimum land for rural homesteading?
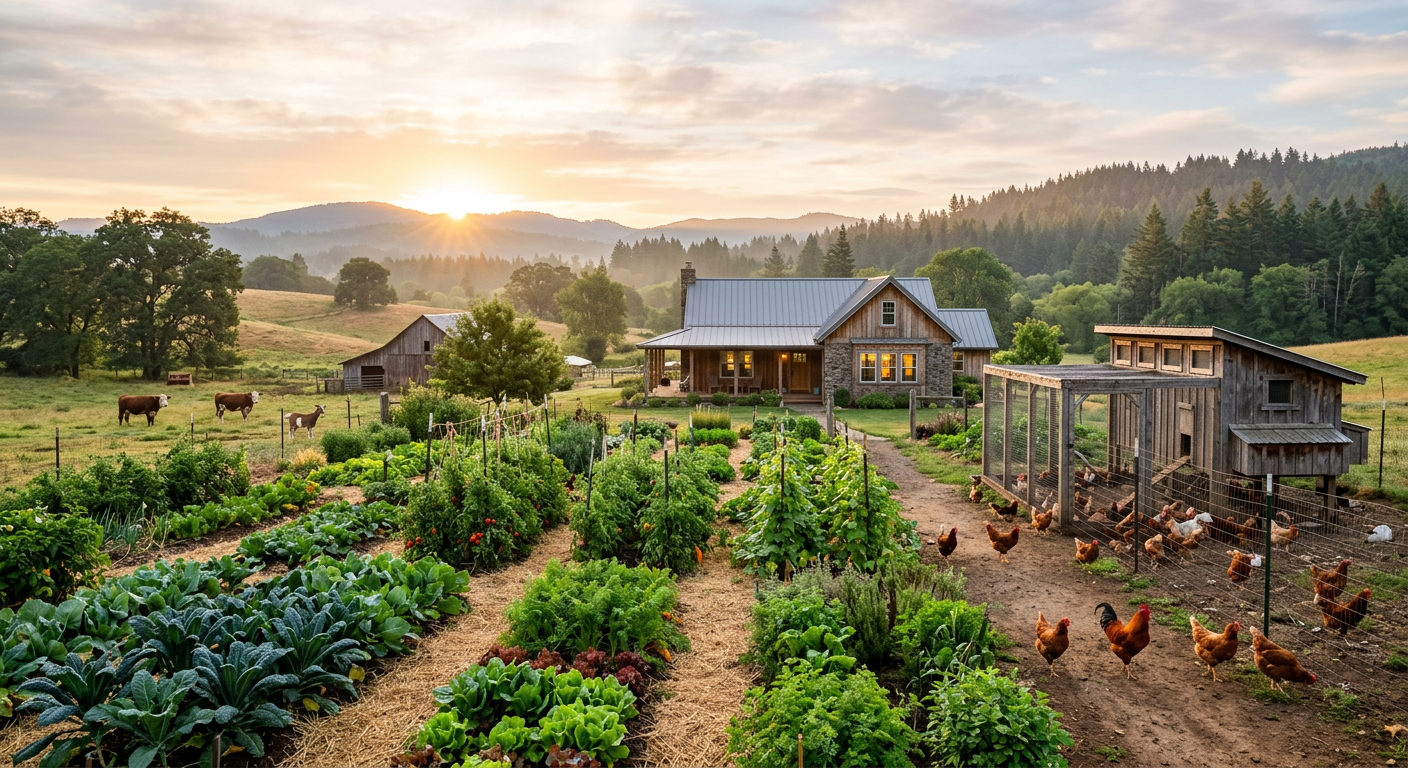
This depends entirely on your goals. For a large garden, a small flock of chickens, and a couple of dairy goats, you can do a surprising amount on just 1-2 acres. If you want to raise larger livestock like cattle for meat or have space for woodlot management, 5-10 acres is a more realistic minimum. We feel our 5 acres is the perfect balance of manageable work and productive space.
Is rural or urban homesteading cheaper?
Urban homesteading is cheaper to start. The barrier to entry is much lower. Rural homesteading is vastly more expensive upfront due to the cost of land and infrastructure (wells, septic, barns, tractors). Over a 30-year timeline, the costs might even out, but the initial financial shock of going rural is significant.
What’s a better way to start, rural or urban?
I am a huge advocate for starting in an urban or suburban environment first, even if your dream is rural. Use a small space to learn the basic skills: gardening, food preservation, basic tool use. Making mistakes on a small patio garden is a cheap lesson. Making those same mistakes on a 2-acre market garden can be a financial disaster.
—
Ultimately, the difference between rural and urban homesteading isn’t about which one is better. It’s about which one is right for you, right now. Both paths are valid. Both are hard work. Both are incredibly rewarding.
It’s a mindset, not a zip code. It’s about turning your home, wherever it is, into a place of production.
For more daily stories from our homestead and to connect with others on this path, be sure to follow our journey on Facebook.
What’s the one homesteading skill you’re most excited to learn, regardless of where you live? Let me know in the comments below!
📚 More From Our Homestead
- How to Start Homesteading in a Suburban Backyard
- Homestead Budget: Plan From Scratch & Thrive!
- How to Start Urban Homesteading Small Balcony: 5 Steps
- Zero Budget Homestead: How to Begin Homesteading with No Money
- Mastering Practical Skills for Self-Sufficiency at Home
Ready to Start Your Homestead Journey?
Free guides, checklists, and tools to help you build your dream homestead.