I remember the first time I pulled a massive harvest of carrots and beets from my garden, only to realize I had nowhere to put them except a cramped, heated kitchen pantry. Within two weeks, my beautiful harvest had turned into shriveled, rubbery sticks that were fit for nothing but the compost pile. You don’t need a 100-year-old stone basement to keep your harvest fresh; you just need to understand what those veggies actually want from you during the cold months.
🎯 Quick Answer: To master how to store root vegetables for winter without a cellar, focus on keeping them at 32-40°F with high humidity. You can achieve this using “clamps” (burial mounds) in the garden, insulated sand boxes in a garage, or even a modified discarded refrigerator.
—
🔑 Key Takeaways
- Master the “Cool, Dark, and Damp” rule to prevent spoilage.
- Build a garden clamp for a zero-cost, high-capacity storage solution.
- Use sand or sawdust in bins to mimic the natural soil environment.
- Learn which vegetables can actually stay in the ground under heavy mulch.
- Avoid the most common temperature fluctuations that cause rot.
—
The Secret Science of Long-Term Storage
Root vegetables aren’t actually “dead” once you pull them; they are just in a state of dormancy. When you’re figuring out how to store root vegetables for winter without a cellar, your goal is basically to trick the vegetable into thinking it’s still tucked safely in the cold earth.
Most root crops crave two things: high humidity (around 90-95%) and temperatures just above freezing. If your house is 70 degrees and dry, they’ll lose moisture through their skins and shrivel up faster than you can say “stew.” If you find your current garden planning is leading to more harvest than you can handle, it might be time to use a digital homestead management tool to track your yields and storage dates.
Keep reading — this is where most people mess up.
But before you dive into the methods, you have to prepare the vegetables properly, or everything else is a waste of time. I’ll show you why a hose is actually your worst enemy in the next section.
—
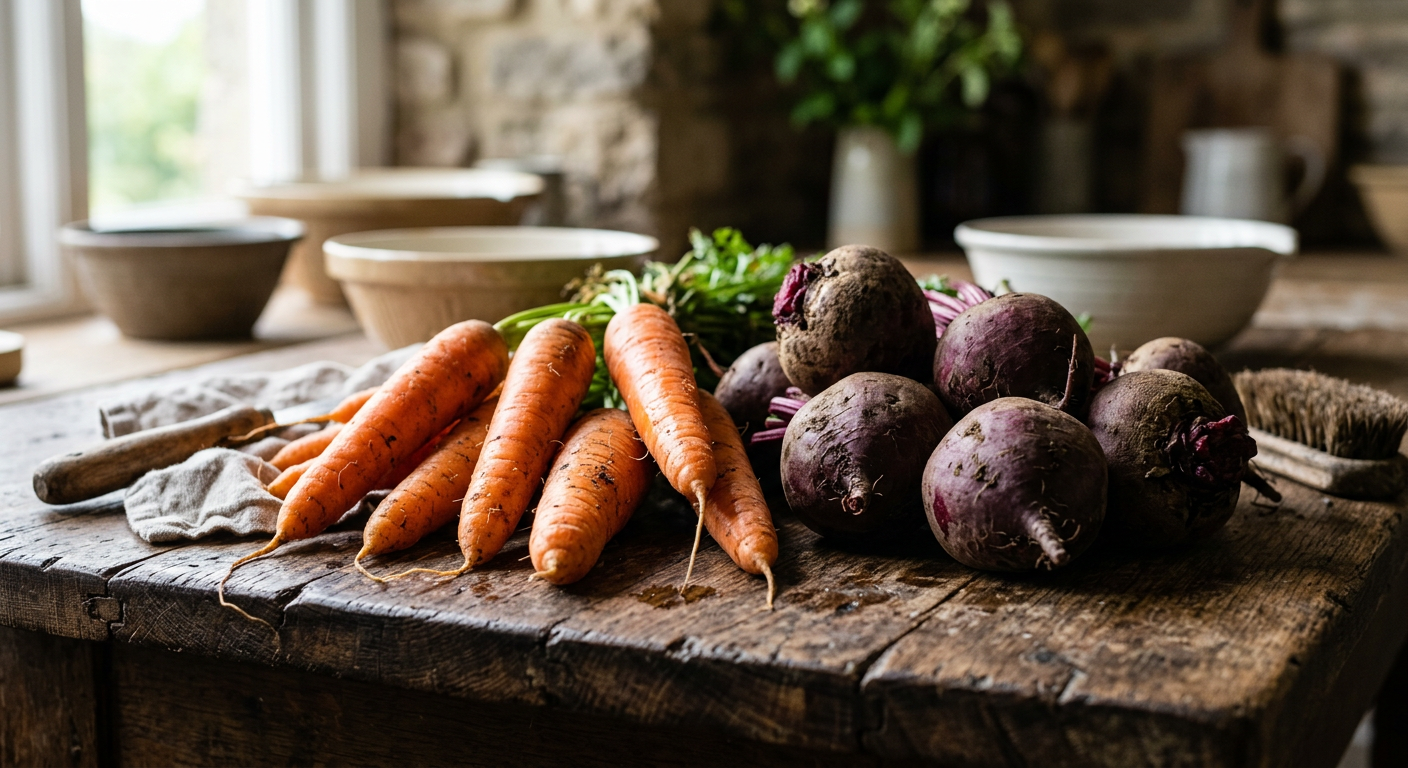
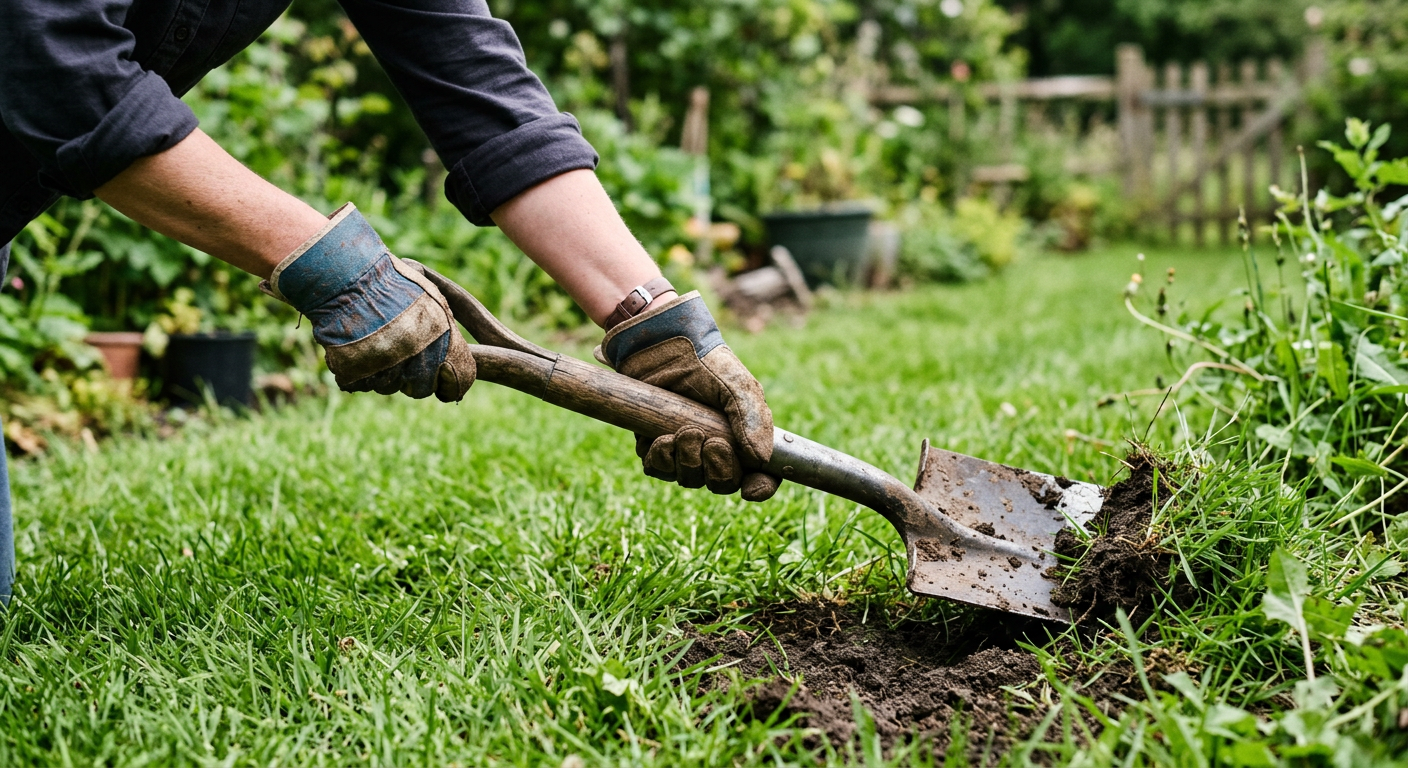
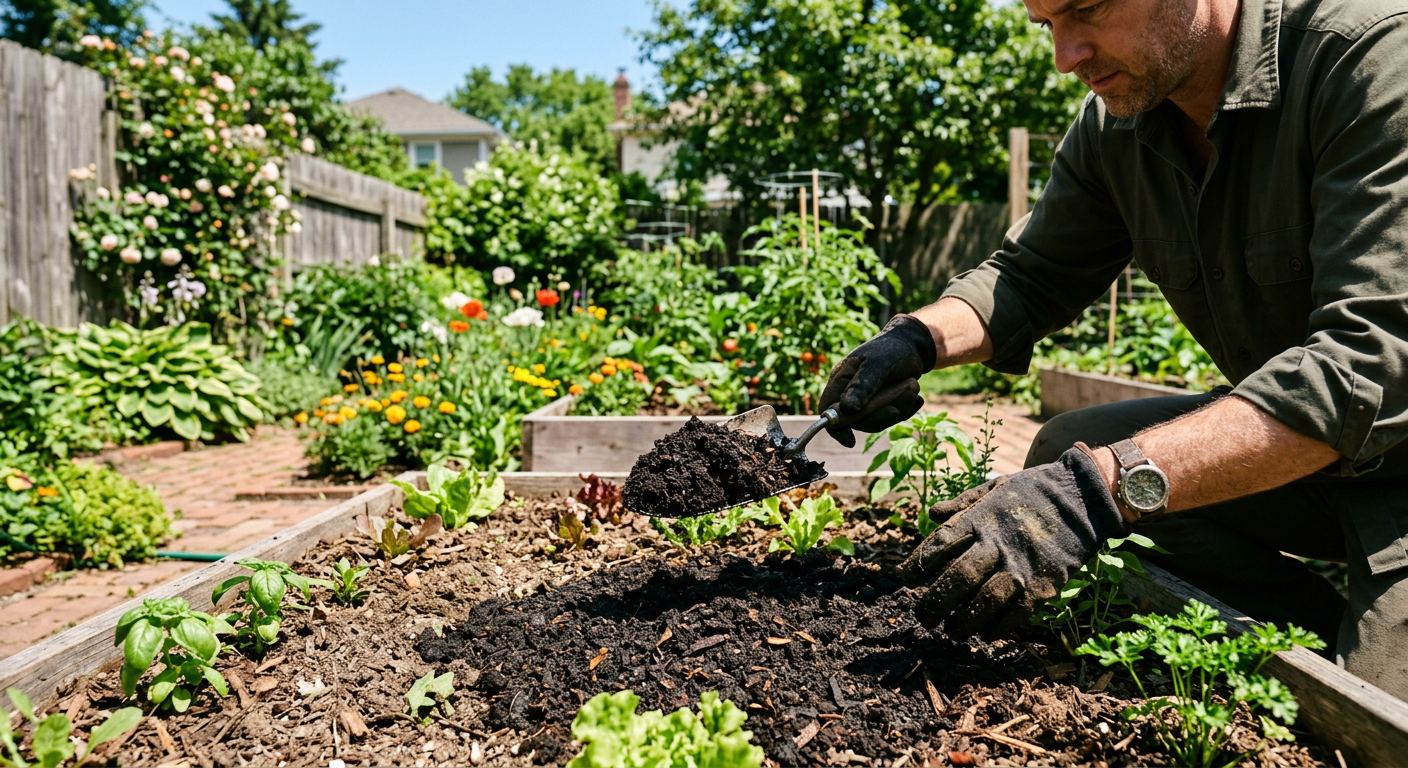
Curing and Prepping: The “Dirty” Secret
One of the biggest mistakes beginners make when learning how to store root vegetables for winter without a cellar is washing their harvest. Stop! That protective coating of soil actually helps prevent the skin from drying out and can ward off certain soil-borne pathogens during storage.
Instead, gently brush off large clumps of dirt with your hands. You also need to remove the green tops immediately. Those leaves are moisture-wicking machines—if you leave them on, they will literally suck the hydration out of the root to try and stay alive, leaving you with a limp carrot. Leave about a half-inch of the stem to prevent the root from bleeding or rotting at the crown.
Don’t skip this — it’ll save you hours (and money).
Now that your veggies are prepped, let’s talk about the “Clamp” method, which is the gold standard for cellar-less storage.
—
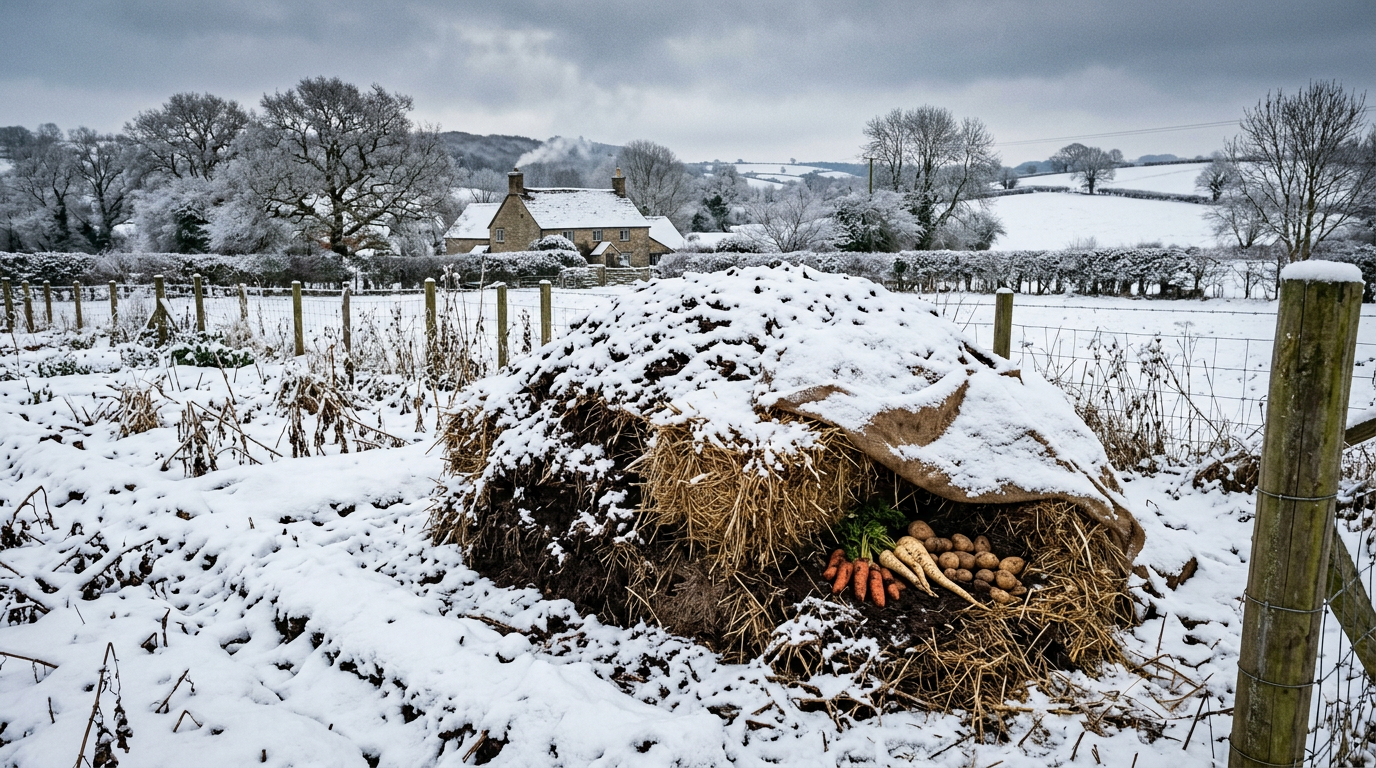
The Garden Clamp: Nature’s Refrigerator
A “clamp” is essentially a fancy word for a hole in the ground lined with protective materials. It is the most effective way to store large quantities of potatoes, carrots, and parsnips if you have even a small patch of well-drained soil.
To build one, dig a shallow pit (about 6-10 inches deep) and line it with a thick layer of dry straw. Pile your vegetables in a pyramid shape, cover them with another 6 inches of straw, and then top the whole thing with a layer of soil. Leave a small “chimney” of straw poking out the top for ventilation so the gas released by the veggies can escape.
This method uses the thermal mass of the earth to keep things at a steady temperature. If you find this a bit too labor-intensive, the next method is perfect for patios or garages.
—
!A traditional garden clamp used for how to store root vegetables for winter without a cellar.
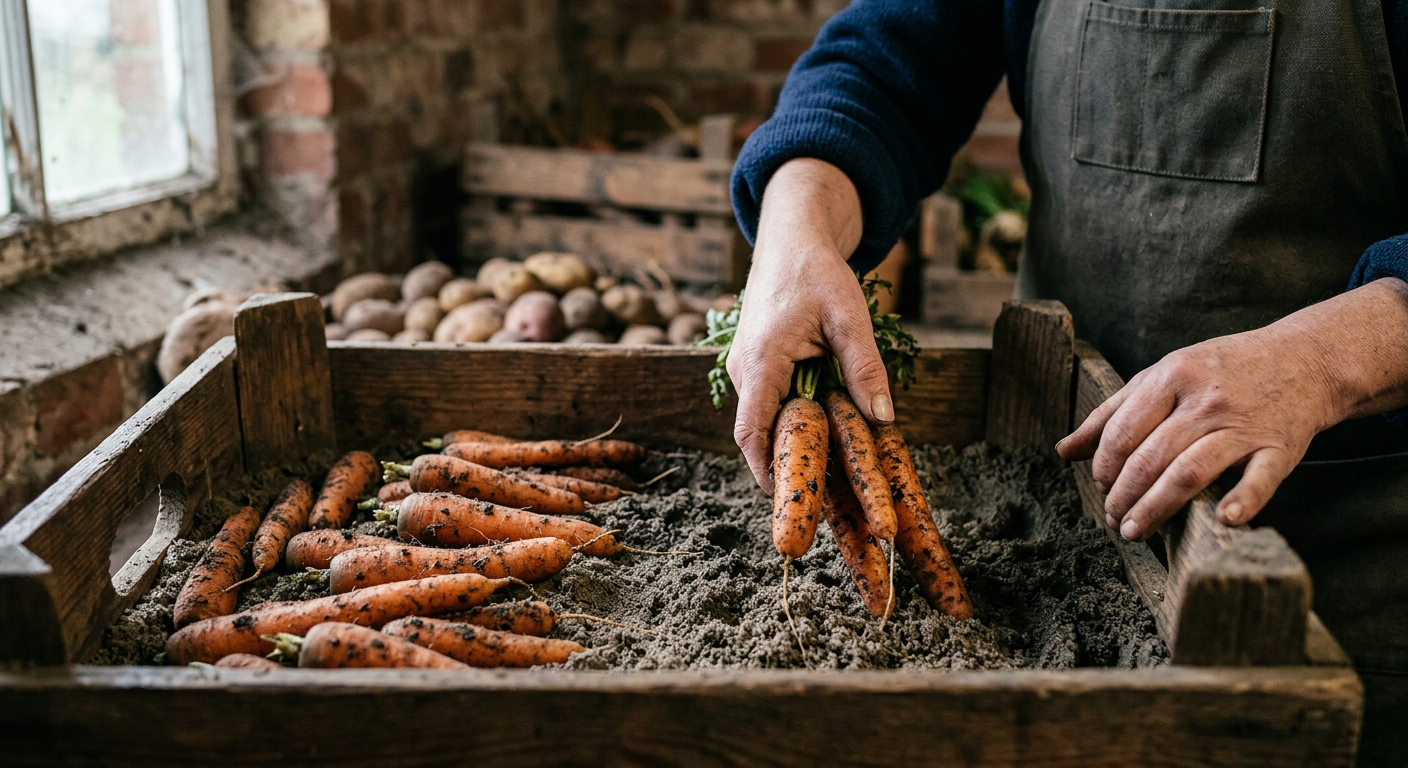
The Sand Box Method for Garages and Porches
If you have an unheated garage, mudroom, or shaded porch, the sand box method is your best friend. This is my personal favorite because it makes grabbing a few carrots for Sunday roast incredibly easy.
You’ll need a sturdy plastic or wooden bin. Place a two-inch layer of damp (not soaking) sand or sawdust at the bottom. Arrange your vegetables so they aren’t touching each other—this prevents one bad apple from spoiling the whole bunch—and cover them completely with more sand.
Repeat the layers until the bin is full. The sand keeps the humidity high and prevents the vegetables from freezing if the garage gets a bit chilly. If you’re serious about your food security, you should check out these homestead organization systems to keep your pantry and bins sorted all winter long.
This next part? Nobody talks about it, but it changed everything for us.
Wait until you see how certain vegetables can actually stay exactly where they grew!
—
In-Ground Storage: Letting the Earth Do the Work
Did you know that parsnips and carrots actually get sweeter after a frost? Cold temperatures trigger the plant to convert starches into sugars as a natural antifreeze. For some of us, the best way to store root vegetables for winter without a cellar is to just leave them in the garden bed.
The trick is to apply a “mulch blanket.” Once the ground begins to crust with frost, cover your root crops with 12-18 inches of loose straw, shredded leaves, or hay. Then, throw a tarp or some old wood over the top to keep the mulch from blowing away. You can simply peel back the blanket and dig up fresh veggies even in the middle of January!
—
💡 Pro Tips
- Check your stash monthly: Set a reminder to pull out any soft or moldy vegetables before they infect the rest.
- Keep apples away: Apples release ethylene gas which causes root vegetables to sprout or turn bitter. Never store them in the same bin or clamp.
- Use “seconds” first: Any vegetables that were nicked by the shovel during harvest should be eaten immediately; they won’t last in storage.
- Watch the humidity: If using the sand method, if the sand feels bone-dry, give it a very light misting with a spray bottle.
—
⚠️ Beginner Mistakes to Avoid
- Washing before storage: This is the fastest way to invite mold and rot into your bins.
- Storing in a heated basement: Even if it’s underground, a finished basement is usually too warm and dry for long-term storage.
- Ignoring drainage: If your garden clamp is in a spot where water pools, your vegetables will turn into a fermented mess within weeks.
- Harvesting too early: Wait for the first light frost for most root crops; it helps them enter the “dormancy” phase properly.
—
!Insulated bins in a garage demonstrating how to store root vegetables for winter without a cellar.
Frequently Asked Questions
Can I use a plastic bin for storage?
Yes, but you must drill small ventilation holes in the sides and lid. If the bin is airtight, moisture will build up and cause the vegetables to rot quickly.
How long will carrots last in a sand box?
If kept at the right temperature, carrots can easily last 4 to 6 months in damp sand, remaining crisp and sweet.
What is the best sand to use for storage?
Play sand or masonry sand works best. Avoid salty beach sand, as it can damage the vegetables and draw moisture out of them.
Can I store potatoes and onions together?
No! Just like apples, onions release gases that cause potatoes to sprout prematurely. Keep them in separate areas if possible.
—
Learning how to store root vegetables for winter without a cellar is a total game-changer for your self-sufficiency journey. There is no feeling quite like walking out to your garage or garden in the dead of winter and pulling out a crisp, sweet carrot that you grew yourself months ago.
What’s your biggest challenge with keeping your harvest fresh? I’d love to hear your story in the comments!
Ready to level up your homesteading game? Start your journey today at usehomesteados.com!
For daily tips on growing and storing your own food, follow our Facebook page here!
📚 More From Our Homestead
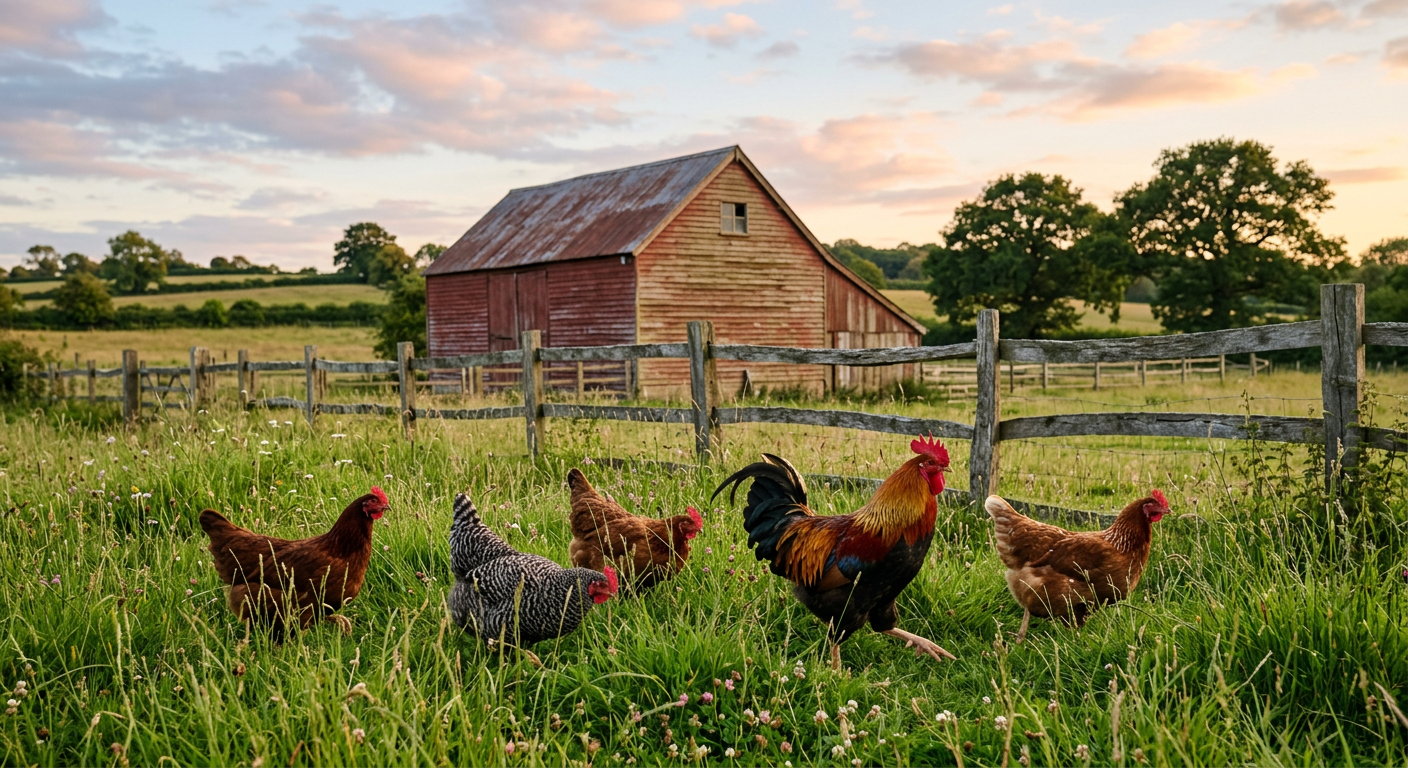
- My First Year Beekeeping Equipment Checklist (What We Used)
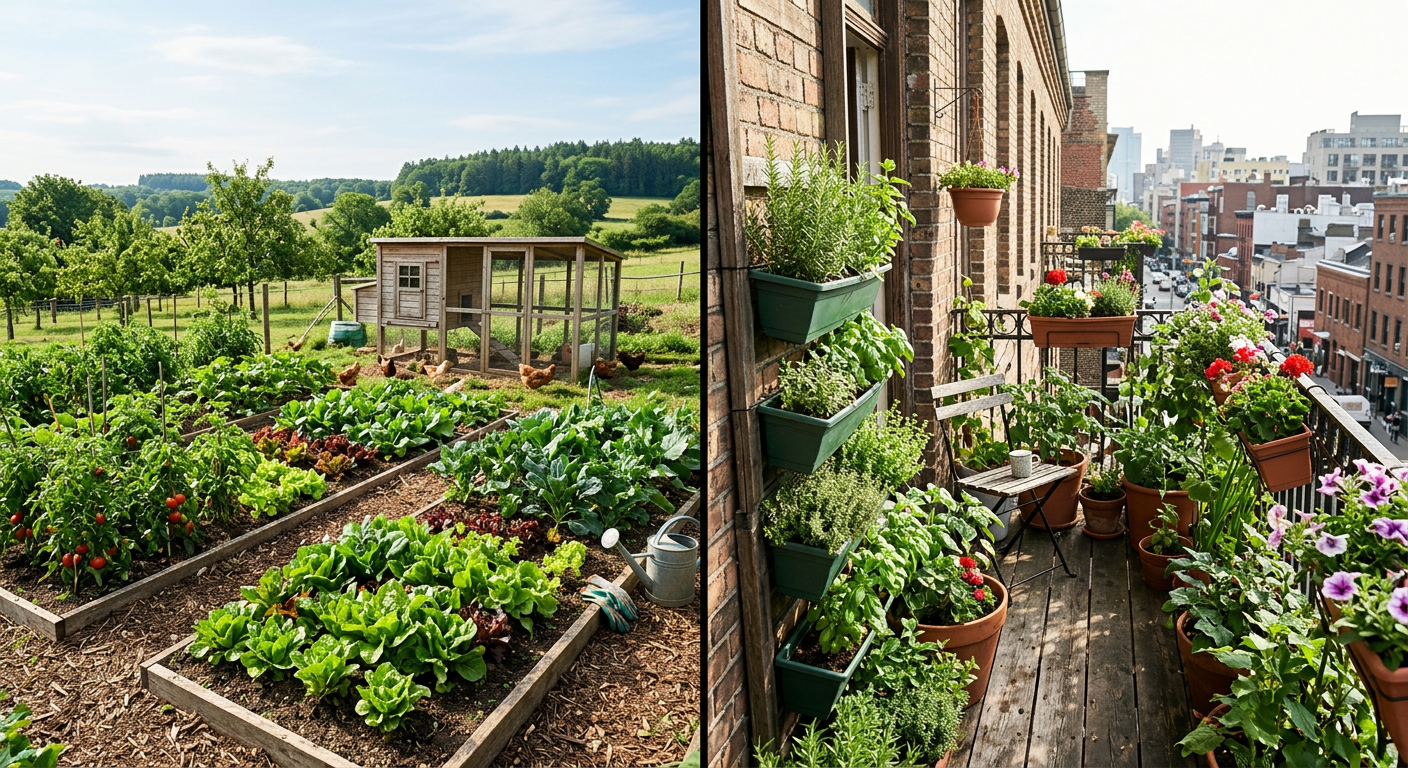
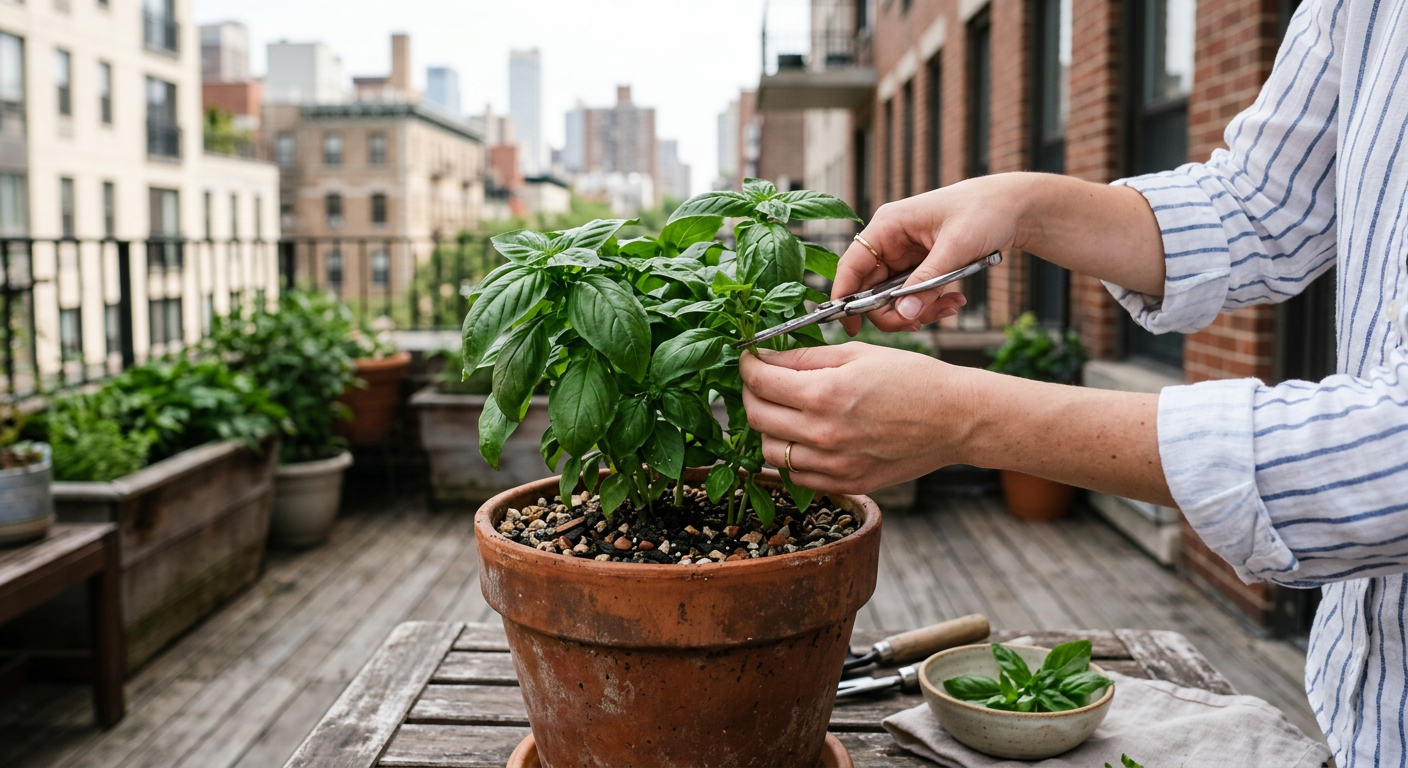
- Start Urban Homesteading on a Small Balcony (Our Story)
- Start Homesteading with No Land? Here’s How We Did It
- Rural vs Urban Homesteading: A Real-World Guide
- How to Start Homesteading in a Suburban Backyard
Ready to Start Your Homestead Journey?
Free guides, checklists, and tools to help you build your dream homestead.