When we first started our homesteading journey, I never imagined we’d be sharing tips on how to start urban homesteading small space. Our dream was always sprawling acres, livestock, and a huge garden. But life has a funny way of planting you where you are, and for so many of you, that means a city apartment, a suburban lot, or even just a tiny balcony. The beautiful truth is, you don’t need a farm to embrace the homesteading spirit! It’s about self-sufficiency, growing your own food, and making the most of what you have, no matter how small.
We faced our own set of challenges early on, even with our larger rural property. Learning to maximize every inch, dealing with unexpected issues, and finding creative solutions became second nature. That’s why I’m so passionate about helping you, whether you’re in a high-rise or a compact townhouse, discover the incredible joy of urban homesteading. It’s not just a hobby; it’s a lifestyle that connects you deeply to your food, your community, and your environment. Let’s dive in!
Define Your Urban Homesteading Goals
Before you sow your first seed or bring home a single chick (don’t worry, we’ll get to that!), it’s crucial to define what homesteading means to you in your specific urban environment. When we first started, we tried to do everything at once – a huge garden, chickens, even contemplating rabbits! It was overwhelming and honestly, a bit of a flop. We quickly learned that starting small and focusing on realistic goals was key.
Ask yourself:
* What are your biggest motivations? Is it fresh herbs, pesticide-free veggies, reducing waste, or connecting with nature?
* How much time can you realistically commit? Daily? Weekly? A few hours here and there?
What are your local ordinances? Many cities have strict rules about what you can grow or raise. Check with your city or HOA before* you invest any money. When we lived in a more suburban area briefly, we learned our HOA had surprising restrictions on garden bed heights and fencing.
* What’s your budget? Starting small can be very affordable, but some projects require more upfront investment. We generally budget about $200-$300 for our initial garden setup each spring, including seeds, soil, and starter plants, but you can do it for much less if you’re resourceful.
Once you have a clearer picture, you can prioritize projects that align with your available space, time, and budget. For more general advice, check out our post on Beginner Homesteading Tips to Start Your Self-Sufficient Journey Today.
Maximizing Every Inch: Vertical Growing & Container Gardening
When you’re trying to figure out how to start urban homesteading small space, the absolute golden rule is to go up! Vertical gardening is a game-changer for tight spots. Think of your walls, fences, and even windows as prime real estate for growing food.
Here are some ideas we’ve seen work wonders:
* Stackable Planters: These are fantastic for strawberries, herbs, and leafy greens. You can get a three-tier planter for around $30-$50.
* Vertical Wall Gardens: DIY pallet gardens or purpose-built fabric pockets can transform a bare wall into a lush food factory. We built a simple one from salvaged pallet wood that cost us less than $10 for soil and seeds, and it produced so many herbs we couldn’t keep up!
* Hanging Baskets: Ideal for cherry tomatoes, certain pepper varieties, and various herbs. Just be mindful of sun exposure.
* Container Gardening: This is your bread and butter. Most vegetables can be grown in containers. The trick is choosing the right size. Most herbs and leafy greens are happy in 6-8 inch pots, while tomatoes and peppers need at least 5-gallon containers (or larger). We use a lot of 5-gallon paint buckets we clean thoroughly, which are practically free!
Martha, a friend of ours who lives in a tiny apartment, even turned an old bookcase into a vertical herb garden by lining the shelves and adding grow lights. It’s amazing what you can achieve with a little creativity!
For more detailed guidance on getting started with growing, take a look at How to Start a Small Backyard Vegetable Garden: Beginner Guide, which has tons of tips applicable even to container gardening.
Getting Started with Small-Scale Urban Animal Husbandry (Carefully!)
Alright, let’s talk about furry and feathered friends. This is often where local ordinances become super important. When considering how to start urban homesteading small space with animals, research your local laws FIRST. Some cities surprise you with what they allow, others are very restrictive.
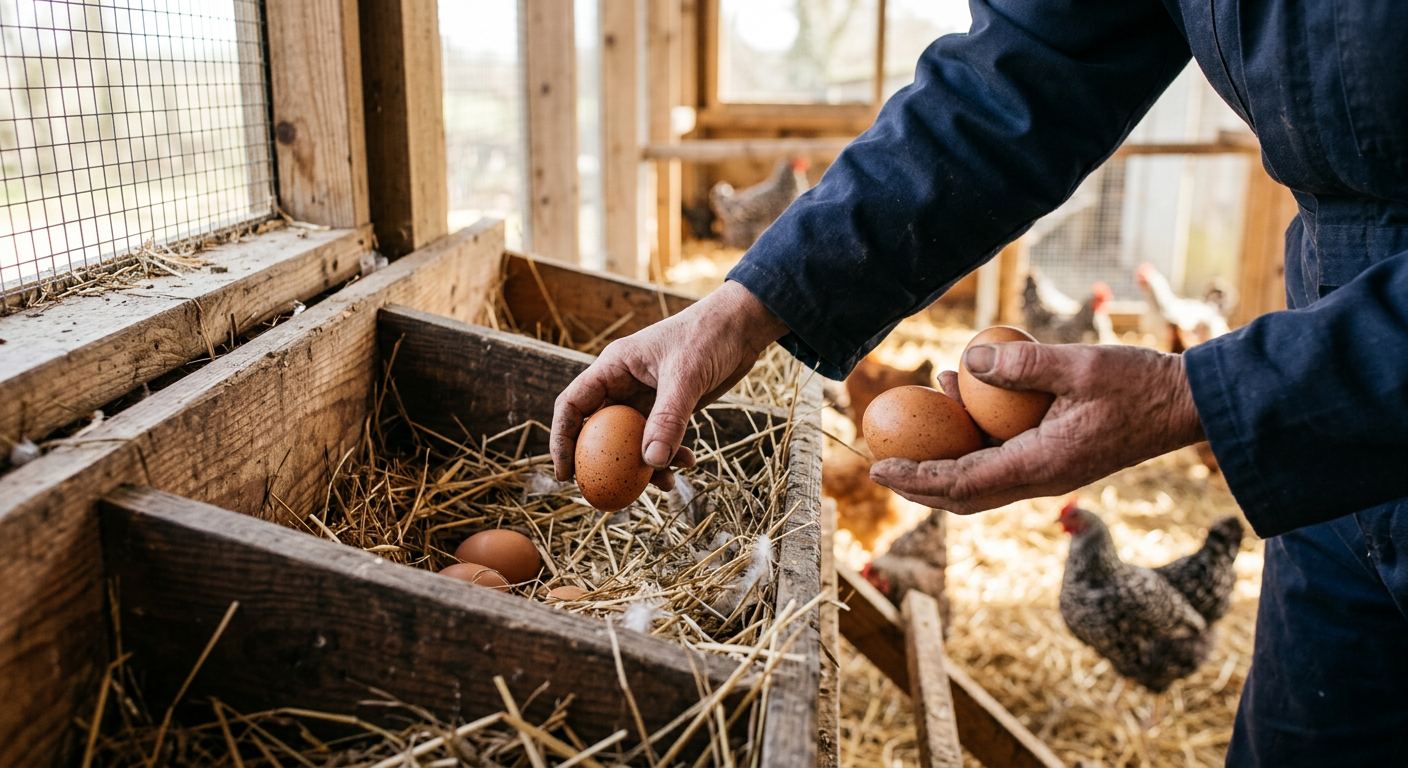
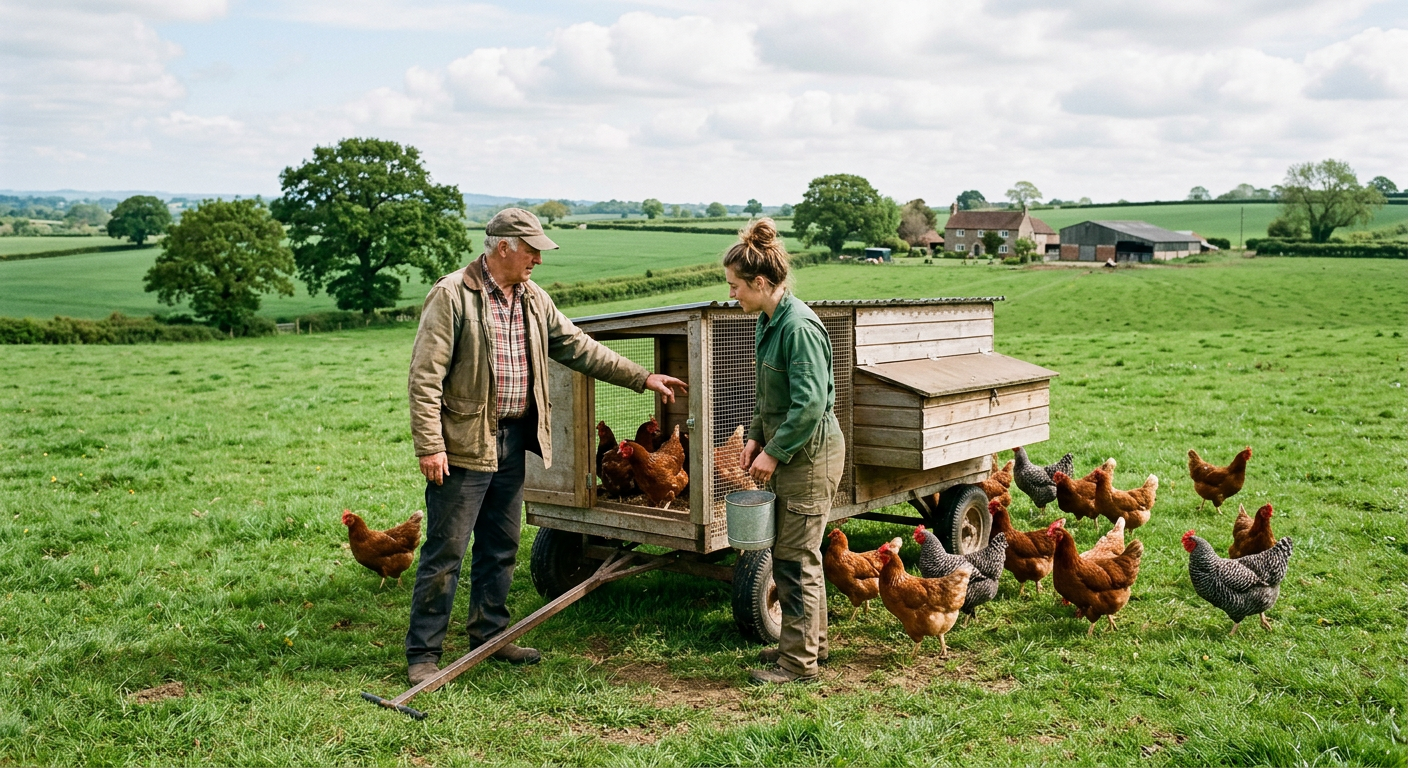
Chickens (If Permitted!)
Many urban areas now allow a small flock of hens (roosters are usually a no-go due to noise). We started with 6 hens, and their fresh eggs were a revelation. In a small space, you’ll need:
* A Compact Coop: Look for options designed for 2-4 hens. You might even find sleek, modern designs that blend into an urban backyard. We know folks who’ve built fantastic coops from repurposed materials for under $100.
Space for a Run: Even if it’s small, they need an outdoor area. Consider a movable chicken tractor design if space is extremely* limited. This lets them fertilize different parts of your yard. Here’s a great guide on how to build a movable chicken tractor.
* Food & Water: Self-filling feeders and waterers are a must for small spaces to reduce daily maintenance.
Rabbits
Another option for food or fiber, rabbits take up very little space. They are quiet, clean, and their waste is excellent for composting. A small hutch can easily fit on a patio or in a protected corner of a yard.
Quail
These tiny birds are gaining popularity in urban settings. They’re much smaller, quieter, and produce eggs even faster than chickens. We’ve considered them for our own setup due to their minimal space requirements.
Remember, any animal requires daily care, commitment, and often, an initial investment. Be realistic about what you can manage in your tiny urban oasis.
Beyond Growing: Water, Waste, & Preserving in the City
Homesteading isn’t just about what you grow; it’s about closing loops and maximizing resources. This is especially true when learning how to start urban homesteading small space.
Rainwater Harvesting
This is a fantastic way to conserve water and give your plants chemical-free hydration. A simple rain barrel connected to a downspout can collect gallons of water during a single rain shower. We have a couple of 55-gallon barrels that cost us about $150 each, and they significantly cut down our water bill during dry spells. You can learn more about small-scale rainwater systems here.
Composting
Don’t let your food scraps go to waste! Composting reduces landfill burden and creates incredible, nutrient-rich soil for your containers. In a small space, options include:
* Vermiculture (Worm Composting): A small worm bin can live indoors or on a balcony, is practically odorless if done right, and produces fantastic worm castings. We started with a small kit for about $60.
* Bokashi Composting: This is an anaerobic process that ferments food scraps, including meat and dairy, which traditional composting can’t handle. The fermented material then needs to be buried or added to a regular compost pile, but it’s a great first step for breaking down all your food waste.
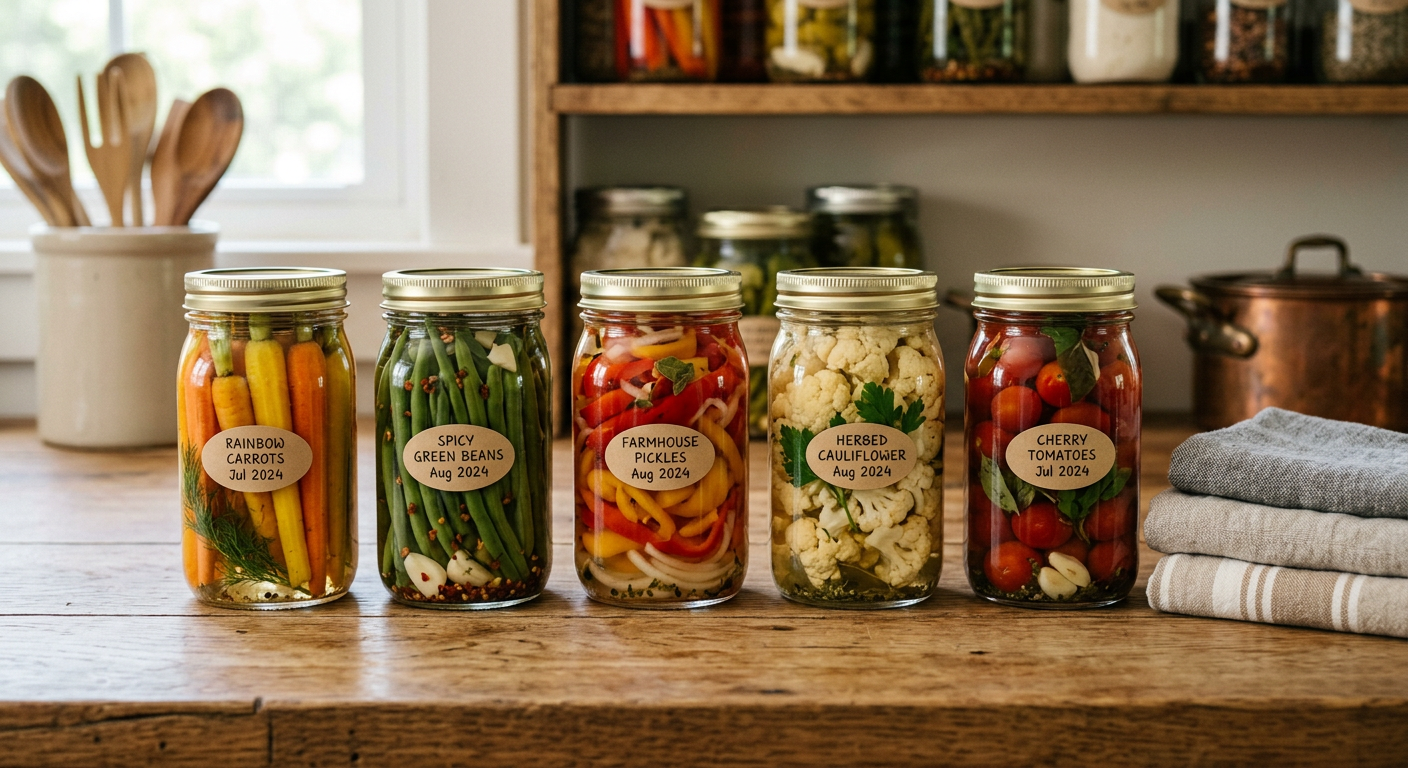
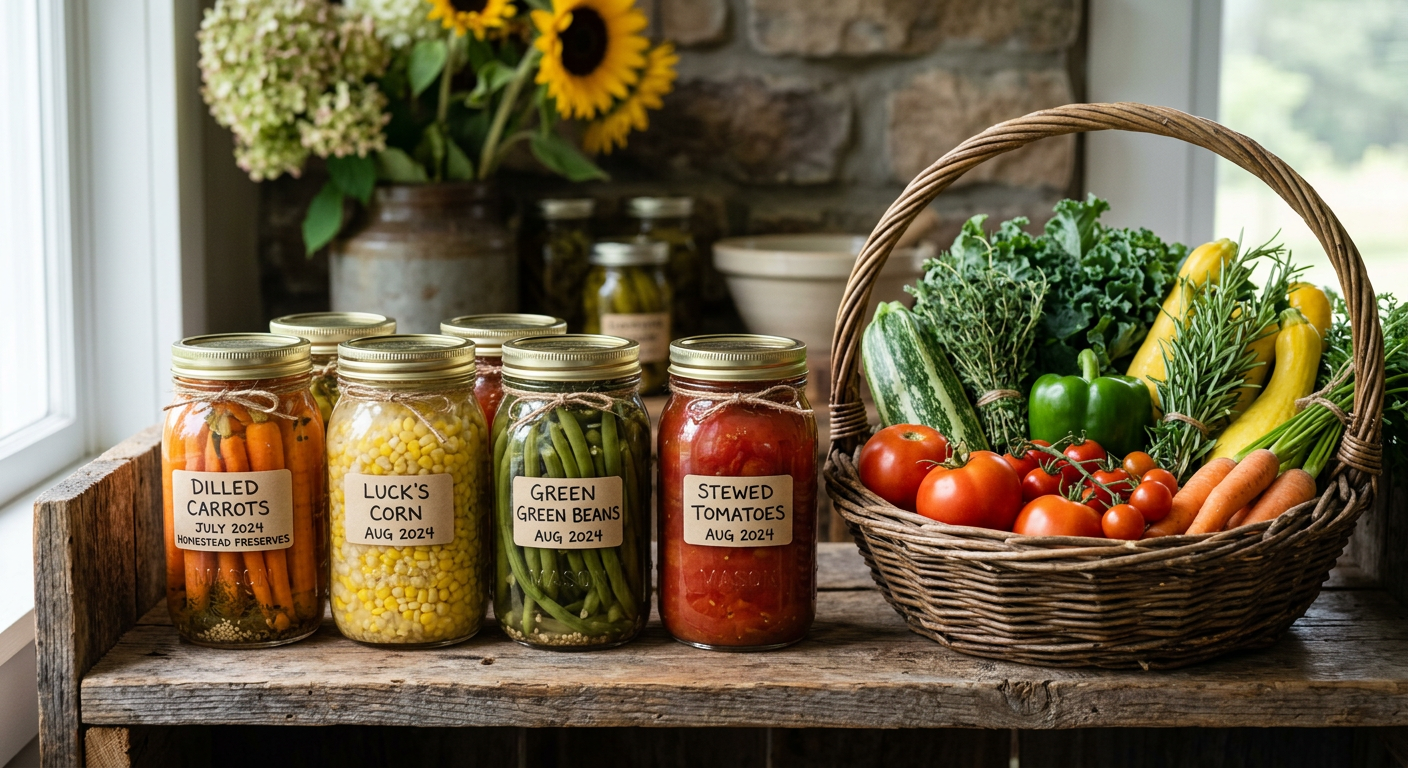
Food Preservation
Even a small harvest can be preserved! Learn basic methods:
* Freezing: Easiest for herbs, blanched vegetables, and berries.
* Dehydrating: Great for herbs, fruit leathers, and even veggie chips. We have a small dehydrator that cost us around $80 and it’s always running in the autumn.
* Canning: If you have the space for equipment (a pressure canner can be bulky), canning allows for long-term storage of sauces, pickles, and jams. We typically do a big canning day once a month during harvest season.
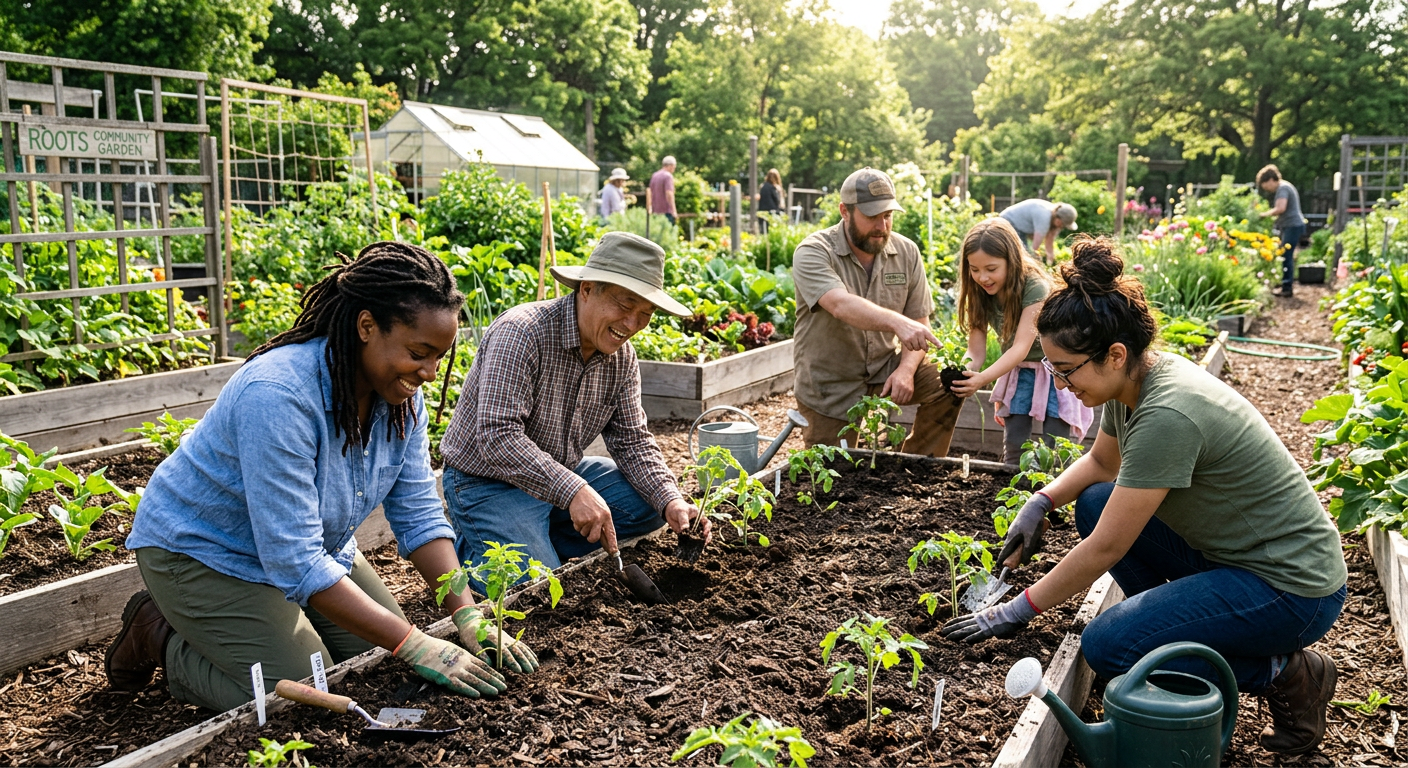
Community & Skill-Sharing: Your Urban Homesteading Network
One of the most surprising and fulfilling aspects of our homesteading journey has been the community. In an urban environment, this sense of connection is even more vital. You don’t have to go it alone!
* Join Local Groups: Look for urban gardening clubs, community garden initiatives, or homesteading meetups. Facebook groups are a great place to start.
* Seed Swaps & Plant Exchanges: A fantastic way to diversify your garden for free and meet like-minded people. We regularly participate in these and always come home with something new and exciting.
* Skill-Sharing: Can you bake bread? Does your neighbor know how to mend clothes? Bartering skills is a hallmark of homesteading.
* Support Local Farmers Markets: Even as you grow your own, supporting local farmers keeps agriculture alive in your region and provides you with things you can’t produce yourself.
Building this network can provide invaluable support, shared knowledge, and even practical resources that you might not have in your small space. Sometimes, the “village” is the biggest resource of all. If you’re looking for broader community and resources, check out usehomesteados.com for a wealth of information and tools to help you on your journey.
FAQ: Urban Homesteading in Small Spaces
Q1: Is urban homesteading expensive to start?
A1: It doesn’t have to be! You can start very affordably with salvaged containers, free seeds from exchanges, and compost made from your kitchen scraps. Our first garden cost us less than $50. However, if you want to invest in vertical garden systems or start with animals like chickens, the initial costs will be higher. Plan on $100-$300 for a solid beginner setup, but it’s possible to do it for much less with creativity.
Q2: What are the best plants for urban container gardening?
A2: Leafy greens (lettuce, spinach, kale), herbs (basil, mint, parsley, rosemary), bush beans, radishes, carrots (stubby varieties), peppers, and determinate (bush) tomato varieties are excellent choices that thrive in containers. We’ve had great success with ‘Patio Perfect’ tomatoes and ‘Little Gem’ lettuce in gallon pots.
Q3: How do I deal with pests in a small urban garden?
A3: Integrated Pest Management (IPM) is key. This includes companion planting (e.g., marigolds to deter nematodes), hand-picking visible pests, using beneficial insects (you can order ladybugs online!), and applying organic pest sprays like neem oil or insecticidal soap if absolutely necessary. Healthy soil and strong plants are your best defense.
Q4: Can I really preserve food in a small urban kitchen?
A4: Absolutely! Freezing and dehydrating require minimal counter space. You can often make small batches of jams or pickles with a regular pot. We even manage to can a few jars at a time on our stovetop pressure canner, though it takes up most of one burner. It’s all about doing what you can with the space you have.
Q5: What’s the most important thing to remember for urban homesteading?
A5: Start small, be realistic, and don’t be afraid to experiment! Every mistake is a lesson learned. Consistency is more important than perfection. Enjoy the process of learning and connecting with your food and environment.
Your Urban Homestead Awaits!
Homesteading isn’t just about land; it’s a mindset. It’s about resilience, sustainability, and the profound satisfaction of providing for your family. Whether you have a balcony, a small yard, or just a sunny windowsill, you can embrace the homesteading journey. Don’t let a lack of acreage hold you back from growing your own food, nurturing your environment, and living a more self-sufficient life.
Ready to dig in? Explore more of our articles at usehomesteados.com for practical guides, personal stories, and all the inspiration you need to build your thriving urban homestead, no matter the size!
📚 More From Our Homestead
- Basic Food Preservation for Beginners: Our Family’s Go-To Methods
- Homesteading Hacks: Save Serious Money on Groceries!
- How to Make Money From a Small Homestead
- Homesteading Supplies List for Beginners: The Essentials
- Cheap Food Preservation for Beginners: Our Top Budget Hacks
Ready to Start Your Homestead Journey?
Free guides, checklists, and tools to help you build your dream homestead.