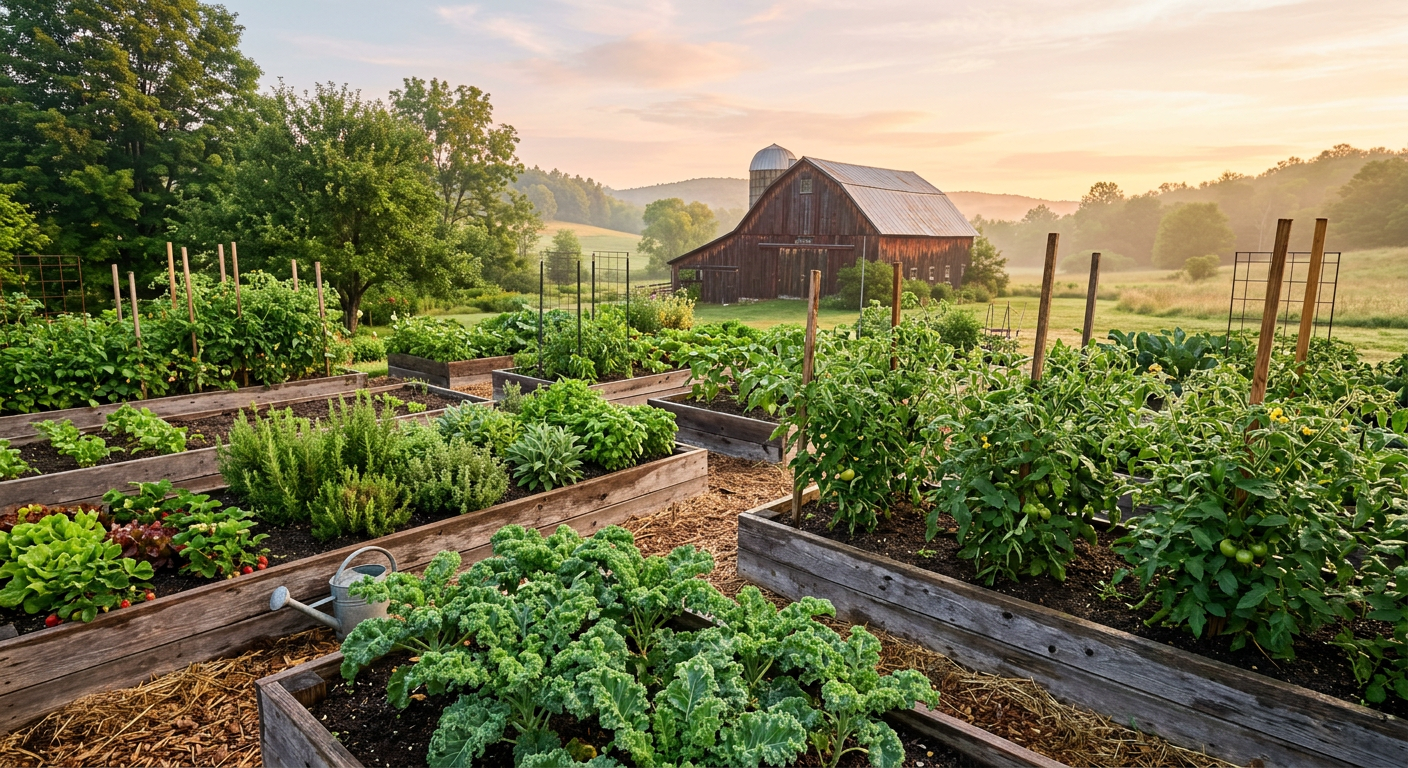
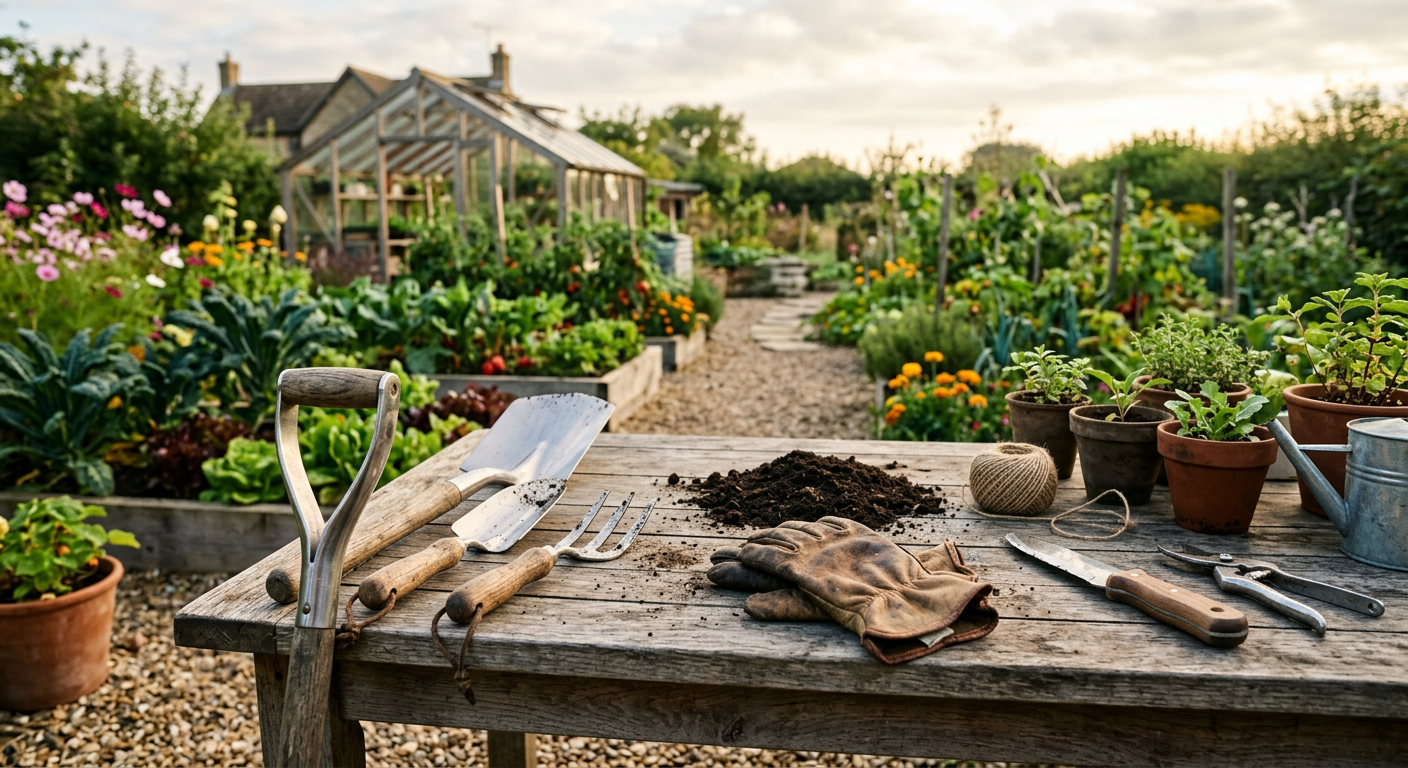
!A thriving garden showing practical skills for self-sufficiency at home through home-grown produce.
When we first moved to our little patch of land, fueled by dreams of self-sufficiency, we quickly learned that ‘knowing’ wasn’t enough. We needed to do. We started with grand plans, but the reality hit hard when our first garden failed or a tool broke. That’s when we realized the deep importance of developing practical skills for self-sufficiency at home.
🎯 Quick Answer: Building practical skills for self-sufficiency at home means learning hands-on capabilities like gardening, food preservation, basic repairs, and resource management. Our family’s journey showed us these skills save money, build resilience, and foster a deeper connection to our food and home.
—
🔑 Key Takeaways
* Start Small, Learn Big: Don’t try to master everything at once; pick one or two skills and build from there.
* Embrace the Learning Curve: Mistakes are part of the process. Our first compost bins were a mess, but we learned!
* Hands-On is Best: Reading is great, but getting your hands dirty (literally!) is how these practical skills for self-sufficiency at home truly sink in.
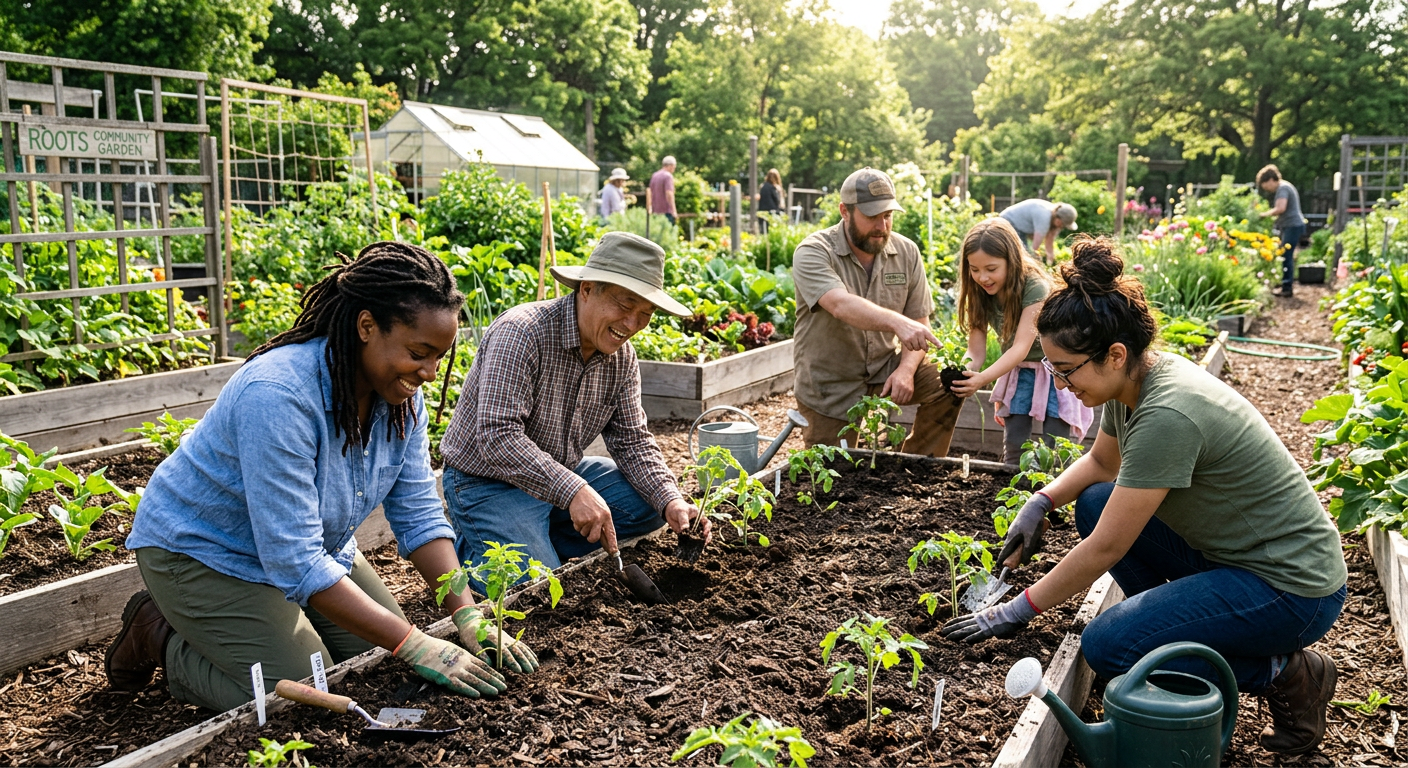
* Community is Key: Don’t be afraid to ask for help or trade knowledge with neighbors and local homesteaders.
* Budgeting is Practical: Understand the initial investment for tools and resources, and how to make them last.
* Prioritize Foundational Skills: Focus on skills that directly impact your food, water, and shelter first.
—
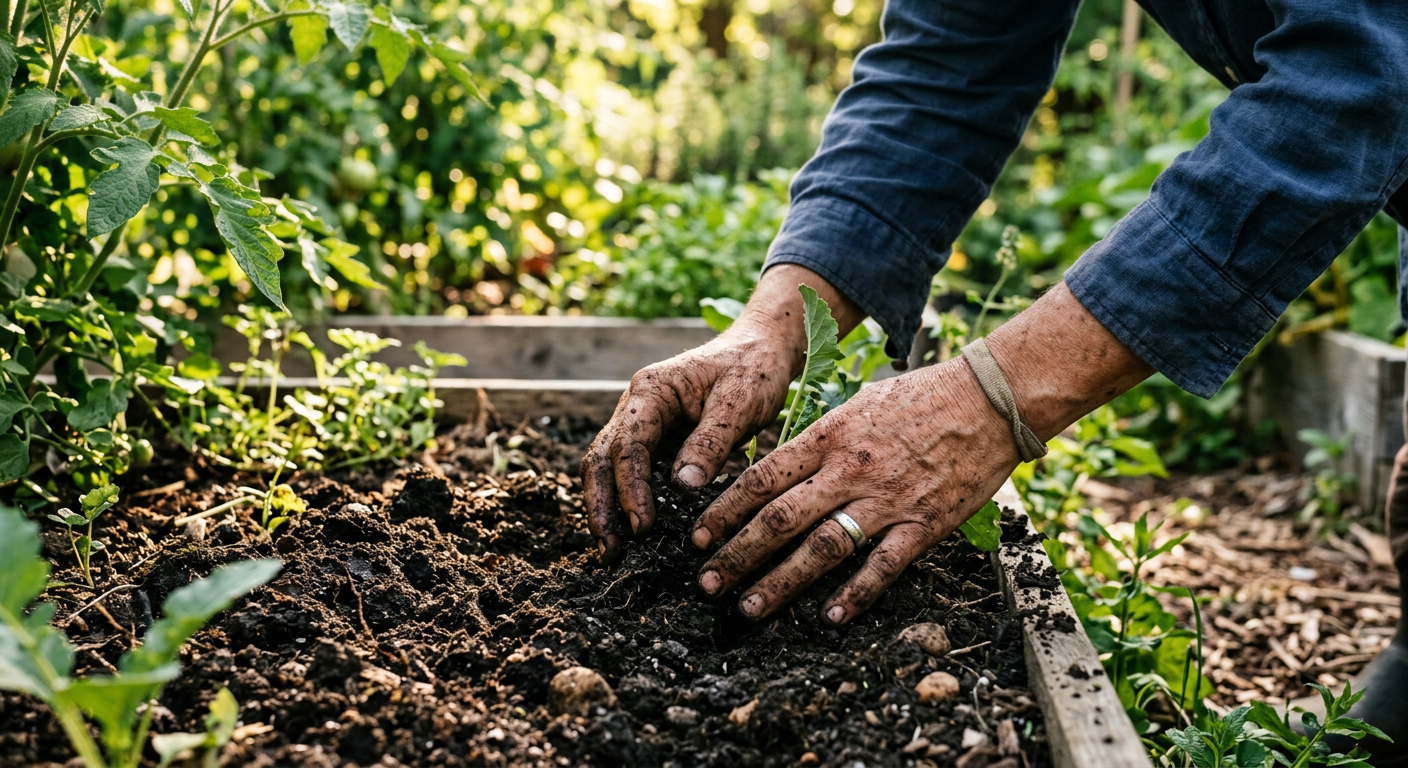
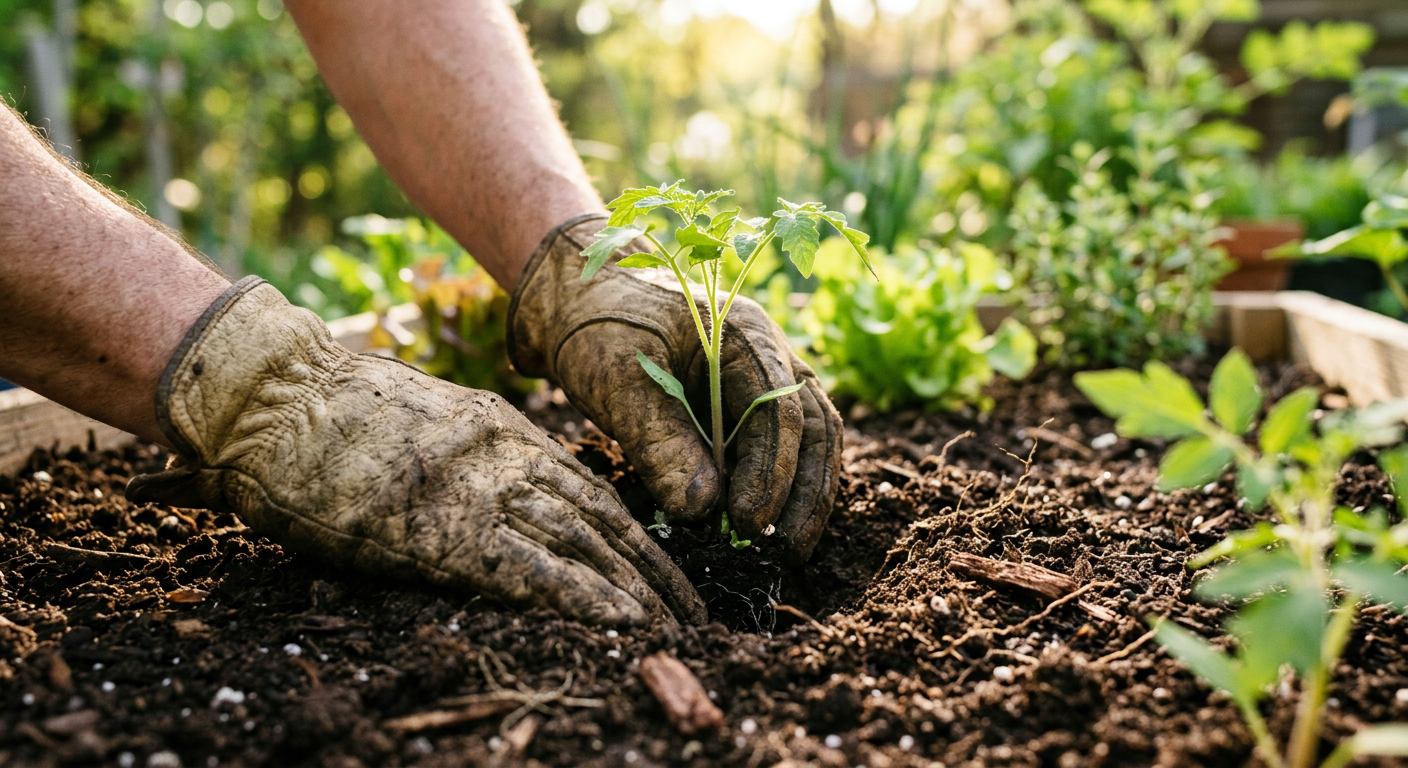
!Hands planting seeds, illustrating practical skills for self-sufficiency at home in a family garden.
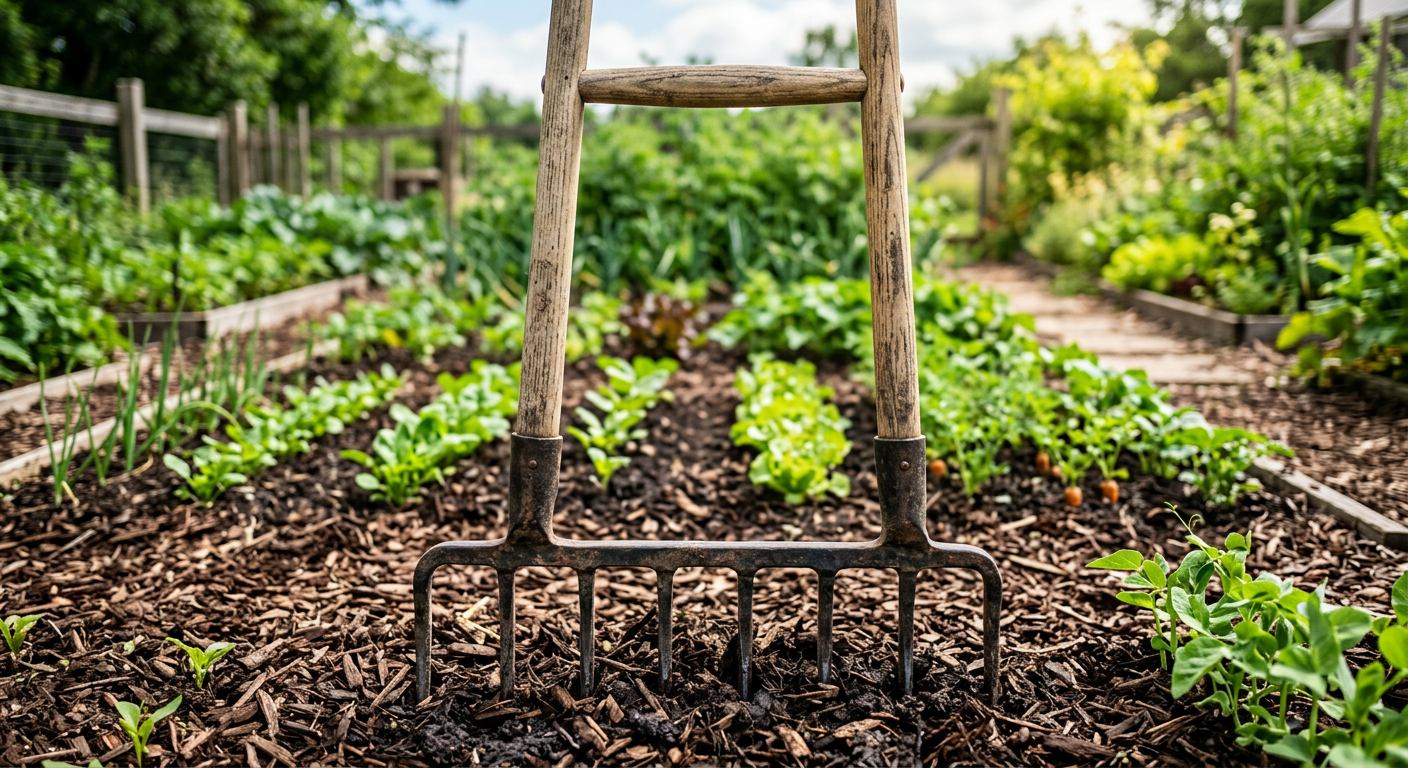
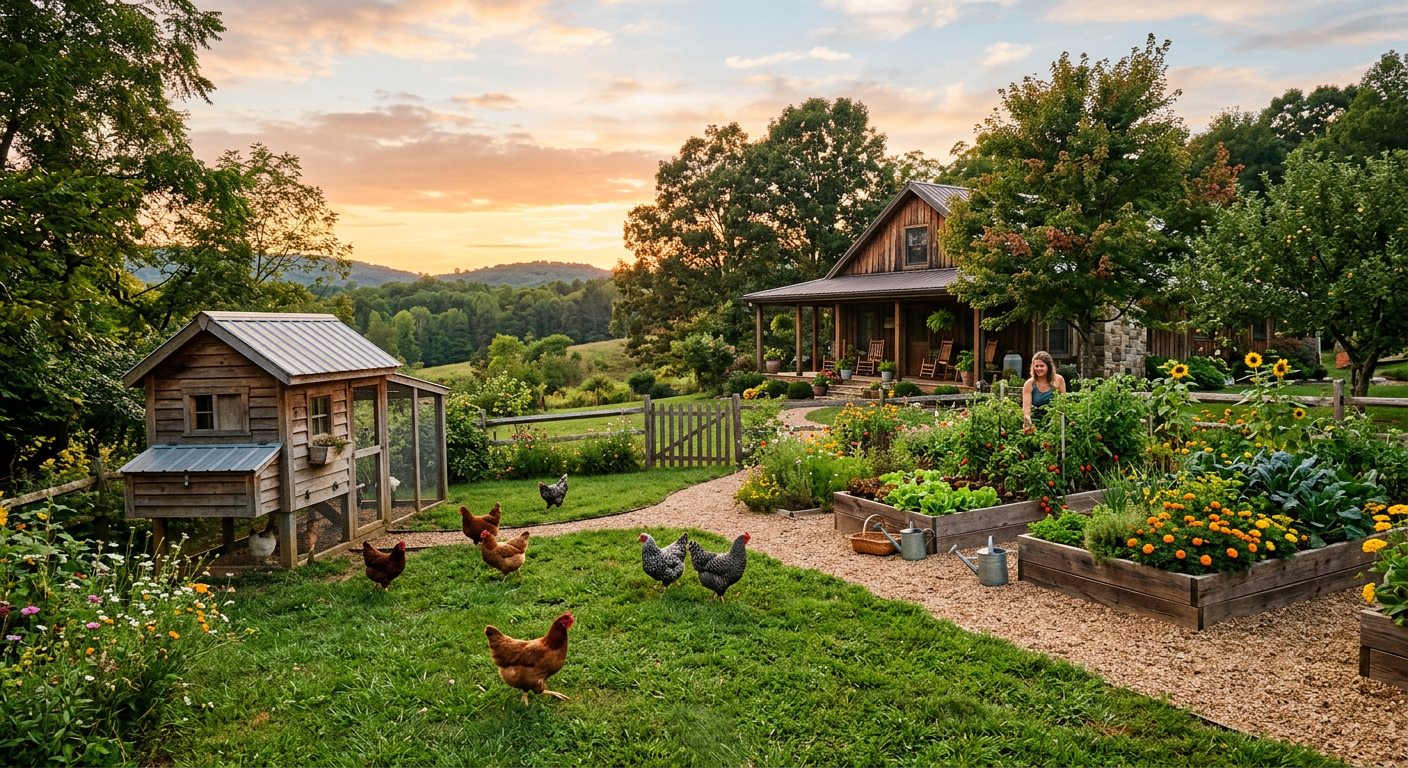
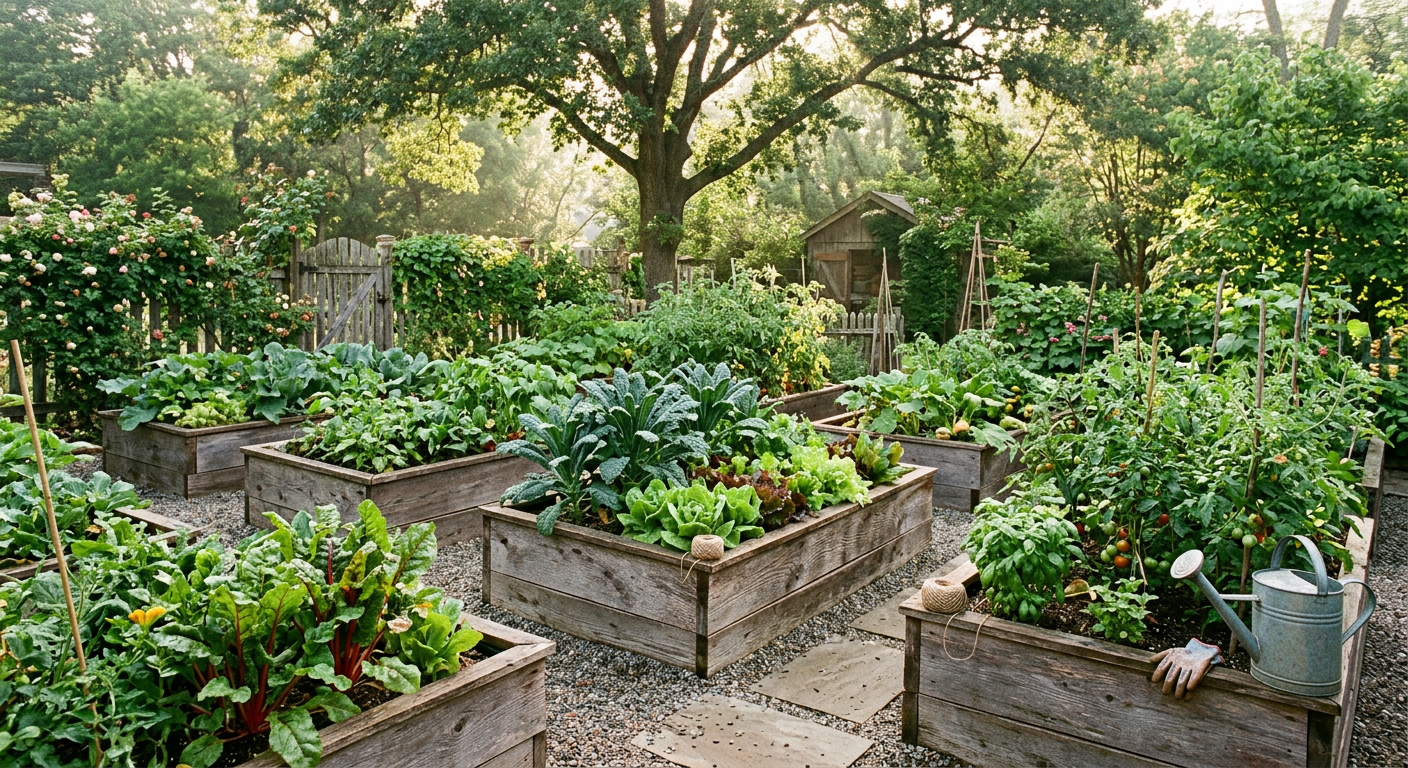
Growing Your Own: The Foundation of Food Independence
For us, growing our own food was the very first step toward having practical skills for self-sufficiency at home. Nothing beats the taste of a tomato you’ve grown yourself, and the peace of mind knowing where your food comes from is priceless. When we first started, we dug up a 10×10 foot plot and planted everything under the sun, hoping for the best.
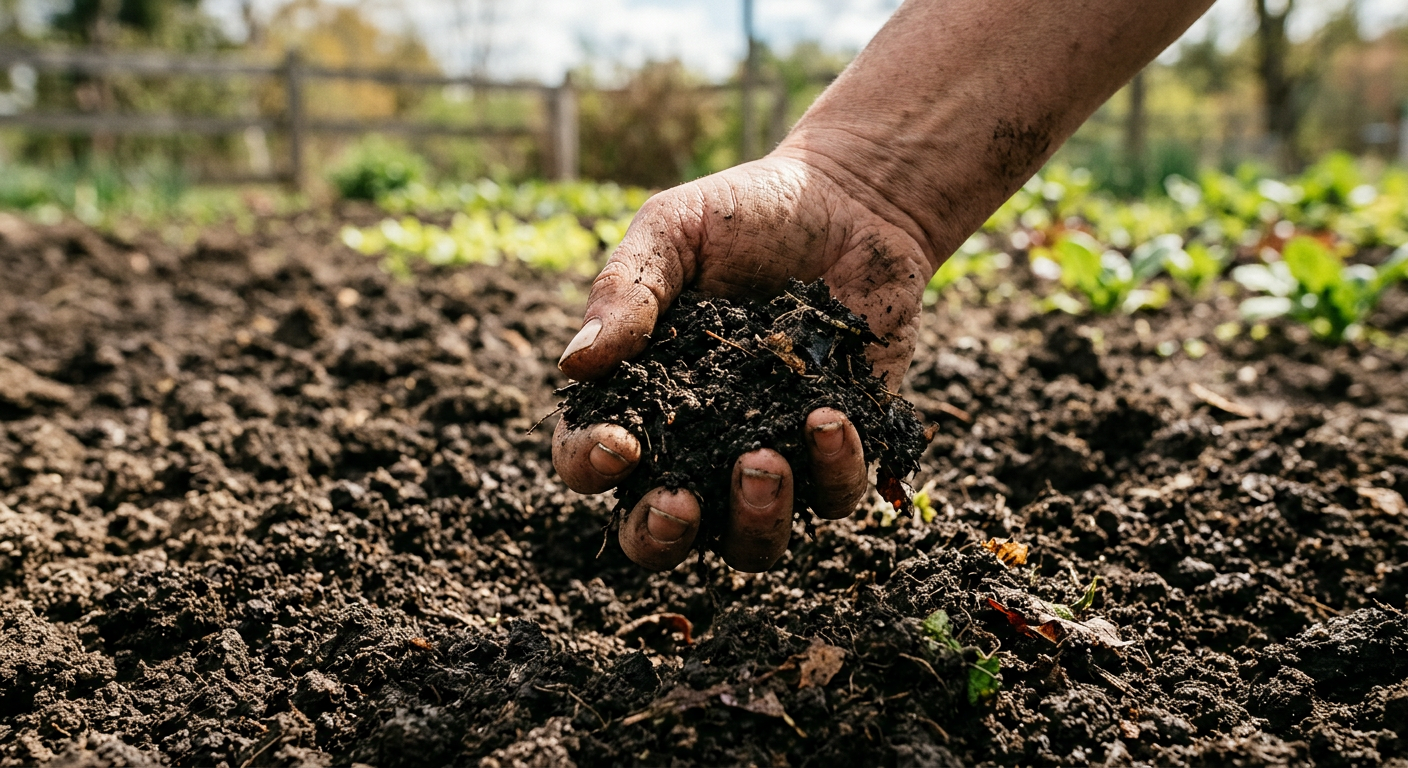
The Humble Vegetable Garden
Our first year growing vegetables was a comedy of errors and triumphs. We spent about $150 on seeds, some basic tools, and a soil test. We quickly learned that good soil is paramount. We realized that companion planting actually works, and that just because a seed packet said ‘full sun’ didn’t mean all day full sun in our climate. Planting success truly is a core practical skill for self-sufficiency at home.
* Start with Easy Crops: Think zucchini, radishes, lettuce, and bush beans. They forgive a lot of beginner mistakes.
* Understand Your Zone: Knowing your USDA plant hardiness zone is crucial for choosing the right plants and planting times. We live in Zone 6b, which impacts our frost dates significantly.
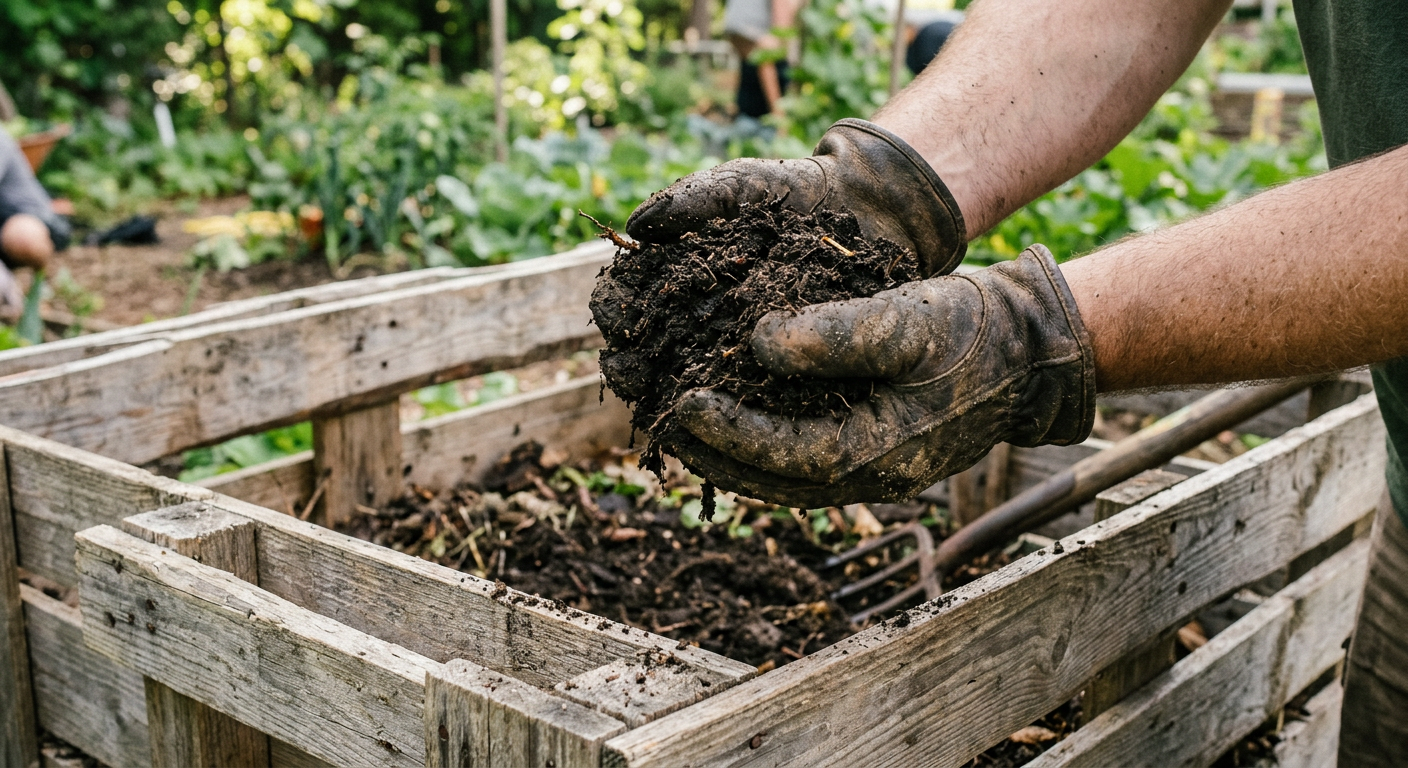
* Compost is Gold: We started a compost pile from kitchen scraps and animal manure. Within 6 months, we had enough rich soil amendment to vastly improve our clay-heavy garden beds.
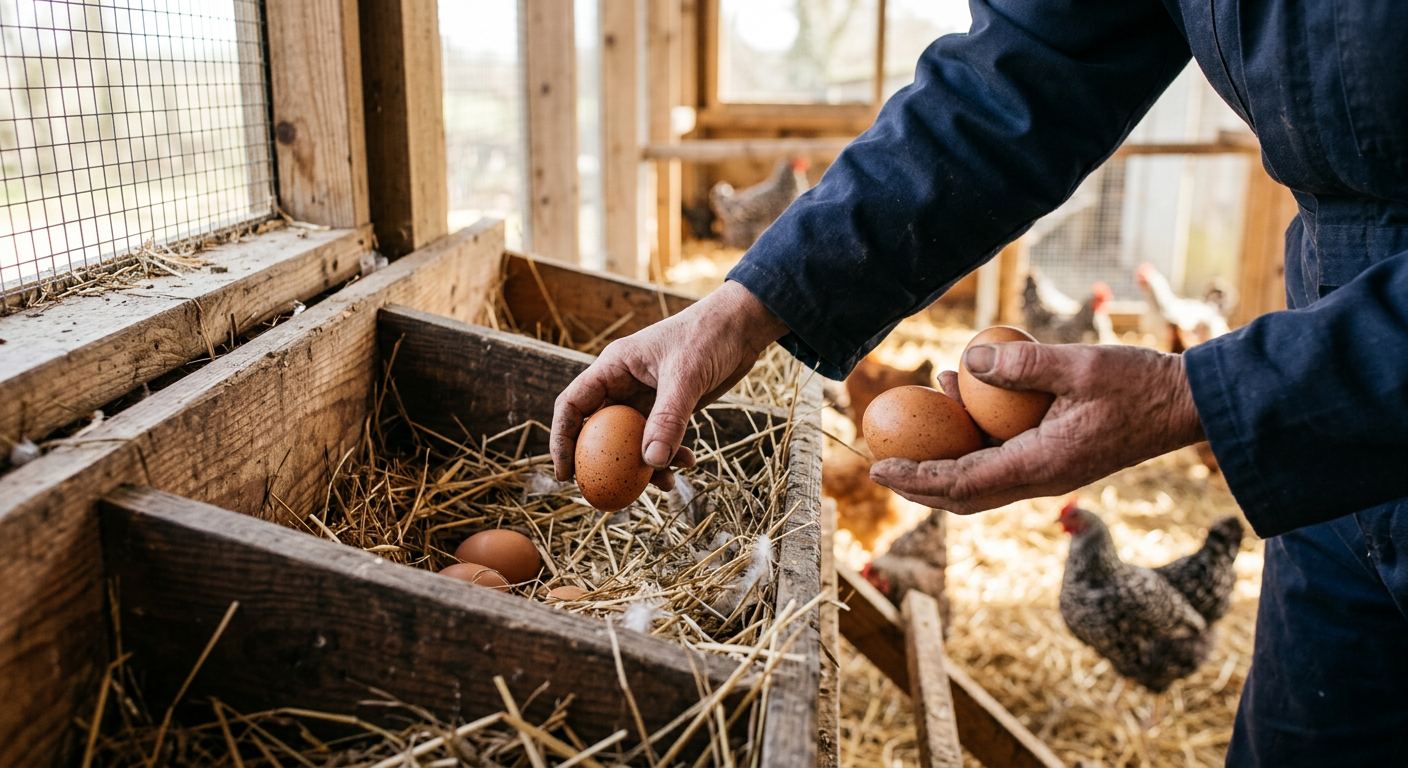
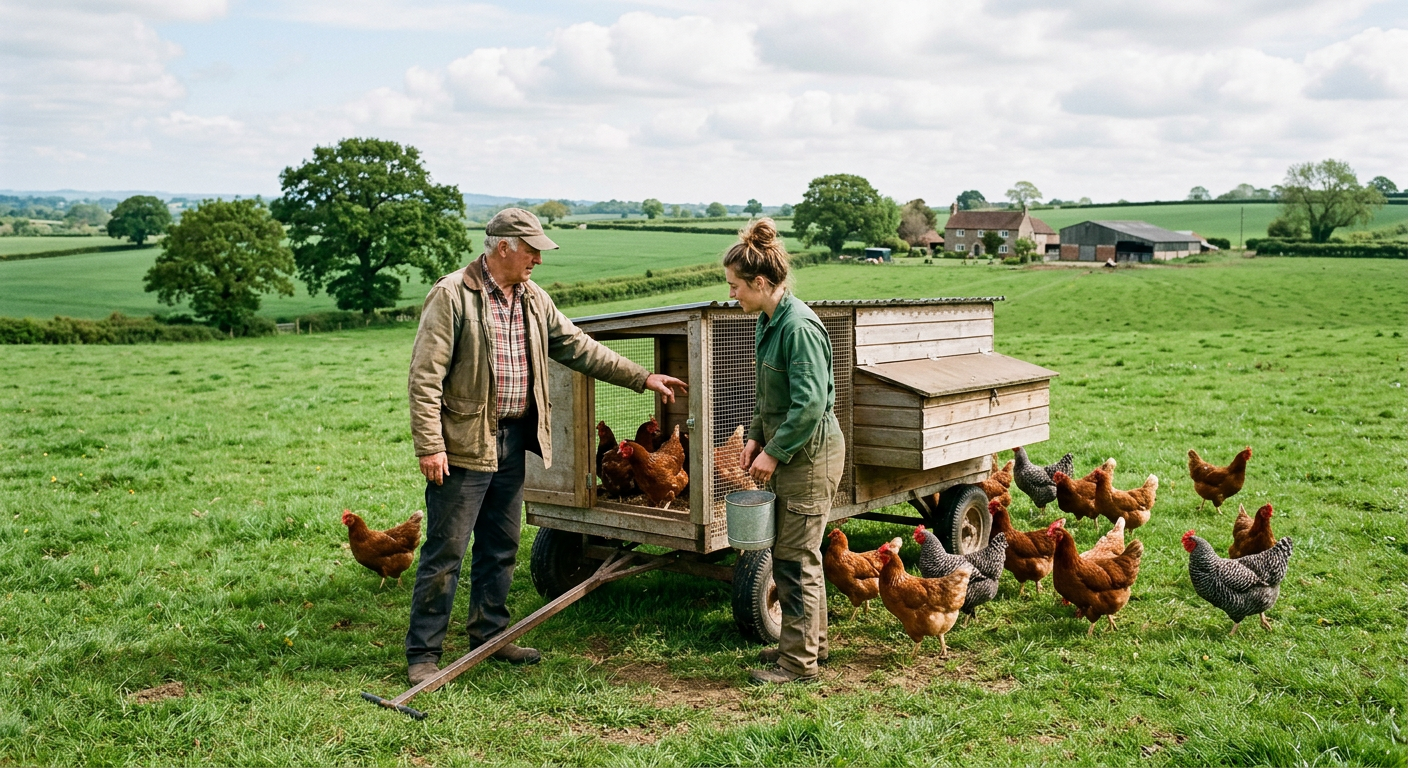
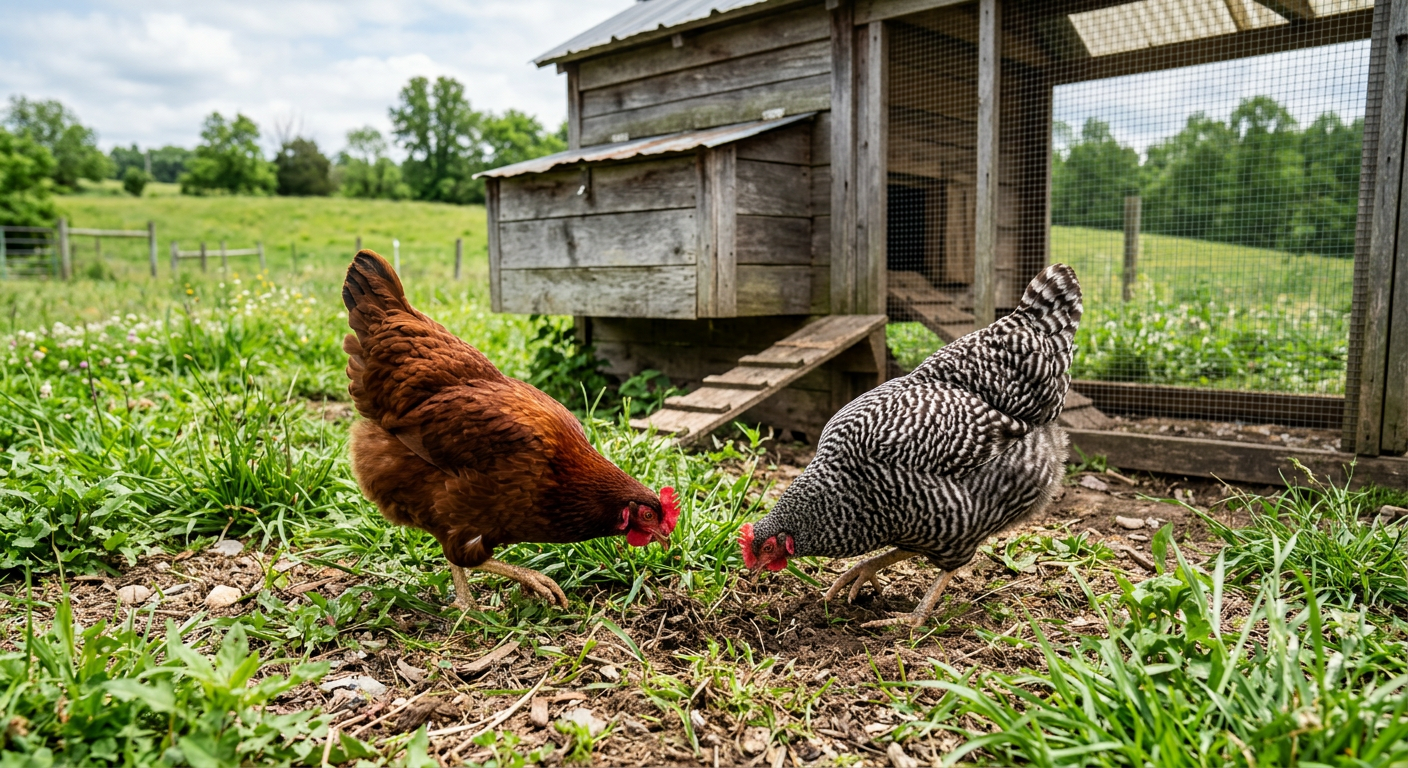
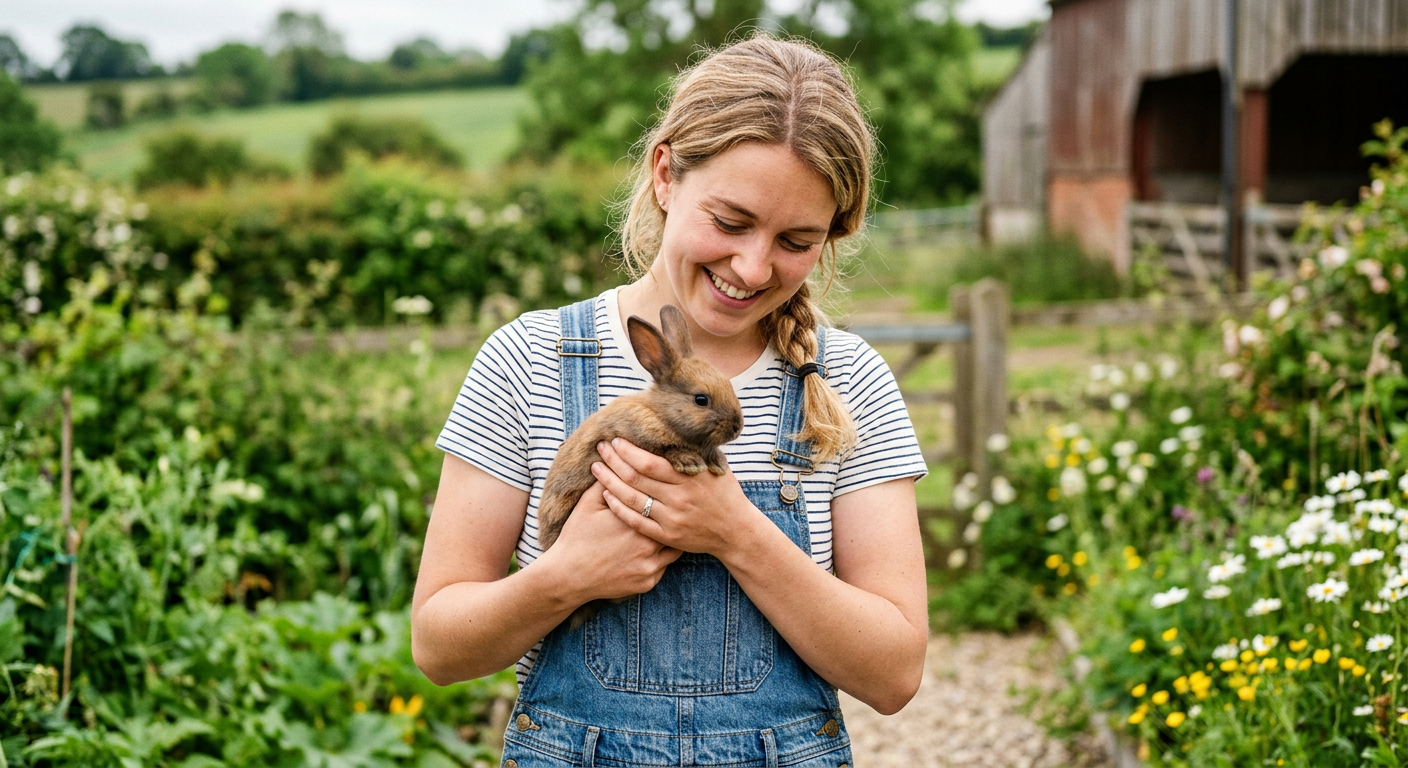
Small-Scale Animal Husbandry
After a successful first garden season, we decided to add chickens. We started with six hens, costing us about $40 for chicks and another $200 for a small coop and initial feed. The fresh eggs were a game-changer! We now have a larger flock, and they provide daily eggs, pest control, and fantastic fertilizer. Mastering skills like chicken care is a major step in practical self-sufficiency for food.
* Research Breeds: Some hens are better layers, some are more cold-hardy. We love Rhode Island Reds for their consistent laying.
* Shelter Needs: Chickens need protection from predators and the elements. Our first coop design was simple but effective. You can learn more about building a movable chicken tractor here.
* Daily Care Routine: Feed, fresh water, and egg collection take about 15-20 minutes a day for our flock.
The next step after growing is making sure none of it goes to waste – that’s where preservation comes in. Keep reading — this is where most people mess up.
—
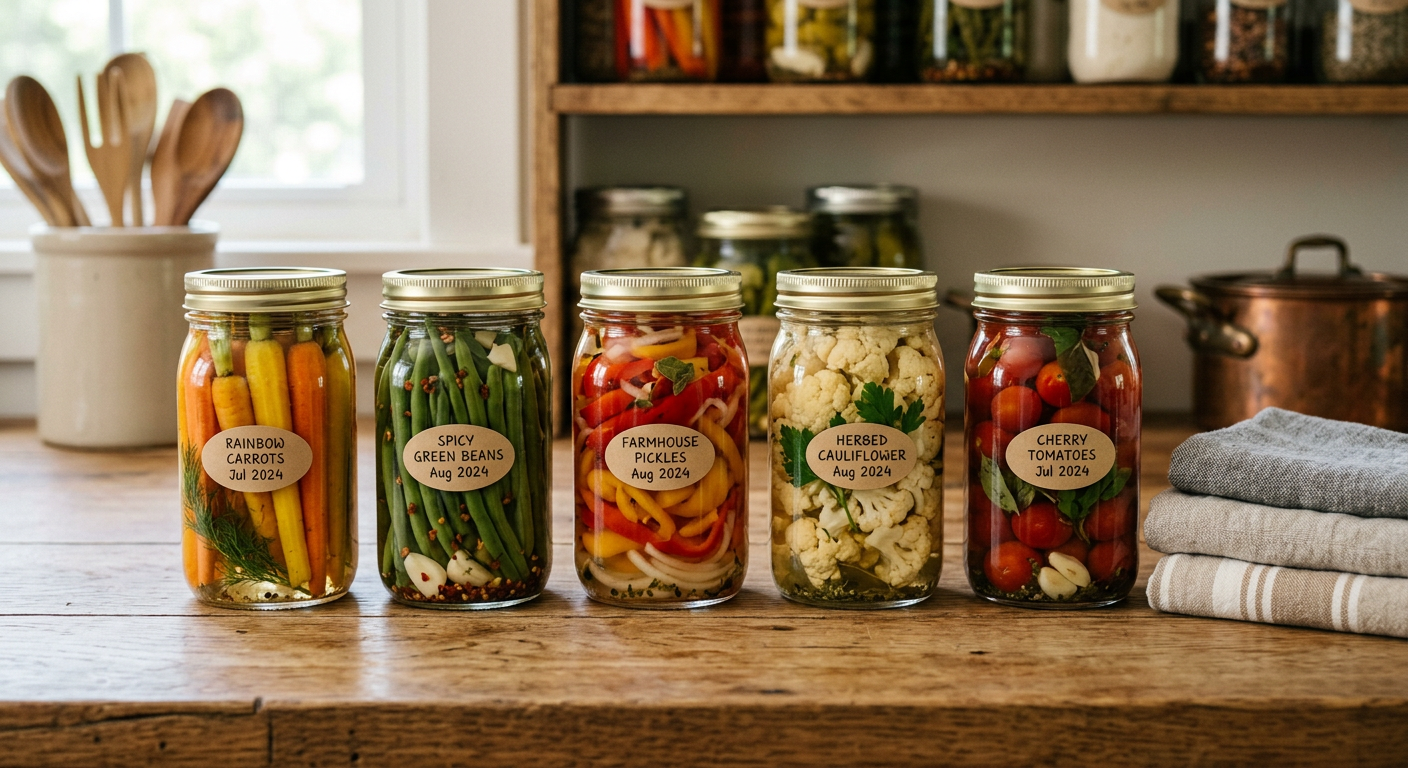
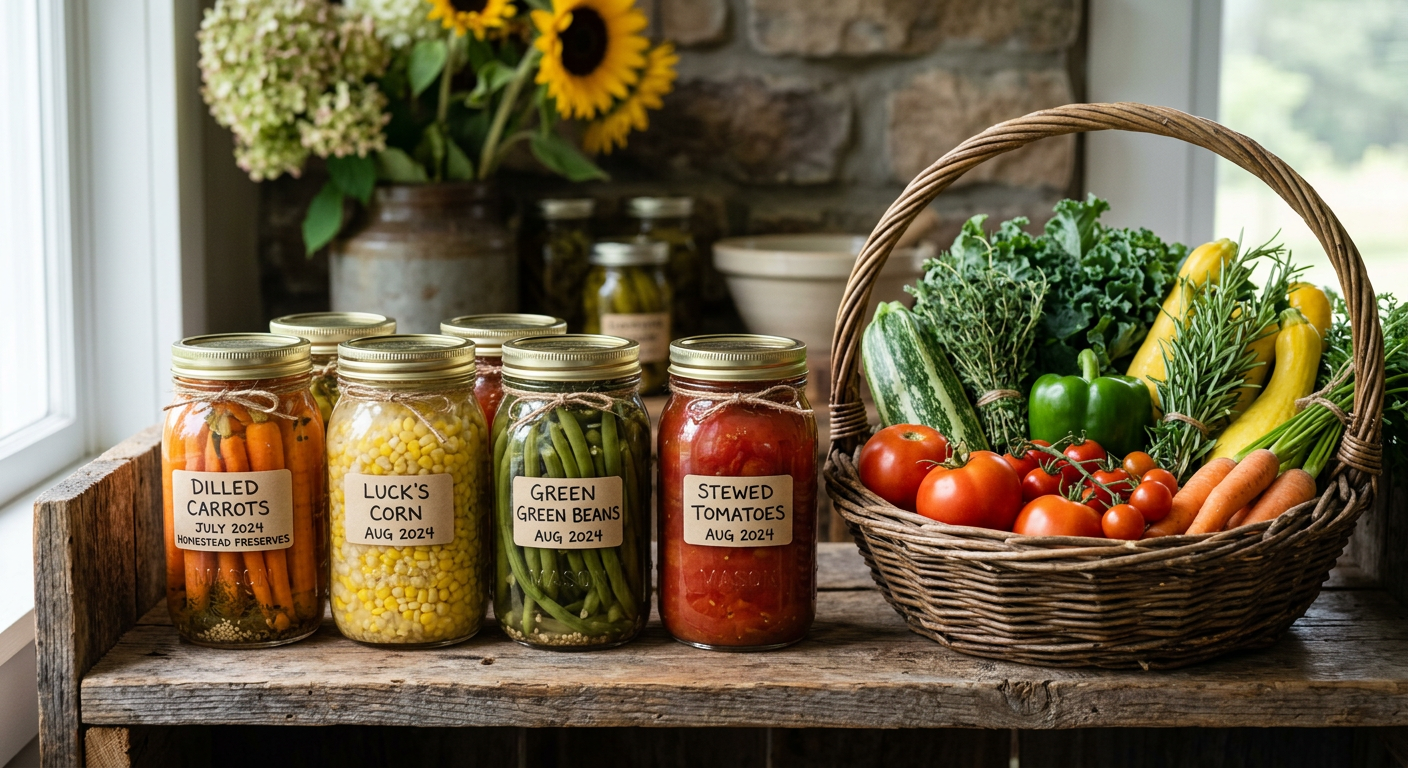
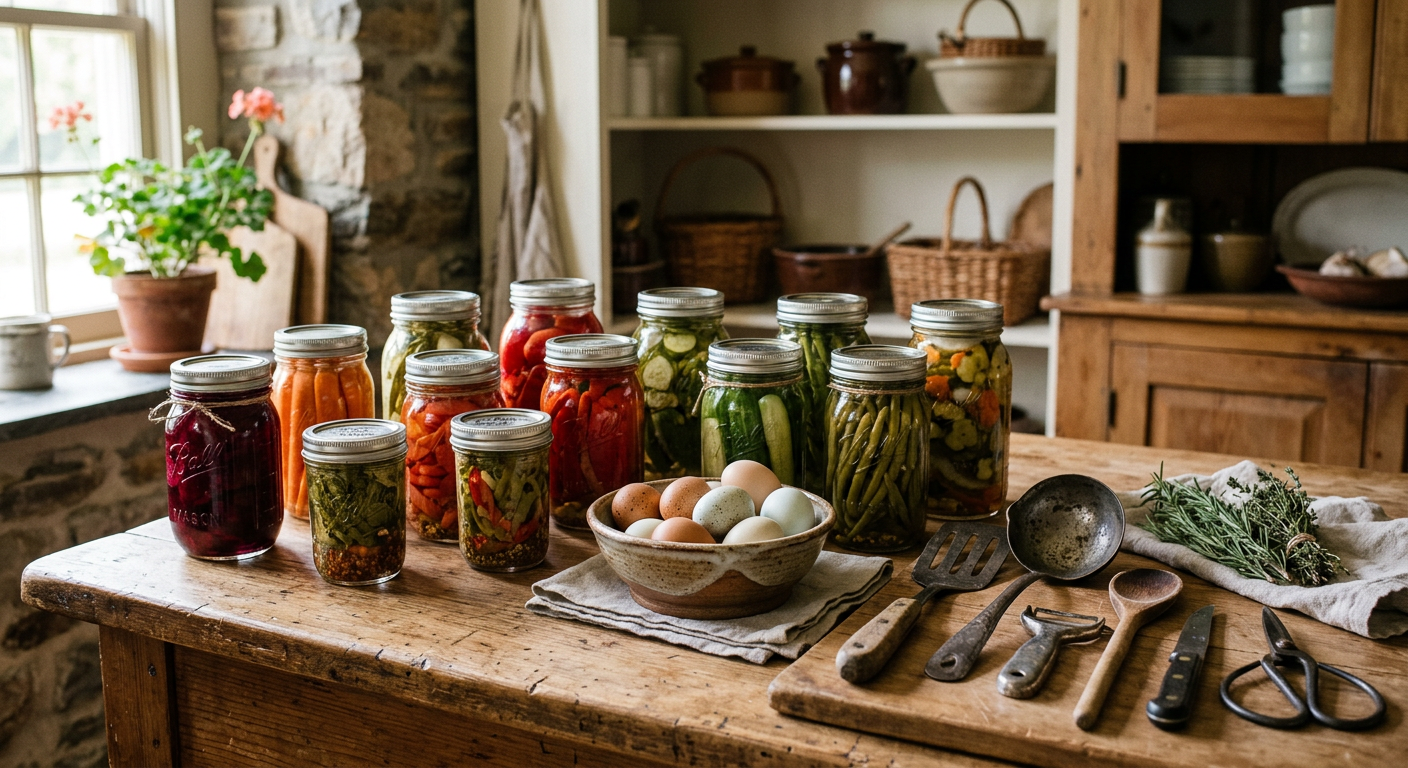
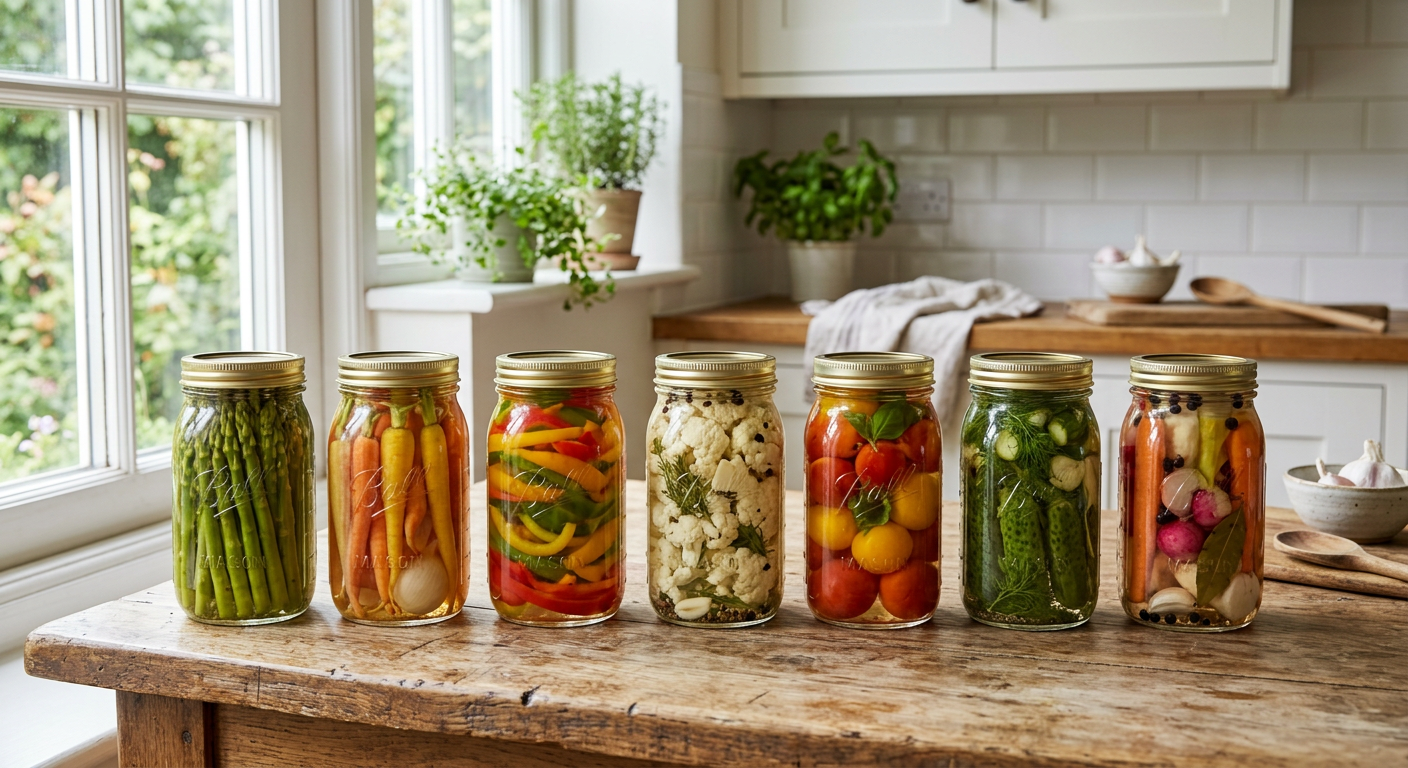
Preserving the Harvest: Stretching Your Bounty
There’s no point in all that hard work in the garden if you can’t keep the food fresh for months! Learning various food preservation techniques immediately became one of our most vital practical skills for self-sufficiency at home. Our first canning session was with green beans – we felt like true pioneers!
Canning and Dehydrating
Our initial investment for canning totaled about $100 for a pressure canner (essential for low-acid foods), jars, lids, and a basic canning kit. Dehydrating was even cheaper, only snagging a small dehydrator for $60. We quickly filled our pantry shelves with canned tomatoes, jams, and dried herbs.
* Safety First: Always follow USDA guidelines for canning to prevent botulism. We downloaded their free guides and consulted them constantly. You can find more trusted resources for food preservation from authoritative sources like the National Center for Home Food Preservation.
* Batch Processing: Designate ‘canning days’ where you process large quantities of one item. Our record is 30 quarts of tomato sauce in a single day!
* Experiment with Flavors: Don’t just can plain vegetables. We make pickled beets, pepper jellies, and dried fruit leathers.
Fermentation and Freezing
Beyond canning, we ventured into fermentation with sauerkraut and kimchi. It’s incredibly simple, often just cabbage and salt, and adds fantastic probiotics to our diet. Freezing is another easy win, especially for fruits and blanched vegetables, as long as you have reliable freezer space.
* Basic Fermentation Kit: A few mason jars, airlocks, and weights might cost you $30-50, and you can reuse them indefinitely.
* Vacuum Sealing: For longer freezer storage and to prevent freezer burn, a vacuum sealer (around $80-150) is a worthwhile investment.
* Inventory Your Stock: We keep a running list of what’s in our pantry and freezer so food doesn’t get lost or forgotten. Our master list saves us so much wasted food!
This next part? Nobody talks about it, but it changed everything for us.
—
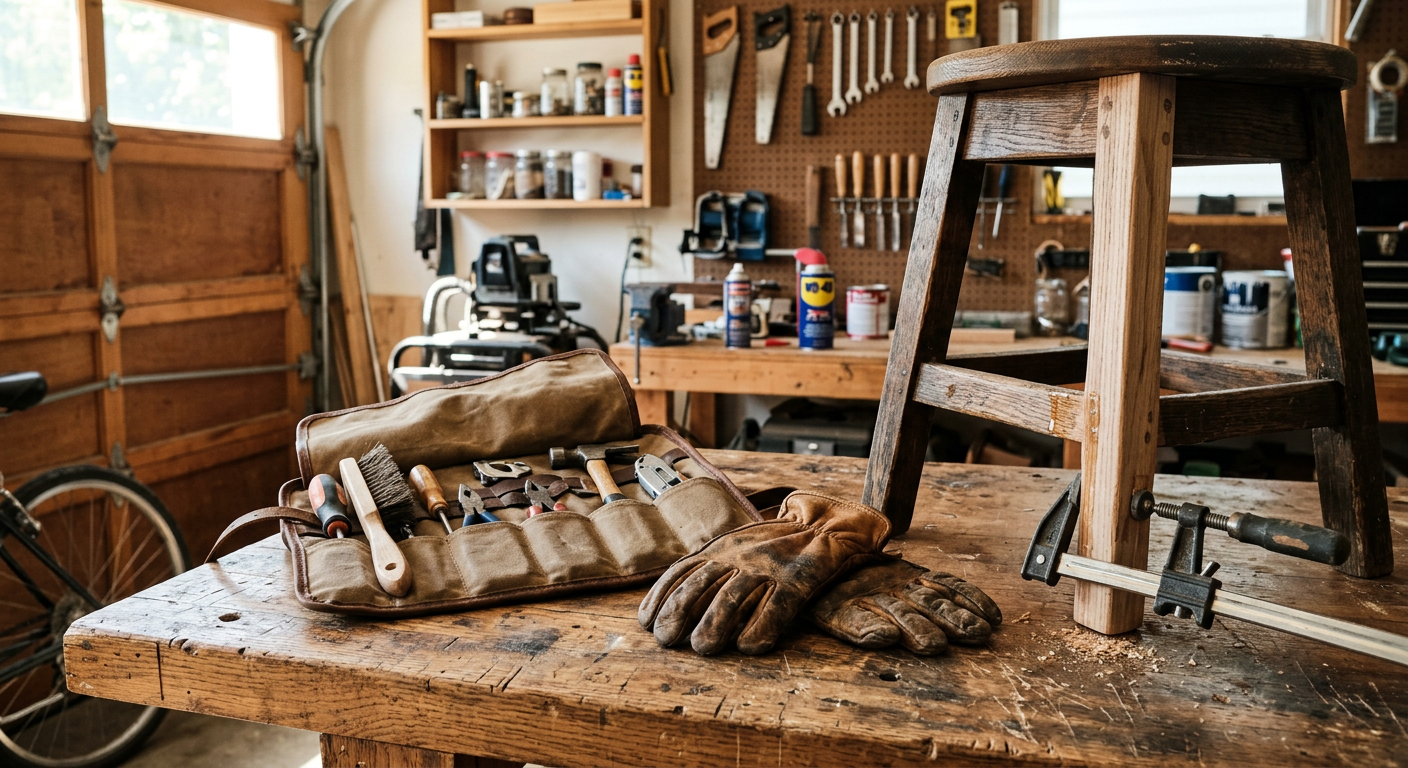
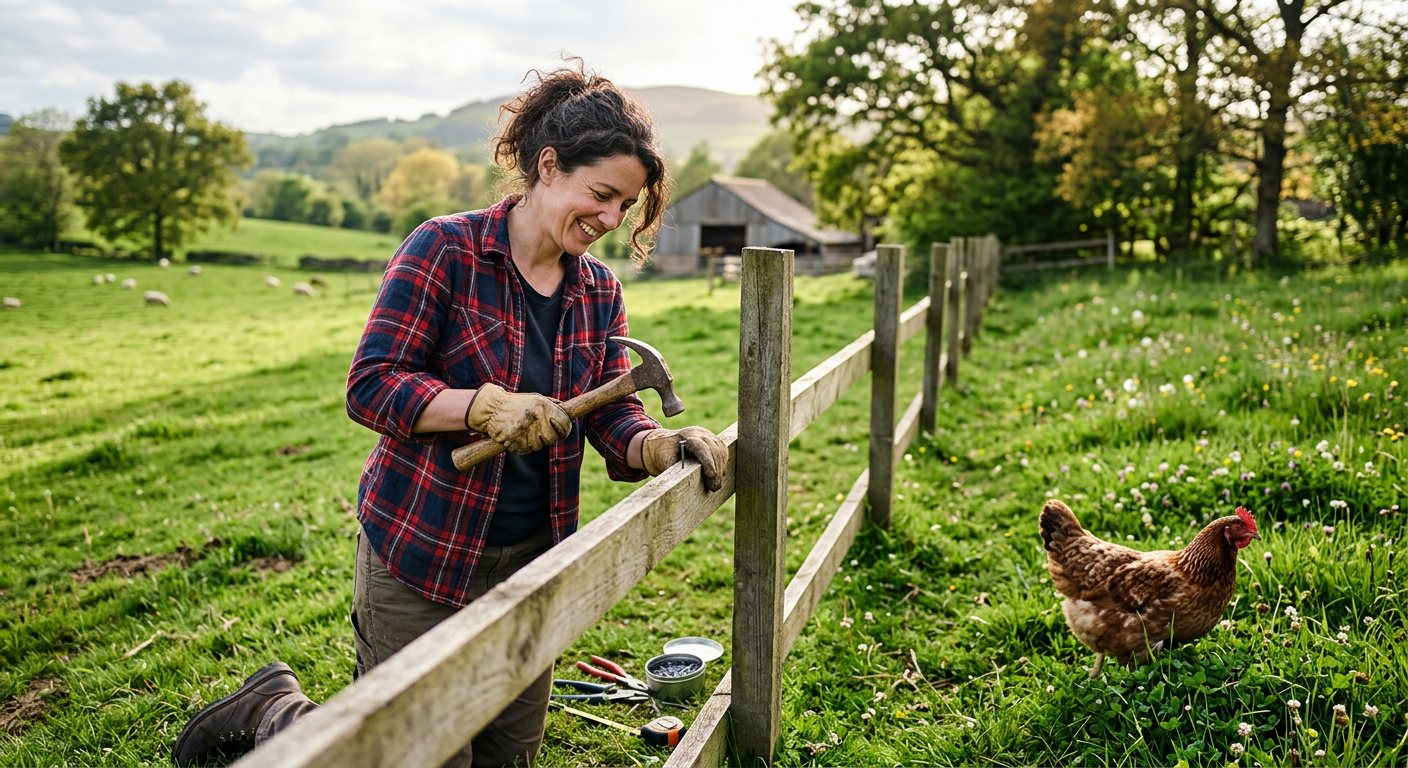
Basic Home Repair and Maintenance: Being Your Own Handyman
One of the biggest financial drains for us used to be calling a professional for every little fix. Cultivating practical skills for self-sufficiency at home regarding basic repairs has saved us hundreds, if not thousands, of dollars over the years. From leaky faucets to fence mending, having these skills is empowering.
Plumbing and Electrical Basics
Nobody wants to deal with a burst pipe in the middle of winter! Learning how to shut off our main water supply, fix a running toilet, or change an outlet became essential. We spent about $75 on a good set of screwdrivers, a wrench, and a voltage tester.
* Watch and Learn: YouTube tutorials are invaluable. We’ve fixed everything from a garbage disposal to a wobbly ceiling fan just by carefully following step-by-step videos.
* Safety First, Always: Before touching anything electrical, always turn off the power at the breaker panel. Always! And if you’re unsure, call an expert. Some things aren’t worth the risk.
* Preventative Maintenance: Simple tasks like cleaning gutters annually, checking smoke detectors, and sealing drafty windows prevent bigger problems down the line.
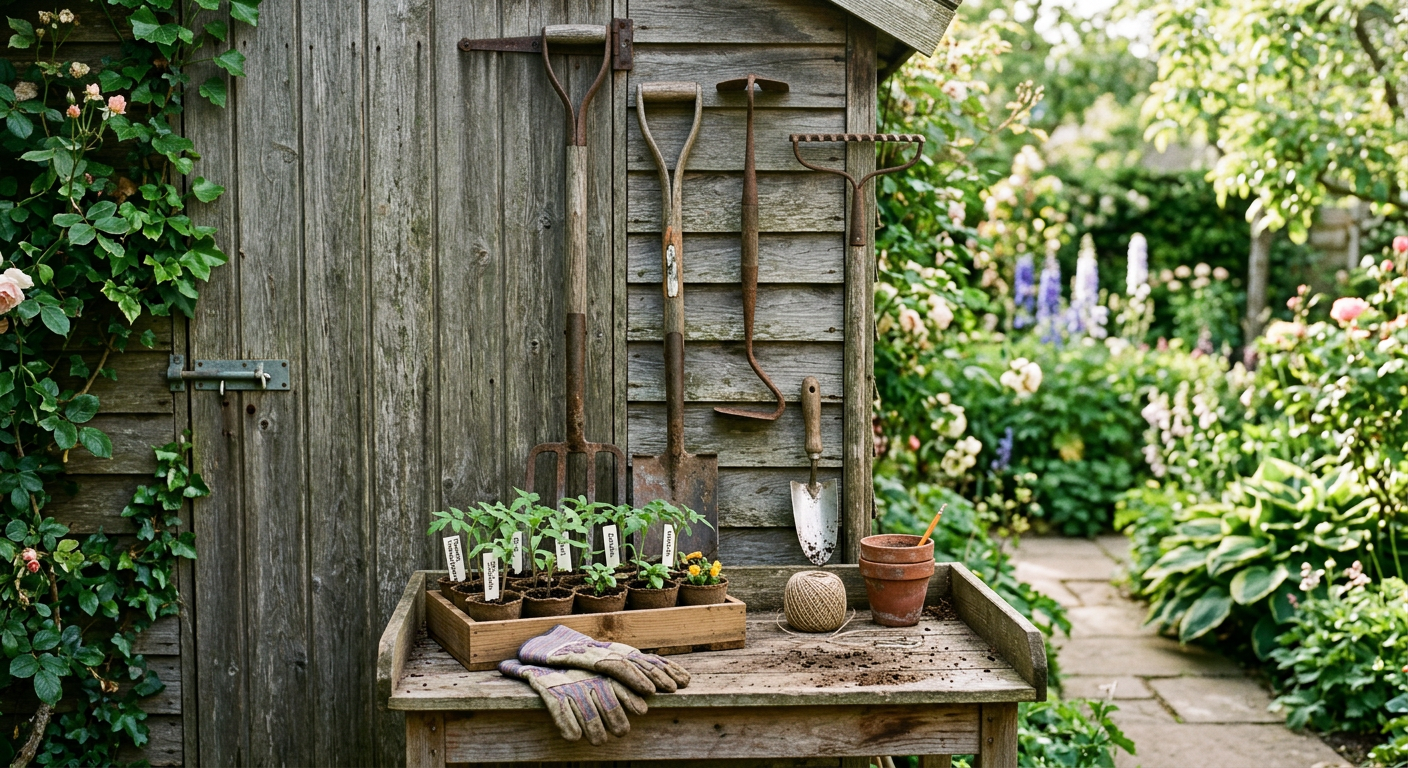
Carpentry and General Fixes
Our homestead always needs something repaired – a sagging gate, a loose floorboard, a new shelf in the kitchen. Having some basic carpentry tools and knowing how to use them has been incredibly useful. Our initial carpentry toolkit – a hammer, tape measure, saw, and drill – cost around $150.
* Learn to Measure Twice, Cut Once: This old adage holds true. Precision saves material and frustration.
* Scavenge Materials: We’ve found old pallets, discarded wood, and even tree branches that we’ve upcycled for various projects around the homestead.
* Regular Inspections: Walk around your property monthly and look for things that need attention. Fixing a small problem now prevents it from becoming a huge, costly repair later.
Don’t skip this — it’ll save you hours (and money).
—
Resource Management: Water, Energy, and Waste
True practical skills for self-sufficiency at home aren’t just about making things; they’re about managing what you have. This means being smart about water, energy, and minimizing waste. We’ve gradually integrated systems that reduce our reliance on external resources.
Water Conservation and Collection
Water is life, especially on a homestead. We started by installing rain barrels attached to our downspouts – a simple, low-cost project at about $70 per barrel. This water is perfect for the garden and even for washing tools. It significantly reduced our city water bill during the summer months.
* Greywater Systems: We’re currently exploring diverting our washing machine’s greywater to irrigate fruit trees. This requires careful planning and local code compliance.
* Mulch, Mulch, Mulch: A thick layer of mulch in the garden drastically reduces evaporation, meaning we water less frequently.
* Small-Scale Rainwater Harvesting: For more robust systems, check out our guide on Best Small Scale Rainwater Systems for Off-Grid Living.
Energy Efficiency and Alternative Sources
Our journey with energy started with simple efficiency: LED lights, turning off electronics, and improving insulation. We’re now looking into solar options for a portion of our energy needs. Even small steps make a difference in your energy footprint and bills.
* Energy Audit: Many utility companies offer free energy audits to pinpoint areas of heat loss or inefficiency.
* Passive Solar Design: Even without a full solar panel array, positioning windows and using heavy curtains can significantly impact heating and cooling costs.
* Off-Grid Lighting: Solar pathway lights and hand-crank lanterns are great for reducing reliance on grid electricity for outdoor or emergency lighting.
—
Foraging and Wildcrafting: Connecting with Nature
This is one of the more romantic practical skills for self-sufficiency at home! We started small, identifying wild edibles and medicinal plants right on our property. It’s amazing what treasures you can find in your own backyard or local woods. Our initial investment was just a good field guide (about $25) and a keen eye.
Identifying Edible and Medicinal Plants
Our kids love this, turning a walk in the woods into a treasure hunt. We’ve learned to recognize wild edibles like dandelions (leaves, flowers, roots are all edible!), plantain, and various berries. We always follow strict guidelines to ensure safety.
* Positive Identification is Critical: Never eat anything you aren’t 100% sure about. When in doubt, leave it out. A good rule of thumb is to never forage alone when you’re just starting and always have an experienced person or multiple confirmed guides.
* Sustainable Harvesting: Only take what you need and leave plenty for wildlife and for the plant to propagate. We never harvest more than 10-20% of a patch.
* Local Resources: Check with your local university extension for foraging groups or classes in your area.
—
💡 Pro Tips
* The 30-Minute Rule: Dedicate just 30 minutes a day or a few hours a week to learning and practicing a new skill. It adds up remarkably fast!
* Document Your Progress: Keep a homestead journal. We log our planting dates, harvest yields, repair notes, and even mistakes. It’s a goldmine of information year after year.
* Embrace ‘Good Enough’: Not every project needs to be perfect. A functional repair is often better than waiting for perfection.
* Cross-Train: Many skills overlap. Learning how to use a drill for carpentry will also help with building a fence for your chickens.
* Barter and Trade: Offer your developing practical skills for self-sufficiency at home in exchange for someone else’s expertise or goods in your community.
—
⚠️ Beginner Mistakes to Avoid
* Overwhelm: Trying to learn too many skills at once leads to burnout. Pick one, enjoy the process, then move on.
* Ignoring Research: Jumping in without understanding basics (like soil or electrical safety) can lead to costly mistakes or even danger.
* Buying All the Tools at Once: Start with essential homesteading tools you’ll use frequently. We cover these in our post about Essential Homesteading Tools to Buy First.
* Underestimating Time: Everything takes longer than you think it will, especially when you’re learning. Factor in buffer time for projects.
* Isolation: Thinking you have to do it all yourself. Connect with other homesteaders! We’ve made incredible friends through our shared journey.
—
Frequently Asked Questions
What are the most important practical skills for self-sufficiency at home for beginners?
We’d say growing food (gardening), basic food preservation (canning/freezing), and simple home repairs. These three areas will give you the biggest bang for your buck in terms of immediate impact on your daily life and budget.
How much does it cost to get started learning self-sufficiency skills?
Honestly, not as much as you might think! Many skills, like basic gardening or foraging, can start with very little initial investment – a few seed packets, a spade, or a field guide. For things like canning, a pressure canner might be your biggest initial cost (around $100-$150), but it’s a one-time purchase that pays for itself quickly.
Can I learn practical skills for self-sufficiency if I live in an apartment?
Absolutely! Urban homesteading is a thriving movement. You can learn container gardening, food preservation, basic mending, and even small-scale composting. These are all valuable practical skills for self-sufficiency at home, no matter your location. Check out our post on Urban Homesteading with Kids for more ideas.
What’s the best way to practice these skills if I’m busy?
Integrate them into your daily routine. Spend 15 minutes checking on your garden, or use your lunch break to learn a new knot. We set aside Saturday mornings for bigger projects, and even then, we keep them manageable. Consistency over intensity is key.
Where can I find reliable resources for learning these skills?
Local library books, university extension offices (like the USDA’s resources), experienced homesteaders in your area, and reputable online communities (like ours!) are fantastic starting points. Don’t underestimate the power of hands-on workshops too.
—
For us, developing these practical skills for self-sufficiency at home isn’t just about saving money or ‘being prepared.’ It’s about a deeper connection to our food, our land, and each other. It’s about knowing that with our own hands, we can provide for our family, no matter what comes our way. Every sprouted seed, every fixed fence, every jar of preserves fills us with a quiet pride and a profound sense of resilience.
What’s your biggest challenge with learning new self-sufficiency skills? I’d love to hear your story!
📚 More From Our Homestead
- Basic Food Preservation for Beginners: Our Family’s Go-To Methods
- Homesteading Hacks: Save Serious Money on Groceries!
- How to Make Money From a Small Homestead
- Homesteading Supplies List for Beginners: The Essentials
- Cheap Food Preservation for Beginners: Our Top Budget Hacks
Ready to Start Your Homestead Journey?
Free guides, checklists, and tools to help you build your dream homestead.