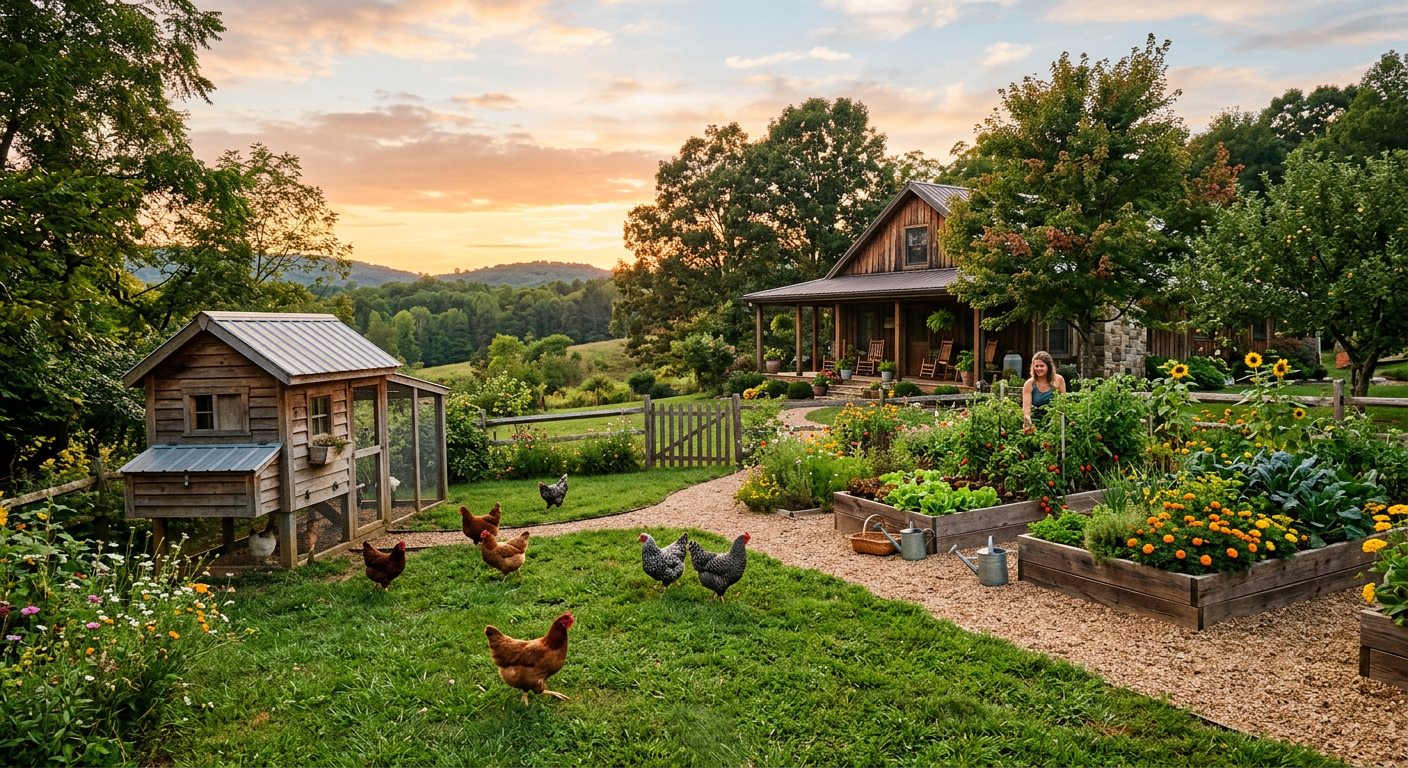
!A peaceful backyard showing what are the easiest homesteading animals to raise in a natural setting.
When we first started dreaming of our homestead, the animal questions hit us hard. Were we ready for the commitment? Would we wake up one day to a chicken escaping or a goat eating our prize-winning tomatoes? It felt overwhelming, but we knew animals were a cornerstone of self-sufficiency. So, we started small, very small, and learned a ton along the way about what are the easiest homesteading animals to raise.
🎯 Quick Answer: The easiest homesteading animals for beginners are typically chickens (for eggs), rabbits, and sometimes ducks. They require less space, lower initial investment, and simpler daily care compared to larger livestock, making them ideal for learning the ropes of animal husbandry.
—
🔑 Key Takeaways
* Chickens are often the gateway animal: They’re relatively forgiving, provide daily rewards, and teach basic animal care.
* Consider your space and climate: What works in a small backyard in Florida might not work on acres in Alaska.
* Start with a clear purpose: Eggs, meat, weed control, or manure? Your goals will guide your choices.
* Factor in costs beyond purchase price: Feed, housing, veterinary care, and processing all add up.
* Rabbits offer quick returns: Especially for meat, they grow fast and are highly efficient.
* Ducks are hardy and productive: Great for eggs, pest control, and don’t need a pond, just a water source for splashing.
—
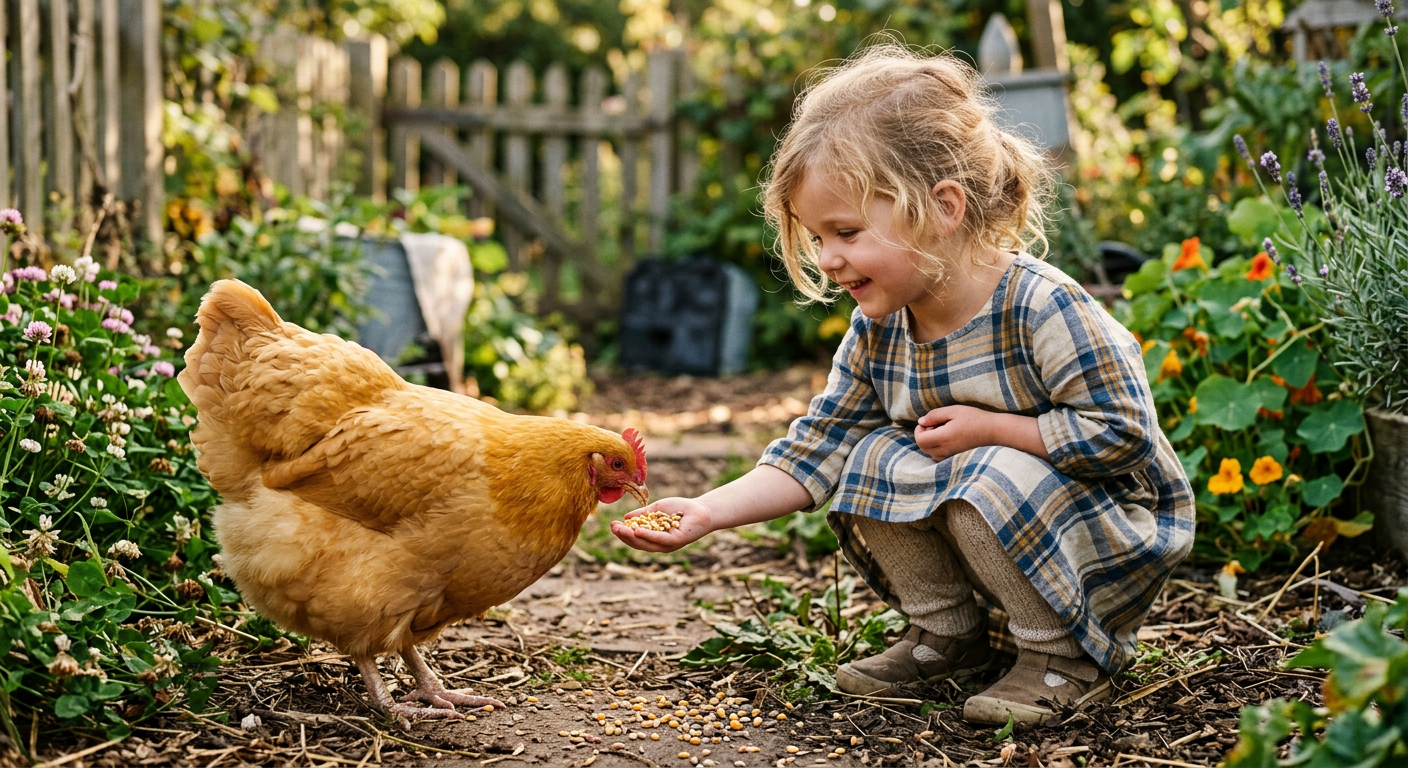
Our First Foray: Chickens for Eggs
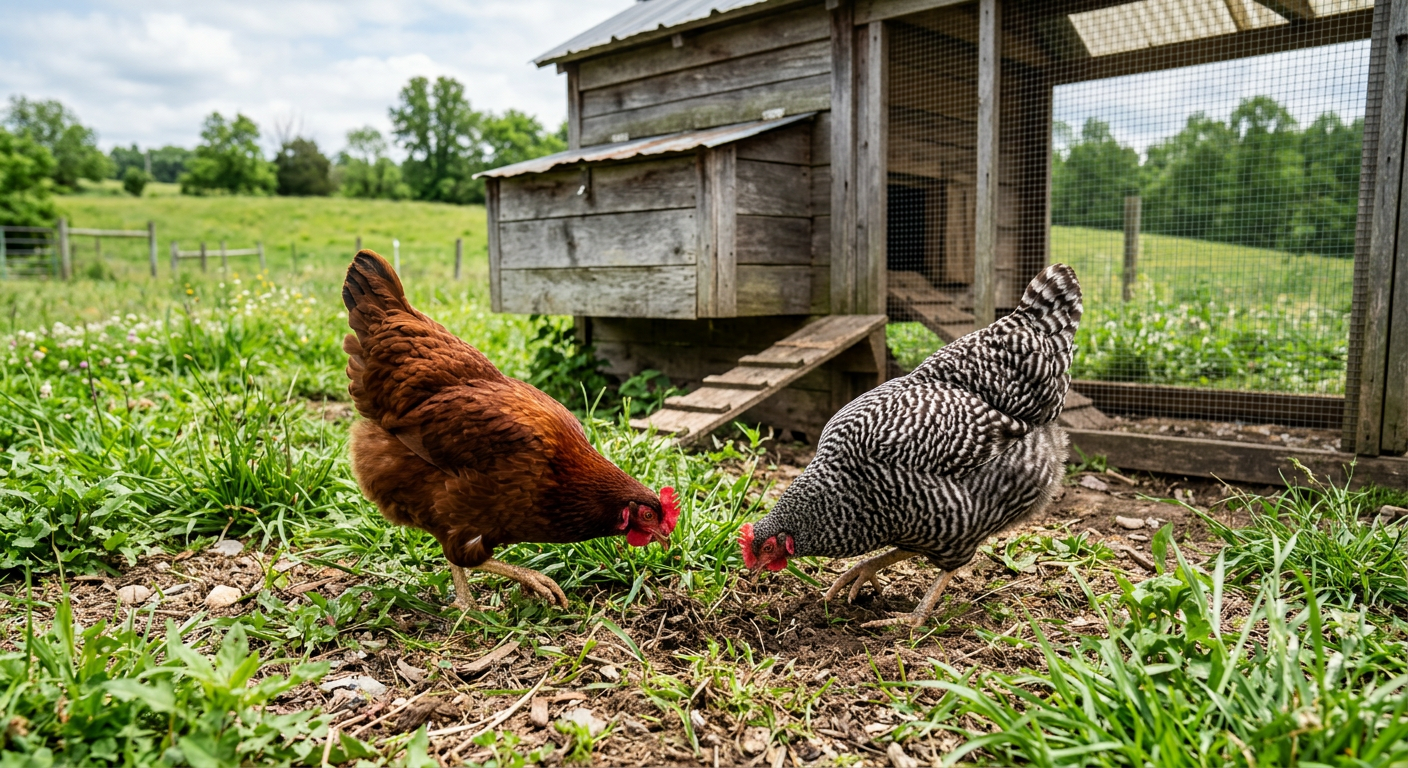
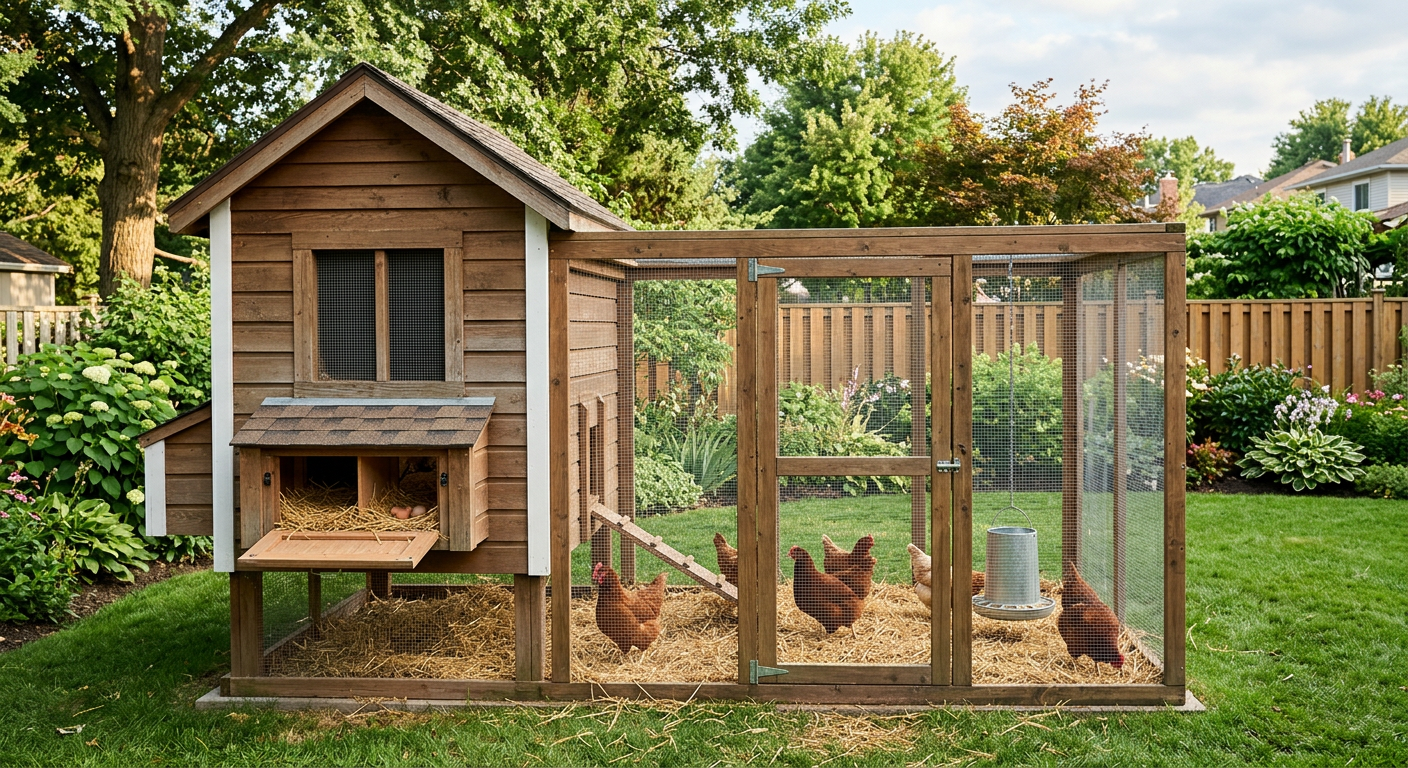
When we first asked ourselves, “what are the easiest homesteading animals to raise?” the unanimous answer from our homesteader friends was chickens. We started with just six laying hens – three Rhode Island Reds and three Barred Plymouth Rocks – back in 2018. The setup cost us about $400. This included a pre-built coop we found on sale, a feeder, a waterer, and the six chicks themselves at about $3 each. We chose these breeds because they’re known for being good layers and fairly docile.
Why Chickens are Great for Beginners
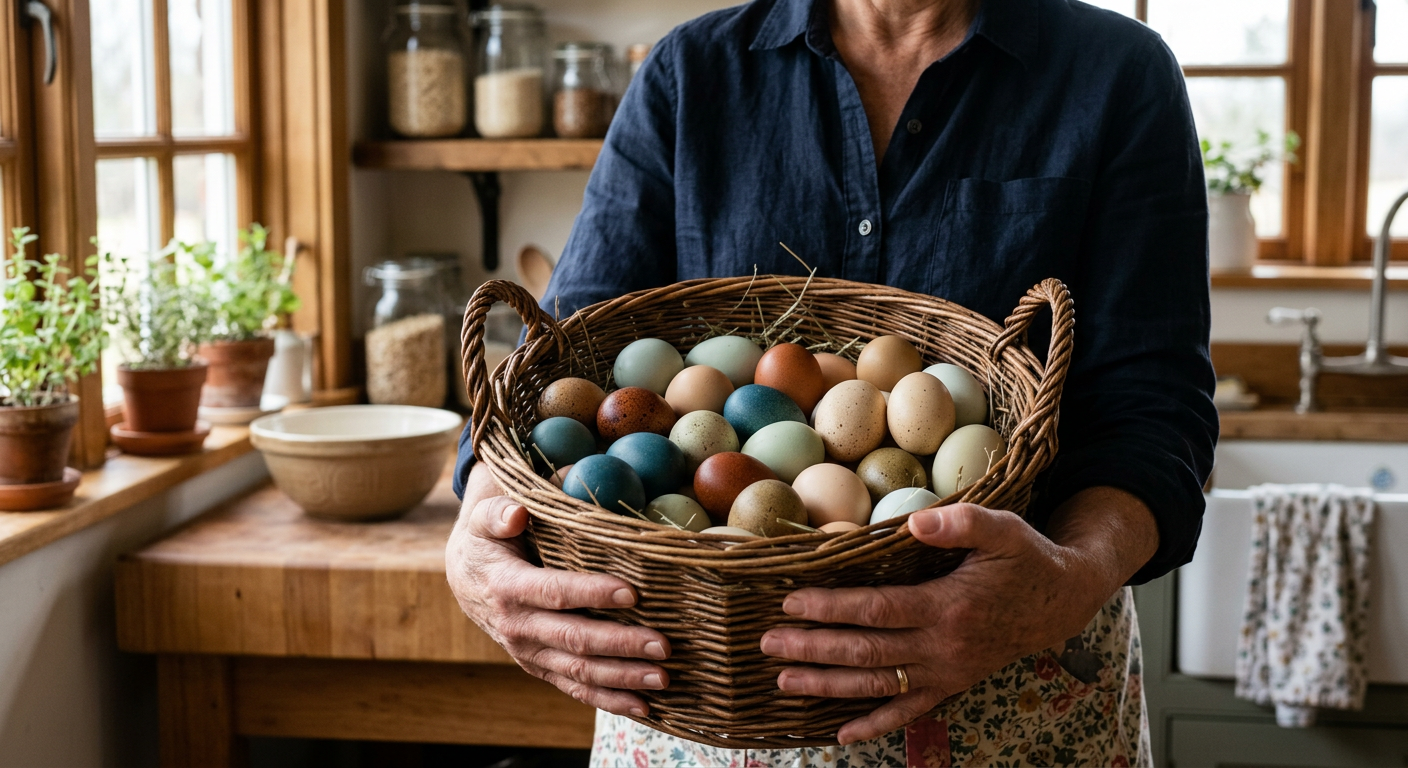
* Daily Rewards: Nothing beats fresh eggs every morning. Our six hens gave us an average of 4-5 eggs a day during peak season. It’s incredibly motivating!
* Relatively Low Maintenance: They need daily food and water, coop cleaning every week or two, and protection from predators. We spent about 15-20 minutes a day on routine care.
* Pest Control: Our free-ranging chickens dramatically reduced the bug population in our garden (though we had to watch them around younger plants!).
* Compost Boosters: Chicken manure is a fantastic addition to the compost pile, enriching our garden beds.
We quickly learned the true joy of watching them scratch around, and even the occasional skirmish over a tasty bug became part of the daily entertainment. But before you get your own flock, make sure you know what you’re getting into.
This next part? Nobody talks about it, but it changed everything for us.
—
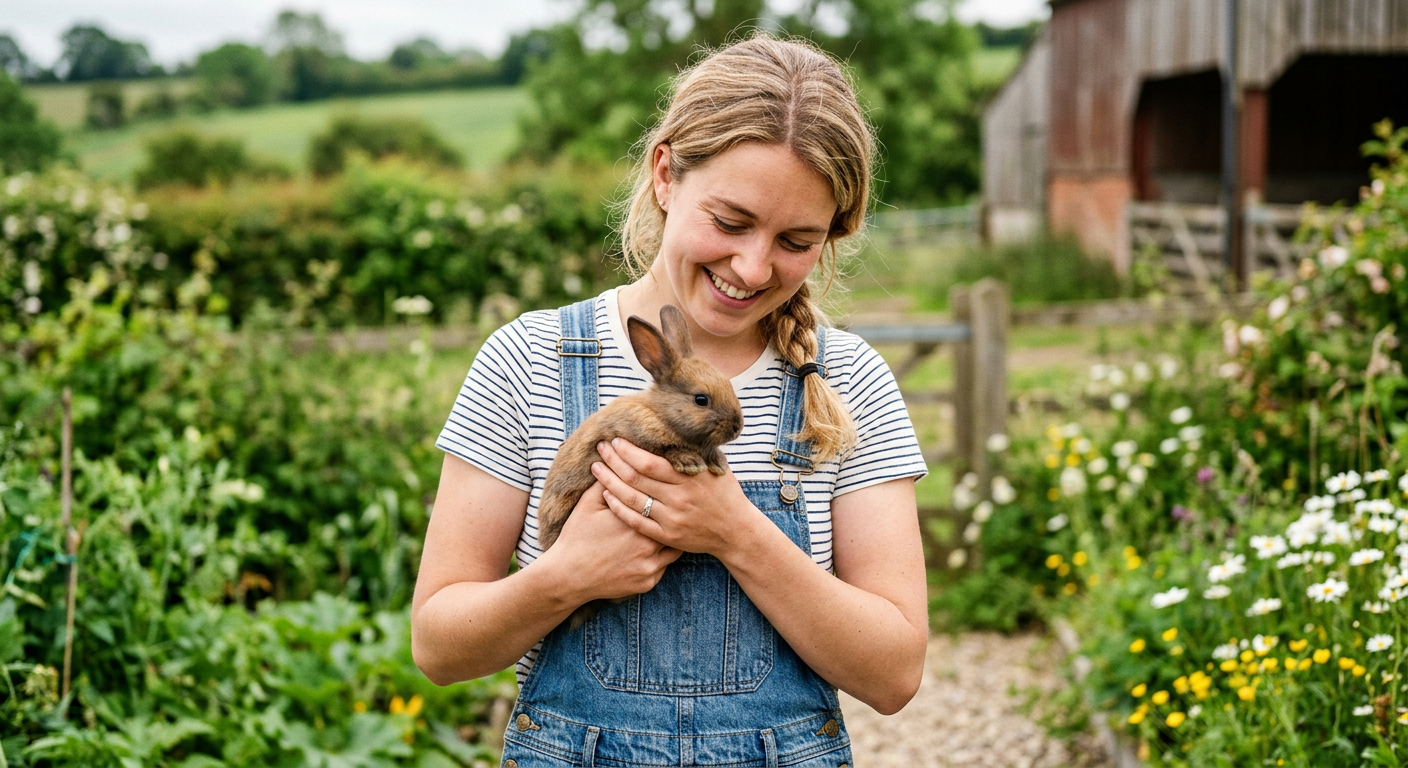
The Unexpected Joy of Rabbits
Okay, so chickens were great, but we wanted to explore a meat source that wasn’t as noisy or required processing that involved plucking feathers (which, let me tell you, is a job!). That’s when we discovered rabbits. When considering what are the easiest homesteading animals to raise for meat, rabbits quickly rose to the top of our list. Initially, we were a little squeamish, but the efficiency and quality of the meat won us over.
We started with two New Zealand White does and one buck for $150 total, plus another $200 for sturdy hutches, water bottles, and feeders. Within four months, our first litter was ready for processing. Rabbits have a short gestation period (31 days) and can produce several litters a year.
Why Rabbits are a Homesteading Gem
* Quiet & Clean: Compared to other livestock, rabbits are incredibly quiet. Their droppings are also a fantastic, ‘cold’ manure that can be used directly in the garden without composting.
* Space-Efficient: You can raise a significant number of rabbits in a relatively small area, making them perfect for urban or suburban homesteads. We fit three hutches in a 10×10 foot area.
* Fast Turnaround: From birth to butcher size, it takes about 10-12 weeks for most meat breeds. This means you can have a consistent supply of lean, healthy meat.
* Low Feed Conversion Ratio: They convert feed to meat very efficiently, often requiring less feed per pound of meat than chickens or larger animals.
Our biggest lesson with rabbits was the importance of proper ventilation in their hutches and keeping them safe from predators. Raccoons are a real threat, so secure housing is non-negotiable. Now that you understand the meat side, let’s splash into another easy option.
—
Diving into Ducks: The Unsung Heroes
After a few years with chickens and rabbits, we wanted to diversify our egg supply and add another layer of pest control. Enter ducks! We were initially hesitant, imagining a messy pond full of quacking, but what are the easiest homesteading animals to raise for unique eggs and pest control? Ducks, hands down. We started with five Pekin ducklings for about $25 total. We already had a secure coop space, so our only extra cost was a large, shallow tub for them to splash in.
Benefits of Raising Ducks
* Hardy & Disease Resistant: Ducks are generally much hardier than chickens and tend to be more resistant to common poultry diseases. We’ve had far fewer health issues with our ducks.
* Excellent Foragers: They are incredible at pest control, devouring slugs, snails, and various insects that chickens often ignore. Our garden saw a significant reduction in pests after we introduced the ducks.
* Rich, Large Eggs: Duck eggs are larger and richer than chicken eggs, fantastic for baking. Our five Pekins gave us 4-5 eggs a day.
* Less Destructive to Gardens: While they love to forage, they tend to do less damage to garden beds than chickens, as they don’t scratch as aggressively. They do love to dabble and make mud, though, so good drainage is key.
Our biggest piece of advice for ducks is to ensure they have access to water deep enough to submerge their heads to keep their nostrils clean – even if it’s just a sturdy kiddie pool. They don’t need a pond, but they absolutely thrive with plenty of water for splashing and preening. But before you get too excited about all these animals, there are a few things you need to consider carefully.
Keep reading — this is where most people mess up.
—
Key Considerations Before Getting Started
Choosing what are the easiest homesteading animals to raise isn’t just about the animal itself; it’s about your specific situation. We learned this the hard way by almost getting goats before realizing our fencing was nowhere near adequate.
Space Requirements
* Chickens: Require about 2-3 square feet per bird inside the coop and 8-10 square feet per bird in an outdoor run. Our 6 hens lived comfortably in a 24 sq ft coop with a 50 sq ft run. For free-ranging, allow ample space. (USDA’s guide on small flock care).
* Rabbits: Each adult rabbit needs at least a 24×30 inch hutch. They fare better with more space, especially does with litters. Our three adult rabbits lived in individual 36×30 inch hutches.
* Ducks: Similar to chickens, about 3-4 square feet per bird inside the coop and 10-15 square feet per bird in a run. They also need a water source for splashing that’s at least 6-8 inches deep and wide enough for them to move around in.
Time Commitment & Daily Chores
* Chickens/Ducks: 15-30 minutes daily for feeding, watering, egg collection, and general observation. Weekly coop cleaning can take 30-60 minutes.
* Rabbits: 10-20 minutes daily for feeding, watering, and checking on kits. Weekly hutch cleaning takes about 15-30 minutes per hutch.
Initial and Ongoing Costs
This is where many beginners get surprised. We track all our homestead expenses, and it’s always more than you think.
* Initial: Animal purchase, housing (coop, hutches), feeders, waterers, fencing.
* Ongoing: Feed (varies greatly but can be $20-$50/month for a small flock/colony), bedding, supplements, and potential veterinary costs. Our chicken feed for six hens costs us about $25 a month, while rabbit feed for our colony runs about $30 a month.
Don’t skip this — it’ll save you hours (and money).
—
Getting Started: Actionable Steps for New Homesteaders
So you’ve decided what are the easiest homesteading animals to raise for your situation. Now, let’s get them! Here’s how we approach bringing new animals onto our homestead.
1. Research Local Regulations
Before you even look at buying an animal, check your local city or county ordinances. Many suburban areas have limits or prohibitions on certain livestock. This can save you a lot of headache (and potential fines!). We had a scare recently when our county considered new restrictions on fowl, which luckily didn’t pass.
2. Plan and Build Secure Housing
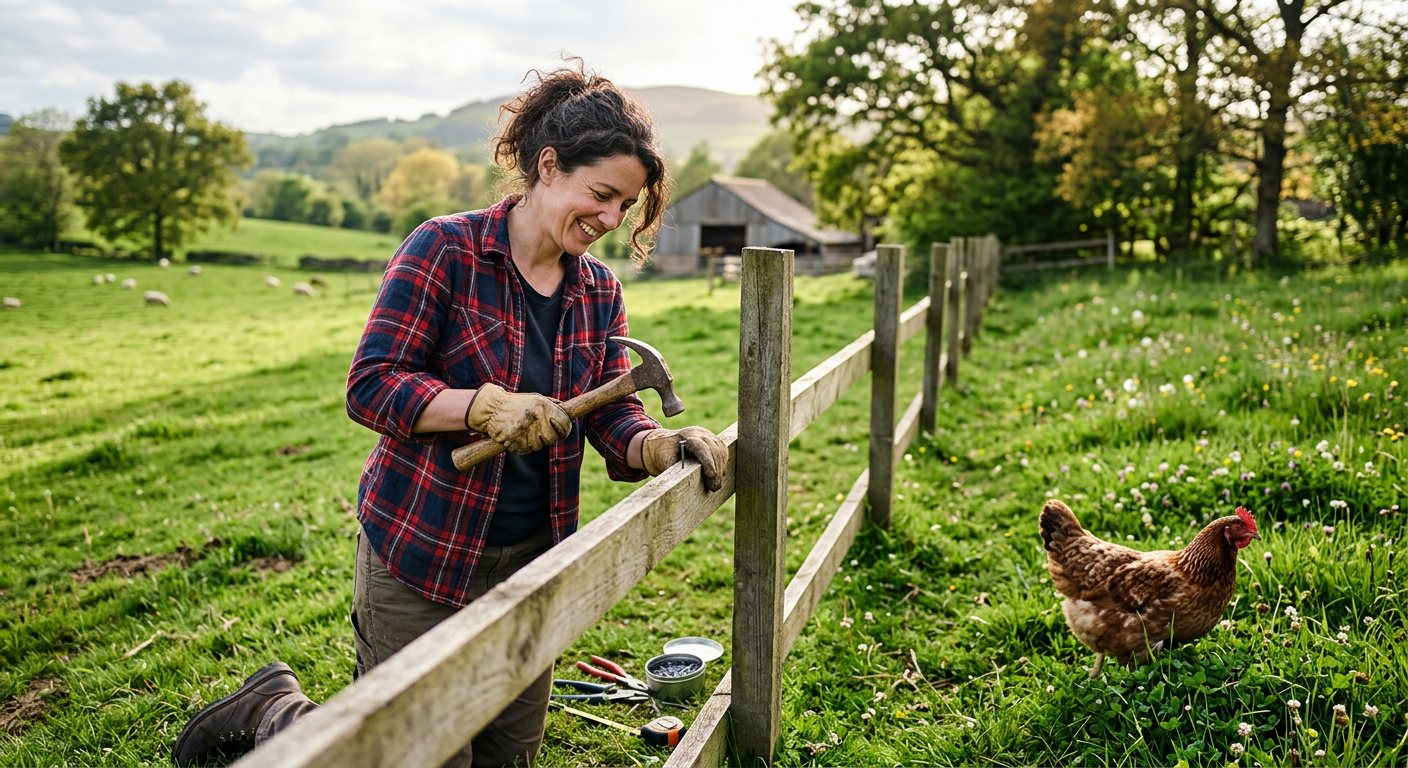
Predator protection is paramount. Coyotes, raccoons, stoats, hawks – they’re all looking for an easy meal. For our chickens and ducks, we built an entirely enclosed run using hardware cloth (not chicken wire!) buried six inches into the ground. For rabbits, we use sturdy, elevated hutches with secure latches and wire bottoms to allow droppings to fall through. For ideas on homestead layouts or building, check out our post on Your First Homestead Layout: Simple Steps for Beginners.
3. Source Healthy Animals
Buy from reputable breeders or hatcheries. Inspect the animals for signs of illness (lethargy, discharge, ruffled feathers/fur). Healthy stock means fewer problems down the line. We typically order day-old chicks and ducklings from known hatcheries or purchase weaned rabbits from local breeders with good reviews.
4. Prepare for Feed and Water
Have your feed, feeders, and waterers ready before the animals arrive. Choose species-appropriate feed. For our chickens and ducks, we use a high-quality layer feed. Rabbits get a special pellet alongside hay. Ensure water is always fresh and clean. Consider automatic waterers to save time.
—
💡 Pro Tips
* Start small: Don’t try to get all the animals at once. Master one species before adding another.
* Observe daily: Learn your animals’ routines. Any change in behavior can be an early sign of trouble.
* Have a plan for emergencies: Know a local vet who treats livestock or keep a basic animal first-aid kit on hand.
* Batch chores: We feed and water all our animals at the same time each morning and evening to create an efficient routine.
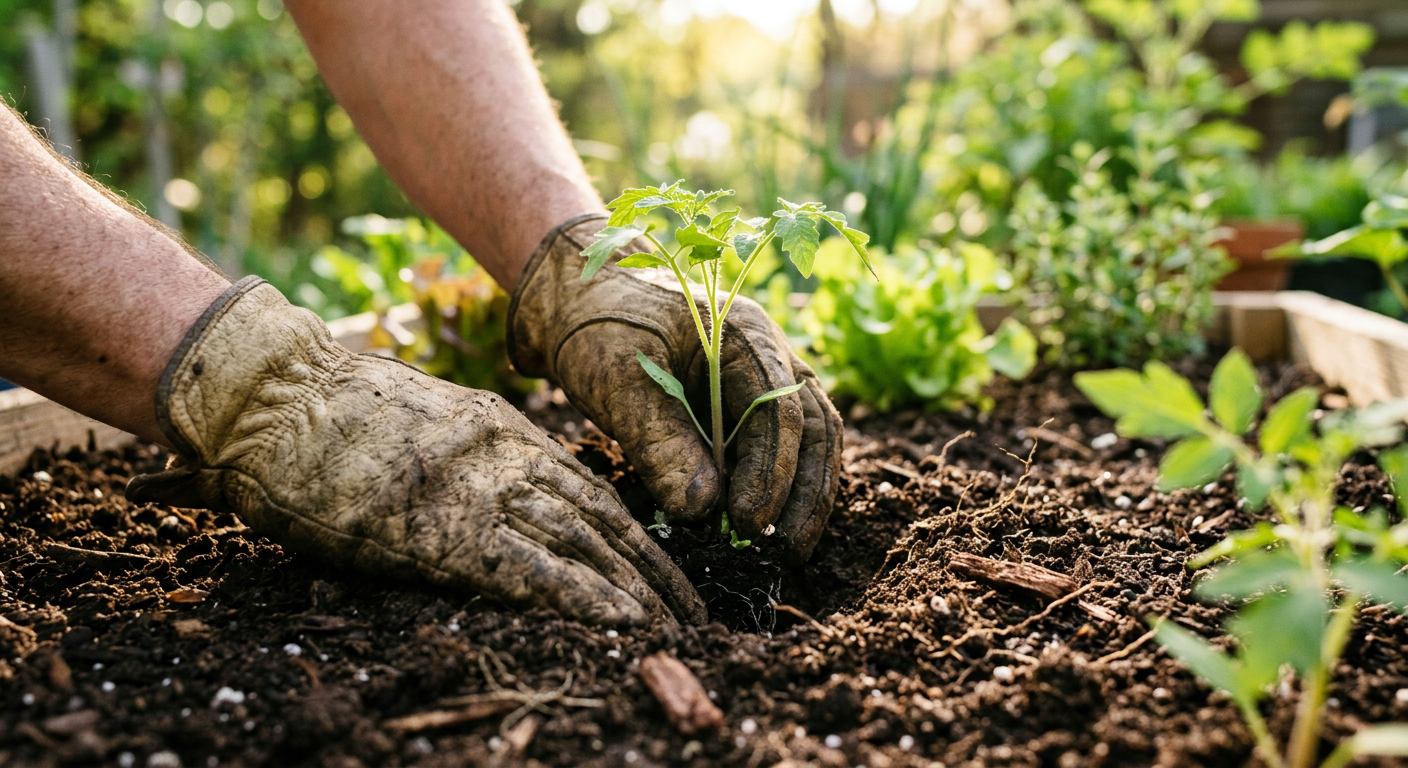
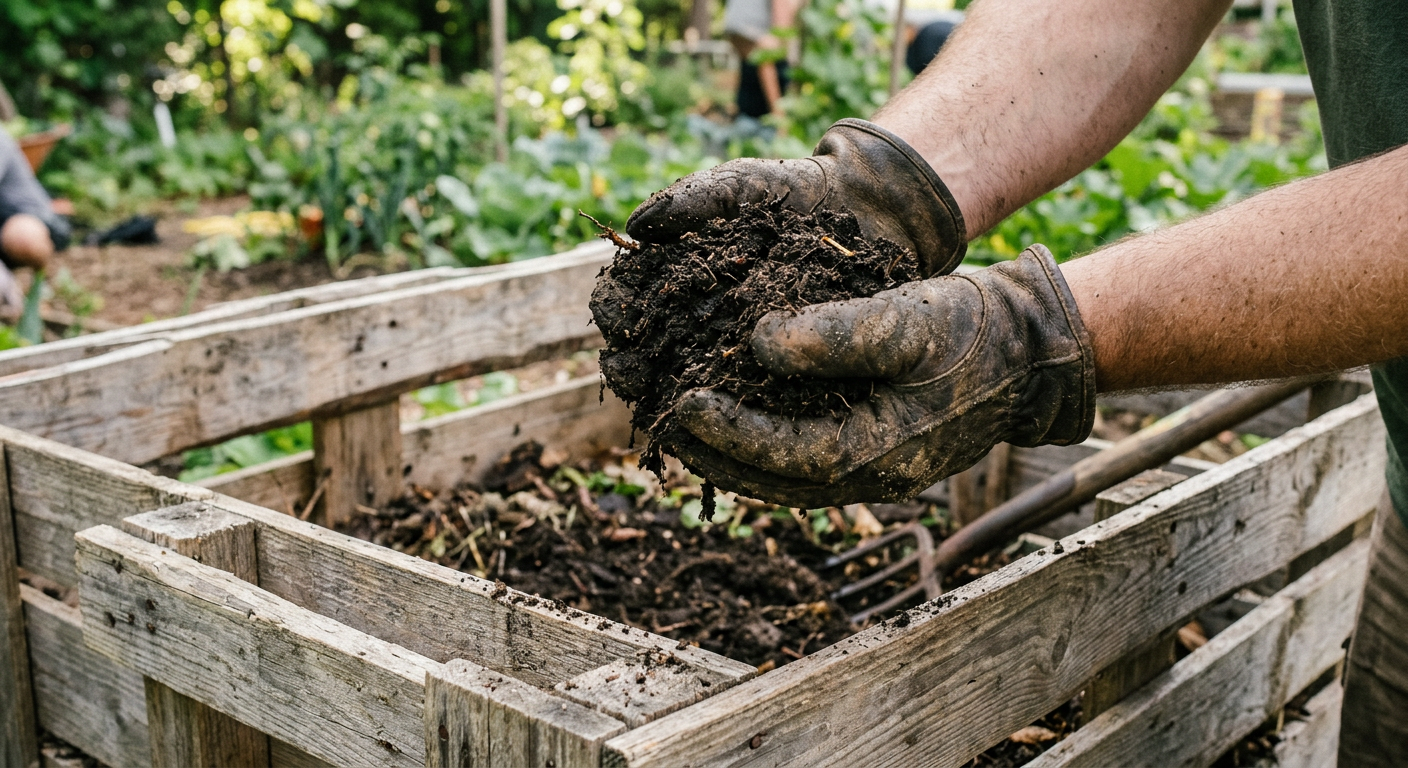
* Utilize their waste: Animal manure is a goldmine for your garden. Research composting methods for chickens and ducks or use rabbit manure directly.
—
⚠️ Beginner Mistakes to Avoid
* Underestimating predator pressure: Many dreams are dashed by predators. Invest in strong, secure housing from day one.
* Ignoring local regulations: Waking up to a notice from the city about your illegal chickens is no fun. Check first!
* Starting with too many animals: Overwhelm leads to burnout. A small, well-managed flock/colony is better than a large, neglected one.
* Not having a plan for processing (meat animals): If you’re raising for meat, understand the process, find local resources, or be prepared to do it yourself.
* Skimping on feed quality: Cheap feed often means unhealthy animals and lower production. Invest in good nutrition.
—
Frequently Asked Questions
What are the easiest homesteading animals to raise for a small backyard?
For a small backyard, especially in urban or suburban settings, chickens (for eggs) and rabbits (for meat or pets) are generally the easiest. They require less space and can be housed in contained systems. Consider dwarf chicken breeds for even smaller footprints. Our small urban setup started with 4 chickens in a 4×8 ft coop.
How much time do beginner homesteading animals require daily?
Most beginner animals like chickens, ducks, or rabbits require about 15-30 minutes of daily care. This includes feeding, watering, checking on their well-being, and collecting eggs or checking on litters. Weekly deep cleaning of coops or hutches will add more time.
Can I mix different easy homesteading animals in one space?
Generally, no. While some people successfully integrate chickens and ducks, or even specific breeds of rabbits, it’s not recommended for beginners. Different species have different needs, social structures, and potential for disease transmission or aggression. We keep our chickens and ducks in separate runs adjacent to each other, and rabbits in their own hutches.
What’s the biggest cost associated with easy homesteading animals?
After the initial setup cost for housing, feed is almost always the biggest ongoing expense. It can fluctuate with market prices, but it’s a constant. We try to offset ours by foraging for greens for our rabbits and growing a small flock-specific garden for our chickens and ducks.
Do I need a permit to raise chickens or ducks in my backyard?
It depends entirely on your local municipality. Some cities allow a certain number of hens but no roosters, while others prohibit all poultry. Always check with your local zoning and animal control departments before bringing any animals home. This is especially true for us as we live on the edge of the city limits.
—
Ready to Bring Life to Your Homestead?
Deciding what are the easiest homesteading animals to raise for your unique situation is the first exciting step! For us, starting with a small flock of chickens was the perfect introduction, opening the door to rabbits and ducks later. Each animal brought its own rewards and lessons, deepening our connection to the land and our food source. Remember, homesteading is a journey, not a destination, and every animal adds to the rich tapestry of that experience.
What’s your biggest challenge with starting with homesteading animals? I’d love to hear your story.
📚 More From Our Homestead
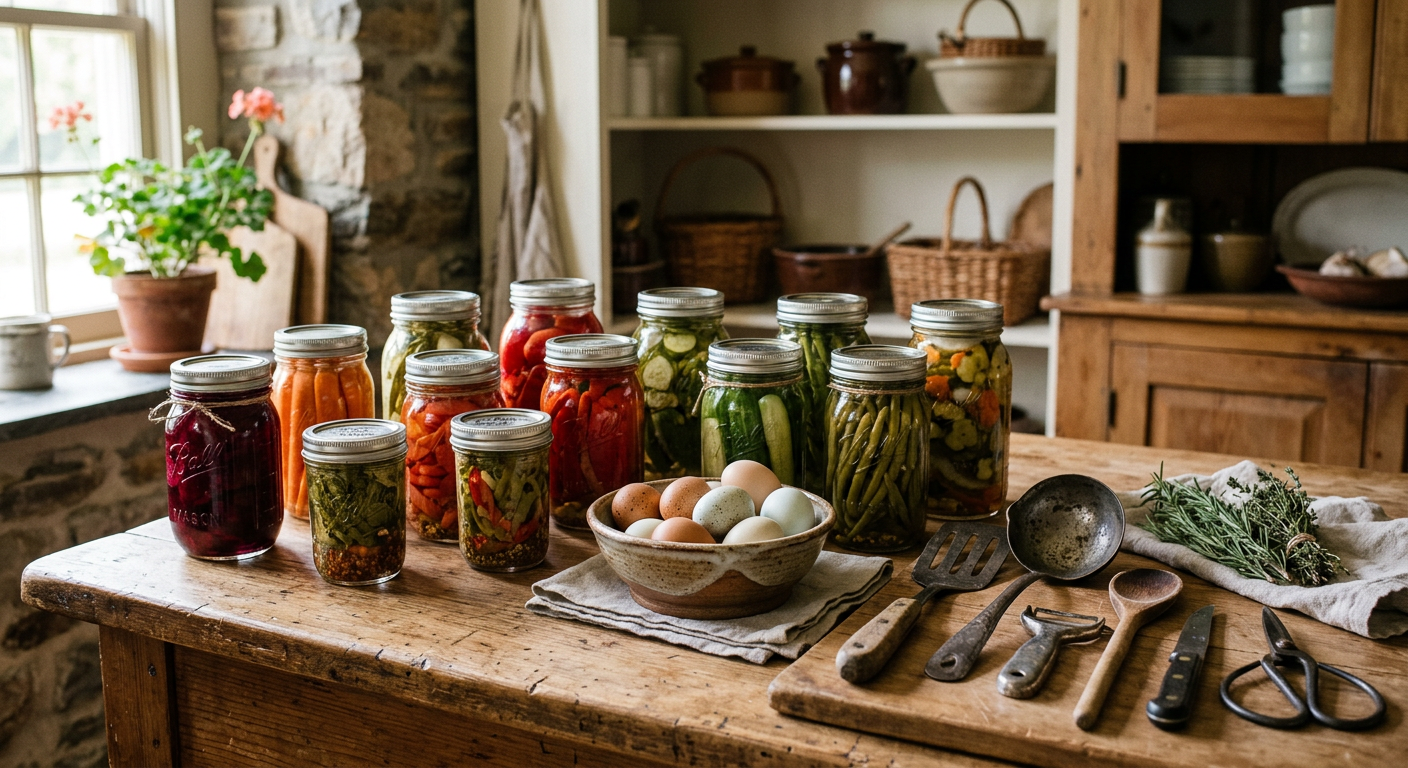
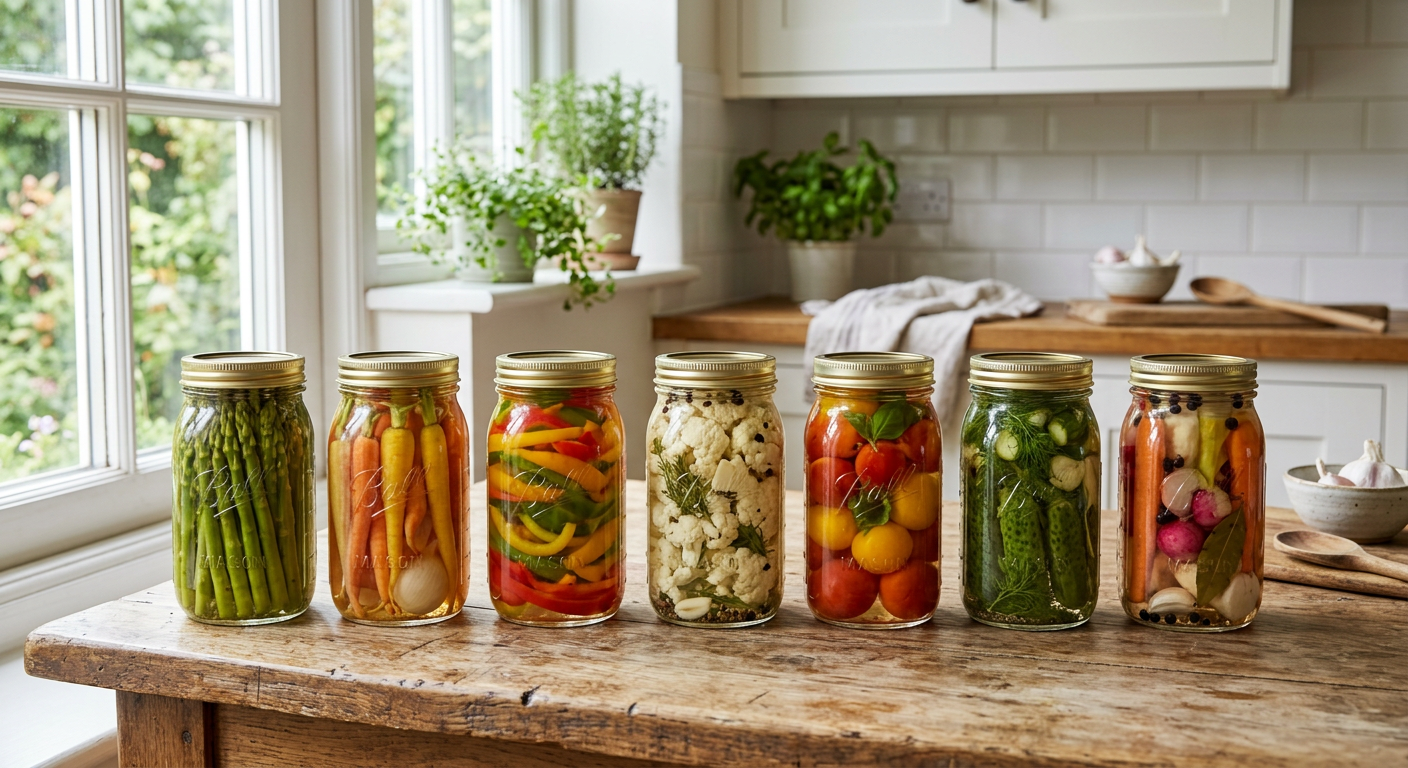
- Basic Food Preservation for Beginners: Our Family’s Go-To Methods
- Homesteading Hacks: Save Serious Money on Groceries!
- How to Make Money From a Small Homestead
- Homesteading Supplies List for Beginners: The Essentials
- Cheap Food Preservation for Beginners: Our Top Budget Hacks
Ready to Start Your Homestead Journey?
Free guides, checklists, and tools to help you build your dream homestead.