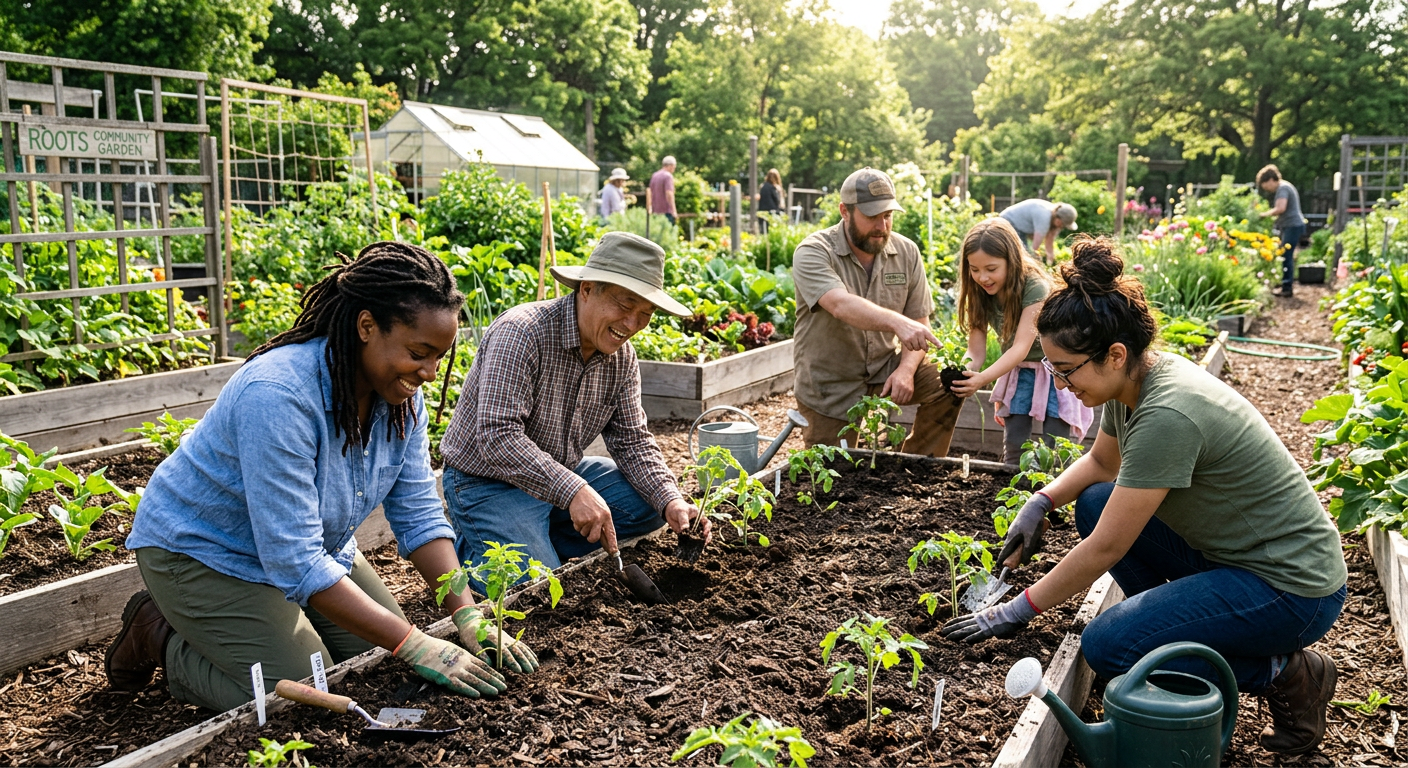
!A lush backyard garden showing how to save money on groceries homesteading by growing produce.
I remember staring at our grocery bill just five years ago, my jaw practically on the floor. It was over $1200 for a family of four, and we weren’t even buying fancy stuff! That’s when we knew something had to change — saving money on groceries was going to be a non-negotiable part of our homesteading journey.
🎯 Quick Answer: Saving money on groceries through homesteading involves a multi-pronged approach: grow what you can, preserve your harvests, buy in bulk directly from producers, cook from scratch, and strategically reduce waste. Our family cut our grocery bill by over 60% using these methods.
—
🔑 Key Takeaways
* Garden for Savings: Growing even a small portion of your produce can drastically reduce your grocery expenses, especially for high-cost items like fresh herbs and berries.
* Preserve Your Harvest: Canning, freezing, dehydrating, and fermenting extends the life of your bounty, making seasonal savings last all year.
* Strategic Bulk Buying: Purchasing staples, meat, and dairy directly from farmers or co-ops in large quantities offers significant price breaks.
* Cook from Scratch: Eliminating processed foods means fewer expensive ready-meals and more control over ingredients and costs.
* Waste Not, Want Not: Smart meal planning and creative use of leftovers prevent food waste, directly impacting your budget.
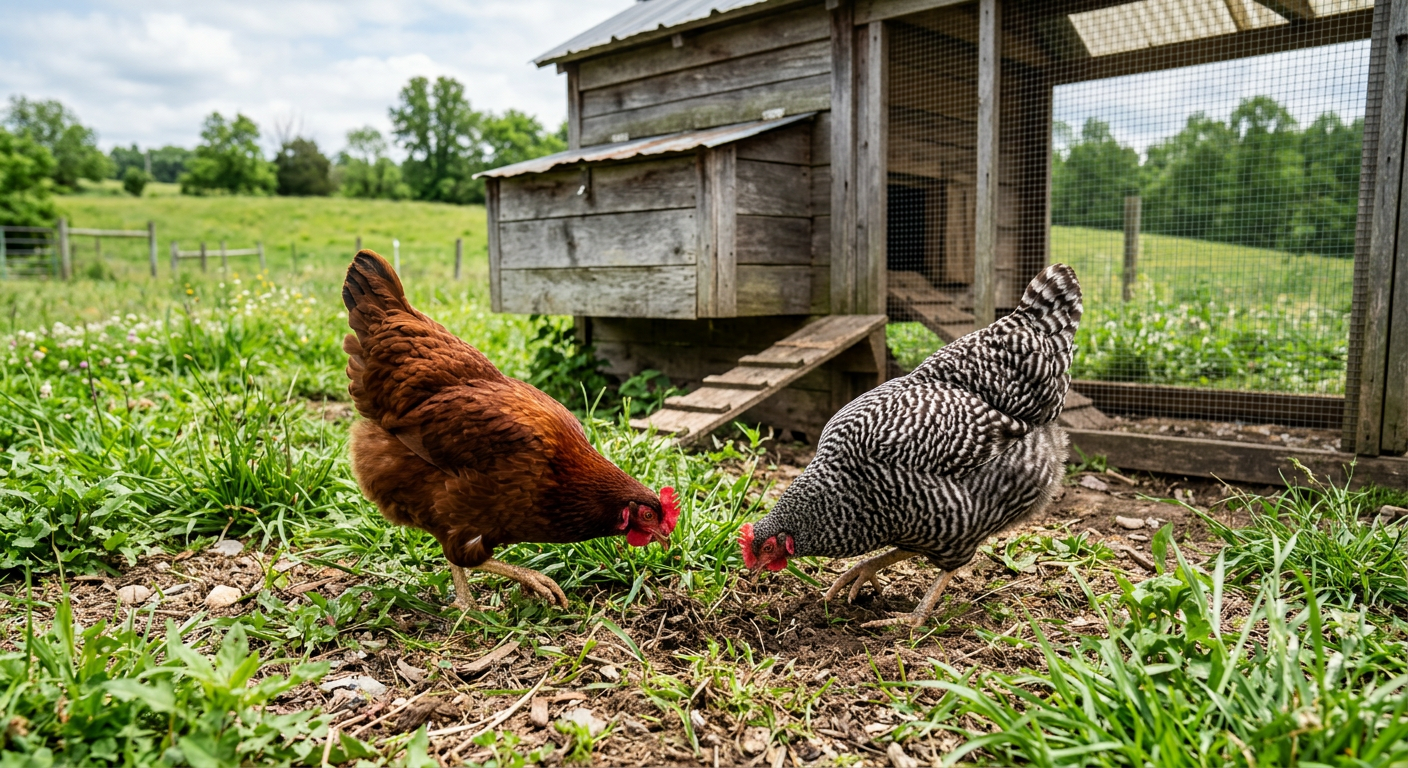
* Animal Contributions: Raising chickens for eggs or a few dairy goats can provide fresh, often ‘free,’ protein and dairy, further reducing grocery needs.
—
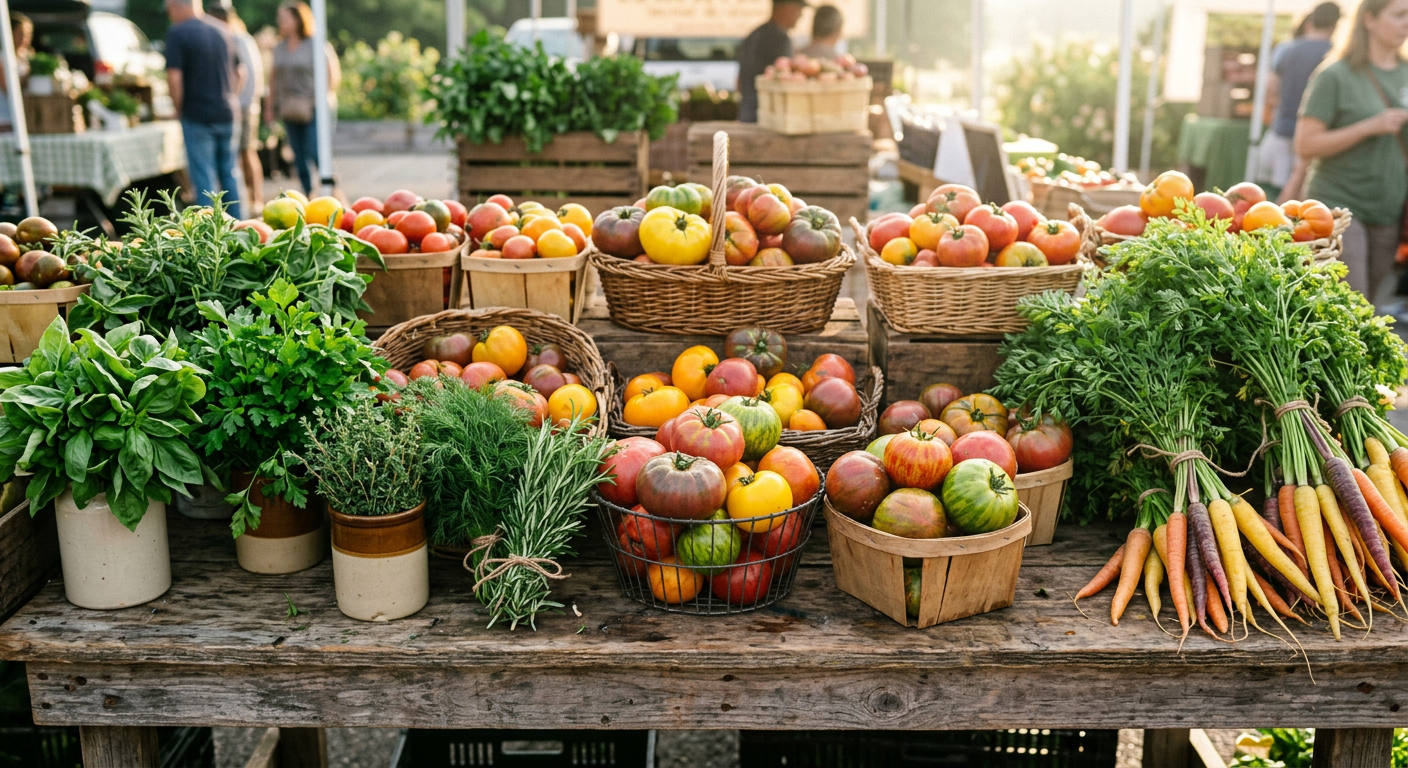
!Fresh harvested vegetables on a table illustrating how to save money on groceries homesteading.
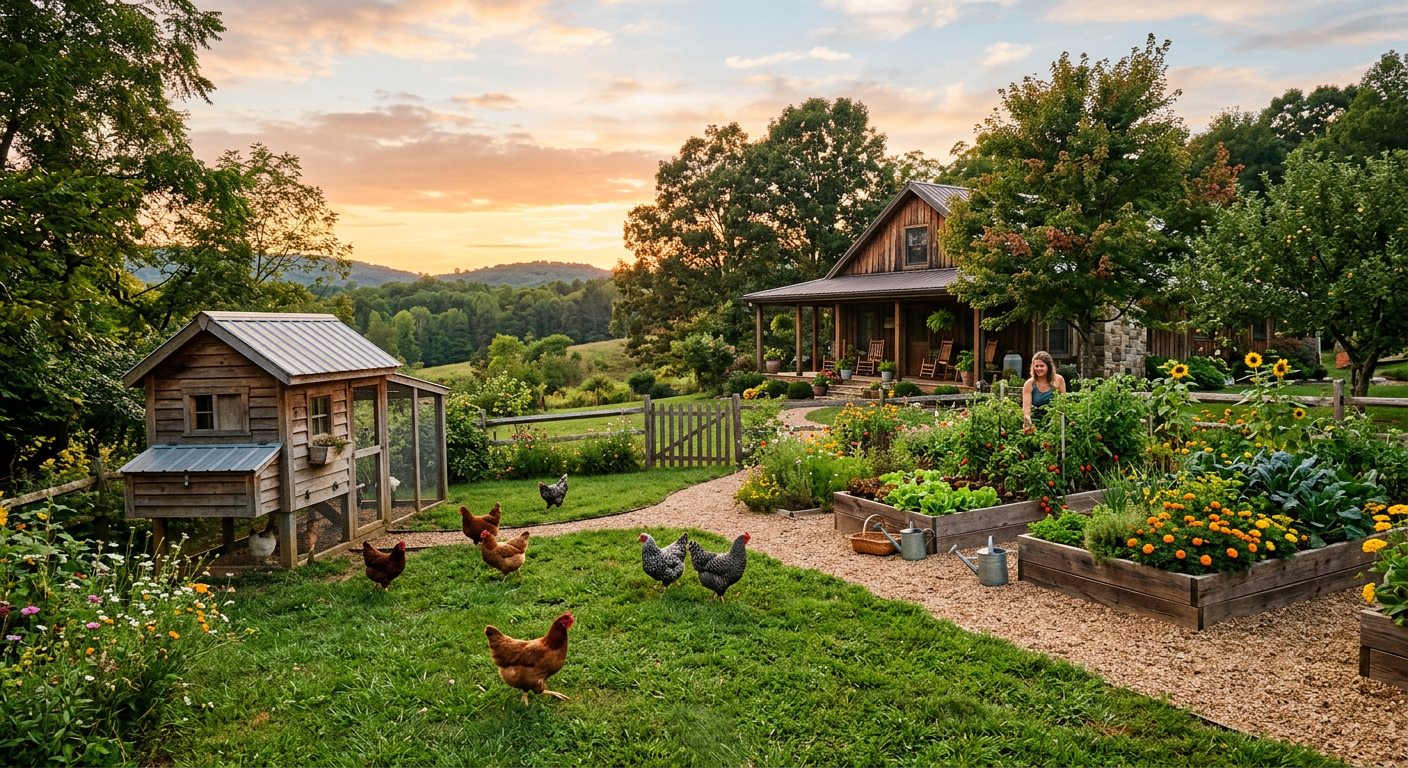
Our Journey to Saving Money on Groceries Homesteading
When we first moved onto our little patch of land, we had grand visions of self-sufficiency. But honestly, the initial push wasn’t just about the romantic idea of ‘living off the land’; it was about necessity. That $1200 bill was a wake-up call, and we started looking at how to save money on groceries homesteading as our first major project.
Our first year, we only managed to shave off about 15% from our grocery expenses. We were enthusiastic but a bit disorganized. We grew too many zucchinis and not enough of what we actually ate frequently. Over the years, refining our methods and focusing on high-impact areas, we now consistently keep our monthly grocery spending under $450 for the same family of four. That’s a savings of over $750 every single month!
This transformation didn’t happen overnight, but it was incredibly rewarding. The peace of mind knowing where our food comes from, and the extra money in our pockets, has been truly life-changing. Now, let’s dive into exactly how we did it. But before you start, there’s one mistake that ruins everything — I’ll cover it next.
—
Grow Your Own: The Ultimate Grocery Hacker
If you want to know how to save money on groceries homesteading, growing your own food is hands down the most impactful step. We started with a tiny 4×8 raised bed, and it quickly expanded.
Prioritize High-Cost or High-Consumption Crops
Don’t try to grow everything at once. Focus on items that are expensive at the store or that your family eats a lot of. For us, that meant.
* Berries: Fresh raspberries and blueberries are pricey, especially organic ones. Our small patch of everbearing raspberries gives us fresh fruit for months.
* Herbs: A small herb garden saves a fortune. A bunch of fresh basil can be $3-4; growing it costs pennies. We’ve got rosemary, thyme, oregano, and mint flourishing.
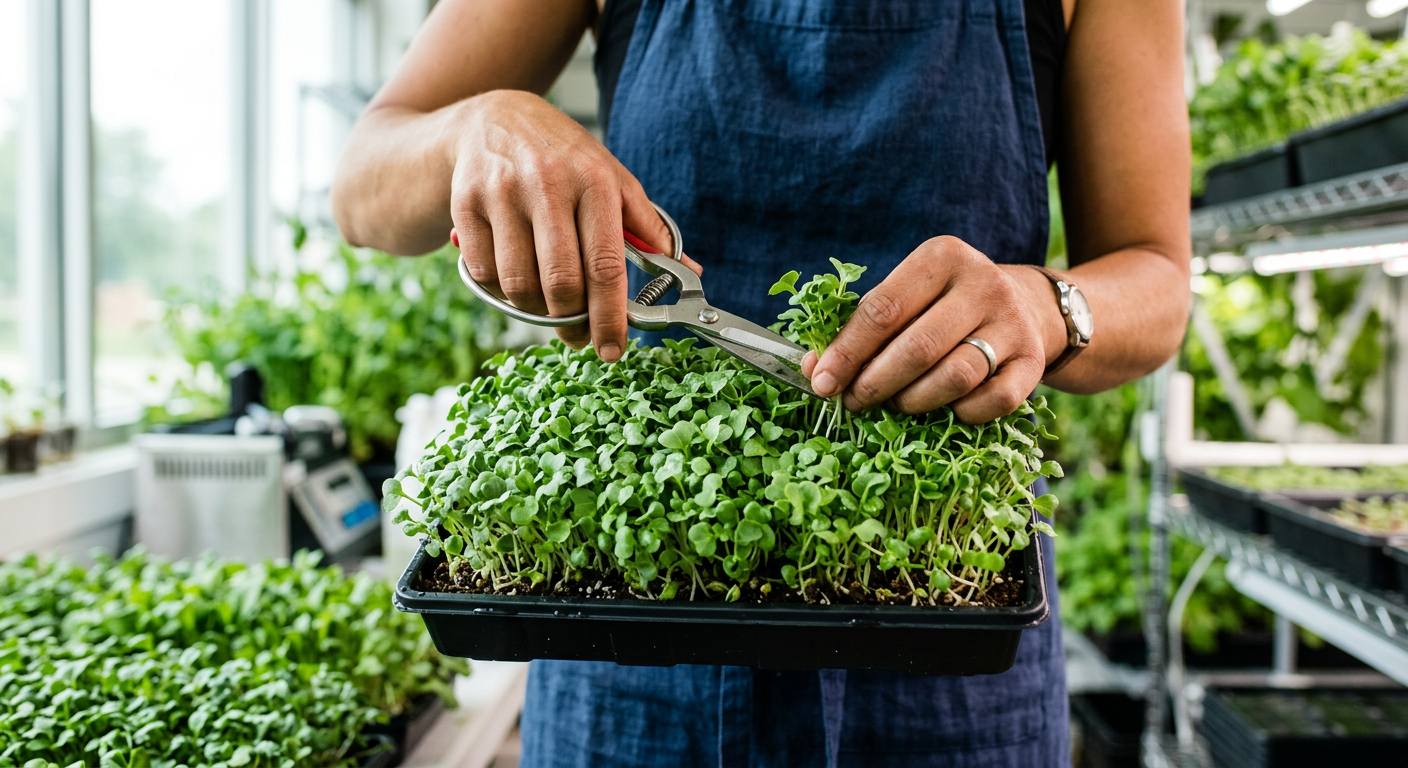
* Salad Greens: Lettuce, spinach, and kale grow quickly and can be harvested repeatedly. We found that a continuous harvest of greens saved us about $20-30/month in buying pre-washed bags.
* Tomatoes & Peppers: We go through a lot of these in sauces, salads, and cooking. Growing our own means fresh produce all summer and plenty for canning.
Start Small, Learn, Then Expand
We didn’t plant an acre overnight. Our first garden was modest, and we learned a ton about our soil, sunlight, and what thrives here. Each year, we’d add another bed or expand a patch. This gradual scaling prevented overwhelm and helped us enjoy the process. Read our guide on How to Start a Small Backyard Vegetable Garden: Beginner Guide for a great starting point.
Consider Yield and Space Efficiency
Some crops give you more bang for your buck. For instance, a single zucchini plant can produce more squash than you know what to do with! But also consider vertical gardening for space-saving. Pole beans, cucumbers, and even small melons can climb, maximizing your harvest in a small footprint.
Keep reading — this is where most people mess up.
—
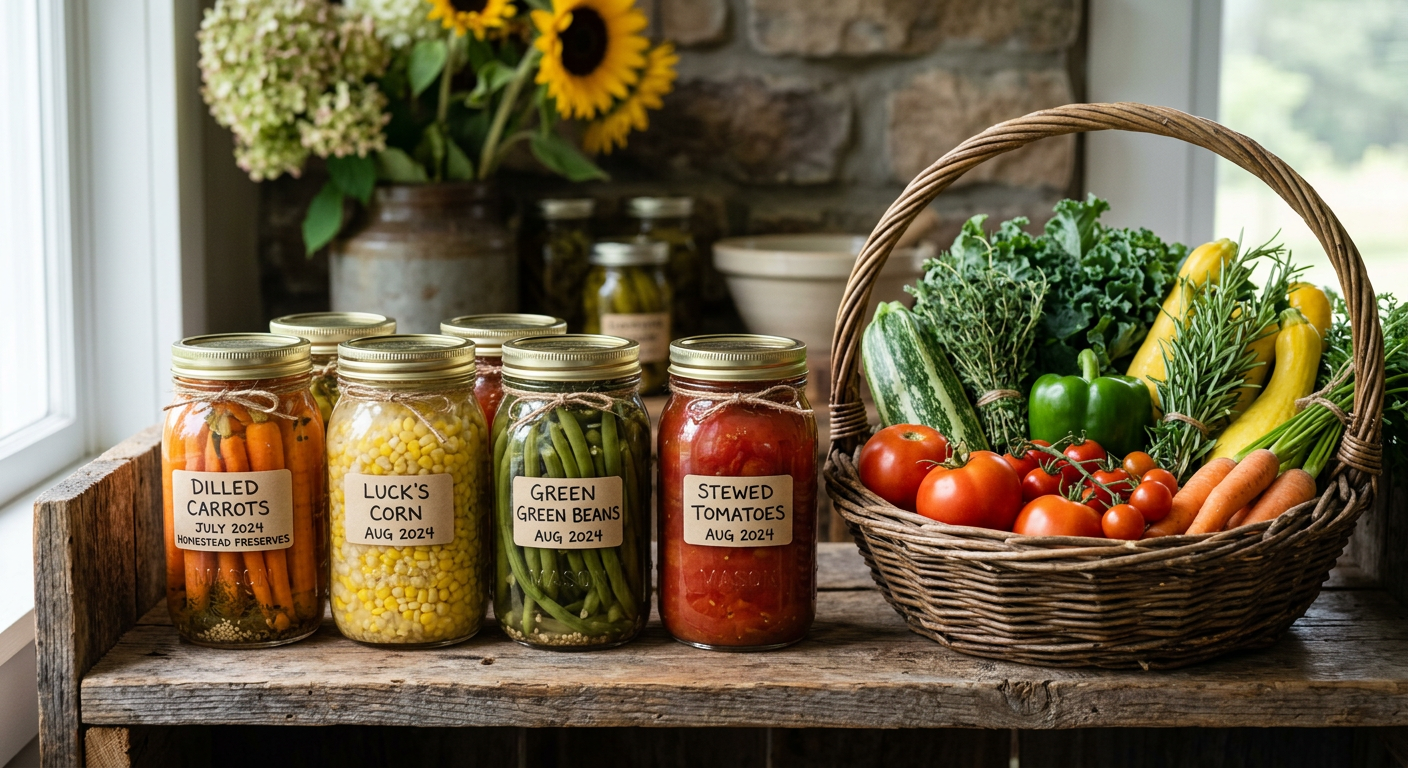
Preserve the Bounty: Extending Your Savings
What’s the point of growing all that food if it goes bad? Preserving is crucial for how to save money on groceries homesteading year-round. It means enjoying summer’s sweetness in the dead of winter without paying premium prices.
Canning for Shelf Stability
We started with water bath canning for high-acid foods like jams, jellies, pickles, and tomato sauce. Later, we invested in a pressure canner for low-acid vegetables like green beans and corn, as well as meats. Our pantry now looks like a mini grocery store!
* Tomatoes: We can diced tomatoes, crushed tomatoes, and salsa. This saves us about $50-70 per month on canned tomato products alone during winter.
* Green Beans: A bushel of green beans from a local farmer can be bought cheap, then canned for year-round side dishes. We estimate this saves us approximately $100 throughout the off-season.
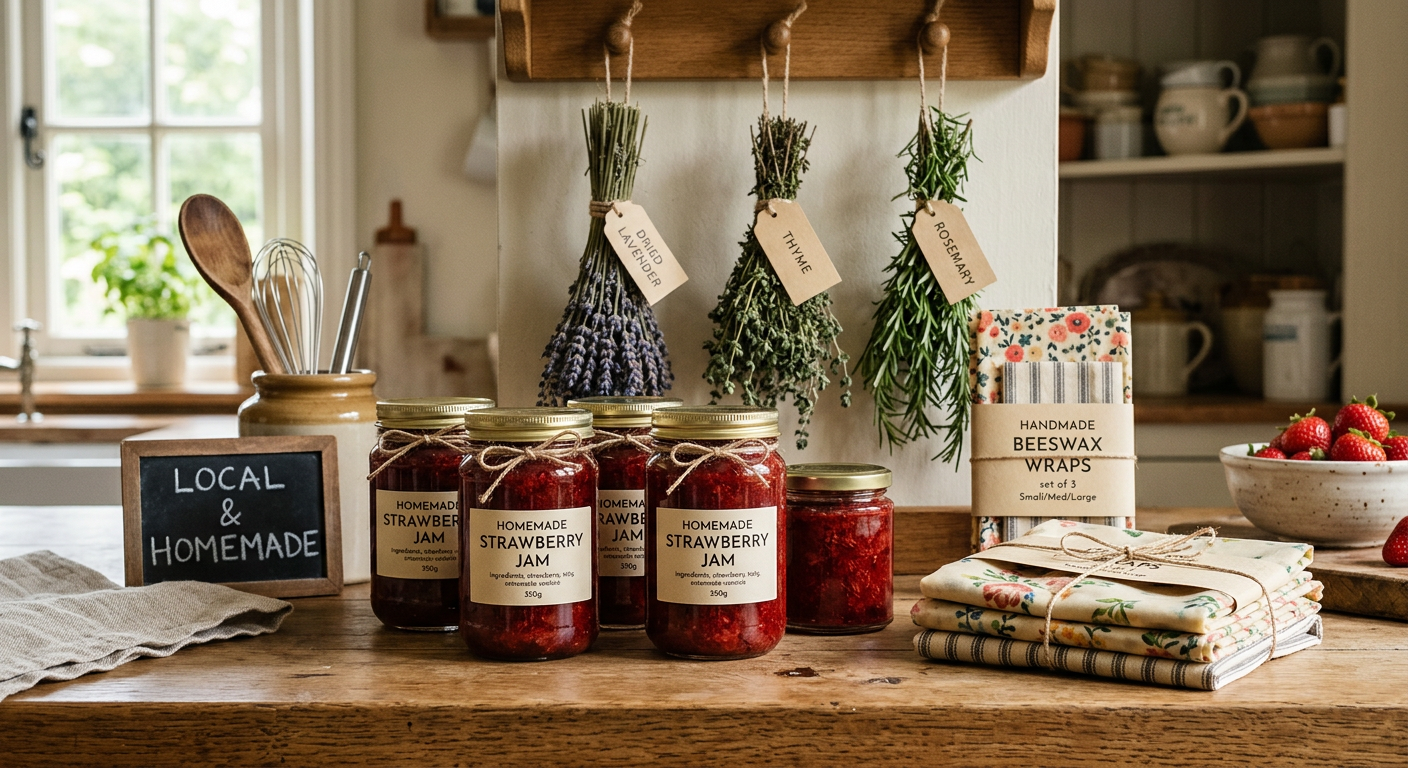
* Jams & Jellies: Using homegrown or locally picked fruit, we make all our own preserves. This easily saves us $15-20 per month compared to store-bought.
Freezing for Freshness and Convenience
Freezing is often the easiest entry point into food preservation. We freeze berries, chopped vegetables, and even entire meals. Just blanching vegetables for a few minutes before freezing helps maintain their quality.
* Berries: Wash, dry, and freeze berries on a baking sheet before transferring to bags. Perfect for smoothies and winter desserts.
* Pesto Cubes: Blend extra basil into pesto and freeze in ice cube trays. Pop one into pasta or soup for a burst of flavor.
Dehydrating for Light and Long-Term Storage
Our dehydrator is always humming. It’s fantastic for herbs, fruit leathers, and even emergency food supplies.
* Herbs: Dry your garden herbs for cooking. They take up little space and retain their flavor for months.
* Apple Slices: A great healthy snack that saves us from buying expensive fruit snacks.
Fermentation for Probiotics and Flavor
Sauerkraut, kimchi, and fermented pickles are not only delicious and healthy but also extremely cost-effective to make. Cabbage is cheap, and fermenting extends its life significantly.
Consider our post on Crack the Code: Preserving Eggs Long-Term (No Fridge Needed!) for another great preservation method!
—
This next part? Nobody talks about it, but it changed everything for us.
Smart Sourcing: Beyond Your Homestead
Even with a thriving garden and a full pantry, we can’t grow everything. That’s where smart sourcing comes in to reinforce how to save money on groceries homesteading.
Buying in Bulk & Direct from Farmers
We’ve found incredible savings by cutting out the middleman. This means buying a whole or half animal directly from a local farmer, or joining a CSA (Community Supported Agriculture) program.
* Bulk Meat: We split a half-cow with friends every year. The upfront cost (around $1200 for us) feels like a lot, but calculated by the pound, it’s significantly cheaper (often $3-5/lb for premium cuts) than buying individual packages at the grocery store. It fills our chest freezer and lasts us 8-10 months.
* Local Produce: During peak season, we visit farmers’ markets an hour before closing and often get deals on ‘ugly’ produce perfect for canning or freezing. We also have a standing order with a local farmer for a bushel of peaches every August for our canning projects.
* Co-ops & Discount Stores: Membership to a local food co-op or shopping at stores like Aldi/Lidl for non-perishables and pantry staples saves us another 15-20% on those items.
Foraging for Free Food
Depending on where you live, wild edibles can supplement your diet for free! We forage for wild berries, mushrooms (only with expert identification!), and even edible greens like dandelion and plantain.
* Dandelions: Young dandelion greens are great in salads, and the roots can be roasted for a coffee substitute.
* Blackberries: Our property is edged with wild blackberries, providing gallons of fruit for jams and pies every summer – completely free.
—
The Homestead Kitchen: Cooking from Scratch and Reducing Waste
Our kitchen is the heart of our homestead, and it’s where we truly embody the spirit of how to save money on groceries homesteading.
Say Goodbye to Processed Foods
Processed foods are notoriously expensive and often less nutritious. By cooking almost everything from scratch, we eliminate these costs. Breads, sauces, dressings, and snacks – it’s all made here.
* Homemade Bread: Making our own sourdough bread (flour, water, salt, starter) saves us about $4-5 per loaf compared to artisan bread. Even basic yeast bread is far cheaper than store-bought.
* Bone Broth: After butchering chickens (which we raise ourselves – see Raising Backyard Chickens: Pros, Cons & What to Expect), we use the bones to make nourishing bone broth. This is basically free, whereas store-bought bone broth can be $5-8 per carton.
Meal Planning and Leftover Creativity
Planning our meals around what’s in season, what we’ve preserved, and what’s in the pantry prevents impulse buys and reduces waste. Leftovers are gold!
* Weekly Meal Plan: Every Sunday, we sit down and plan out 7 dinners, often incorporating ingredients nearing their ‘use by’ date. This helps us empty the fridge before grocery day.
* ‘Clean Out the Fridge’ Dinners: Once a week, we have a dinner where everyone finds something in the fridge that needs to be eaten. It’s often a hodgepodge but always prevents waste.
Raise a Few Animals (If You Can!)
While not everyone can have animals, if you’re serious about homesteading and how to save money on groceries homesteading, they can be a massive asset.
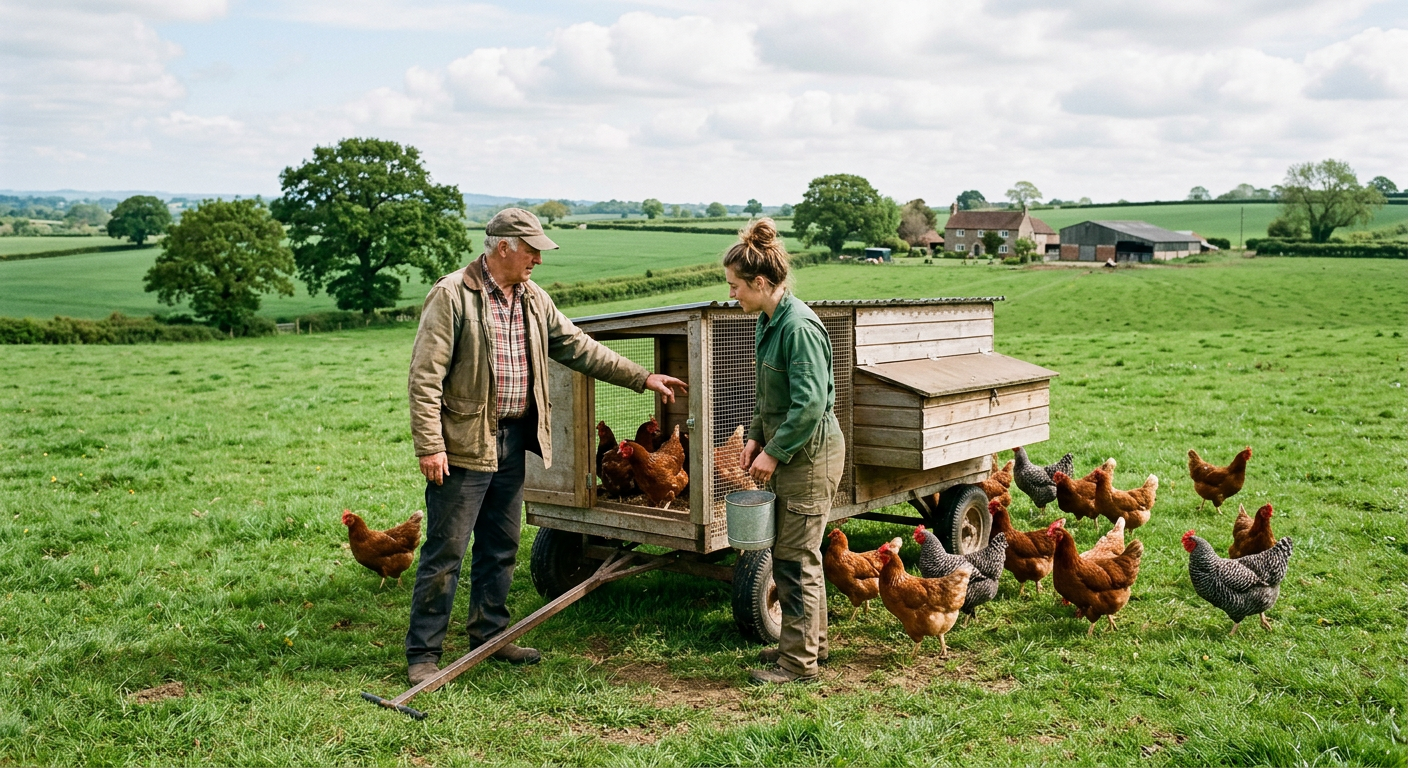
* Chickens for Eggs: Our flock of a dozen laying hens provides all the eggs we need, plus extras to sell to neighbors. We spend about $30 a month on feed, but we get about 8-10 dozen eggs per week. That’s dirt cheap eggs! (Learn more in Build a Movable Chicken Tractor for Sustainable Pest Control).
* Dairy Goats: A couple of dairy goats can provide milk, cheese, and yogurt, almost completely eliminating dairy from your grocery list. We have two, and their milk supply is bountiful.
Don’t skip this — it’ll save you hours (and money).
—
💡 Pro Tips
* Track Your Spending: For a month or two, actually write down every single grocery expense. You’ll be shocked where your money goes. This data helps you target key areas for savings.
* Invest in Good Tools: A quality pressure canner, dehydrator, or even an extra freezer pays for itself quickly when you’re preserving large quantities of food.
* Learn a New Skill Every Season: Focus on mastering one new preservation method (canning, dehydrating, fermenting) per gardening season. This keeps it manageable and fun.
* Barter and Trade: Connect with other local homesteaders or farmers. We often swap excess eggs for berries or help with canning for some of their surplus vegetables.
* Compost Food Scraps: Instead of tossing vegetable peels and uneaten bits, compost them. This creates rich soil for your garden, reducing the need for expensive soil amendments and closing the loop.
—
⚠️ Beginner Mistakes to Avoid
* Planting Too Much of One Thing: Our `zucchini overload` the first year taught us this lesson quickly. Diversify your crops, and plant what you truly enjoy eating.
* Ignoring Preservation from the Start: Don’t wait until you’re drowning in tomatoes to figure out canning. Start learning basic preservation methods before your harvest overwhelms you.
* Buying All the Gear at Once: It’s tempting to get every gadget. Start with the essentials (pots, basic canning supplies, a good knife) and acquire more specialized tools as your needs grow.
* Not Meal Planning: Without a plan, you’ll inevitably buy things you don’t need or let fresh produce go bad. A simple weekly plan makes a huge difference.
* Giving Up Too Soon: There will be failures – pests, crop blights, canning mishaps. Don’t let them deter you. Learn from them and keep going.
—
!Collecting fresh eggs from a coop as a way to learn how to save money on groceries homesteading.
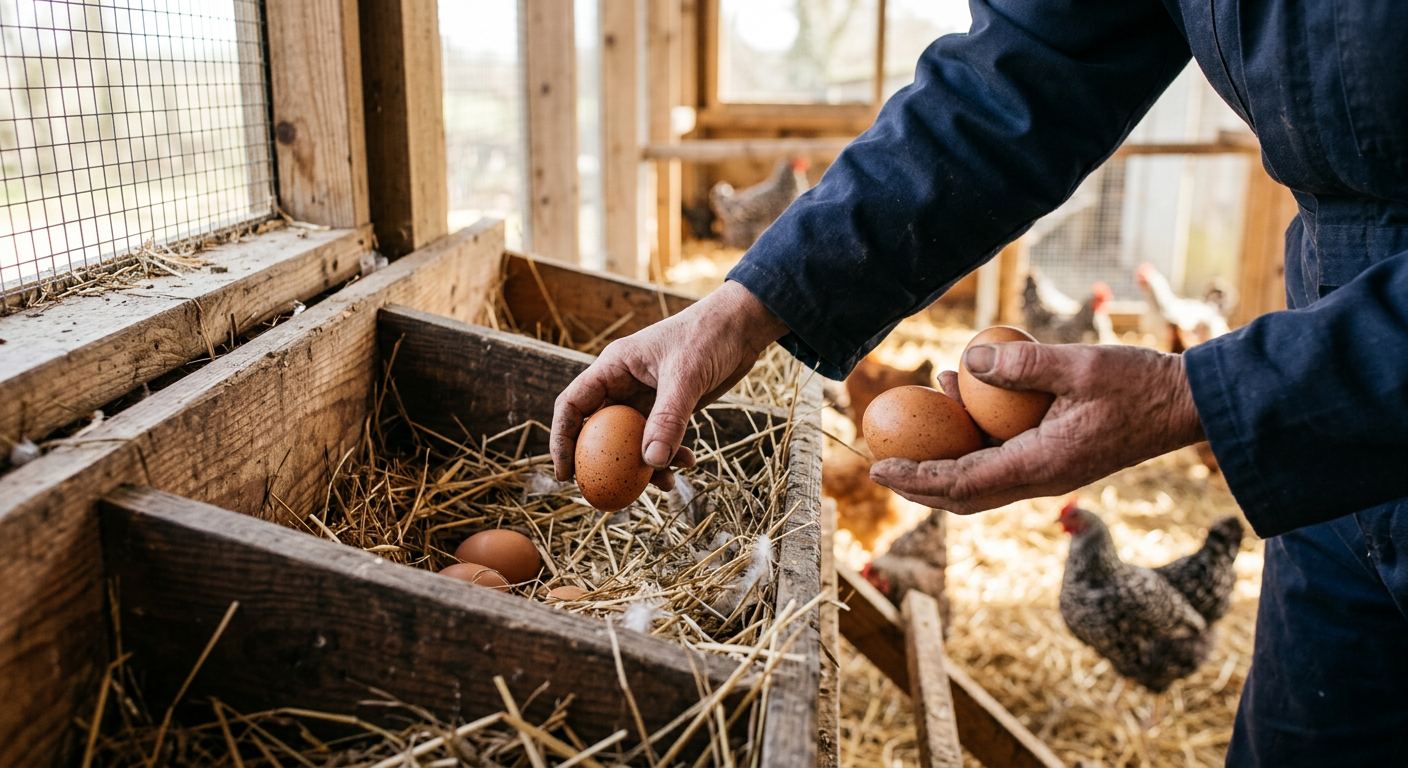
Frequently Asked Questions
How much can you realistically save on groceries with homesteading?
Our family saves over $750 a month, which is about 60% of our original grocery bill. However, what you save depends on your dedication, the size of your garden, and your willingness to commit to scratch cooking and preservation. Many homesteaders report saving 30-70%.
What are the cheapest things to grow to save money on groceries?
High-yield, fast-growing items like lettuce, spinach, radishes, green beans, and zucchini are very cost-effective. Expensive store-bought items like fresh herbs and berries also offer significant savings when grown at home.
Does homesteading really save money, or does it cost more in the long run?
It absolutely saves money in the long run, but there’s an upfront investment in seeds, supplies, and potentially tools or animal enclosures. However, most of these are one-time costs or have long lifespans. The fresh, organic food you produce is far cheaper than buying it, and the skills you gain are invaluable.
How much land do you need to significantly reduce your grocery bill?
Not as much as you think! Even urban homesteaders with small backyards or balconies can grow a substantial amount of food. A well-planned 100-200 sq ft garden can provide a significant portion of a family’s produce needs for several months. For more, check out Tiny Space, Big Harvest: How to Start Urban Homesteading Small Space.
What are good beginner animals to help save on groceries?
Chickens are a great start for fresh eggs. They are relatively low-maintenance and provide daily protein. Rabbits can be raised for meat fairly easily. Dairy goats are excellent for milk if you have the space and commitment. For more ideas, see Tiny Farm, Big Rewards: Best Low Maintenance Farm Animals.
—
Wrapping up this chat, I hope you see that figuring out how to save money on groceries homesteading isn’t just about cutting costs; it’s about building resilience, developing invaluable skills, and putting truly nourishing food on your family’s table. It takes effort, sure, but the rewards—both financial and personal—are immense. We started small, learned as we went, and now our grocery bill is a fraction of what it once was. You can do it too!
What’s your biggest challenge with reducing your grocery bill? I’d love to hear your story.
📚 More From Our Homestead
- How to Make Money From a Small Homestead
- Homesteading Supplies List for Beginners: The Essentials
- Cheap Food Preservation for Beginners: Our Top Budget Hacks
- Maintaining Off-Grid Appliances and Systems for Longevity
- Homesteading Without Land? Get Experience Now!
Ready to Start Your Homestead Journey?
Free guides, checklists, and tools to help you build your dream homestead.
👉 Related: Basic Food Preservation for Beginners: Our Family’s Go-To Methods