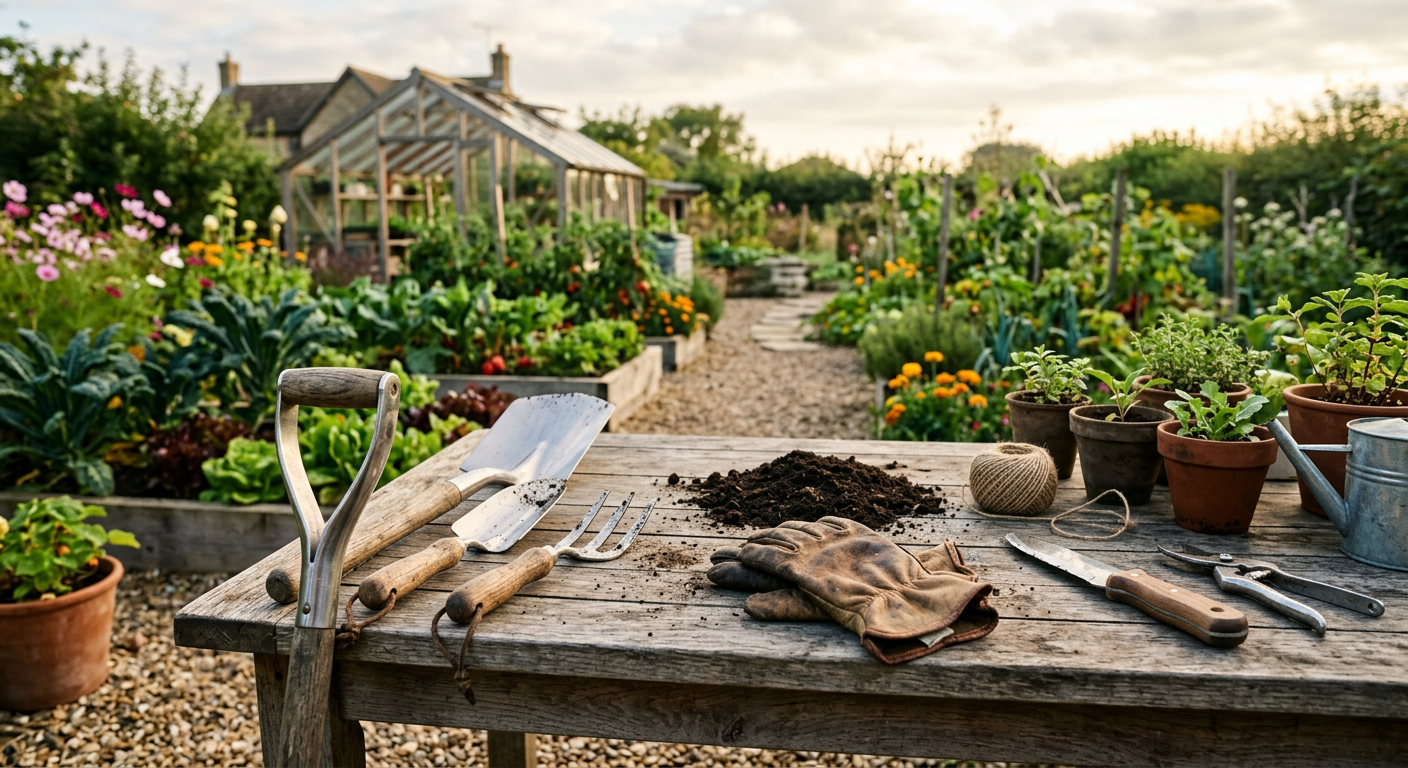
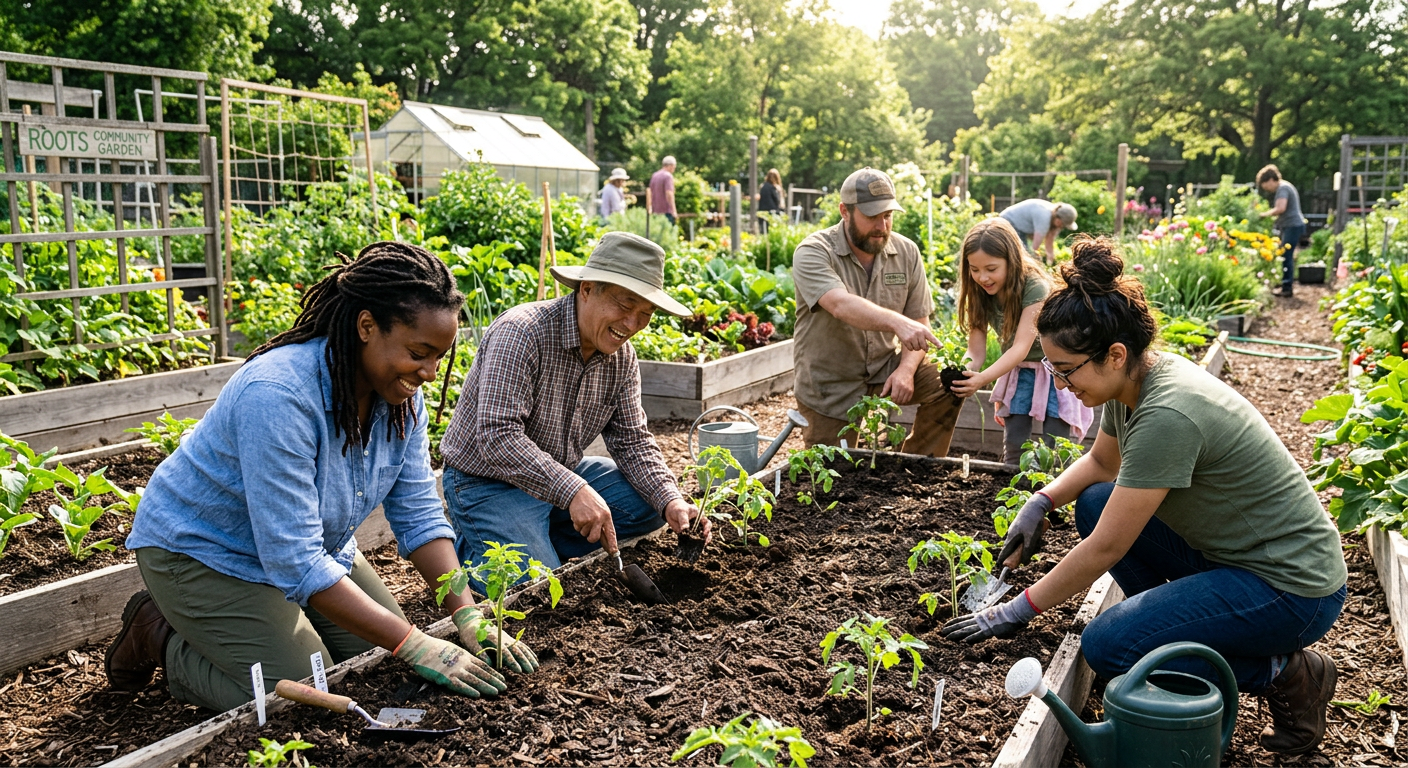
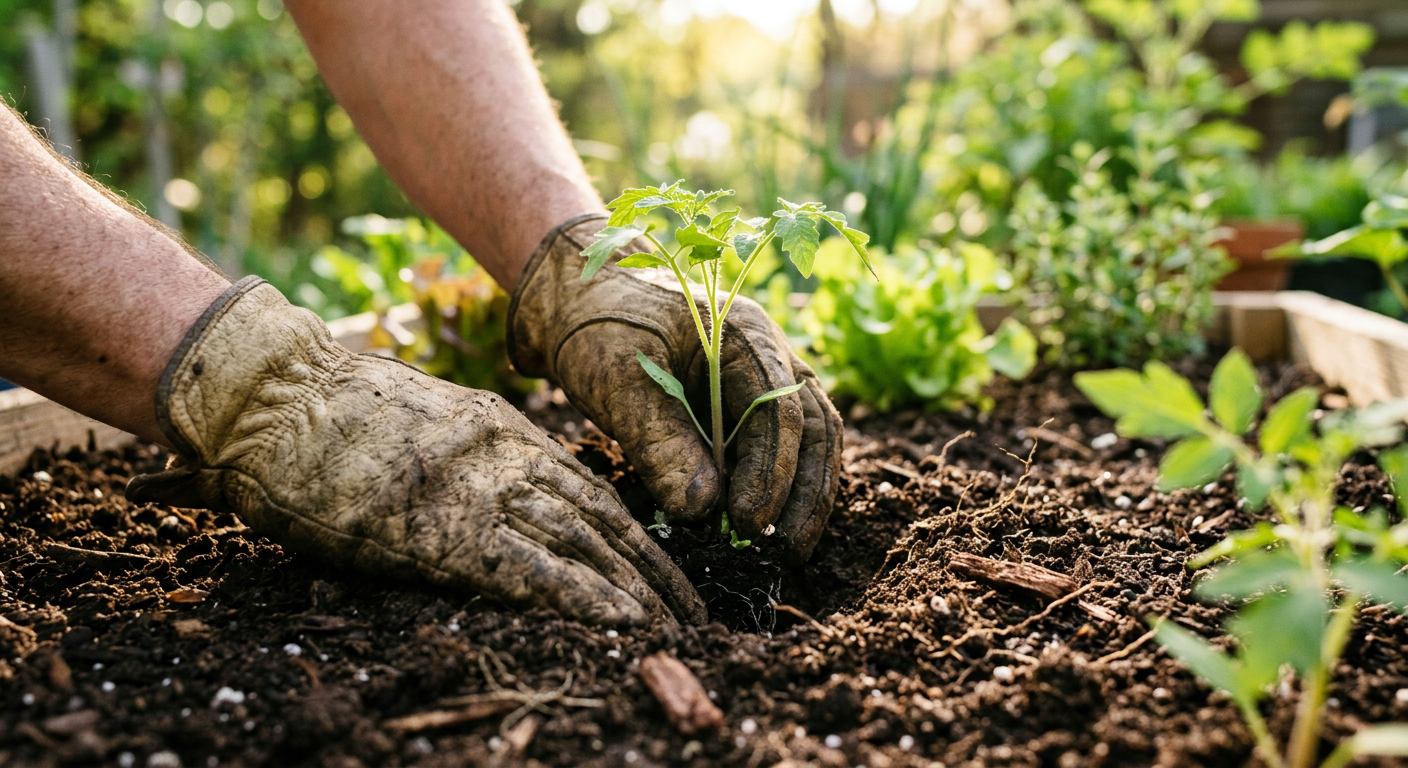
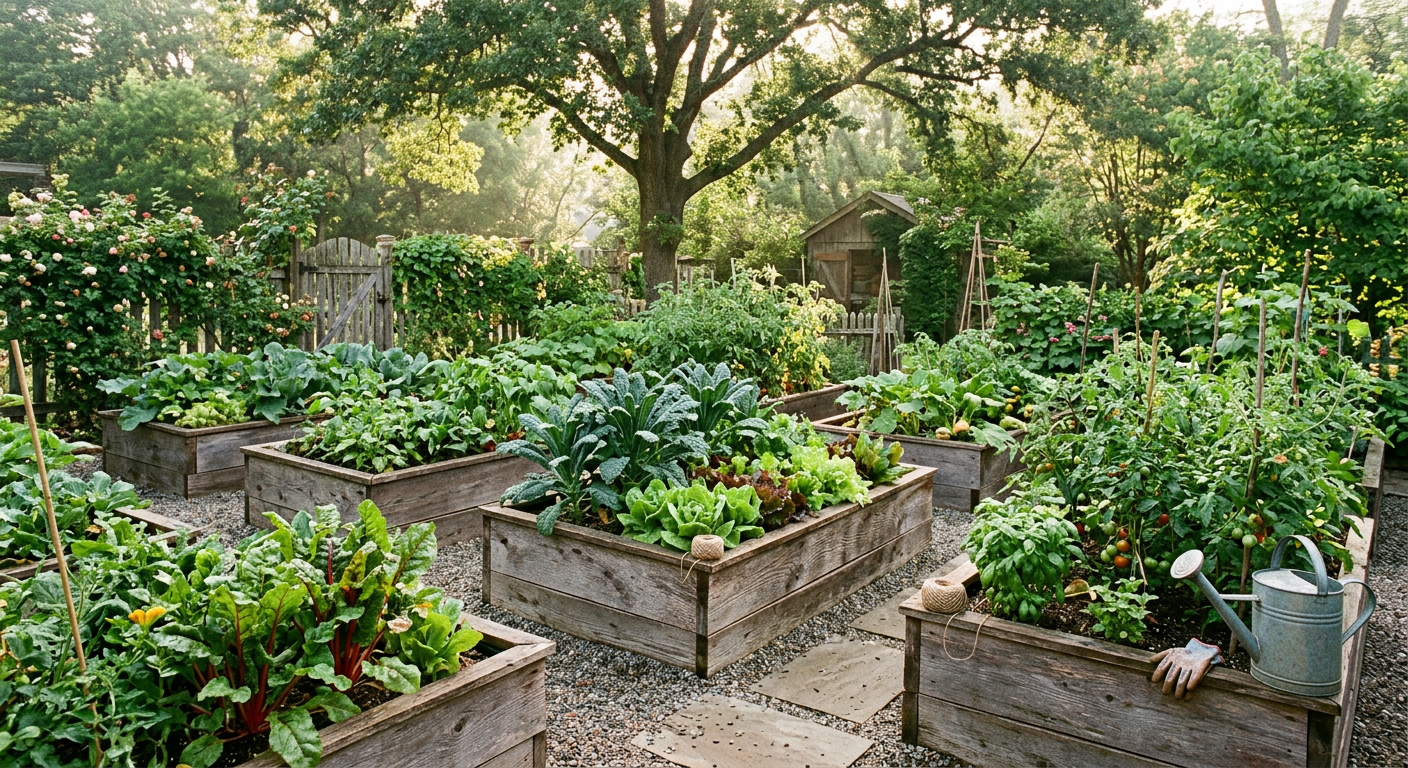
!People gaining hands-on gardening skills to learn how to get homesteading experience without owning land.
When we first started dreaming about our homestead, we didn’t have a single acre to our name. We were living in a small city apartment, watching YouTube videos and devouring books, feeling like we were a million miles away from our goal. But then we realized something crucial: you don’t need a farm to start farming in a small way.
🎯 Quick Answer: You can absolutely get homesteading experience without owning land by actively seeking out opportunities like WWOOFing, volunteering at local farms, joining community gardens, participating in skill-share groups, and even practicing micro-homesteading in your current space. It’s all about getting your hands dirty and building practical skills.
🌱 Start Your Homestead Plan →
—
🔑 Key Takeaways
* WWOOFing & Farm Stays: Immerse yourself in a working homestead environment, learning directly from experienced farmers, often in exchange for room and board.
* Volunteer Locally: Reach out to nearby farms, community gardens, or even permaculture projects for hands-on experience without a long-term commitment.
* Community Gardens: Gain gardening skills, connect with like-minded individuals, and learn about local growing conditions in a shared space.
* Skill-Share & Workshops: Look for local workshops on canning, preserving, animal husbandry, foraging, or carpentry to build specific skills.
* Micro-Homesteading: Start small in your current home – grow herbs on a windowsill, learn to preserve, bake bread, or raise small livestock like quail, if allowed.
* Network Relentlessly: The homesteading community is incredibly supportive. Go to farmers markets, join online groups, and make connections.
—
Why Hands-On Experience is Non-Negotiable
Books, blogs, and documentaries are fantastic resources, and believe me, we’ve consumed our fair share! But there’s a world of difference between reading about raising chickens and actually catching a flapping hen, or between watching a video on canning tomatoes and feeling the heat of the boiling water bath, smelling the sweet aroma, and realizing you forgot to sterilize your jars. That’s real-life learning, and it’s priceless.
The Value of Making Mistakes (Safely)
We learned more from our first batch of failed sourdough and our first wilted tomato plants than from a dozen perfect recipes. When you’re trying to get homesteading experience without owning land, you have the huge advantage of making those beginner mistakes on someone else’s dime and watch. This lowers the stakes and builds your confidence gradually. Imagine trying to grow your family’s food on your brand-new, expensive land, only to then discover you don’t know a weed from a crop! Trust us, it’s better to learn the hard way on a small scale first.
Building Your Skill Stack
Homesteading isn’t one skill; it’s a whole stack of them. From gardening and animal care to food preservation, basic carpentry, and even financial planning, they all interconnect. Each piece of experience you gain, no matter how small, adds to your overall capability. We always tell people, and we truly believe it, that mastering essential homesteading skills beginners need is a marathon, not a sprint.
Ready to dive into the nitty-gritty of how we built our experience? Let’s get started!
Keep reading — this is where most people mess up.
WWOOFing and Farm Apprenticeships
“World Wide Opportunities on Organic Farms,” or WWOOF, was one of the first avenues we explored. It’s a global network where volunteers (WWOOFers) live and work on organic farms for a few weeks to several months, usually in exchange for food and accommodation. We didn’t do a full WWOOFing stint ourselves due to young kids at the time, but some friends of ours did, and they rave about the experience.
#### What to Expect from WWOOFing
* Work Schedule: Typically 4-6 hours a day, 5-6 days a week. It varies wildly from farm to farm.
* Tasks: Everything from planting, weeding, harvesting, animal care (chickens, goats, cows), fencing, mucking stalls, cooking, and even building projects.
* Cost: You typically pay for your travel to and from the farm, and sometimes a small membership fee to access the WWOOF network. Food and lodging are usually provided by the host.
* Timeframe: From a single weekend to several months or even a year.
We even looked into specific farm apprenticeships. These are often more structured, sometimes paid, and offer deeper dives into specific areas like dairy farming or market gardening. They usually require a longer commitment, often a full growing season, and can be an incredible way to learn if you’re serious about a specific niche.
But what if you can’t pick up and move for weeks at a time? There are plenty of local options.
—
Local Volunteer Opportunities & Community Gardens
This is where we really started to gain traction back when we were still in our suburban home. We knew we needed to figure out how to get homesteading experience without owning land close to home, and local volunteering was the perfect fit. We started by simply Googling “community garden near me” and “volunteer farm [my city]”.
Volunteering at Local Farms
Many small, local farms – especially those focused on organic or sustainable practices – are often thrilled to have an extra set of hands. We started by reaching out to a small CSA (Community Supported Agriculture) farm about 20 minutes from us. We offered to help out 4 hours every Saturday morning, just to learn.
#### Our Experience & What We Learned:
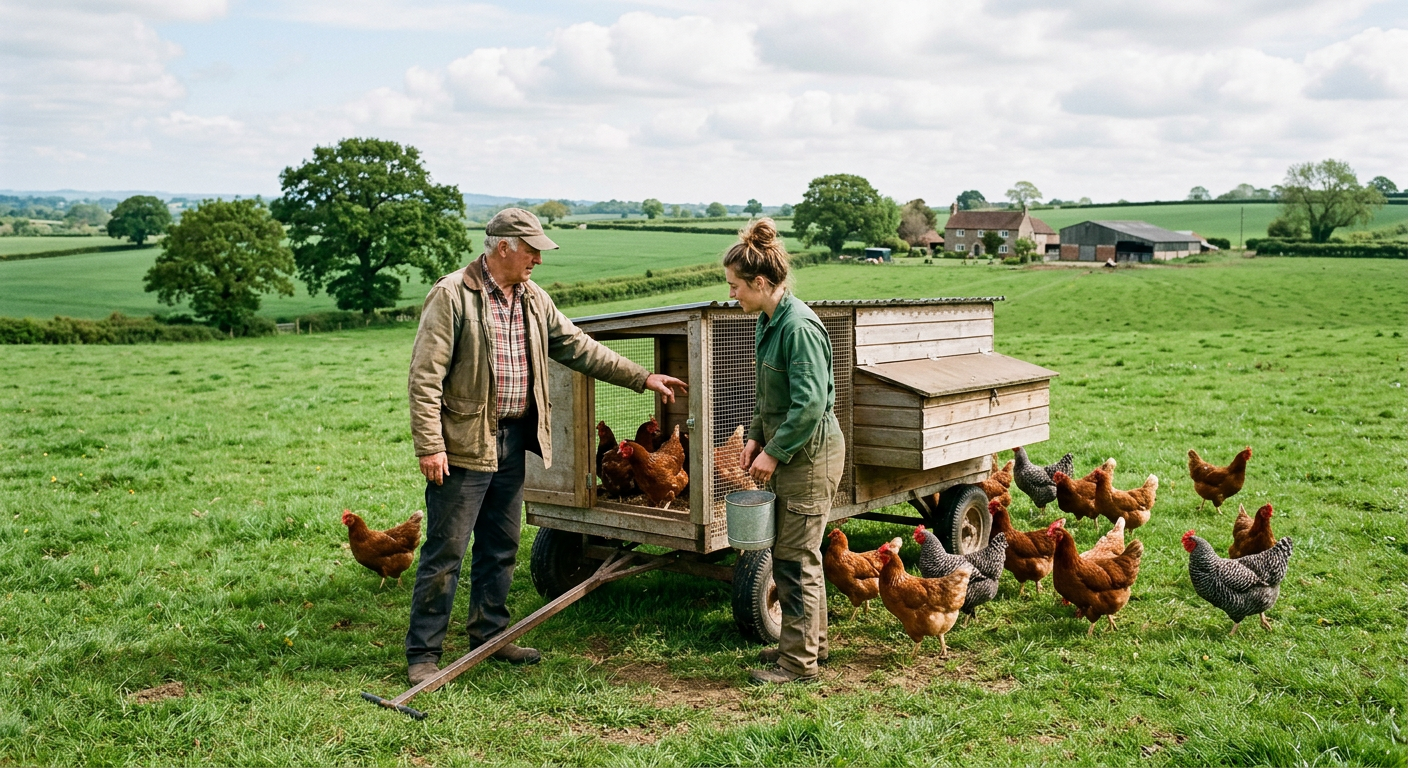
* Hands-On Learning: We learned to properly transplant seedlings, weed rows efficiently, identify common pests, and even help with small animal chores like feeding chickens and collecting eggs. We got great insight into raising backyard chickens: pros, cons & what to expect before we even committed to our own flock!
* Networking: We met other aspiring homesteaders, farm owners, and seasoned gardeners. These connections were invaluable.
* Realistic Expectations: We quickly realized that farming is hard work, physically demanding, and full of unexpected challenges. It’s not just idyllic harvesting photos!
* Cost: Zero, besides our time and gas money. We often went home with a bag of fresh veggies as a thank you, which was an amazing bonus!
Embracing Community Gardens
If a full-on farm seems daunting, a community garden is a fantastic stepping stone. We had a small plot (about 10×10 feet) assigned to us for a nominal annual fee, around $50, which covered water and basic tools.
#### Community Garden Benefits:
* Grow Your Own Food: You get a dedicated space to grow vegetables, herbs, and flowers, even without your own yard. This was our first real attempt at a small backyard vegetable garden.
* Mentorship: You’re surrounded by experienced gardeners who are usually eager to share their knowledge. We learned so much from our plot neighbors!
* Shared Resources: Tools, sometimes even seeds or seedlings, are often shared among members.
* Pest & Disease Learning: You’ll face real-world challenges like powdery mildew or squash bugs, and learn how to manage them, often with advice from more seasoned gardeners.
This is a great option to explore if you want to learn how to start a small backyard vegetable garden: beginner guide style but are limited on space.
This next part? Nobody talks about it, but it changed everything for us.
📋 Get the Beginner Checklist →
—
Skill-Shares, Workshops, and Micro-Homesteading at Home
While getting out on the land is crucial, don’t underestimate the power of learning and practicing skills right where you are. This is a huge part of how to get homesteading experience without owning land.
Local Workshops and Skill-Shares
We sought out local workshops on specific skills we knew we’d need. We found classes at our local extension office, community colleges, and even independent homesteaders offering their expertise.
#### What We Hunted Down:
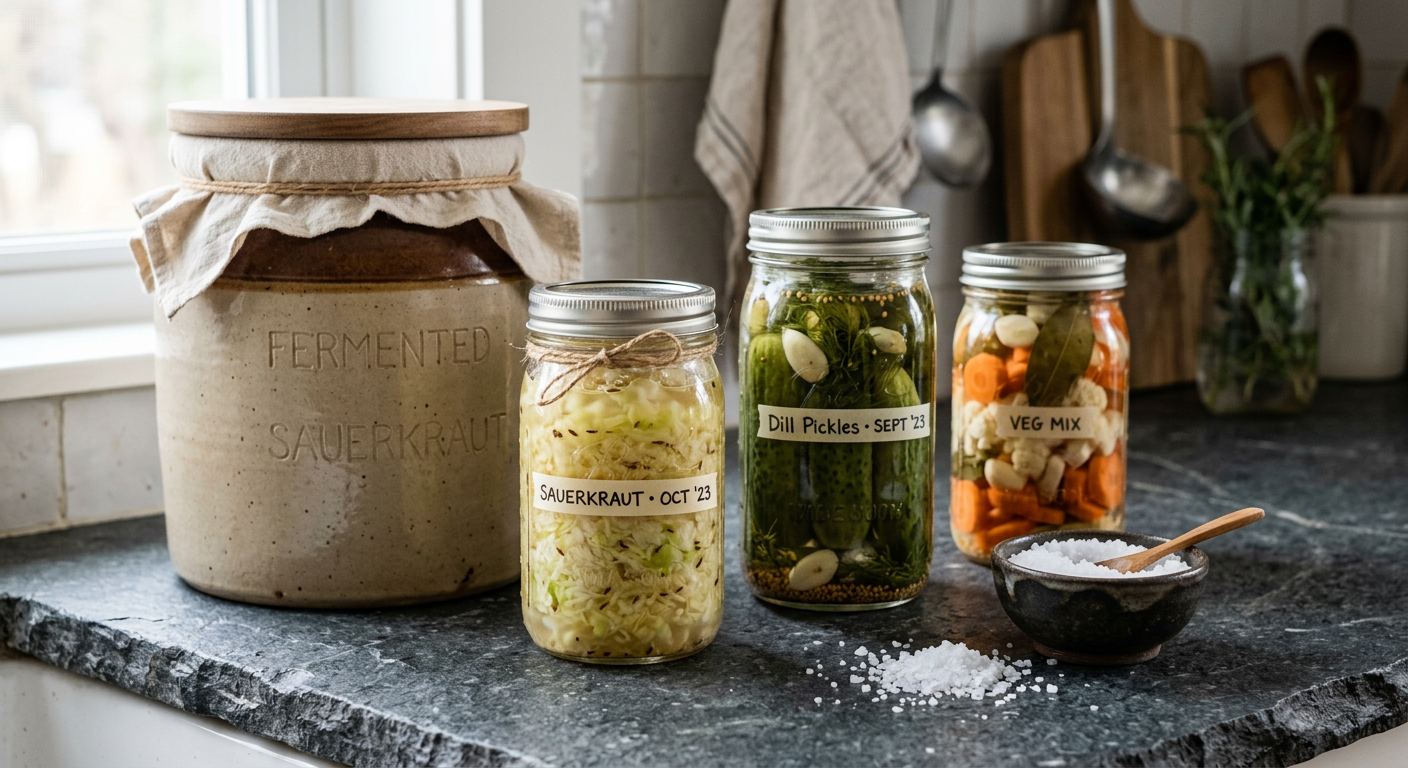
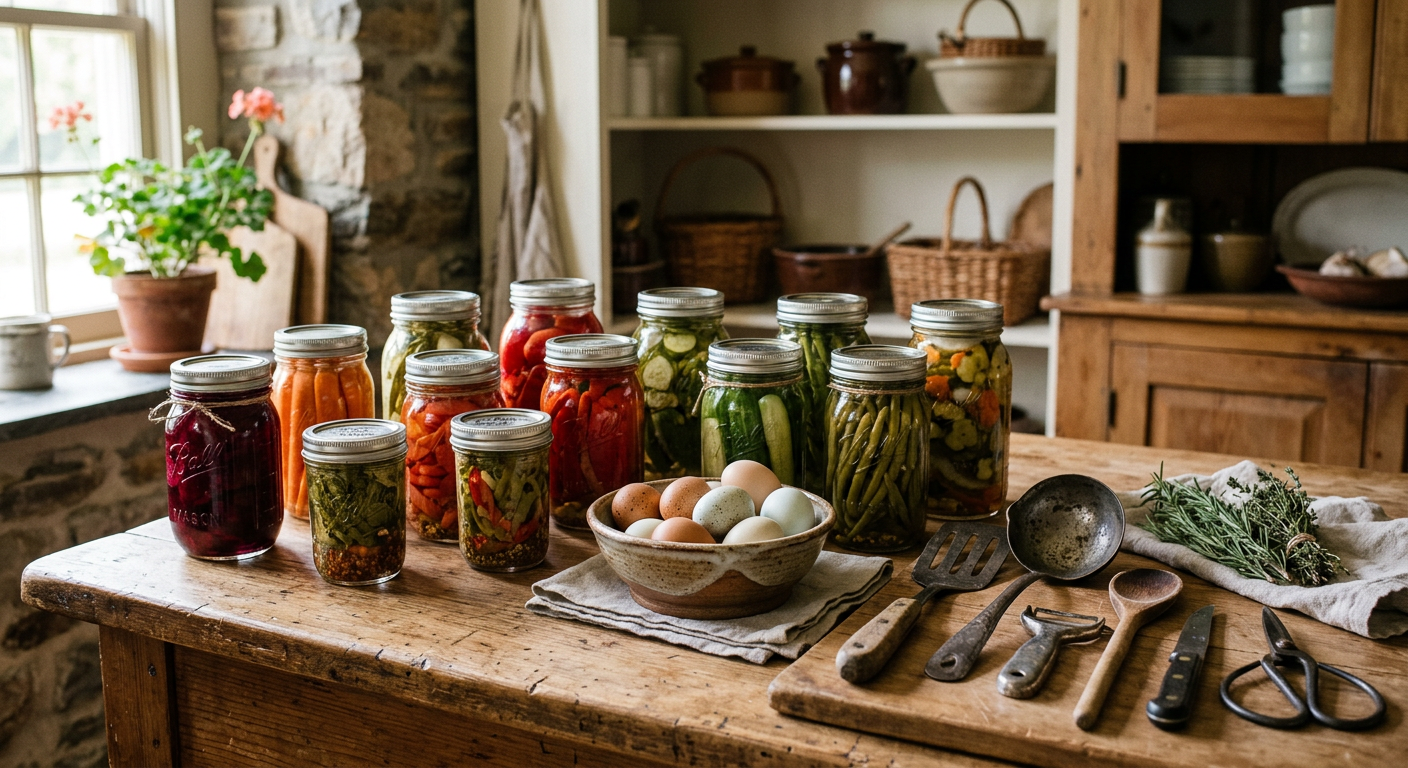
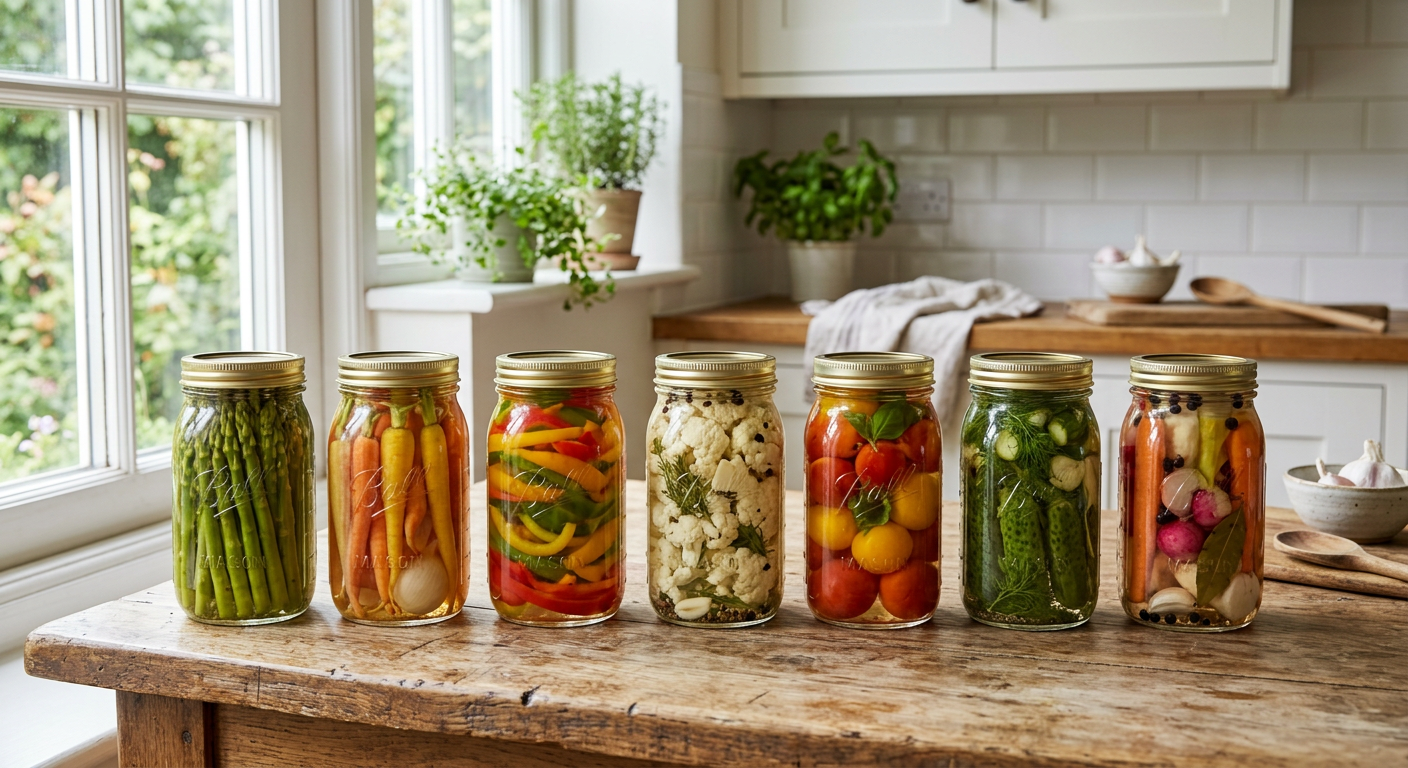
* Food Preservation: We took classes on canning (water bath and pressure canning) and fermenting. Learning to preserve eggs long-term (no fridge needed!) was a game-changer for our future plans, even if we only had store-bought eggs to practice with at the time.
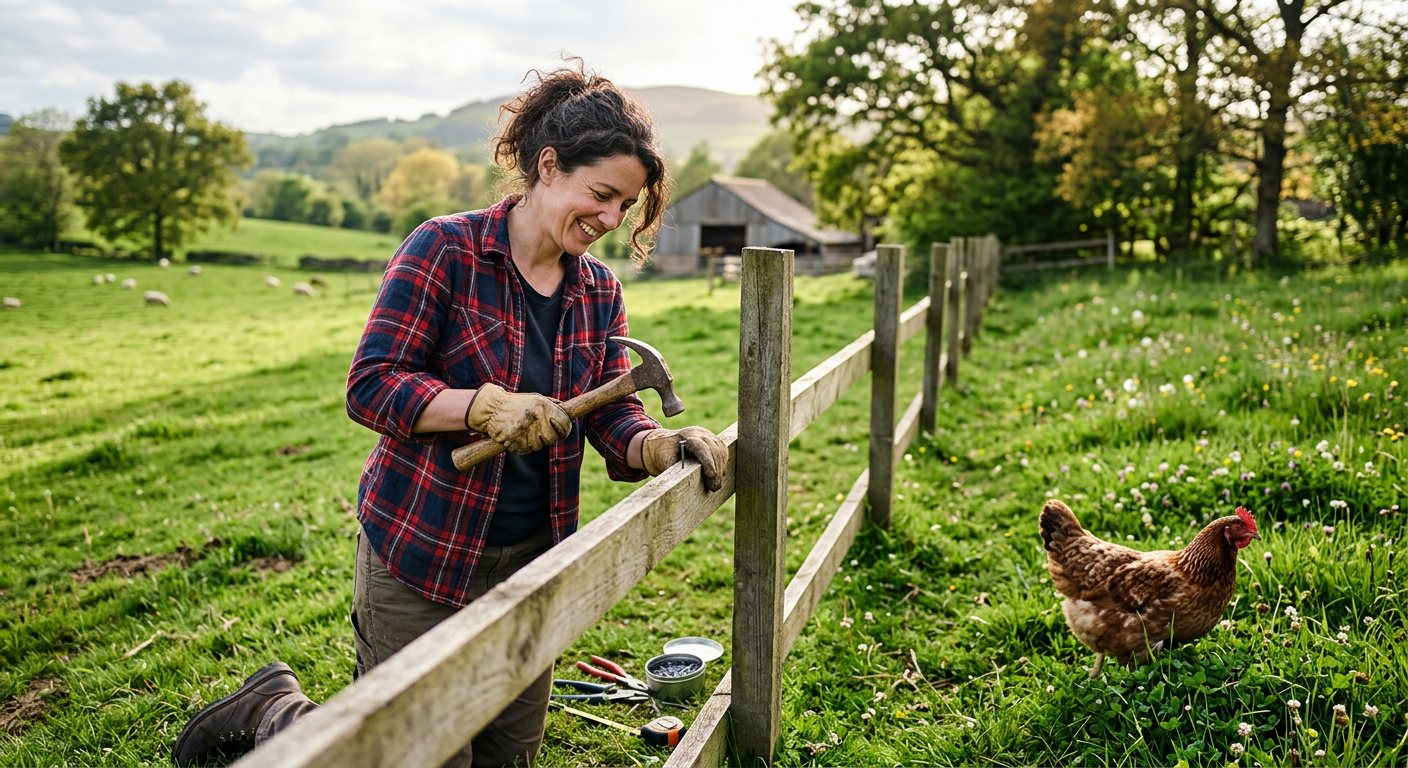
* Animal Husbandry Basics: A local farm offered a one-day workshop on chicken care, covering everything from coop setup to common diseases. While we didn’t have chickens yet, the knowledge was invaluable.
* Soap Making & Bread Baking: These aren’t just hobbies; they are true homesteading skills that reduce reliance on store-bought goods.
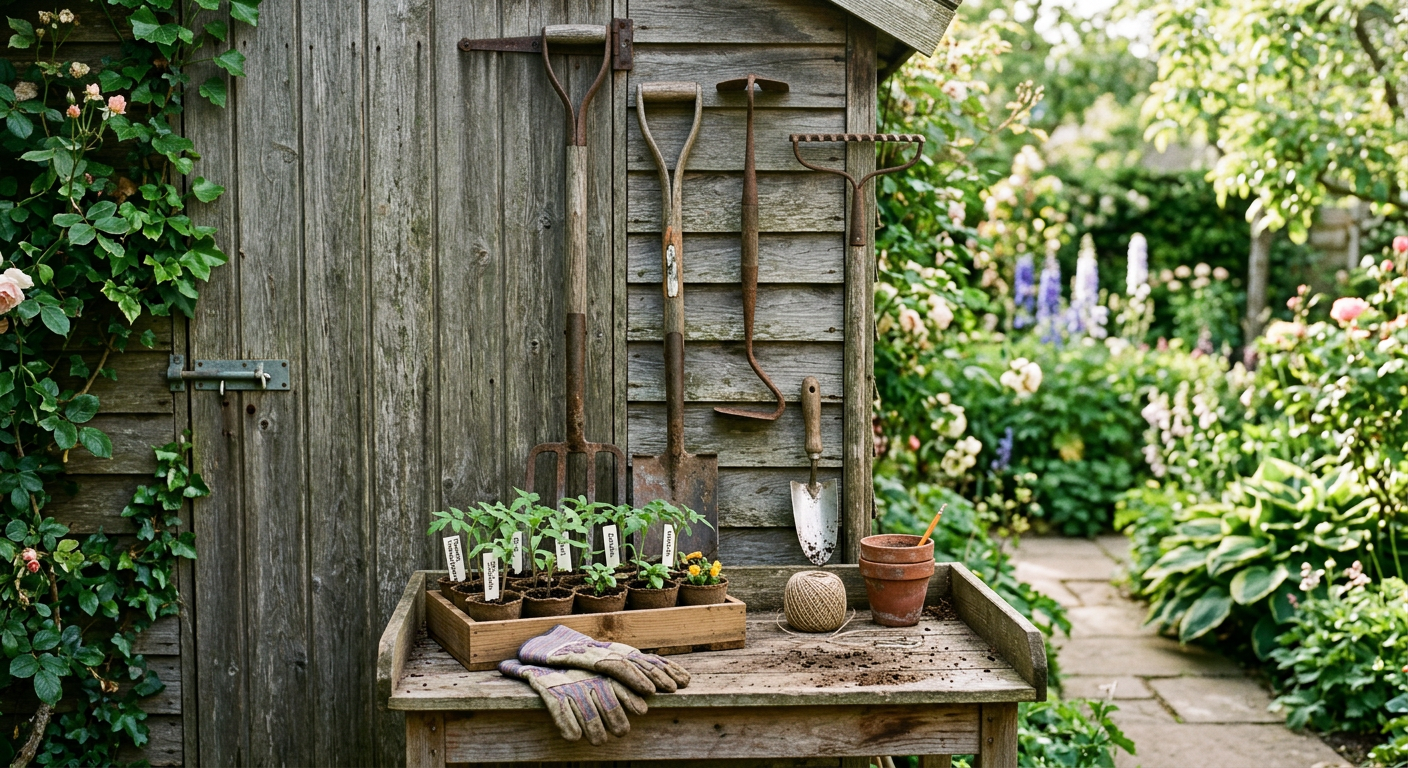
* Carpentry Basics: Even just learning how to use a saw and drill safely can save you a ton later when building coops, fences, or raised beds. This directly relates to the essential homesteading tools to buy first.
We probably spent a few hundred dollars total on these workshops over a couple of years, but the knowledge gained was worth thousands in avoided mistakes and future self-sufficiency.
Micro-Homesteading in Your Current Space
This is where the magic really happens without an acre to your name. We started small, right in our tiny backyard and even indoors.
#### Our Micro-Homesteading Journey:
* Container Gardening: Our patio became a mini-farm. Tomatoes, peppers, herbs, and even small potatoes thrived in large pots. This was excellent practice for understanding soil, watering, and pest identification.
* Indoor Growing: We grew herbs on our windowsill and even experimented with a small indoor grow light for salad greens in the winter. Talk about tiny space, big harvest!
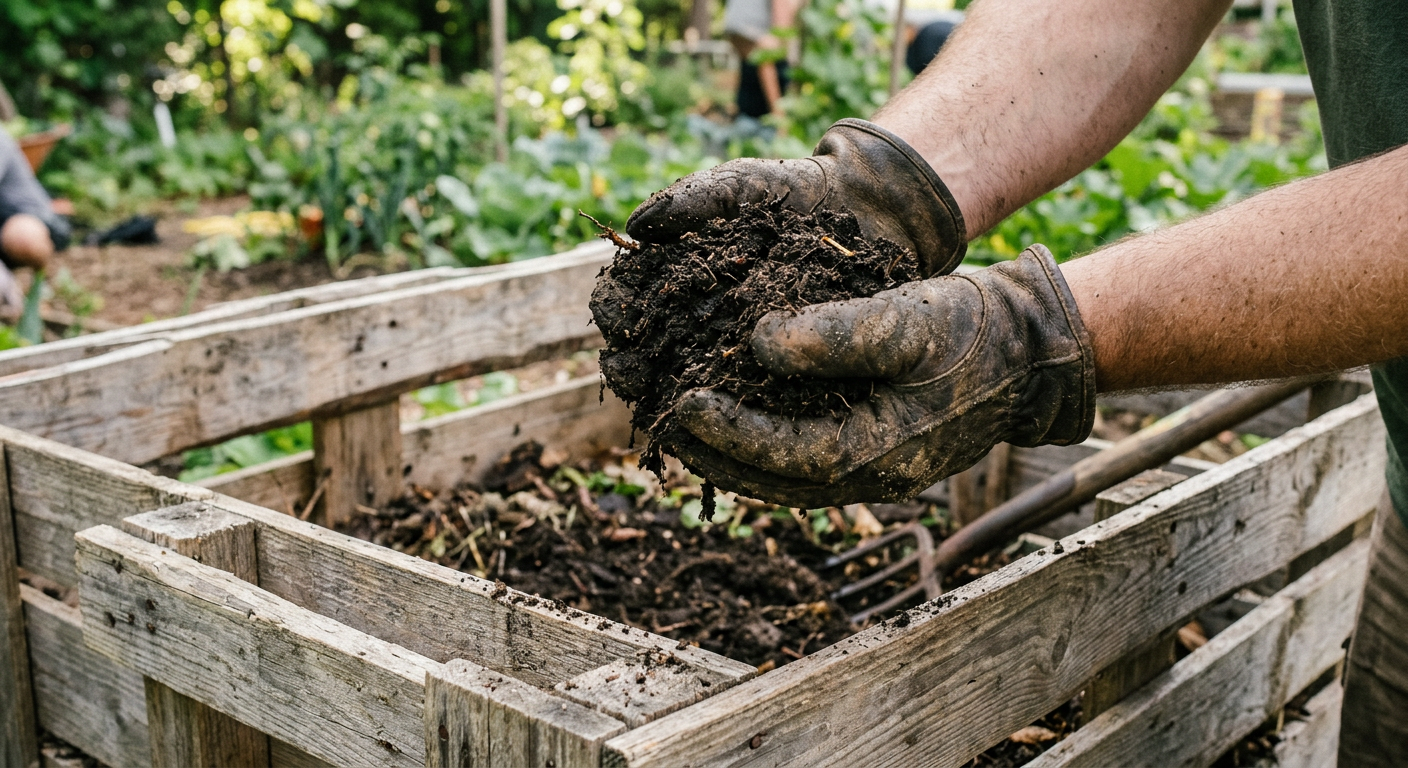
* Composting: Even in our small yard, we started a worm compost bin (vermicomposting) for kitchen scraps. It was gross at first, but incredibly rewarding to turn waste into rich soil.
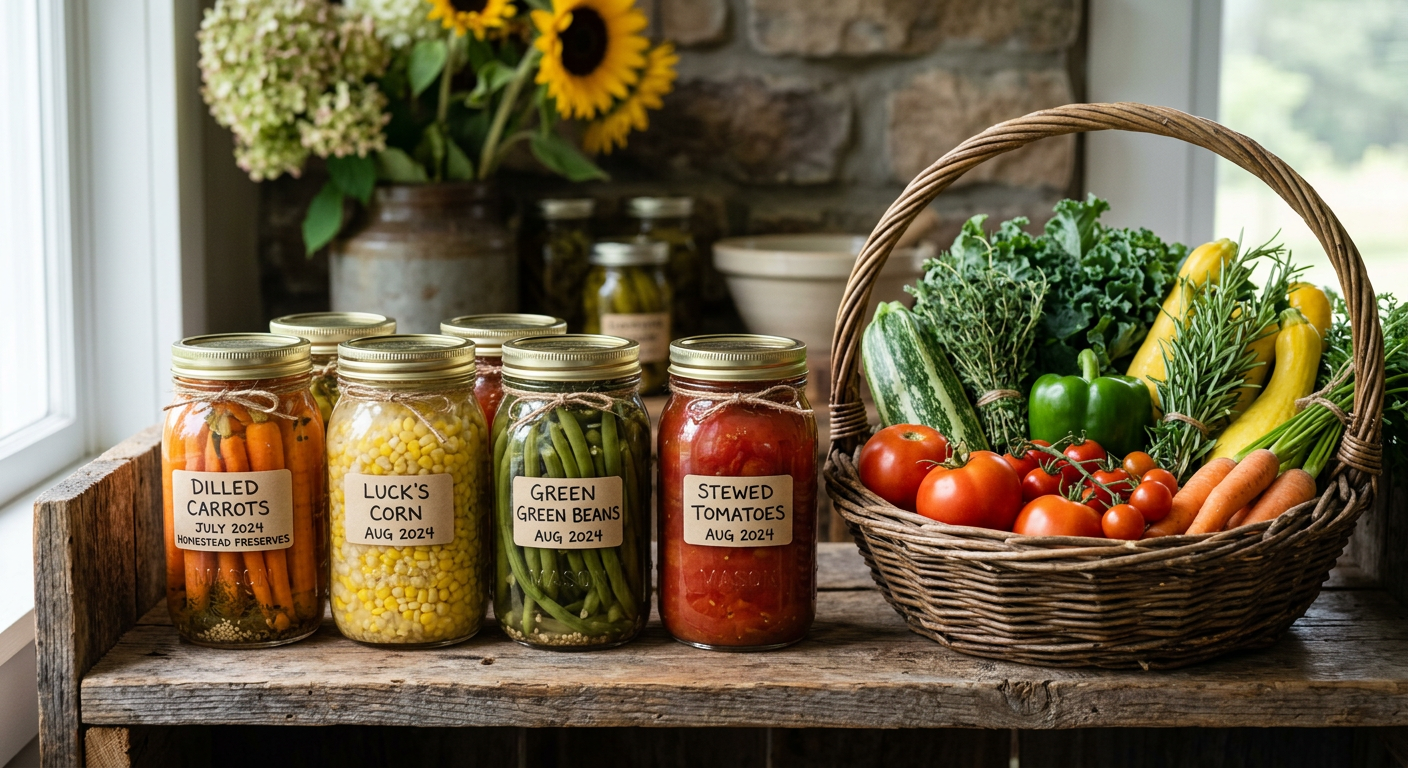
* Scratch Cooking & Preserving: We became avid sourdough bakers, made our own condiments, fermented vegetables, and learned to cook from whole ingredients. We canned anything we could get our hands on from the farmers’ market. This was a direct application of the skills learned in workshops.
* Small Livestock (where permitted): We weren’t allowed chickens in our suburb, but some friends of ours started raising quail for eggs and meat in a small hutch, which they could keep in their shed. Always check local ordinances, but if allowed, quail or even certain rabbit breeds can be excellent ways to gain best low maintenance farm animals experience without vast acreage.
Don’t skip this — it’ll save you hours (and money).
—
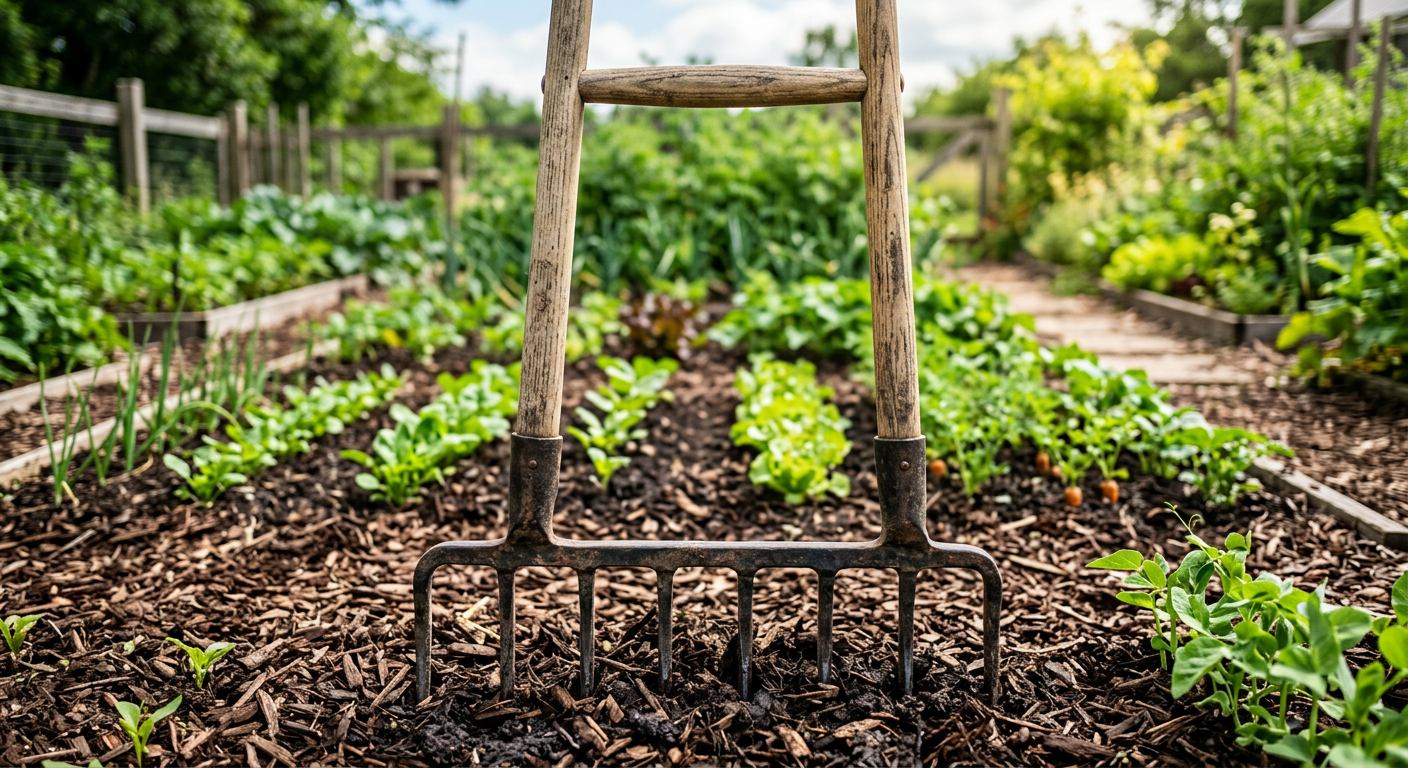
!A volunteer on a farm learning how to get homesteading experience without owning land through WWOOFing.
Connecting with the Homesteading Community
One of the most valuable resources you have is other people. The homesteading community, both online and in real life, is generally incredibly generous with their knowledge and support. We’ve learned as much from casual conversations as we have from formal classes.
Online Forums & Social Media Groups
Join Facebook groups, Reddit communities, and online forums dedicated to homesteading, permaculture, or specific skills like gardening or animal husbandry. Ask questions, share your small wins, and learn from others’ mistakes and successes. We found some amazing local groups this way that helped us find volunteer opportunities.
Farmers Markets and Local Gatherings
Farmers’ markets aren’t just for buying produce; they’re excellent networking hubs. Talk to the farmers and vendors – many of them are homesteaders! Ask about their methods, challenges, and if they ever need help. We built relationships this way that led to invitations to farm tours and even help with a harvest day.
Additionally, look for local events: seed swaps, garden tours, permaculture meetups, or fairs focusing on sustainable living. These are fantastic places to connect with people who share your passion and can offer advice or opportunities.
—
💡 Pro Tips
* Start Small, Start Now: Don’t wait for the perfect plot of land. Every skill you practice today, no matter how minor, builds your homesteading foundation.
* Document Your Learning: Keep a journal of your gardening successes and failures, recipes you try, and skills you learn. This becomes an invaluable reference later.
* Be Proactive & Offer Value: When seeking volunteer opportunities, don’t just ask to learn. Offer specific help. “I can help weed for 3 hours every Sunday,” or “I’m handy with tools and could help with a building project.” Farm owners are busy people.
* Safety First: Always prioritize safety, especially when working with tools, animals, or food preservation. Take workshops seriously and ask questions.
* Embrace the Journey: Homesteading is a lifestyle, not a destination. Enjoy the process of learning and growing.
—
⚠️ Beginner Mistakes to Avoid
* Waiting for the “Perfect Land”: This is the biggest trap! Don’t put off learning because you don’t have your ideal homestead yet. Start gaining experience today.
* Over-Committing: Don’t sign up for a 6-month farm apprenticeship if you’re not sure you can handle the physical demands or time commitment. Start with shorter volunteer stints.
Not Asking Questions: When you’re volunteering or in a community garden, ask everything*. Most experienced homesteaders love to share what they know. There’s no such thing as a stupid question (well, almost).
* Ignoring Local Ordinances: Before you start raising any animals or even building certain structures in a community garden, always check local rules and regulations. This saved us a headache with compost bin placement!
* Isolating Yourself: Homesteading can be tough. Don’t try to go it alone. Connect with others, share your struggles, and celebrate your successes.
—
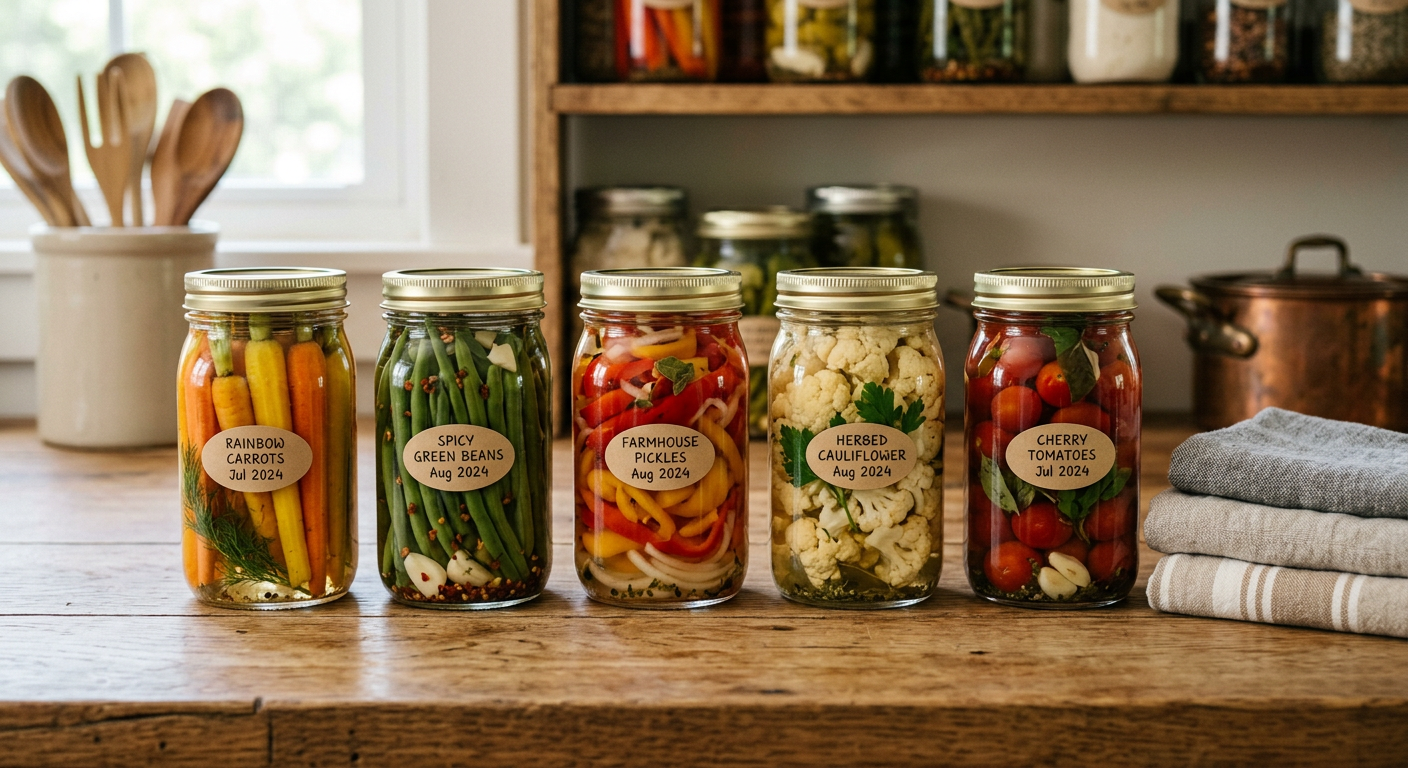
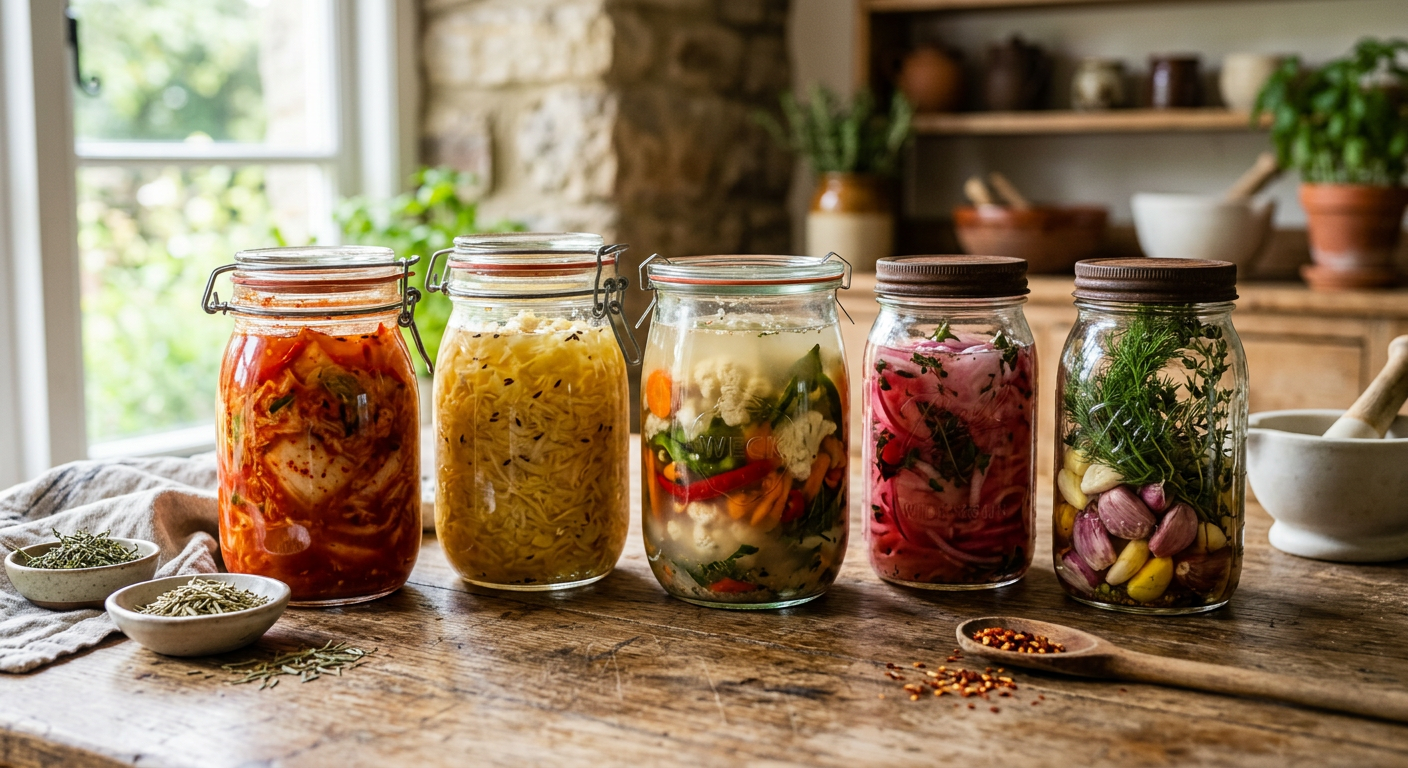
!Learning food preservation as a way for how to get homesteading experience without owning land.
Frequently Asked Questions
### Can I really learn homesteading skills if I live in an apartment?
Absolutely! We started in a small apartment ourselves. You can practice food preservation, make sourdough, grow herbs and microgreens on windowsills, learn to sew, knit, mend, make natural cleaners, and research extensively. These are all vital homesteading skills!
### How much does it cost to get homesteading experience without owning land?
It can range from completely free if you volunteer your time, to a few hundred dollars for WWOOFing fees (plus travel), or specific workshops. Community garden plots usually have a small annual fee (around $25-$100). Compared to the cost of buying land and making big mistakes, it’s a very affordable way to learn.
### How long should I volunteer or WWOOF before buying land?
There’s no set timeline. Some people volunteer for a few weekends, others for several years. It depends on your learning style, available time, and how much confidence you want to build. We spent about two years actively volunteering and micro-homesteading before we felt ready for our own small acreage.
### What kind of local farms should I look for?
Focus on small, family-owned farms, organic farms, U-pick operations, CSAs, or educational farms. These are often more open to volunteers and sharing knowledge than large commercial operations. Also, check with your local university extension office; they often have lists of farms or programs.
### Is urban homesteading a good way to get experience without land?
Yes, absolutely! Urban homesteading with kids or just by yourself is a fantastic way to develop essential skills like intensive gardening, composting, food preservation, and even small-scale animal husbandry (like chickens or rabbits, where permitted). It teaches you how to maximize limited space and resources, which is a core homesteading principle.
—
Getting started on your homesteading journey doesn’t require waiting for the perfect piece of land. It requires a willingness to learn, get your hands dirty, and connect with others. We know this firsthand. Every small step you take today builds the foundation for the homestead of your dreams tomorrow. So go ahead, find that community garden, sign up for a workshop, or start that container garden on your patio!
What’s your biggest challenge with learning homesteading skills without land? I’d love to hear your story in the comments!
🔧 See Recommended Tools →
📚 More From Our Homestead
Ready to Start Your Homestead Journey?
Free guides, checklists, and tools to help you build your dream homestead.
Explore Free Resources →
👉 Related: Cheap Food Preservation for Beginners: Our Top Budget Hacks
👉 Related: Homesteading Supplies List for Beginners: The Essentials
👉 Related: How to Make Money From a Small Homestead