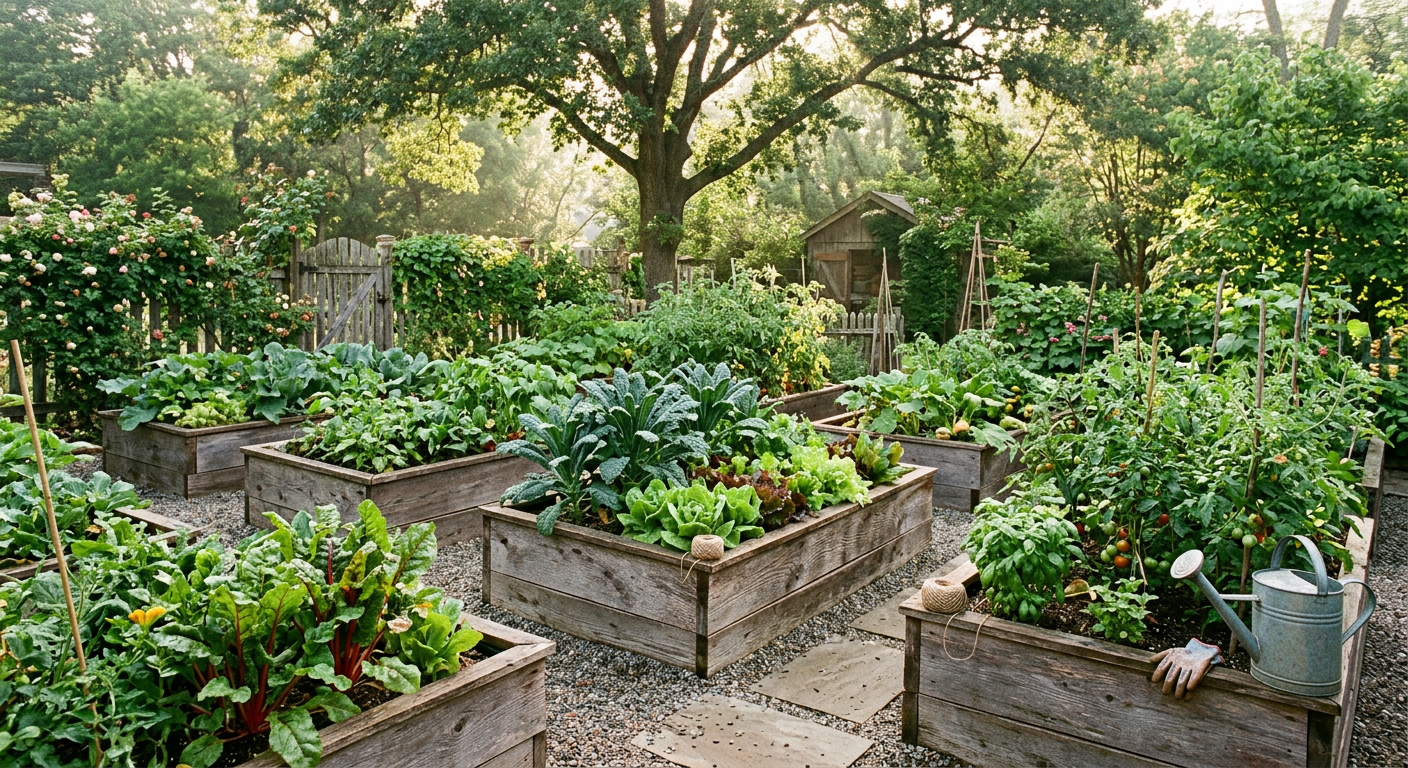
!A thriving backyard garden showing how to get started homesteading on a budget with DIY raised beds.
When we first started dreaming of our homestead, the biggest thing holding us back wasn’t the hard work (we’re not afraid of dirty hands!), it was the sheer perceived cost. We pictured huge barns, expensive equipment, and acres of land, and thought, “There’s no way we can afford that!” But thankfully, we quickly learned that how to get started homesteading on a budget isn’t just possible; it’s often the best way to begin. We started small, learned as we went, and saved thousands by being resourceful.
🎯 Quick Answer: To get started homesteading on a budget, focus on skill-building over immediate large purchases, prioritize high-yield projects like gardening and composting, and leverage free or low-cost resources like community gardens, skill-shares, and DIY projects. Start with what you have, where you are.
—
🔑 Key Takeaways
Skills First, Purchases Second: Invest time in learning before spending money on tools or supplies. Knowing how* to do something saves you from buying unnecessary gadgets.
* Start Small & Scale Up: Don’t try to do everything at once. Focus on one or two projects that offer the most immediate return, like a small vegetable garden or composting system.
* DIY & Repurpose: The most cost-effective homesteads are built on ingenuity. Look for free materials, learn to fix things, and repurpose items you already own.
* Community is Key: Barter skills, share resources, and learn from experienced homesteaders. Your community is an invaluable, often free, resource.
* Track Your Wins (and Losses): Keep a journal of what works and what doesn’t. This helps you refine your approach and avoid costly mistakes in the future.
* Focus on ‘Highest Return’ Projects: Prioritize activities that directly reduce your grocery bill or build essential self-sufficiency skills immediately.
—
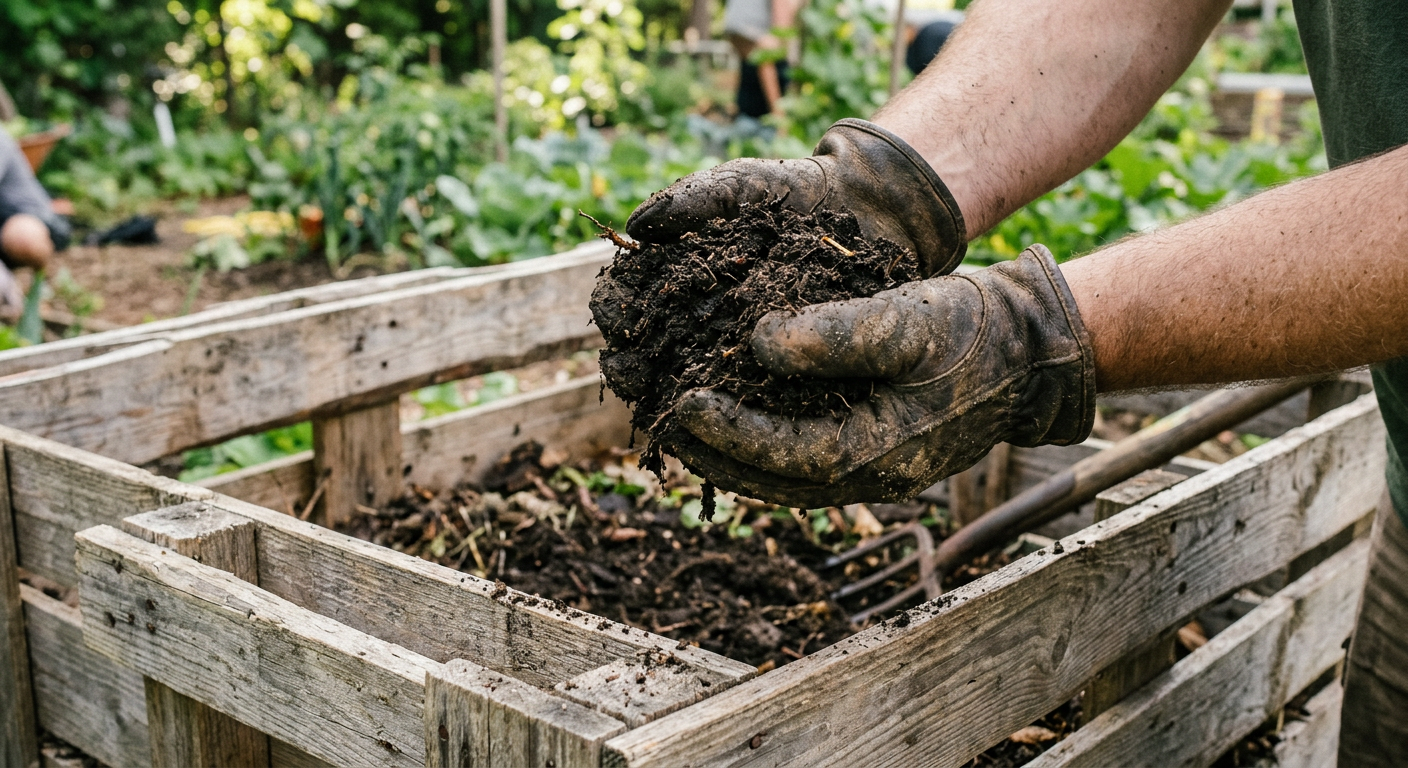
!Close-up of healthy compost, a key part of how to get started homesteading on a budget.
Our Journey: Starting with Just a Small Garden Plot
When we decided to take the plunge, we didn’t buy a sprawling farm. In fact, we were still living in a suburban home with a postage-stamp-sized backyard. Our very first step in how to get started homesteading on a budget was transforming about 100 square feet of lawn into a vegetable garden. We spent less than $50 that first spring on some seeds, soil amendments, and a few hand tools we already had. That tiny garden, while not feeding us entirely, gave us fresh produce for months and invaluable experience.
Prioritizing High-Yield, Low-Cost Projects
We learned early on that not all homesteading projects are created equal in terms of upfront cost versus return. Our priorities became:
* Vegetable Gardening: Hands down, this was the biggest bang for our buck. We saved hundreds of dollars on groceries by growing our own tomatoes, lettuce, beans, and herbs. For more on getting started, check out our guide on How to Start a Small Backyard Vegetable Garden: Beginner Guide.
* Composting: Free fertilizer! We started with a simple DIY pallet compost bin. All our kitchen scraps, yard waste, and even shredded paper went in, and rich soil came out. Cost: essentially zero.
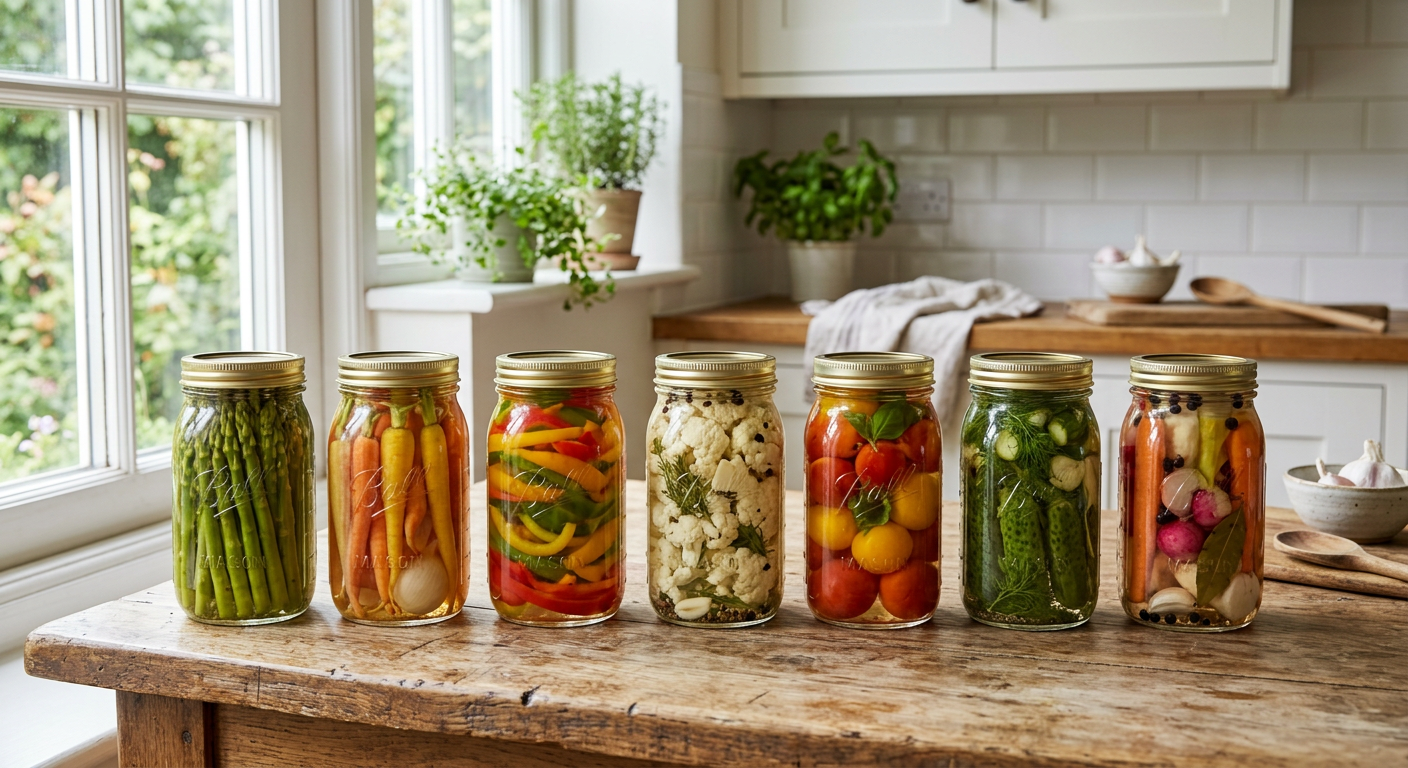
* Preserving Food: Learning basic canning, freezing, and dehydrating meant we could make our garden bounty last. We started with a basic water bath canner our grandma gave us.
This next part? Nobody talks about it, but it changed everything for us.
The Power of DIY and Scavenging for Your Homestead
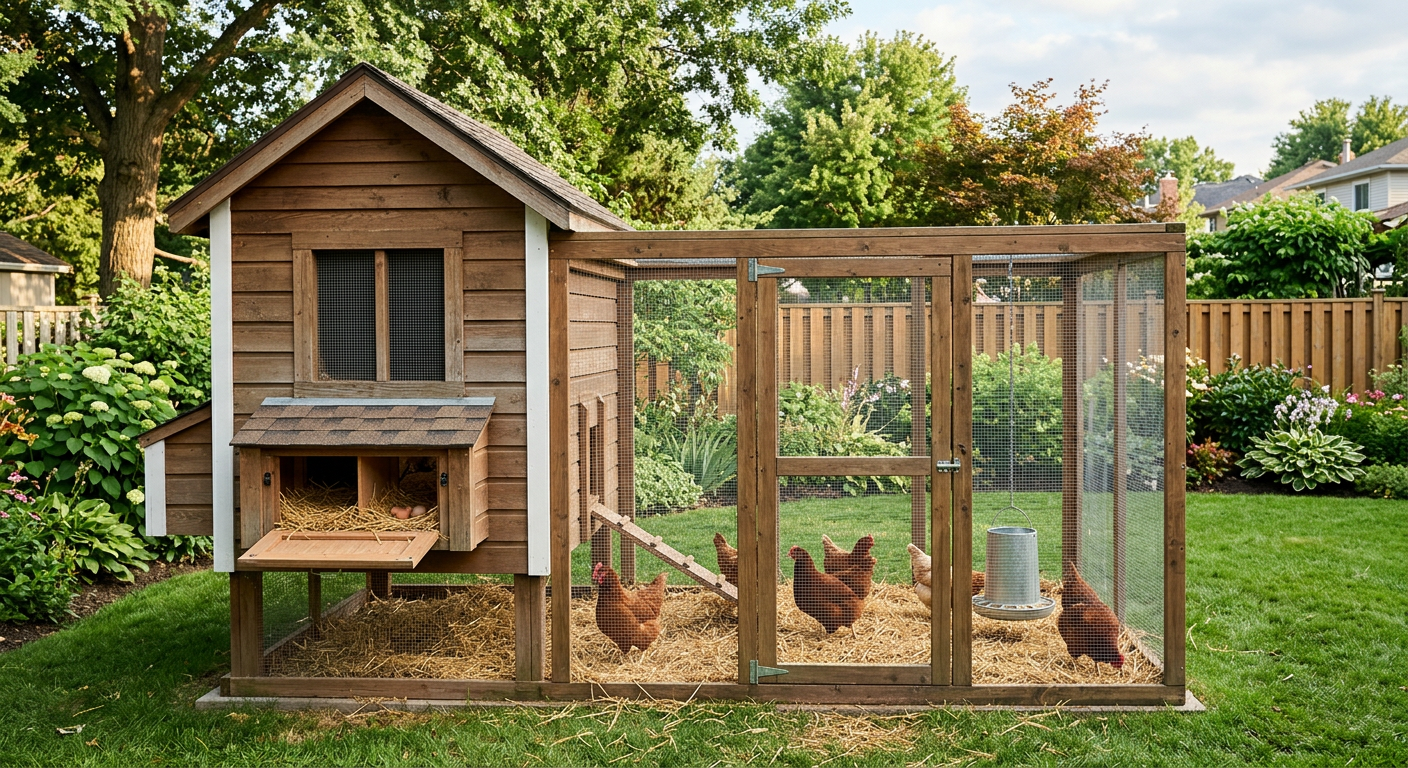
One of the biggest budget-savers on our homestead has been our willingness to build, fix, and repurpose. We rarely buy new if we can help it. When figuring out how to get started homesteading on a budget, think like a scavenger. Our chicken coop was built from reclaimed pallets and old fence posts we got for free from a local construction site. Our first rainwater catchment system (a crucial budget saver for irrigation!) was literally just a fifty-gallon food-grade barrel we bought for $20, connected to our gutter with a simple diverter.
Where to Find Free & Cheap Materials:
* Craigslist/Facebook Marketplace (Free Section): This is a goldmine for everything from moving boxes (great for sheet mulching!) to compost, landscaping rocks, and even lumber scraps.
* Construction Sites: Always ask first! Often, they’ll let you take scrap wood, concrete blocks, or dirt for free.
* Local Businesses: Restaurants might have five-gallon pickle buckets (perfect for harvesting or small storage), bakeries might have large plastic tubs, and fruit stands often have apple boxes.
* Roadside Finds: Keep an eye out for discarded furniture, old tires (great for elevated garden beds), or broken appliances that have useful parts.
We’ve outfitted entire sections of our homestead purely from salvaged materials. It takes more time and creativity, yes, but it saves an incredible amount of money. Next, I’ll share how we approached animal integration without breaking the bank.
—
Smart Ways to Introduce Livestock on a Shoestring
Adding animals can feel like a massive jump in cost, but it doesn’t have to be. We integrated chickens into our homestead after about a year, and we did it as frugally as possible. When considering how to get started homesteading on a budget with animals, always ask yourself: What’s the immediate benefit, and what’s the minimum viable setup?
Our Chicken Experiment (and How We Kept Costs Low)
We started with just three baby chicks we bought for about $4 each. Their initial brooder was a large plastic tote in our spare bathroom! We built their first small coop almost entirely from free pallets and reclaimed roofing tin. Our total investment was under $75 for the chicks, some feed, and a few hardware pieces.
* Consider “Free” Chickens: Sometimes local farmers or enthusiasts offer surplus roosters or older hens for free. Check local groups!
* DIY Housing: Avoid expensive pre-made coops or shelters. Learn to build your own from scavenged materials. For inspiration, check out our post on Build a Movable Chicken Tractor for Sustainable Pest Control.
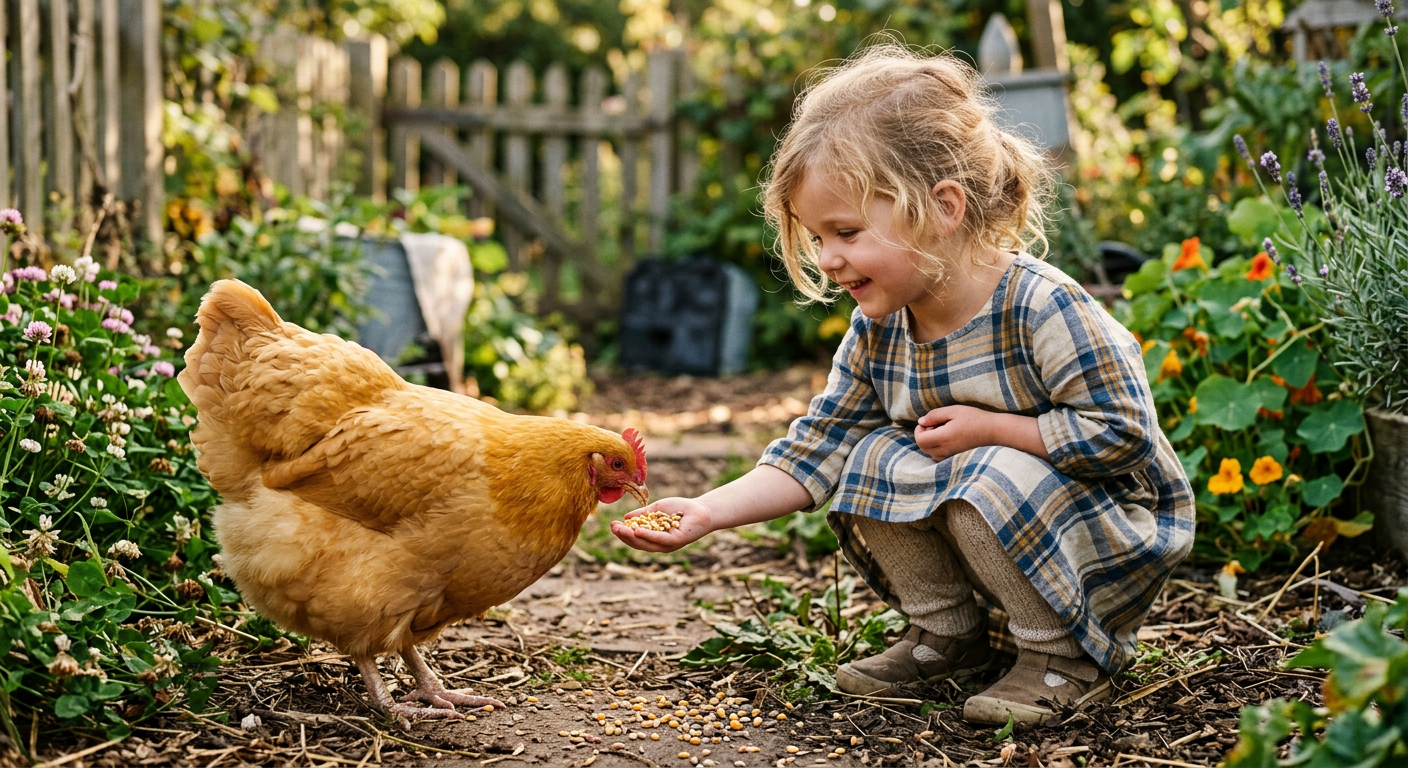
* Forage & Supplement: Let your chickens free-range if possible to reduce feed costs. We also sprout grains and grow fodder for them (more free food!).
* Start Small: Don’t get 20 chickens if you’ve never had any. Start with 3-5, learn their needs, and expand if your budget and space allow.
Keep reading — this is where most people mess up.
Building Essential Skills (Without Paid Courses!)
This is perhaps the most overlooked aspect of how to get started homesteading on a budget: investing in your knowledge. Every skill you learn for free means you don’t have to pay someone else to do it, or buy an expensive tool you’ll only use once. We spent countless hours reading books from the library, watching YouTube videos, and talking to experienced homesteaders.
Frugal Skill-Building Resources:
* Your Local Library: Seriously, it’s a treasure trove. We’ve learned about everything from canning to basic carpentry and animal husbandry just through library books. There are some fantastic Top Homesteading Books for Beginners 2026: Start Today.
* Online Tutorials: From YouTube to university extension sites (like the USDA National Agricultural Library), there’s a wealth of free information on almost any homesteading topic you can imagine.
* Local Co-ops & Groups: Many areas have gardening clubs, homesteading meetups, or permaculture groups. These are fantastic places to learn, share resources, and even barter skills.
* Apprenticeships/Volunteering: Offer to help out a local farm or experienced homesteader in exchange for learning. It’s hands-on experience that costs you nothing but time.
The less you have to pay for an expert, the more money stays in your budget for the essentials. Speaking of essentials, let’s talk about the common pitfalls.
—
💡 Pro Tips
The “Homesteading Before You Homestead” Mindset: Start practicing skills now*, even if you’re in an apartment. Grow herbs in pots, learn to mend clothes, cook from scratch. You’re already homesteading!
* Leverage Free Manure: Find local farms or equestrians who are happy for you to take their aged manure for your garden. It’s a fantastic, free soil amendment.
* Seed Saving: Once you’ve grown a first successful crop, learn to save seeds from open-pollinated varieties. This virtually eliminates future seed costs.
* “Use It Up, Wear It Out, Make It Do, or Do Without”: This old adage is the homesteader’s mantra. Truly embrace it to save money and foster resourcefulness.
* One-Year Plan: Focus on what you can realistically achieve in your first year with minimal investment. For us, it was a productive garden and starting our compost and worm bin.
—
⚠️ Beginner Mistakes to Avoid
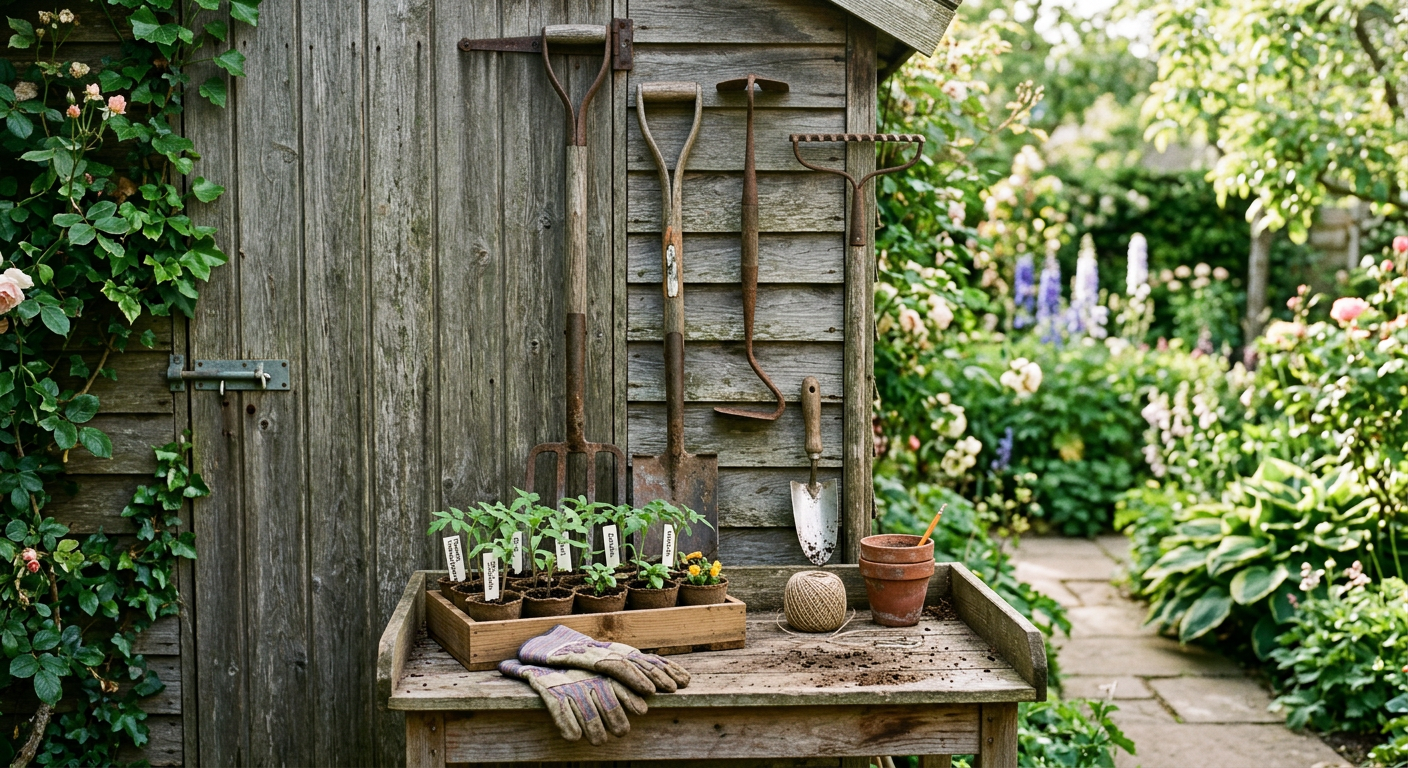
Buying Too Many Tools Too Soon: Resist the urge for every shiny new garden gadget. Start with the basics (shovel, rake, hoe, hand trowel) and only buy specialized tools when you truly* need them and have the experience to back it up. We have a great guide on Essential Homesteading Tools to Buy First? Our Top Picks!.
* Overspending on Seeds/Plants: Especially as a beginner, it’s easy to buy more than you can possibly plant or care for. Start small. Seeds are cheaper than starts.
* Ignoring Soil Health: Trying to grow in poor soil is a recipe for frustration and wasted money on fertilizers. Focus on building healthy soil from day one with compost, mulch, and cover crops.
* Taking on Too Many Projects: Burnout leads to wasted resources. Start with one or two manageable projects, master them, then slowly expand your homestead. You can’t do it all at once.
* Not Learning Basic Repairs: Paying someone else to fix a leaky faucet or a broken fence post quickly eats into your budget. Watch videos, read manuals, and learn basic maintenance.
—
!Second-hand tools and seedlings represent how to get started homesteading on a budget efficiently.
Frequently Asked Questions
How much money do I need to start homesteading?
You can literally start with zero dollars if you’re willing to invest time and effort. Start with free resources like library books and foraging. Many of us started with just a few dollars for seeds and grew from there. The goal is to reduce reliance on money, not necessarily to spend a lot of it.
Can I homestead without a lot of land?
Absolutely! We started on less than an eighth of an acre. Urban homesteading is a growing movement. Focus on vertical gardening, container gardening, and maximizing every square foot. Check out our post on Tiny Space, Big Harvest: How to Start Urban Homesteading Small Space.
What’s the very first step on a budget?
The absolute first step is to assess your current skills and resources. What do you already have? What can you learn for free? For us, it was a small patch of grass and a determination to learn how to grow food. Start with research and skill-building before any purchases.
How do I acquire animals cheaply?
Look for local farm sales, check online classifieds from hobby farmers offering surplus animals, or even consider rescuing animals. DIY pens and coops from reclaimed materials will drastically cut costs. Remember, chickens are often the most affordable entry point for livestock.
Is homesteading ever truly free?
While you’ll always have some input of time, energy, or very basic supplies, the financial outlay can be incredibly low, especially if you prioritize skill-building, foraging, and repurposing. The goal isn’t necessarily zero cost, but rather, maximum self-sufficiency and minimal reliance on external systems.
—
Honestly, how to get started homesteading on a budget boils down to one thing: ingenuity. We didn’t start with a trust fund or a sprawling farm. We started with two hands, a small garden, and a burning desire to live more sustainably. Every saved seed, every reclaimed board, every fresh egg from our own backyard felt like a huge victory. It’s a journey of learning, adapting, and celebrating the small wins.
What’s your biggest challenge with starting a homestead on a budget? I’d love to hear your story.
📚 More From Our Homestead
- Raising Backyard Chickens: Pros, Cons & What to Expect
- Top Homesteading Books for Beginners 2026: Start Today
- Tiny Farm, Big Rewards: Best Low Maintenance Farm Animals
- Tiny Space, Big Harvest: How to Start Urban Homesteading Small Space
- Build a Movable Chicken Tractor for Sustainable Pest Control
Ready to Start Your Homestead Journey?
Free guides, checklists, and tools to help you build your dream homestead.
👉 Related: Mastering: What Essential Homesteading Skills Beginners Need
👉 Related: Finding Your Homestead: A Beginner’s Property Guide
👉 Related: Easiest Homesteading Animals to Raise? Here’s Our Story